
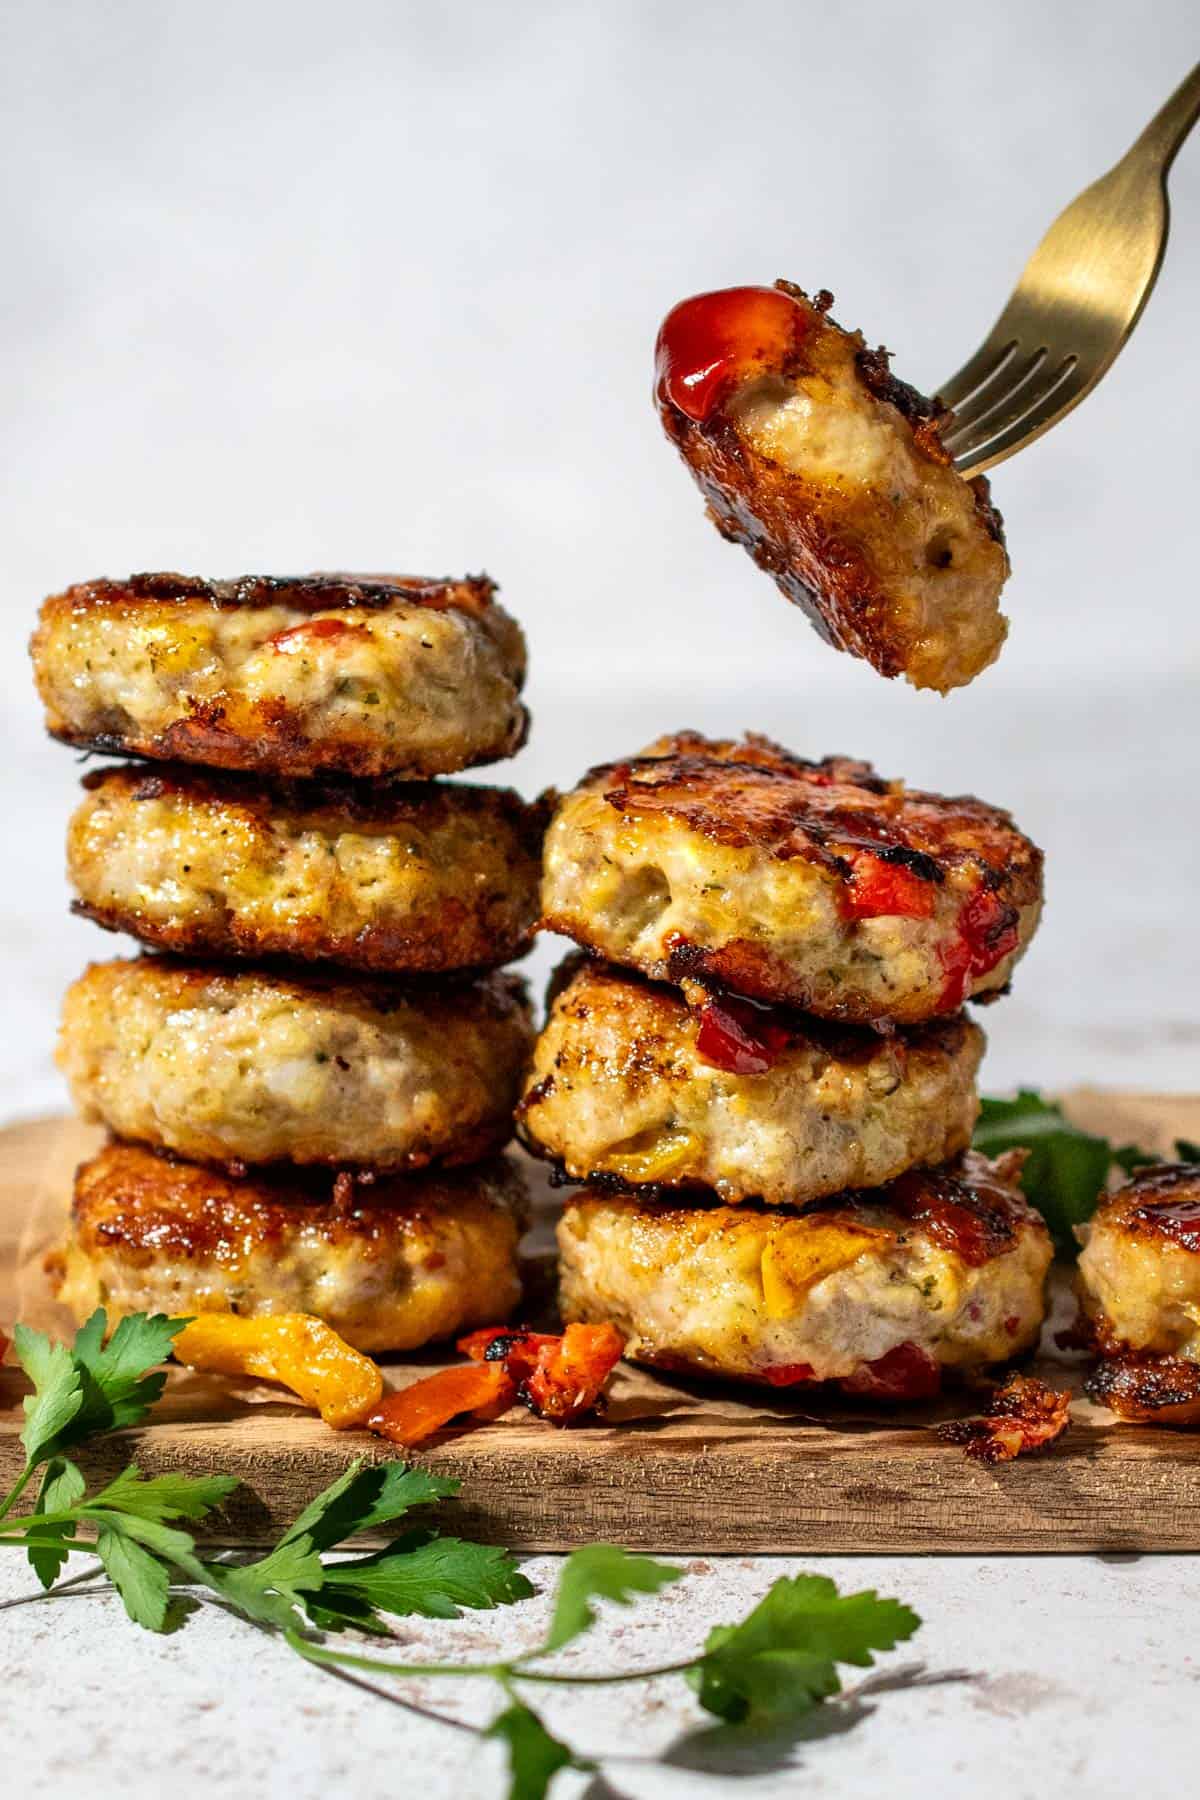
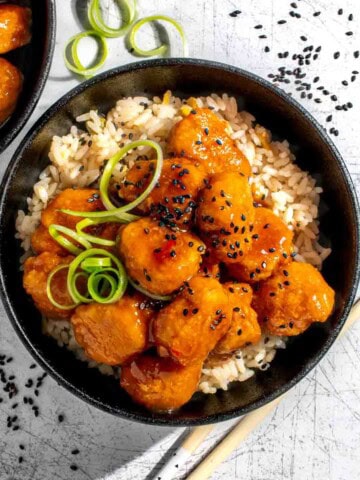
An epicurean adventure to: Australia
Not your average chicken rissoles recipe, we'll have you know. We're adding roasted peppers from a jar and lots and lots of cheese - oh yes!
It's the ultimate dump-and-go recipe: Add all the ingredients in a bowl, mix, shape, fry and tuck in!
Perfect for a quick weeknight meal and they're surprisingly delicious cold - make them itty bitty for cute picnic bites!
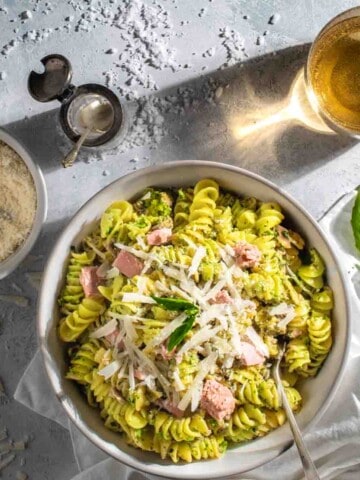
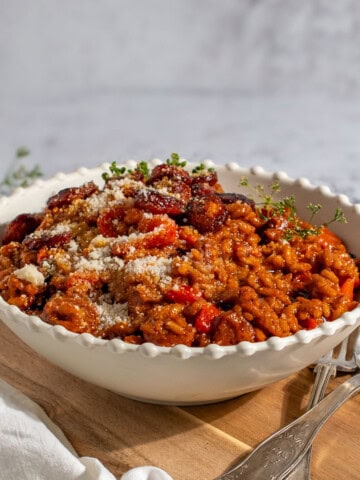
We can vouch that this Cypriot grain salad is the perfect pairing with chicken rissoles and our go-to combo every time. Don't forget some crispy bread rolls too!
Jump to:
- Did you know?
- Fast facts - Australia
- What's to love about this recipe
- Key ingredient notes and substitutions
- Step-by-step instructions
- Can chicken rissoles be baked instead of fried?
- Make-ahead
- Storage
- Freezing
- What to serve with chicken rissoles
- More quick lunchtime recipes
- Recipe
- Can chicken rissoles be baked instead of fried?
Did you know?
During both World Wars, Australians used rissoles to make the most of limited meat supplies. They mixed leftover meat with breadcrumbs, flour, eggs, veggies and herbs.
Over time, families have added their own twists like beer, Vegemite, peanut butter, cornflakes, carrots and spices - because who knew rissoles were so open to experimenting?
Fast facts - Australia

| Location | Australia is located in the southern hemisphere and is the world's sixth-largest country by total area. It is surrounded by the Indian Ocean and the Pacific Ocean and it shares maritime borders with Indonesia, Timor-Leste, Papua New Guinea, Solomon Islands, Vanuatu and New Zealand. |
| Capital | Canberra |
| Language | English is the official language of Australia. However, due to its multicultural society, more than 200 languages are spoken by its diverse population, including Indigenous Australian languages and immigrant languages. |
| Population | Circa 25 million people. |
| Trivia | Lamingtons, Australia's national cake, were ironically named after Lord Lamington, despite his distaste for them. He famously referred to these cakes as "those bloody poofy woolly biscuits." |
What's to love about this recipe
- Flavourful, juicy and packed with cheese.
- Versatile and customisable.
- Easy and quick to prepare.
- Ideal weekday supper.
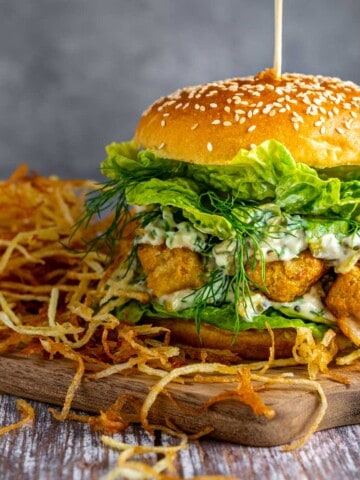
- Enjoy as a main course, in sandwiches or burgers, a picnic or in a packed lunch.
Key ingredient notes and substitutions
**Please see the recipe card at the bottom of this post for the full recipe and list of ingredients.

Chicken mince
Chicken mince gives rissoles a smoother, more cohesive texture than shredded chicken.
It binds better with other ingredients, making the rissoles hold together well during cooking.
Shredded chicken can make them fall apart and result in a less even and drier texture.
Roasted red peppers
This recipe uses jarred roasted peppers, preserved in oil, for their sweet, slightly smoky flavour.
They add much more flavour than fresh bell peppers. Plus, the pepper-flavoured oil clinging to them infuses the ingredients as they cook.
Look for them near the sun-dried tomatoes in the supermarket.
Herbs and spices
We suggest dried parsley because it's always on hand but you can use fresh, chopped parsley if you prefer.
Alternatively, try other herbs like basil, coriander, or dill.
Don't forget a very generous amount of freshly ground black pepper too!
Panko breadcrumbs
We prefer using panko breadcrumbs instead of regular breadcrumbs because they create a lighter, crispier texture.
However, regular breadcrumbs work just fine if you prefer them!
For a gluten-free version, swap the breadcrumbs with gluten-free breadcrumbs.
Cheddar cheese
The pièce de résistance! While we prefer cheddar, any strong, grating cheese will work perfectly.
You can even add extra grated parmesan for an *extra* cheesy kick.
Step-by-step instructions

1. Drain the roasted peppers and dice them into 1cm cubes. Don't worry about the excess oil clinging to the peppers, it adds to the flavour.

2. Add the chicken mince, roasted peppers, grated cheese, breadcrumbs, egg, parsley, garlic, salt and pepper to a large mixing bowl.
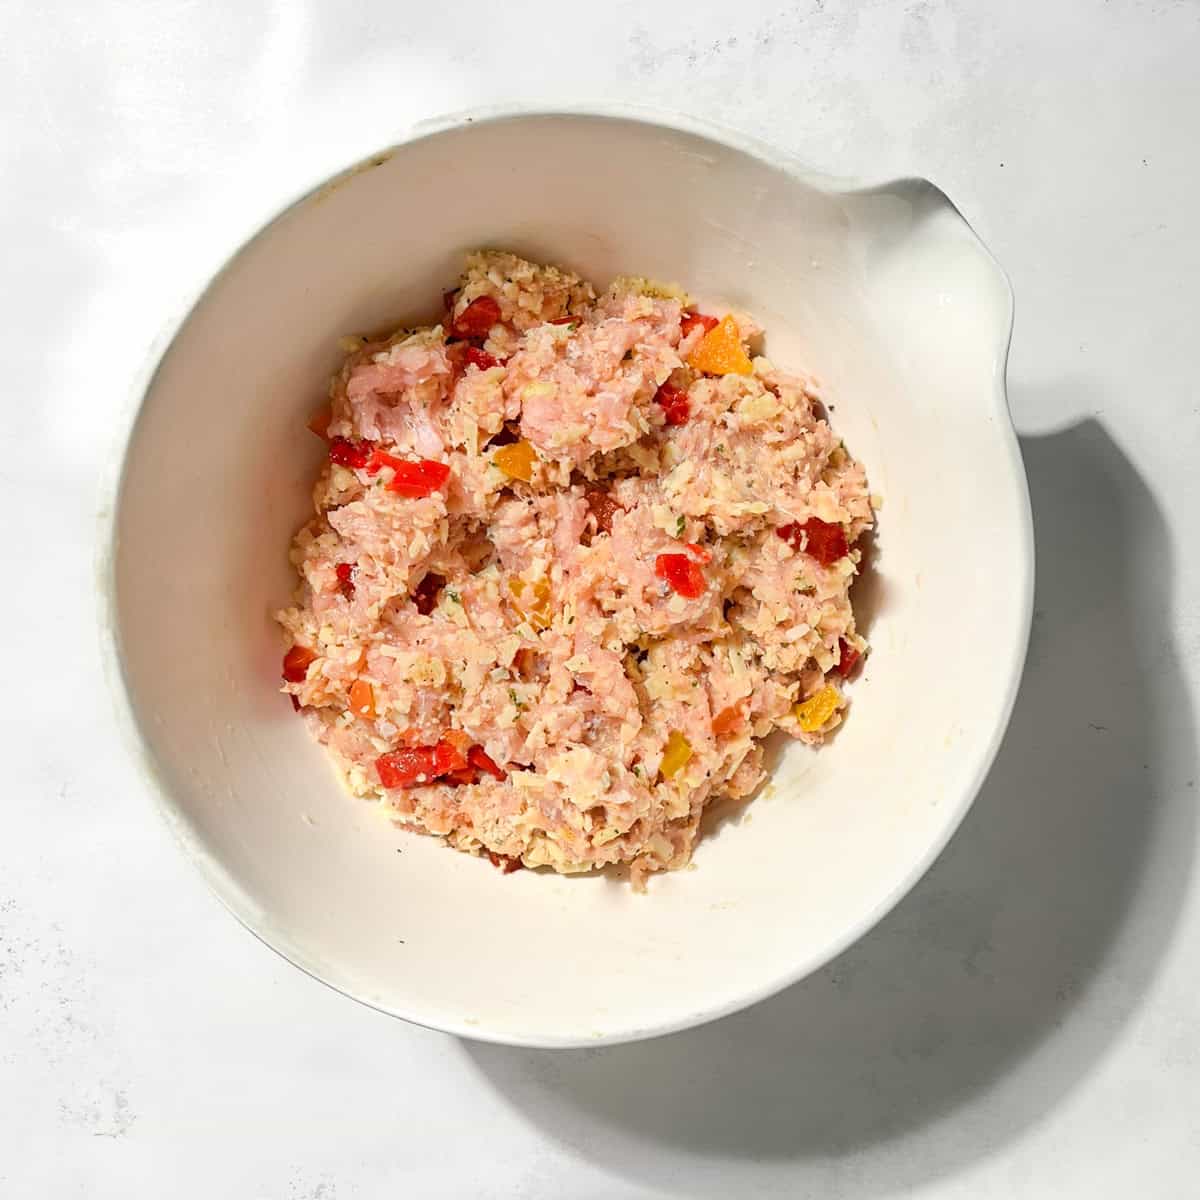
3. Using your hands, loosely mix the ingredients until evenly combined. Avoid compressing the mixture, keep it loose.
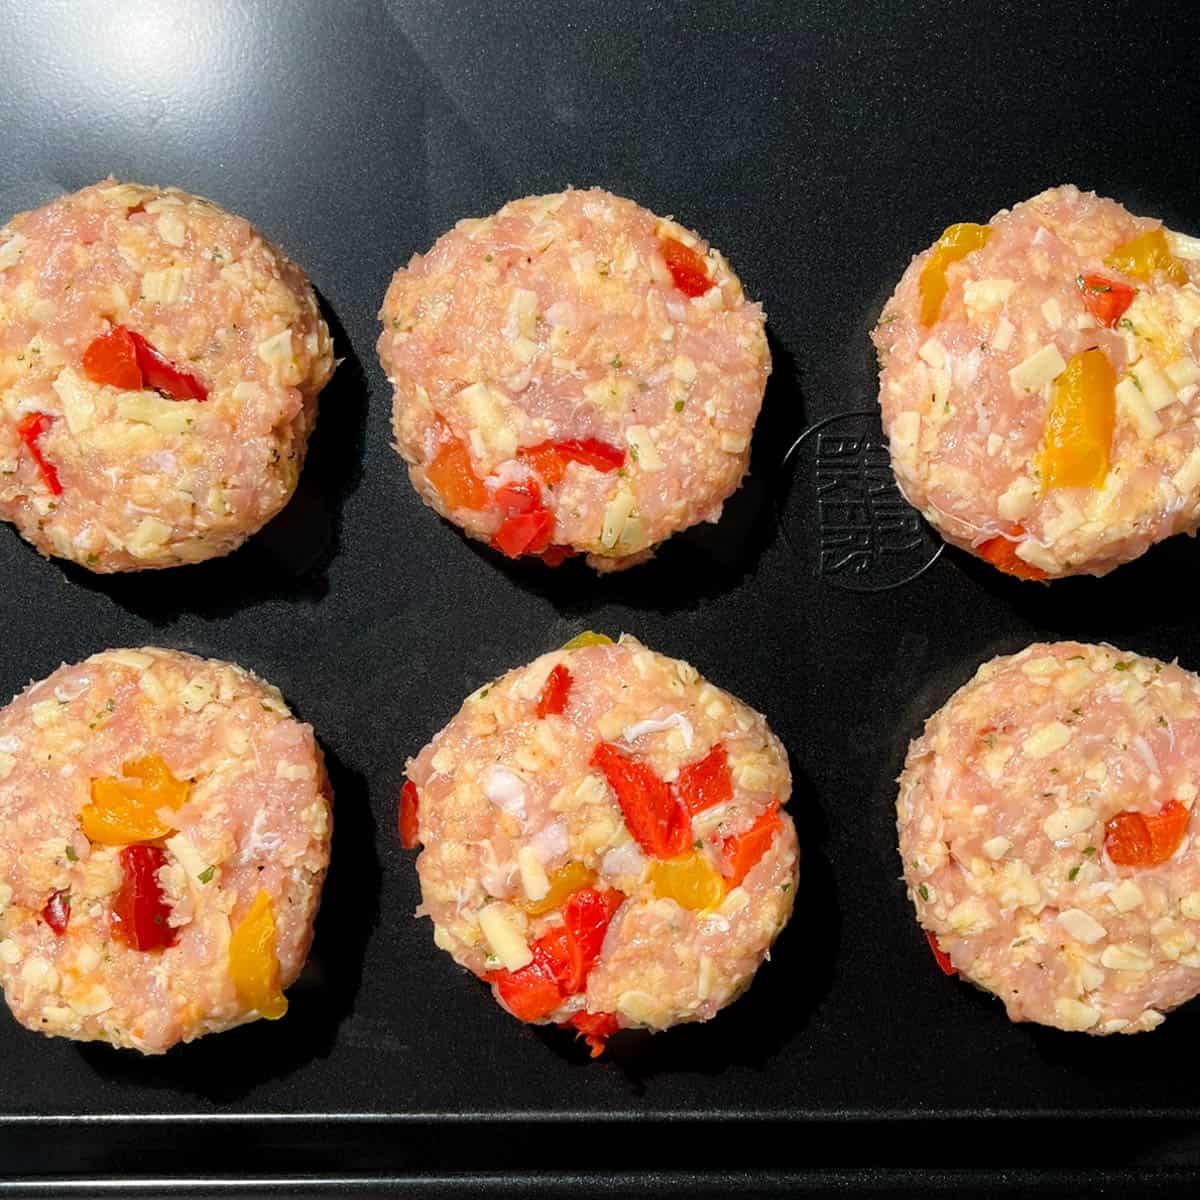
4. Form the mixture into small patties about 1.5 cm thick using your hands. For precision, use roughly 100g portions to make about 8 rissoles.
5. Heat the oil in a large frying pan.
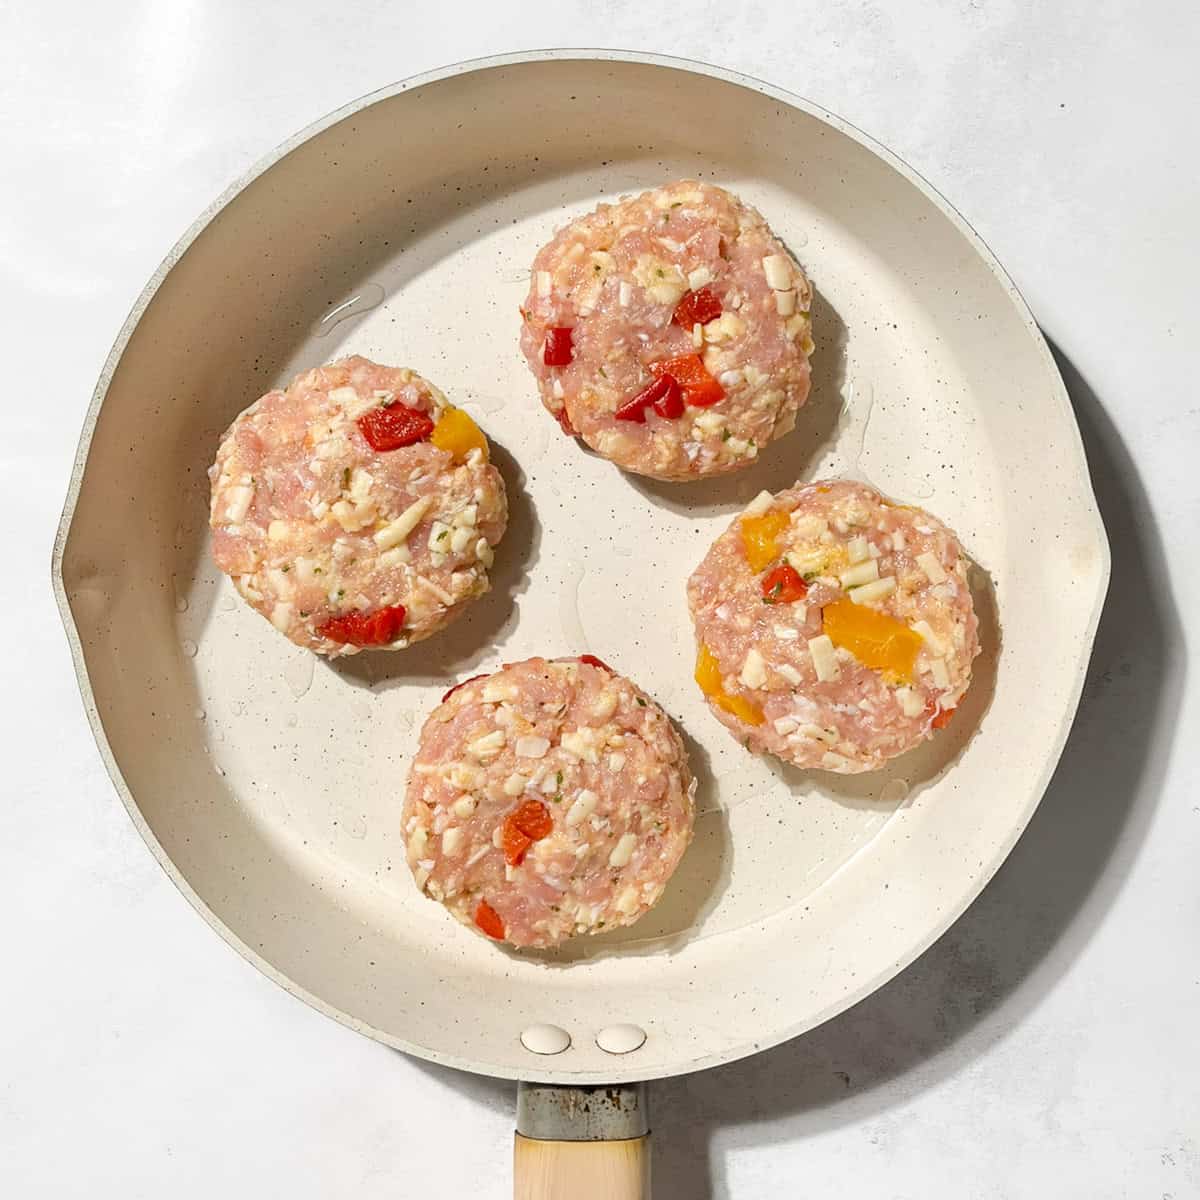
6. Fry 4-5 rissoles at a time over medium-low heat for 3-4 minutes per side until well browned and cooked through. Keep the lid on for even cooking and to avoid splatters.

7. Remove the first batch from the pan and repeat with the remaining rissoles. Enjoy them hot with your favourite sauce and a crisp green salad.
Can chicken rissoles be baked instead of fried?
Yes, they can.
Give them a light brush with oil, place them on a baking tray and bake in the oven at 200C/392F for 20-25 minutes or until golden brown and crisp.
Turn them over halfway.
Make-ahead
You can prepare these rissoles a day in advance.
To reheat, place them on a baking tray lined with parchment paper and bake at 180°C (356°F) for 15-20 minutes, or microwave in a covered bowl for 2-3 minutes.
Alternatively, shape the patties ahead of time and refrigerate uncooked until ready to fry.
Storage
Chicken rissoles can be stored in the fridge for up to 3 days in an airtight container.
To reheat, place them on a baking tray lined with parchment paper and bake at 180°C (356°F) for 15-20 minutes, or microwave in a covered bowl for 2-3 minutes.
Alternatively, shape the patties ahead of time and refrigerate uncooked until ready to fry.
Freezing
Rissoles freeze well for up to three months.
Remove them from the freezer a day before use and thaw in the fridge. Once thawed, reheat using the instructions provided above.
What to serve with chicken rissoles
- These rissoles pair wonderfully with homemade honey mustard sauce. Simply mix 100g of mayonnaise, 20g of wholegrain mustard, 20g of honey and half a teaspoon of lemon juice for a quick and tasty dip.
- Other sauces like sweet chilli sauce, red chimichurri, garlic aioli or tomato sauce.
- Serve with a crunchy green salad like Taboule, Cypriot grain salad, Panzanella Toscana salad, rainbow salad or this healthy brown rice salad.
- Potato salad or a cold pasta salad like this creamy Italian Pasta Salad.
- In a bread roll or with crusty ciabatta.
- Chips, sweet potato fries, green beans, spicy Nando's rice, mashed potato or carrot and swede mash.
More quick lunchtime recipes
Recipe

Cheesy Chicken Rissoles
Equipment
- 1 non-stick frying pan with a lid
Ingredients
- 500 grams chicken mince
- 100 grams roasted peppers, diced - from a jar, preserved in oil
- 150 grams cheddar cheese, grated
- 50 grams panko breadcrumbs
- 1 egg
- 1 teaspoon dried parsley - or 2 tablespoon fresh, chopped
- 1 teaspoon crushed garlic - or garlic paste
- 1 teaspoon salt
- few grinds black pepper
- oil for frying
Instructions
- Drain the roasted peppers and dice them into 1cm cubes. Don't worry about the excess oil clinging to the peppers, it adds to the flavour and moisture.
- Add the chicken mince, roasted peppers, grated cheese, breadcrumbs, egg, parsley, garlic, salt and pepper to a large mixing bowl.500 grams chicken mince, 100 grams roasted peppers, diced, 150 grams cheddar cheese, grated, 50 grams panko breadcrumbs, 1 egg, 1 teaspoon dried parsley, 1 teaspoon crushed garlic, 1 teaspoon salt, few grinds black pepper
- Using your hands, loosely mix the ingredients until evenly combined. Avoid compressing the mixture, keep it loose.
- Form the mixture into small patties about 1.5 cm thick. For precision, use roughly 100g portions to make about 8 rissoles.
- Heat the oil in a large frying pan.oil for frying
- Fry 4-5 rissoles at a time over medium-low heat for 3-4 minutes per side until well browned and cooked through. Keep the lid on for even cooking and to avoid splatters.
- Remove the first batch from the pan and repeat with the remaining rissoles. Enjoy them hot with your favourite sauce and a crisp green salad.
Notes
Can chicken rissoles be baked instead of fried?
Yes, they can. Give them a light brush with oil, place them on a baking tray and bake in the oven at 200C/392F for 20-25 minutes or until golden brown and crisp. Turn them over halfway.
**Nutritional data disclaimer**
Please keep in mind that the nutritional information provided below is calculated by a third party and we cannot guarantee the accuracy. We try our best to give you the most accurate information, but we do not take responsibility for errors that may be present. Also, the nutritional value of the recipe may change depending on the exact brands and products used. We recommend that you consult with a qualified healthcare professional or registered dietitian for personalised advice on your dietary needs.
Nutrition
For food safety advice, including guidance on food allergies

Leave a Reply