An epicurean adventure to: The United States of America
Fluffy like a cloud, easy, creamy, dreamy, delicately flavoured and lots of fun to make!
This recipe for homemade marshmallow fluff only needs four ingredients and has a gazillion uses for all sorts of confectionery. It's lighter than buttercream and less hassle to make.
Our version doesn't use corn syrup, which means it can be made with ingredients readily available worldwide, especially in places where corn syrup may not be easily found.
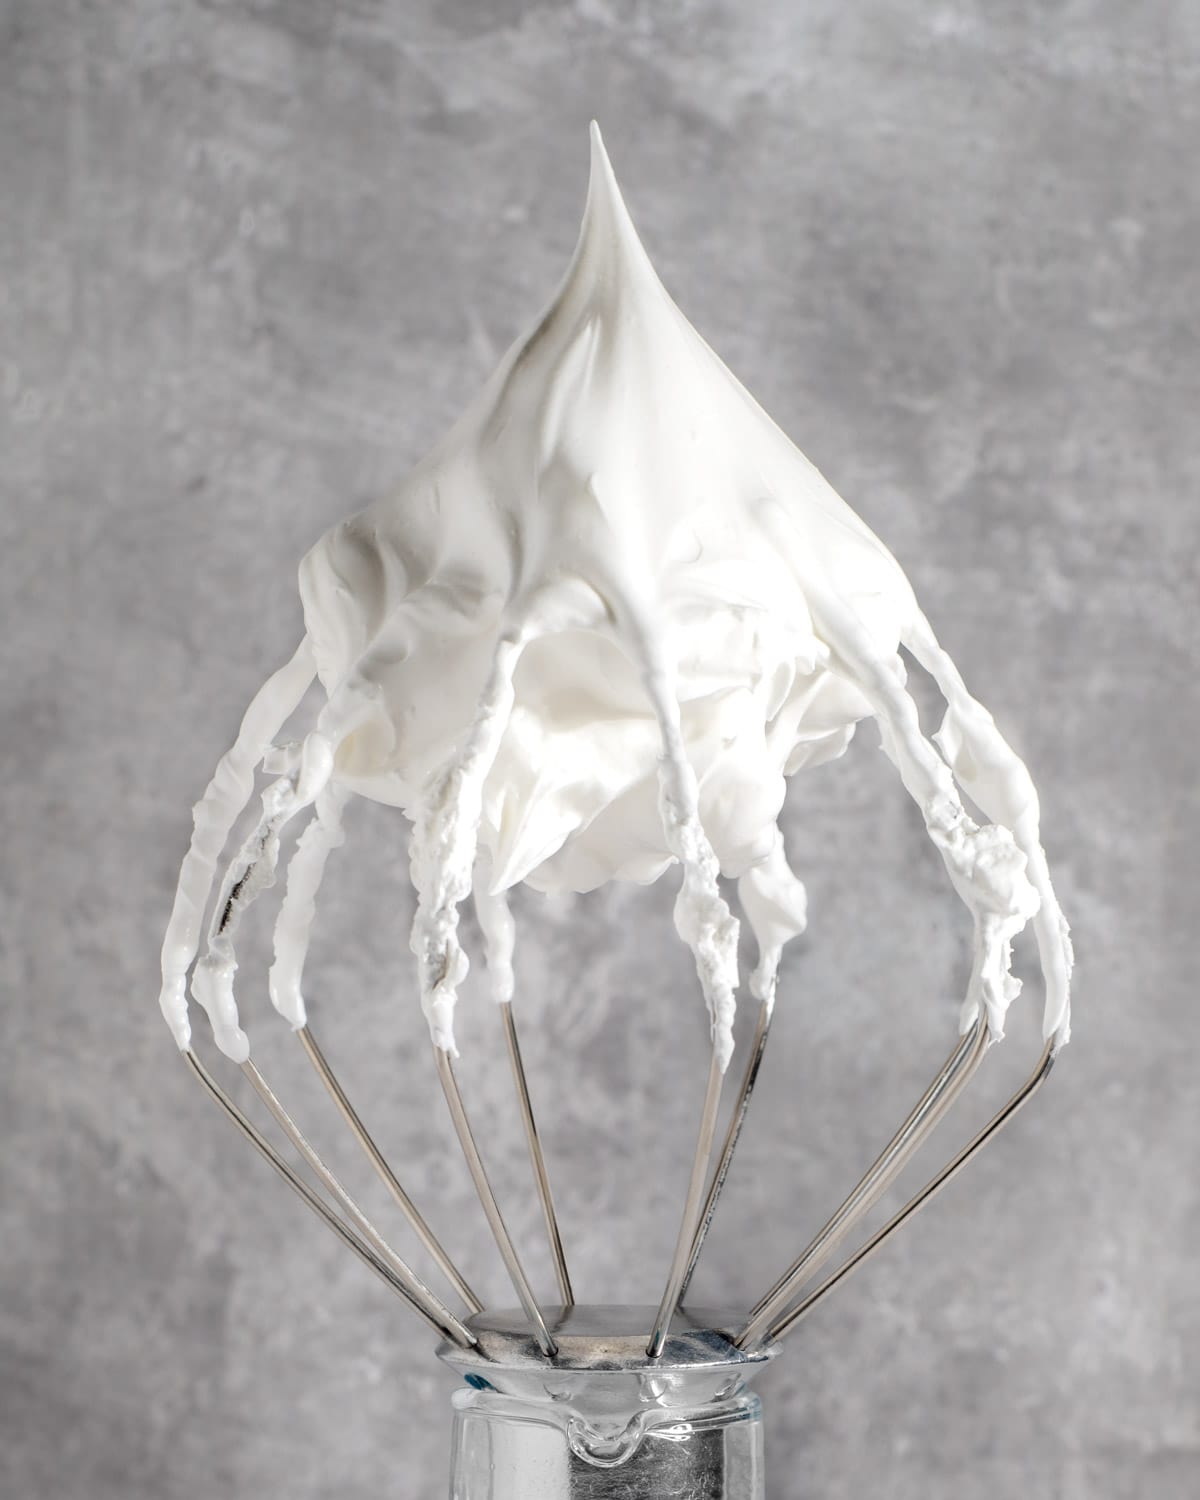
Who invented Marshmallow fluff?
Marshmallow fluff hails from the mighty United States. It was the genius idea of a clever confectioner named Archibald Query from Massachusetts.
Query developed a recipe for a fluffy marshmallow-like substance that could be easily spread on bread and used as a filling for various treats. Thank you, Archie!
In 1917, he sold the recipe to Durkee-Mower Inc., a company that began manufacturing and distributing the product under the name "Marshmallow Fluff."
But, why buy store-bought marshmallow fluff when you can make your own at home? It's easy, fun, useful and absolutely delicious!
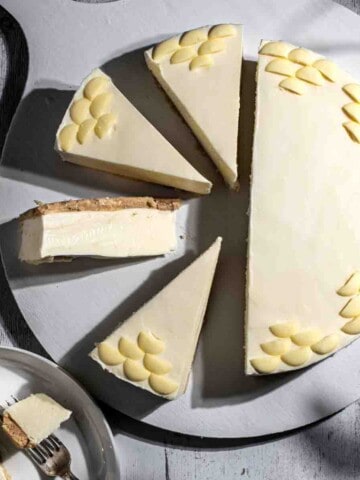
Check out this marshmallow tart where we used this recipe to make a piped and toasted marshmallow fluff decoration. For other easy and delicious toppings, also try this Mascarpone cream recipe.
Jump to:
- Who invented Marshmallow fluff?
- Fast facts - United States of America
- What's to love about this recipe
- Key ingredient notes and substitutions
- Equipment you'll need
- How to separate eggs safely
- How to make marshmallow fluff without corn syrup
- What can you use it for?
- Storage suggestions
- FAQ
- More recipes from the US
- More no-bake recipes you might enjoy
- Recipe
Fast facts - United States of America

| Location | The United States of America is located in North America, bordered by Canada to the north and Mexico to the south. |
| Language | English is the primary language spoken in the United States. However, due to its diverse population, numerous other languages are also spoken across the country. |
| Population | Circa 331 million people. |
| Trivia | Montana's Glacier National Park has a canine "bark ranger" that helps herd wildlife away from high-traffic areas. |
What's to love about this recipe
- Homemade marshmallow fluff is incredibly versatile and can be used in place of buttercream in most instances.
- Lower in calories than buttercream.
- Making your own marshmallow fluff is much nicer than the jarred version. It has more of a fluffy texture and will always be infinitely fresher.
- Easy dessert topping, quick and mess-free to make. Only requires a few simple ingredients.
- Pipes beautifully with a large round piping tip. It lends itself to light, puffy and airy decorations.
- The fluff can be toasted with a kitchen torch for extra colour and flavour.
- Gluten-free.
- Dairy-free.
- Contains no gelatine.
- A jar of marshmallow fluff makes a great gift for a sweet tooth. Add a cute homemade tag.
- This recipe is made without corn syrup, so if you're outside the US, this is the recipe for you!
Key ingredient notes and substitutions
**Please see the recipe card at the bottom of this post for the full list of ingredients.
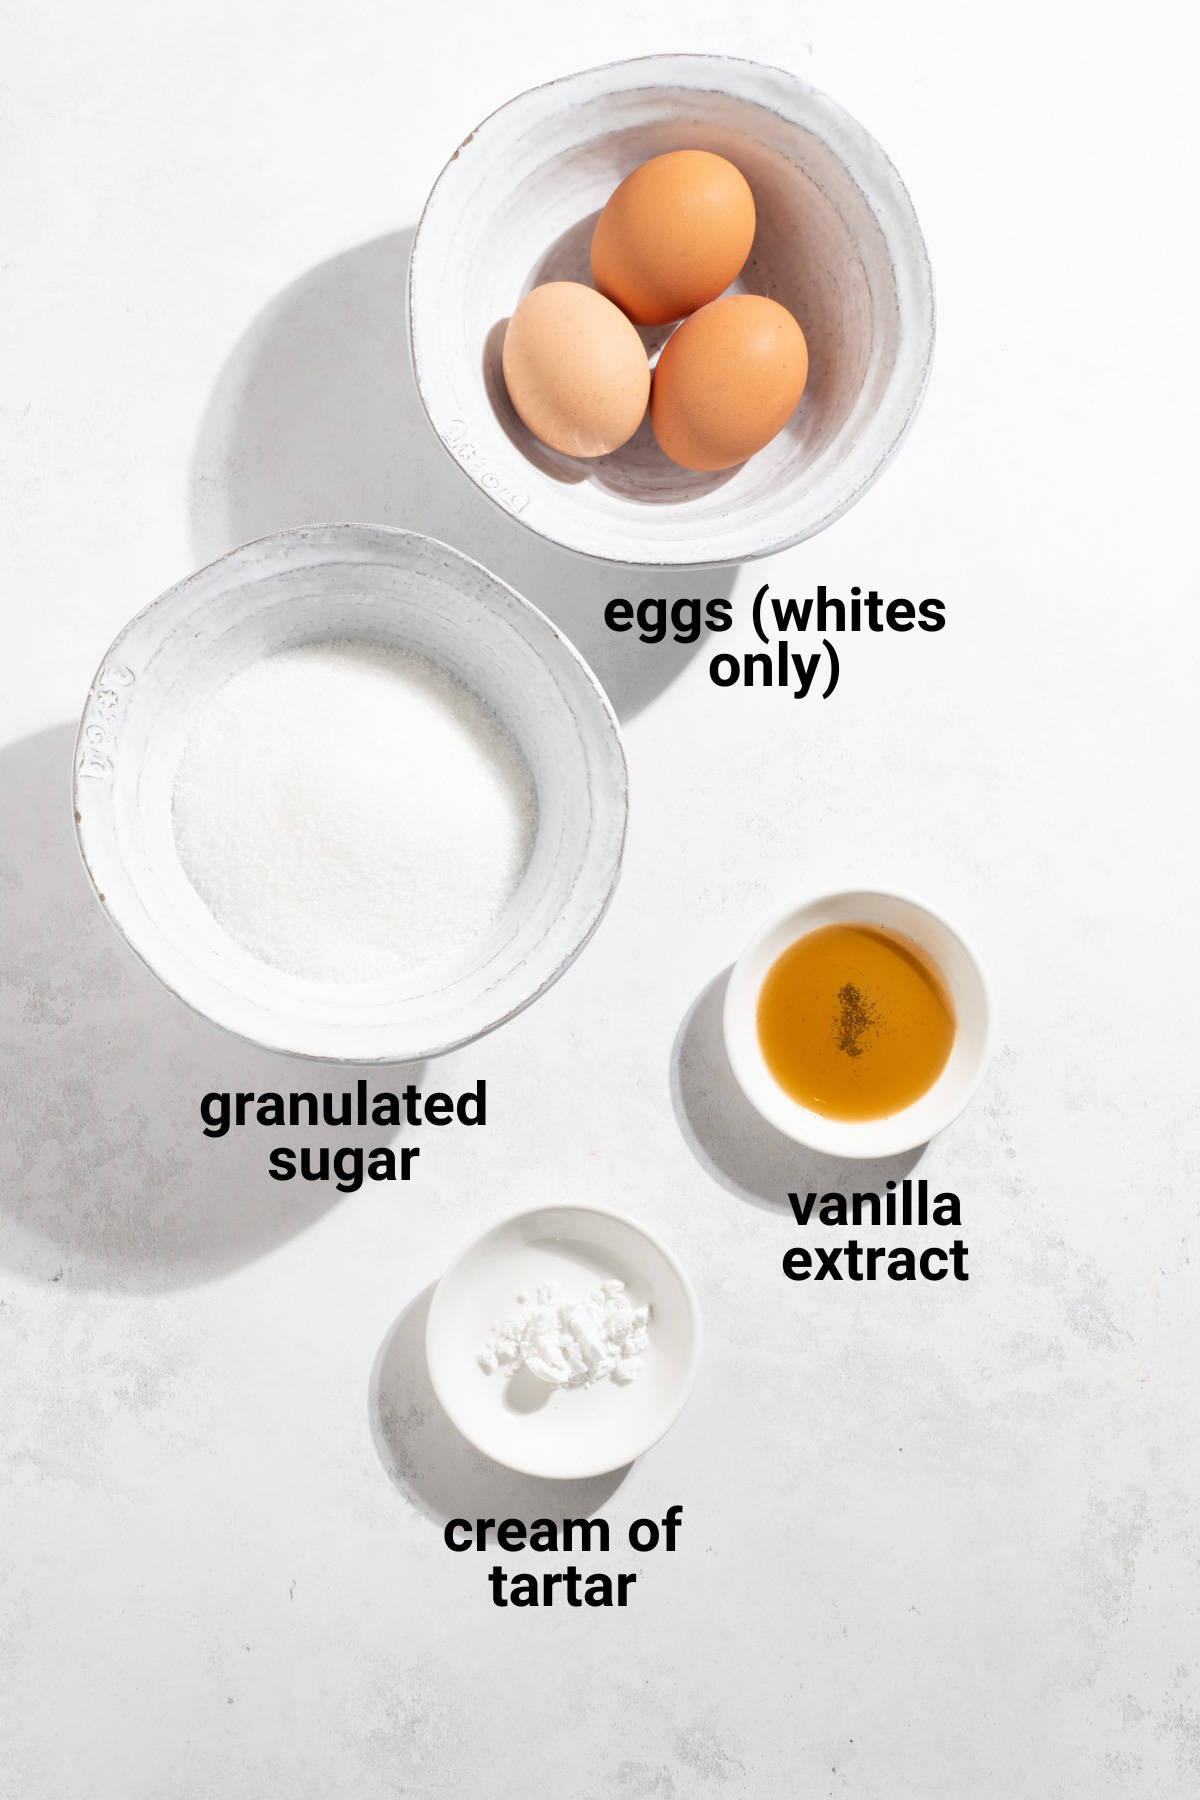
Egg whites
It's important to be cautious and make sure no traces of the yolk end up in the egg whites.
In this meringue-based confectionery, even a small amount of yolk can prevent the egg whites from forming stiff peaks.
Granulated sugar
You can also use castor sugar, it will melt quicker due to the smaller granules.
Cream of tartar
This plays a crucial part in helping stabilise whipped egg whites.
Pure vanilla extract
Choose the best quality vanilla within your budget.
Discover how to easily create high-quality, pure vanilla extract at home and save money in the long run.
Equipment you'll need
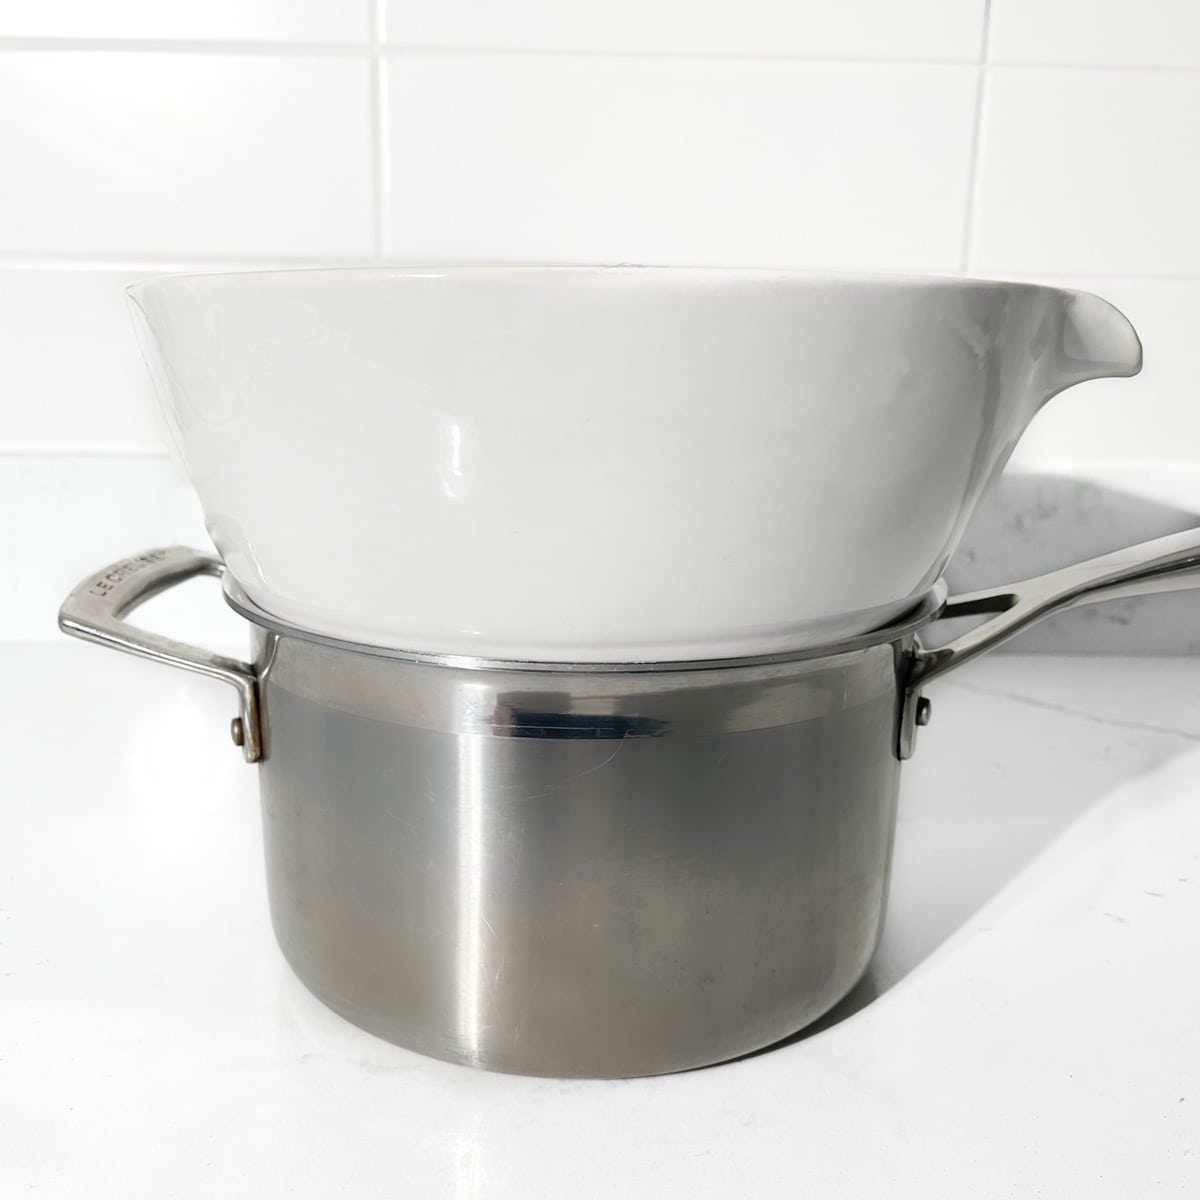
- Heatproof bowl.
- Saucepan: The saucepan should be large enough to hold the heatproof bowl on top without it touching the bottom.
- Hand whisk.
- Stand mixer or electric hand mixer.
How to separate eggs safely
We use the traditional separation method of cracking the egg on the side of the bowl and bouncing the yolk from shell to shell, letting the egg white fall into a bowl below.
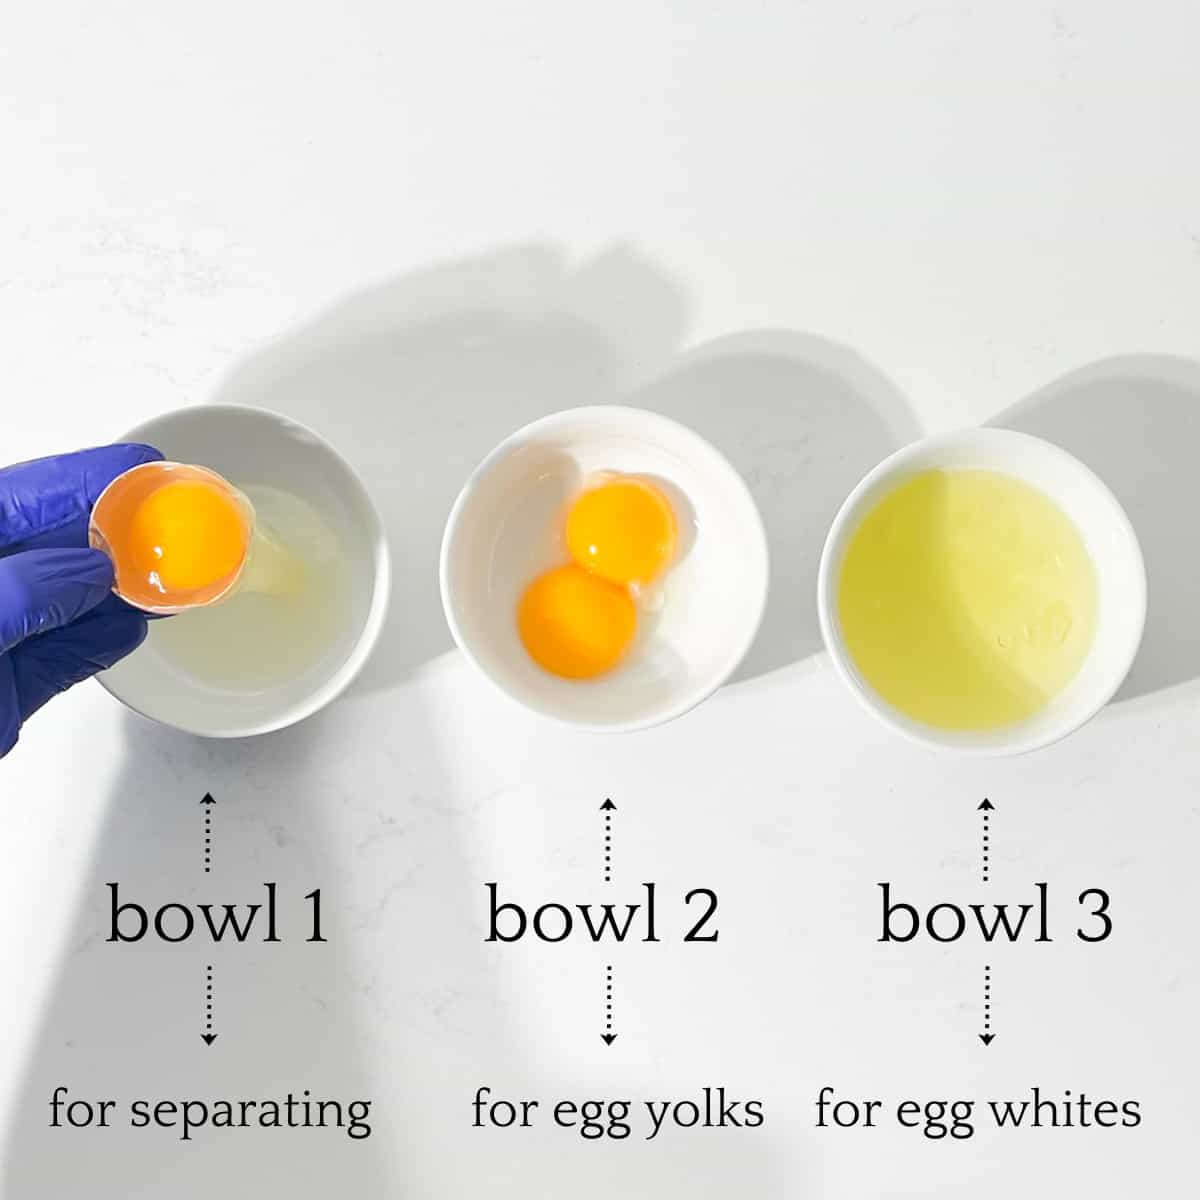
When separating eggs, use three bowls. We recommend this method if you're not yet experienced in separating eggs.
Bowl 1 - Bounce the egg yolk back and forth between the two egg shells over this bowl, letting the egg white drop into the bowl below.
Once you have it separated, transfer the yolk that would have now remained in one of the shells to bowl 2. Transfer the single egg white in bowl 1 to bowl 3.
Bowl 2 - For all the egg yolks only.
Bowl 3 - For all the egg whites only.
This way, if you accidentally drop some yolk into bowl 1 along with the egg white, you won't have ruined ALL the egg whites that are safely stored in bowl 3.
How to make marshmallow fluff without corn syrup
- Put a saucepan on the stovetop, fill it with approximately 5cm/2 inches of water and bring it to a boil.
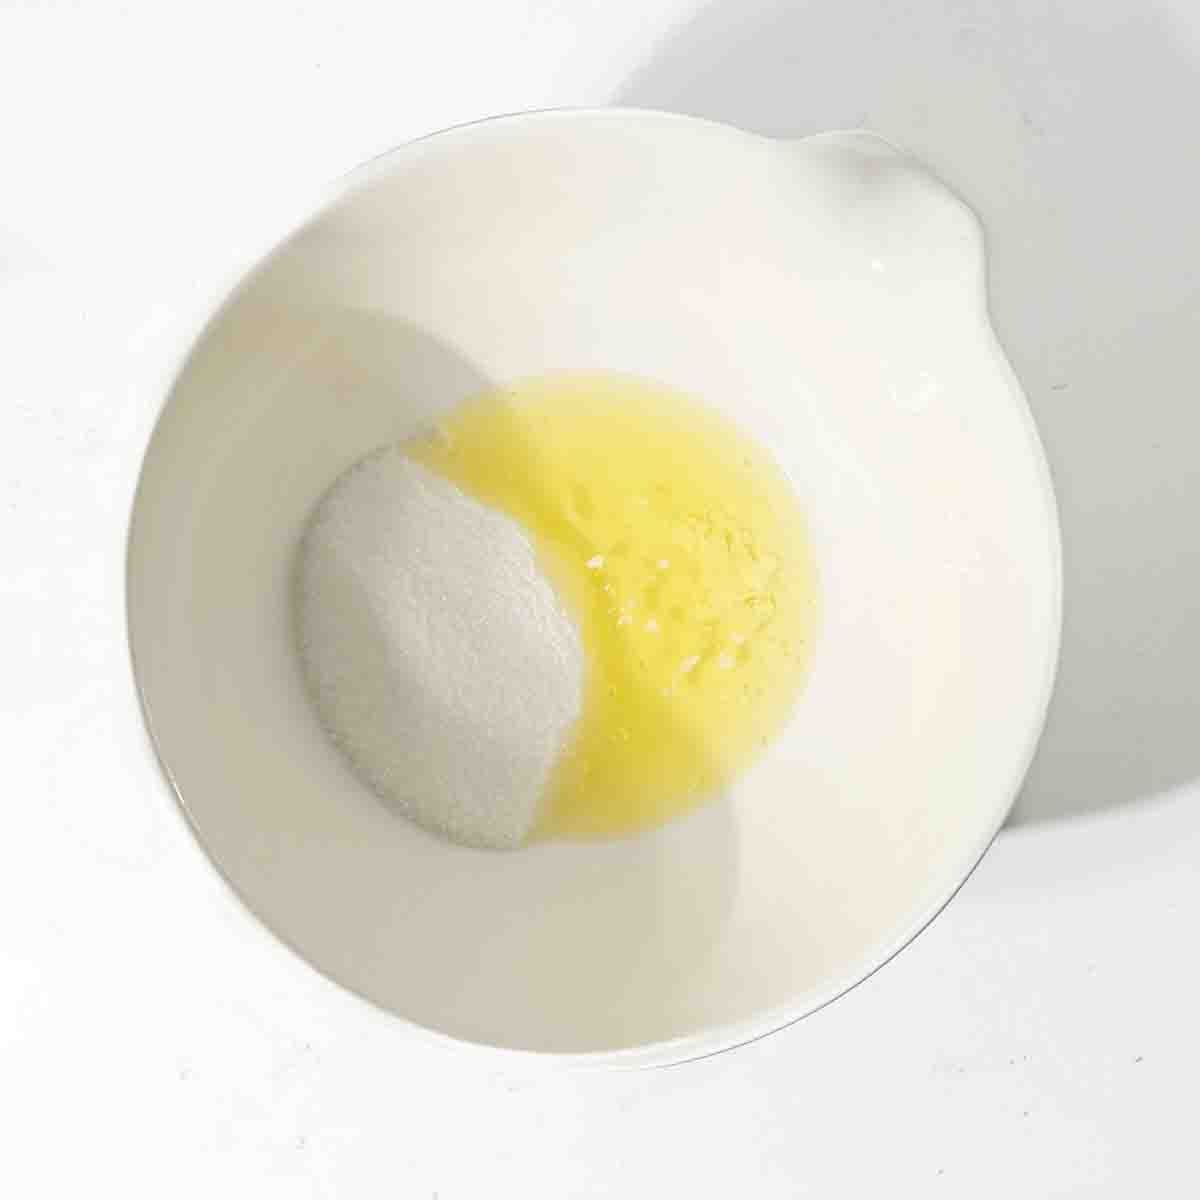
- In a heatproof bowl, spacious enough to rest on the saucepan without touching the water beneath, combine the egg whites, granulated sugar and cream of tartar.
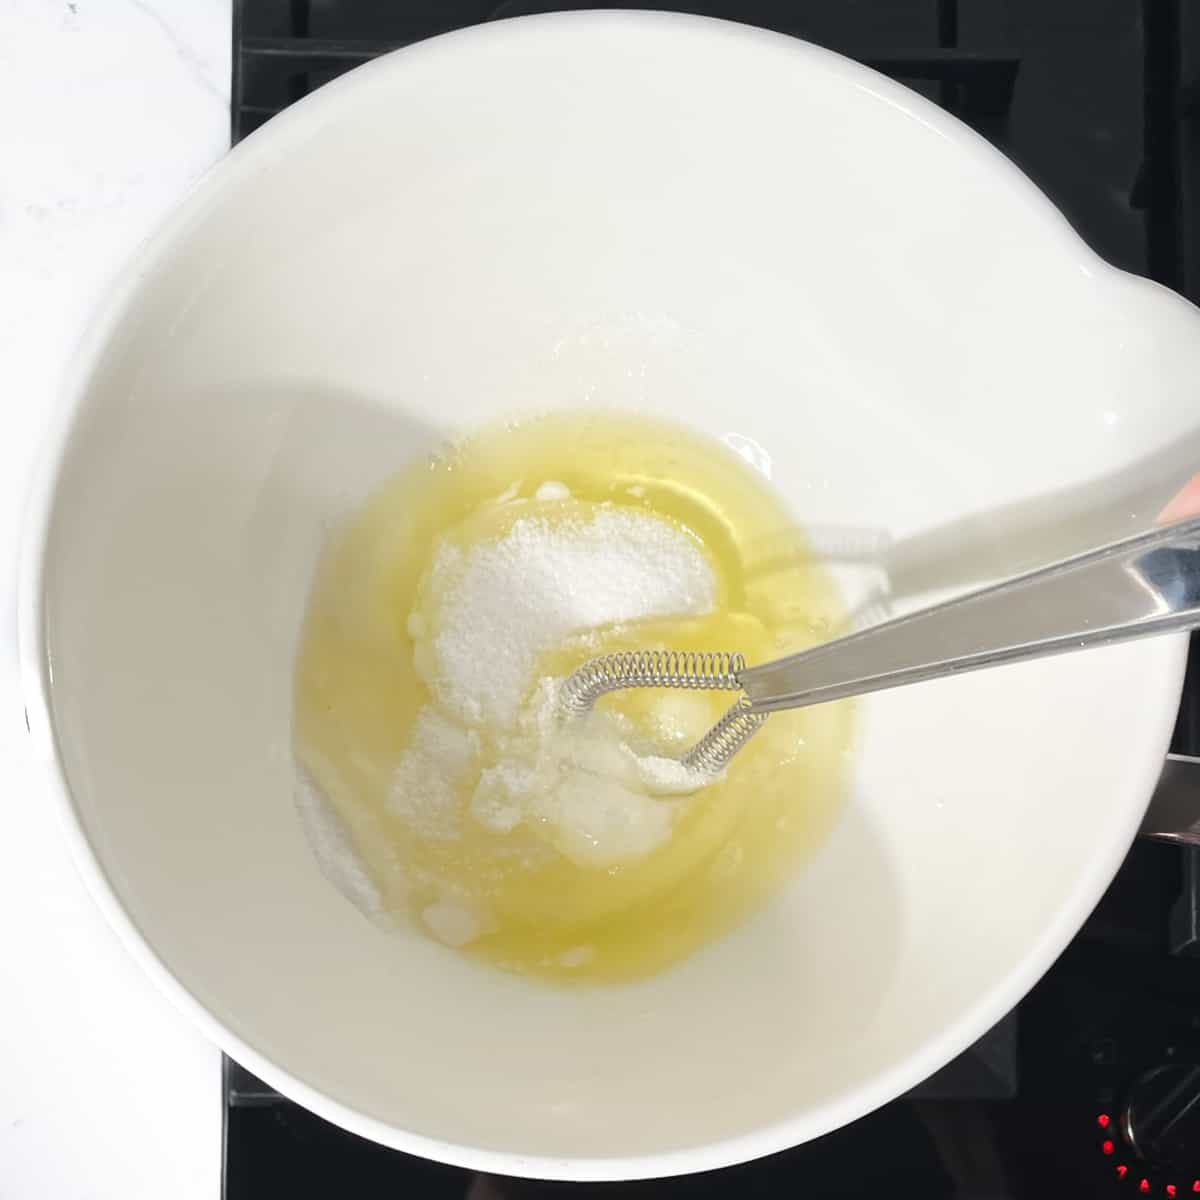
- Position the bowl atop the saucepan filled with boiling water.
Alternatively, you can opt for a double boiler.
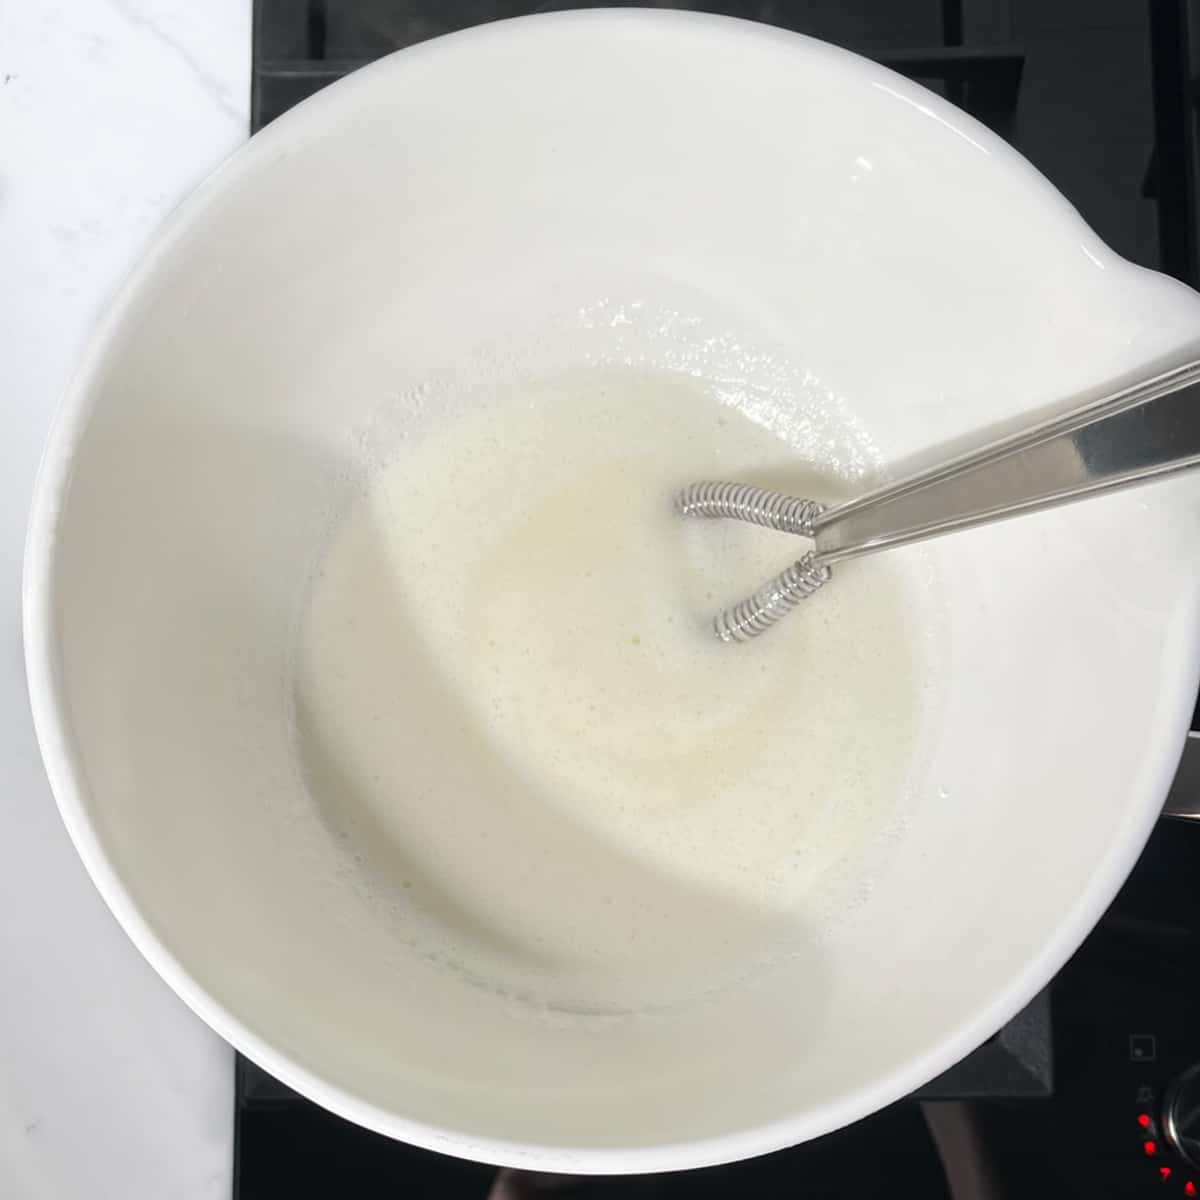
- Increase the heat to medium-high and whisk the egg mixture continuously. As it heats up, it will become frothy and thinner in consistency.
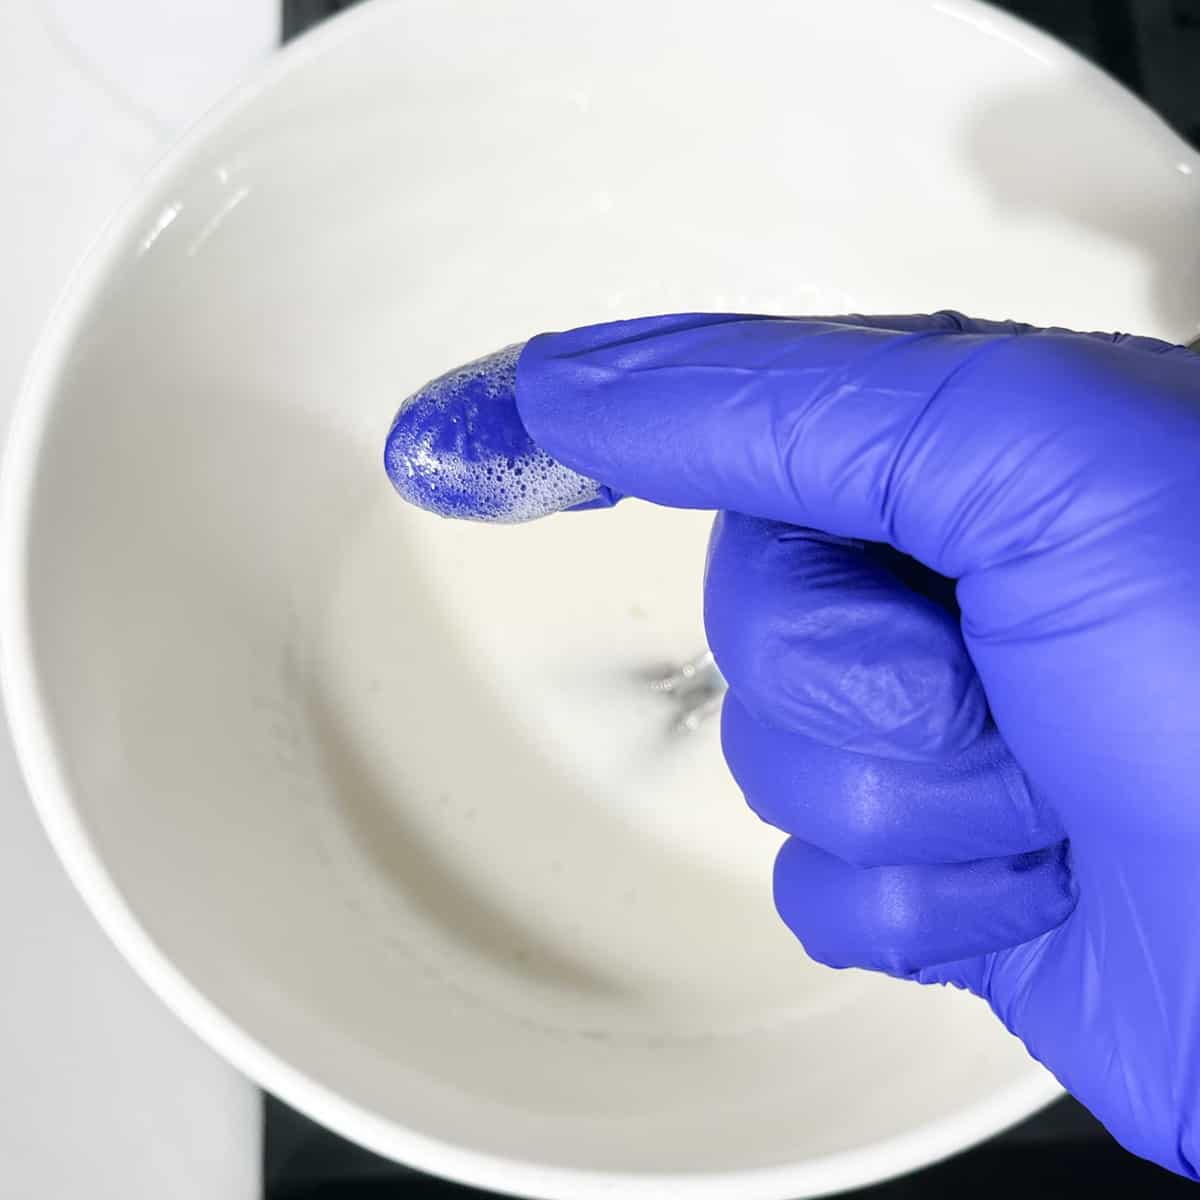
- Keep whisking until all the sugar has completely melted into the egg-white mixture.
To check, dip a clean finger into the mixture and rub it between your fingers. It should feel smooth without any sugar granules. Exercise caution, as the mixture will be hot.
If you're using a candy thermometer, the temperature should read 71C/160F.
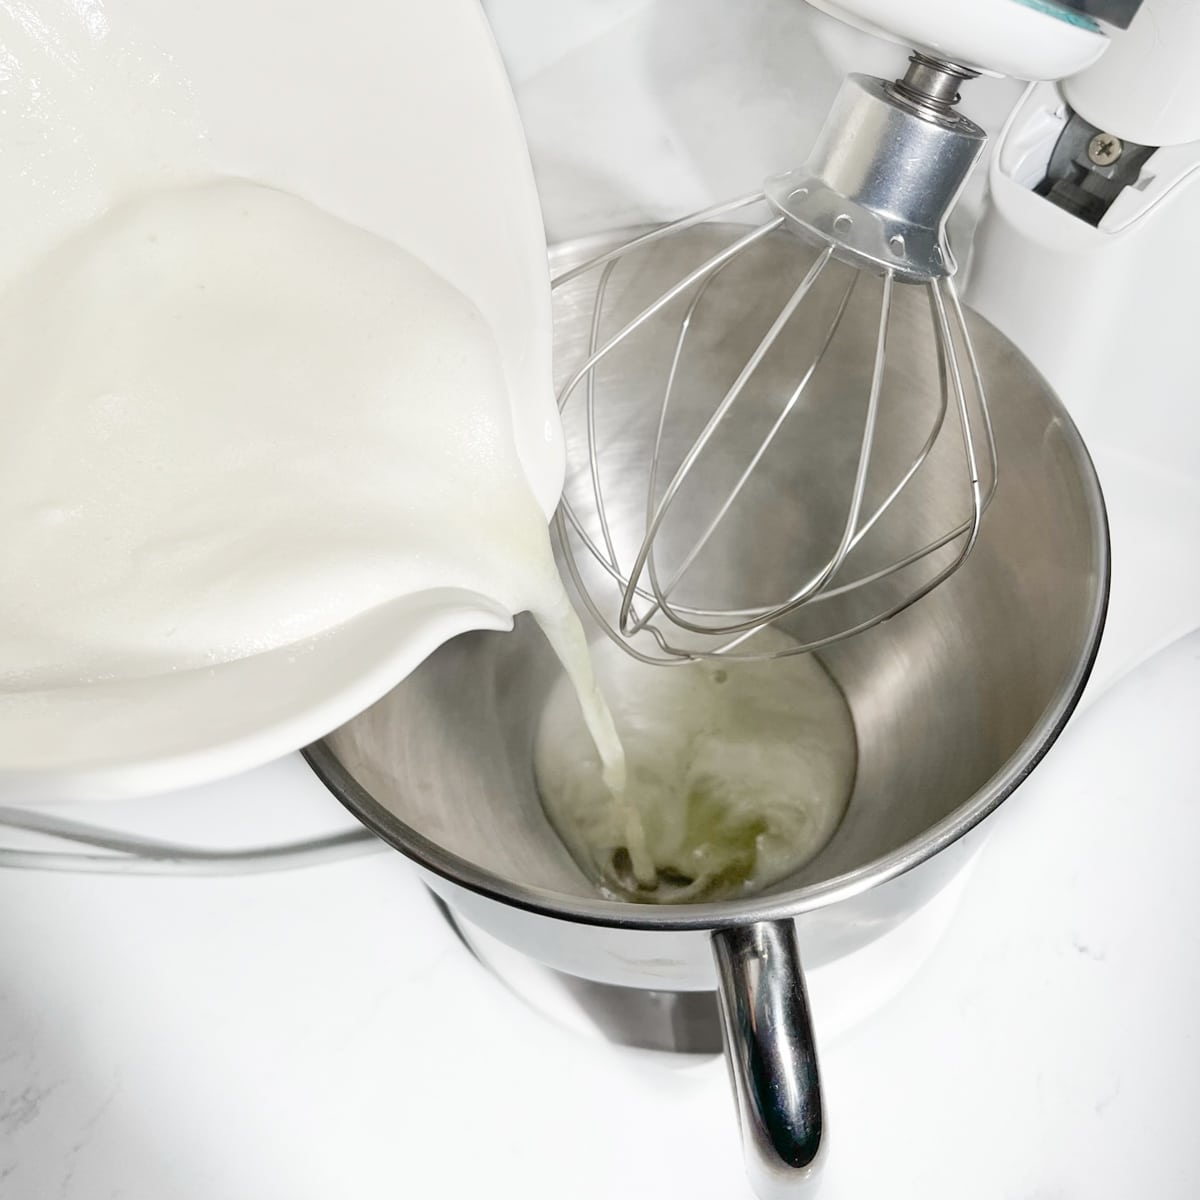
- After the sugar has dissolved, carefully pour the hot sugar syrup into the bowl of a stand mixer. Make sure the bowl is entirely grease-free.
If a stand mixer is unavailable, a hand mixer will work just as well. It might take a minute or two longer to whip the mixture into stiff peaks.
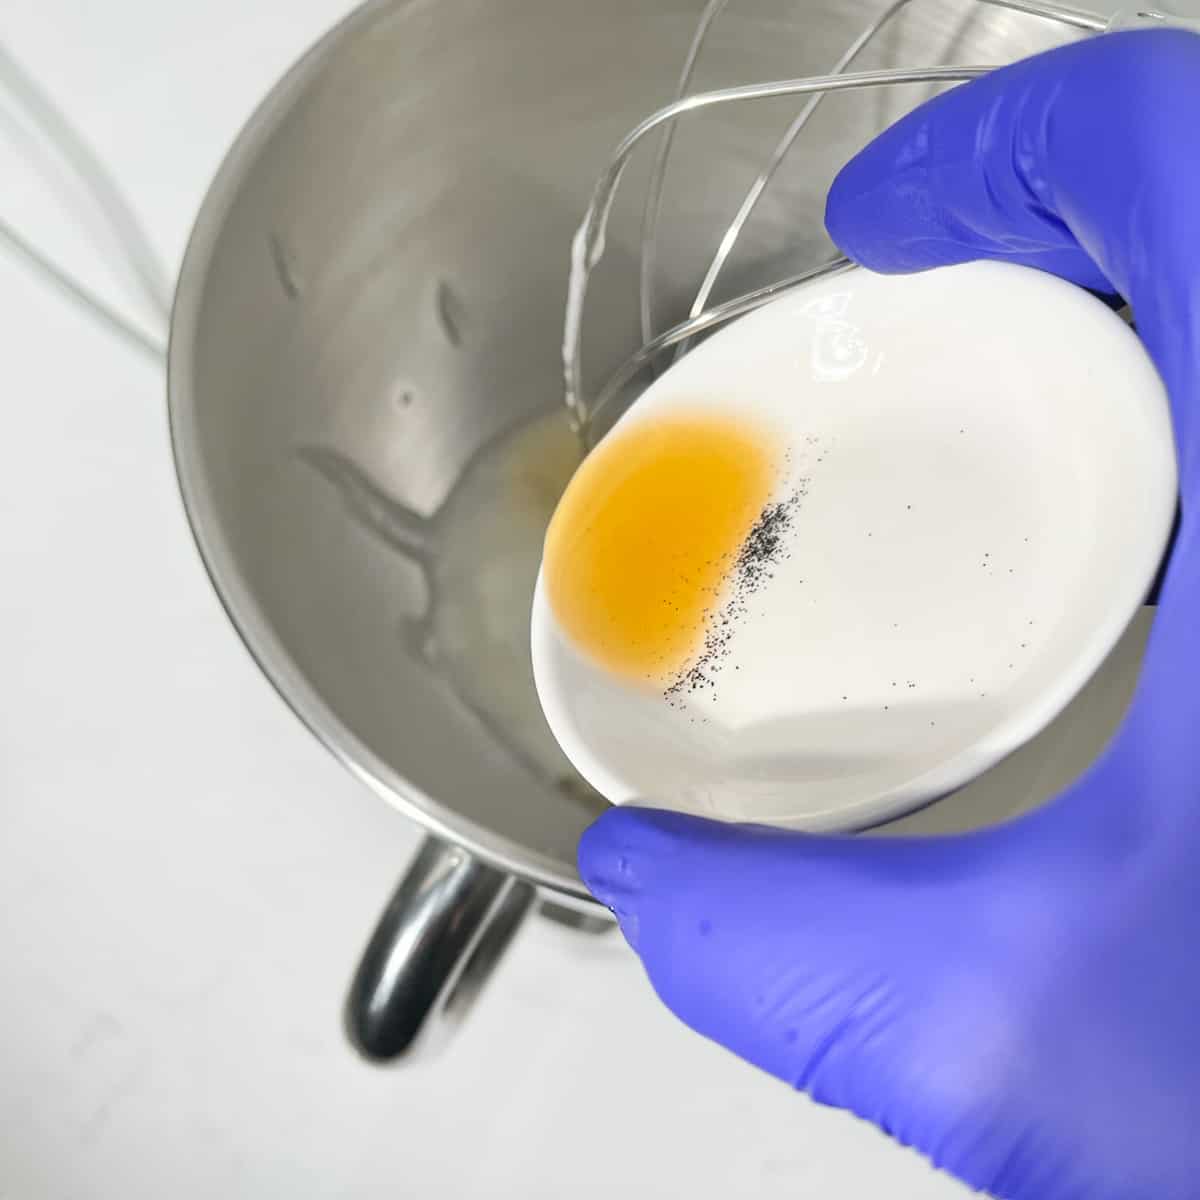
- Add the vanilla extract.
- Using the whisk attachment, start whisking the warm mixture at a high speed.
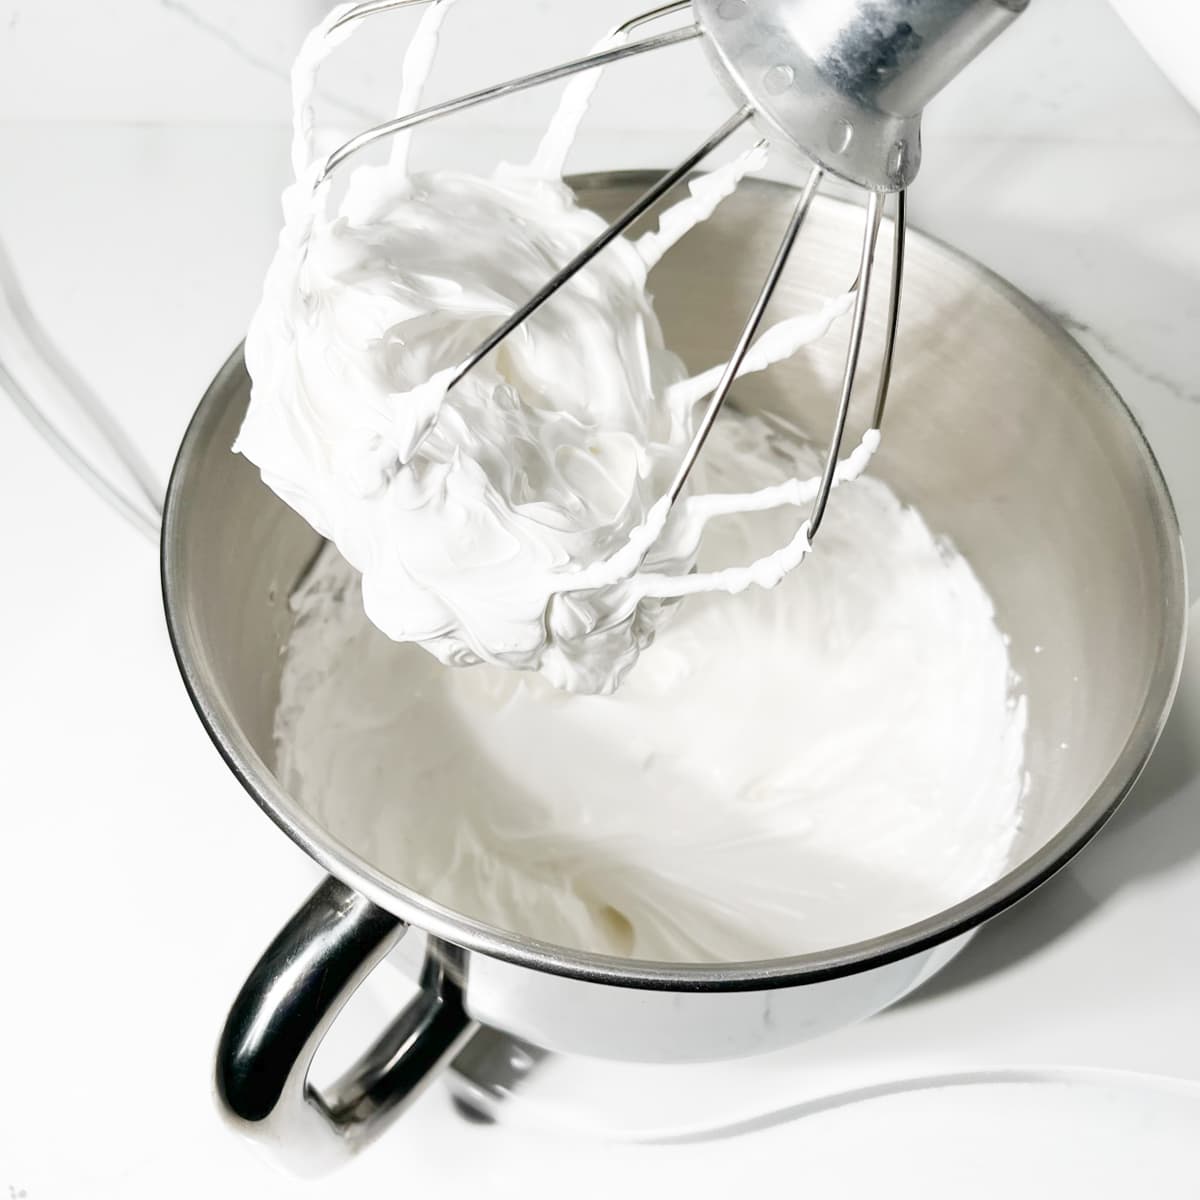
- Continue whisking until the mixture becomes thick, turns pure white and forms stiff peaks.
Depending on your method and the speed of your equipment, it should take roughly 5-6 minutes of whipping for stiff and glossy peaks to form.
Monitor the texture closely, and stop whisking once the meringue reaches this consistency.
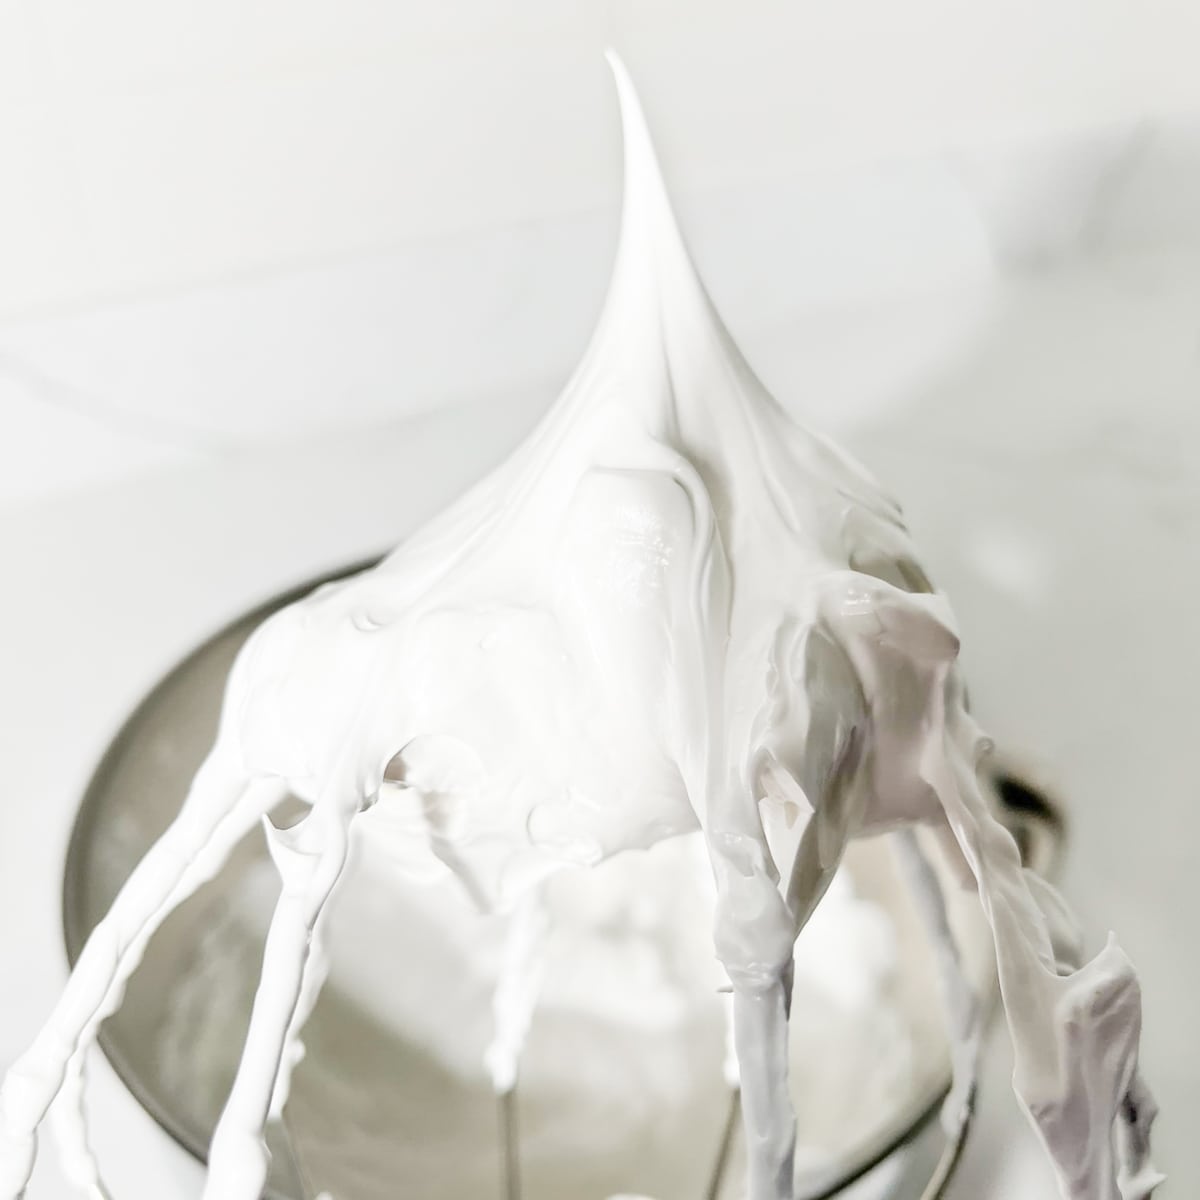
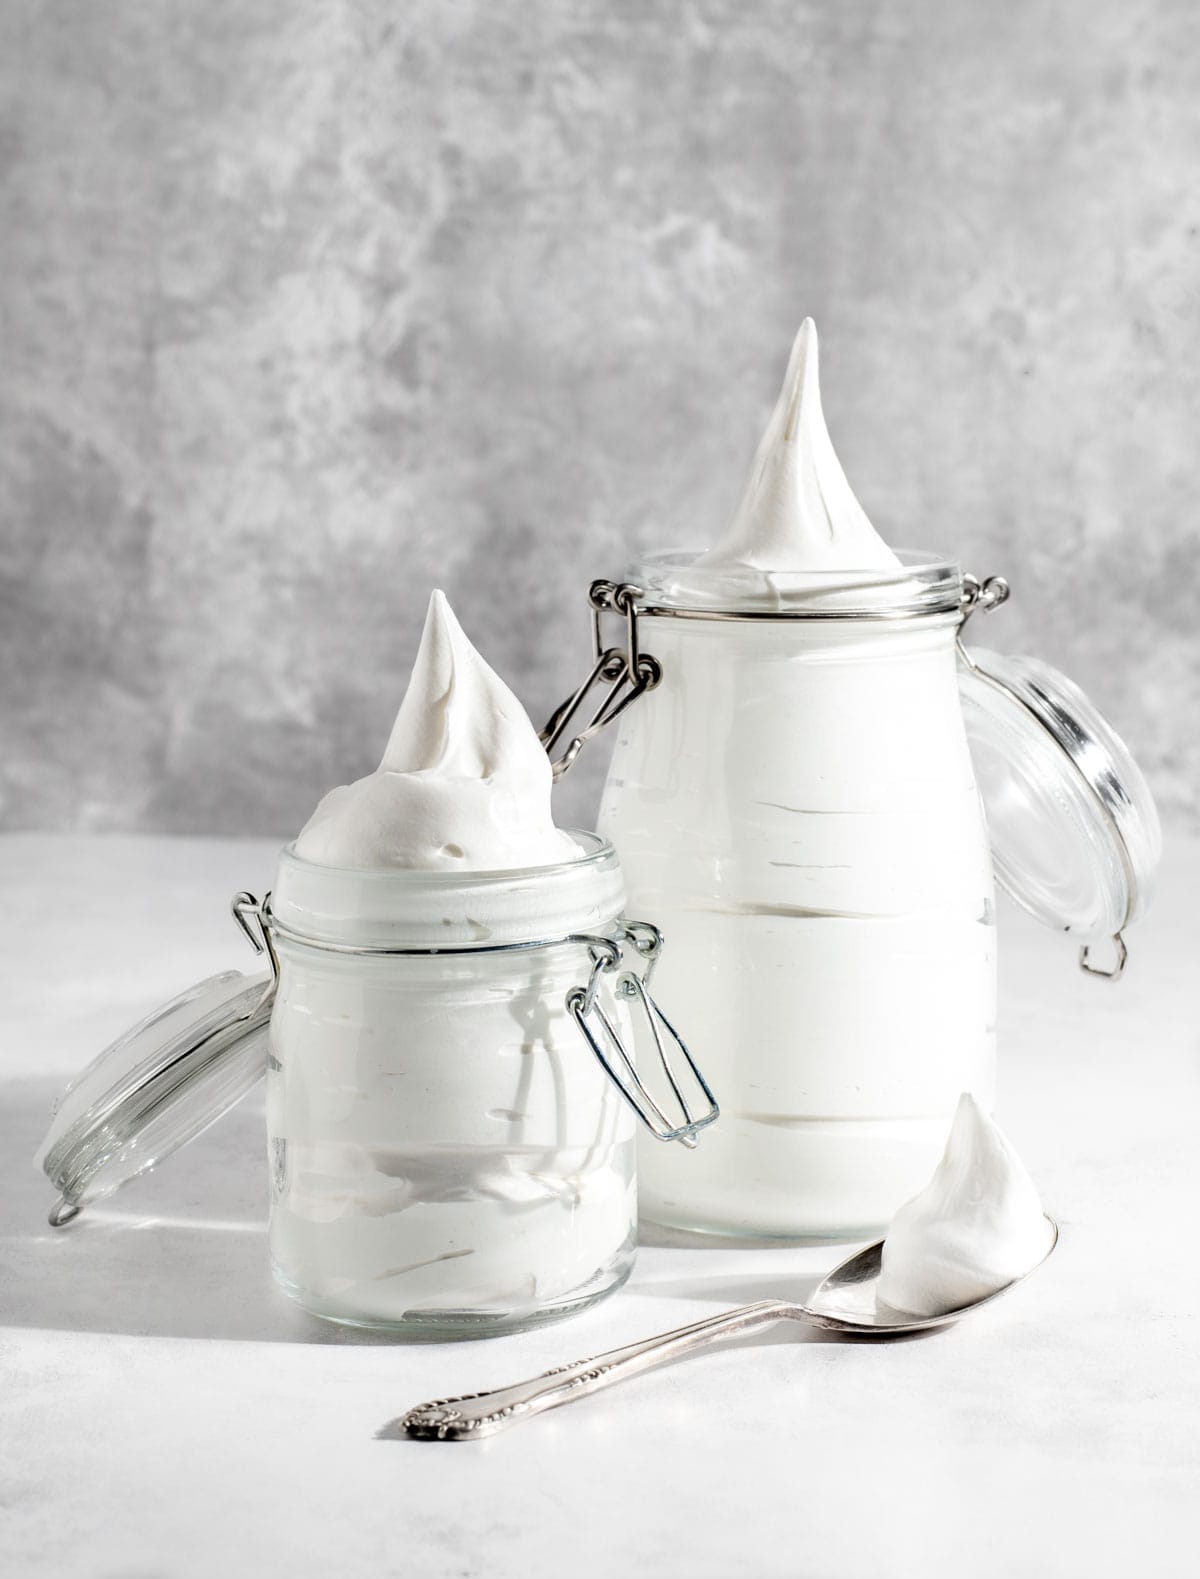
- Your marshmallow fluff is now ready to use and should be at room temperature. Decant to clean jars or use for piping or spreading.
What can you use it for?
Marshmallow fluff is extremely versatile and can be used for a whole array of sweet treats. Here are some ideas:
- Use as frosting on cakes instead of buttercream. It pairs very well with chocolate cake.
- Cupcake frosting.
- Decoration on top of a marshmallow fridge tart.
- A biscuit/cookie filling.
- Scooped on top of hot cocoa.
- Trifle topping.
- As a fruit dip.
- On top of cookie dough.
- On top of waffles.
- On top of Pumpkin pie.
- S'mores - Use between Graham crackers together with melted chocolate.
- Lemon meringue pie topping.
- On top of a milkshake.
- As presents in pretty glass jars with a handmade label on.
- Enjoy as a traditional marshmallow spread with peanut butter. This unique peanut butter sandwich is known in the US as Fluffernutter sandwiches.
- Serve a dollop on ice cream, sprinkled with peanuts, chocolate chips and a drizzle of caramel sauce.
- Use to make Rice Krispie treats.
- Make the viral TikTok 'Booty dip'.
- Use it in a Fantasy fudge recipe.
- Use it in alcoholic beverages like this Blackberry Cream Soda.
Storage suggestions
Homemade marshmallow fluff, when stored in a sealed jar or airtight container in the refrigerator, can typically last for about 2 to 3 weeks.
It's important to keep it refrigerated to maintain its freshness and prevent the growth of bacteria. Always check for any signs of spoilage, such as an off smell or unusual appearance and discard if you notice any.
Do not leave marshmallow fluff exposed to warm temperatures for more than 4 hours, as it may begin to lose its texture and become less fluffy.
It is not suitable for freezing.
FAQ
You should be able to double the ingredients if you want to batch-process this recipe.
The question would be whether your mixer will be large enough to cope with double the volume of fluff and still whip it as effectively as a single batch. If you have a big ol' mixer, you should not have a problem.
Absolutely! Add a few drops of whichever flavour you choose to the egg mixture during the whipping process. You can also add some lemon zest.
You can add a smidgen of gel food colour to the mix as you are whipping it.
Marshmallow fluff is more like Swiss buttercream, without the butter. The eggs are cooked on the stovetop before whipping, whereas the eggs in meringue are whipped raw and then baked in the oven.
Unfortunately, it's not suitable for freezing.
No, it stays soft. Unlike marshmallows that are made with gelatine to maintain their shape, marshmallow fluff is made without gelatine and will remain spreadable.
No, this recipe for Marshmallow fluff is completely dairy-free.
Yes, it's great for torching and it gives a lovely toasty flavour to the fluff. It also makes your kitchen smell delicious!
It's completely gluten-free.
You can. It works especially well with large, round piping tips. It's not suitable for precision piping because the fluff is too soft and won't create sharp edges.
Yes, marshmallow fluff and marshmallow cream are the same thing.
They are both creamy spreads made of marshmallows that you can put on sandwiches or use in desserts. They have a fluffy texture and are made from sugar, corn syrup (or without), egg whites and flavourings.
Different brands may have slight differences, but they are generally the same product.
More recipes from the US
Lemon Meringue Pie with an easy biscuit base
Learn how to make the Classic American Club Sandwich
Condensed milk chocolate chip cookies
Raspberry and white chocolate blondies
Chocolate chip cookies - Without brown sugar
Perfect 4-ingredient banana bread
More no-bake recipes you might enjoy
Recipe
How to make marshmallow fluff without corn syrup
Ingredients
- 3 large egg whites
- ¾ cup granulated sugar - that's ¾ US cup/150g/177ml
- ½ teaspoon cream of tartar
- 1 teaspoon pure vanilla extract
Instructions
- Put a saucepan on the stovetop, fill it with approximately 5cm/2 inches of water and bring it to a boil.
- In a heatproof bowl, spacious enough to rest on the saucepan without touching the water beneath, combine the egg whites, granulated sugar and cream of tartar.3 large egg whites, ¾ cup granulated sugar, ½ teaspoon cream of tartar
- Position the bowl atop the saucepan filled with boiling water.Alternatively, you can opt for a double boiler.
- Increase the heat to medium-high and whisk the egg mixture continuously. As it heats up, it will become frothy and thinner in consistency.
- Keep whisking until all the sugar has completely melted into the egg-white mixture. To check, dip a clean finger into the mixture and rub it between your fingers. It should feel smooth without any sugar granules. Exercise caution, as the mixture will be hot.If you're using a candy thermometer, the temperature should read 71C/160F.
- After the sugar has dissolved, carefully pour the hot sugar syrup into the bowl of a stand mixer. Make sure the bowl is entirely grease-free.If a stand mixer is unavailable, a hand mixer will work just as well. It might take a minute or two longer to whip the mixture into stiff peaks.
- Add the vanilla extract.1 teaspoon pure vanilla extract
- Using the whisk attachment, start whisking the warm mixture at a high speed.
- Continue whisking until the mixture becomes thick, turns pure white and forms stiff peaks.Depending on your method and the speed of your equipment, it should take roughly 5-6 minutes of whipping for stiff and glossy peaks to form. Monitor the texture closely, and stop whisking once the meringue reaches this consistency.
- Your marshmallow fluff is now ready to use and should be at room temperature. Decant to clean jars or use for piping or spreading.
**Nutritional data disclaimer**
Please keep in mind that the nutritional information provided below is calculated by a third party and we cannot guarantee the accuracy. We try our best to give you the most accurate information, but we do not take responsibility for errors that may be present. Also, the nutritional value of the recipe may change depending on the exact brands and products used. We recommend that you consult with a qualified healthcare professional or registered dietitian for personalised advice on your dietary needs.
Nutrition
For food safety advice, including guidance on food allergies




Helen At the lazy gastronome says
I love marshmallow cream and this is so easy!!
Maretha @ The Cinnamon Jar says
Thanks Helen! It’s such a versatile thing to use for all sorts of toppings.
Meg says
Super yummy! Should I be able to double the amount made by just doubling all ingredients, or is a change required?
Maretha @ The Cinnamon Jar says
Hey Meg! Hoorah, so glad you liked it! You should be able to double the ingredients no problem. The question would more be whether your mixer will be large enough to cope with double the volume of fluff and still whip it
as effectively as a single batch. If you have a big ol' mixer, you should not have a problem. Hope this works out for you 🙂
Meg says
Thanks so much!
Kristin says
Hi, I'm excited to try this! I am needing this recipe to make Hostess like cupcakes to freeze for lunch boxes. Would this freeze well inside of cupcakes?
Maretha Corbett says
Hey Kristin!
I'm so glad you're excited to try the marshmallow fluff recipe and appreciate you taking the time to ask a question before making it 🙂
While the fluff tastes delicious as a filling inside cupcakes, we generally don't advise freezing any cupcakes containing it. Since marshmallow fluff is egg white-based, it can tend to weep a bit or become runny when frozen and thawed. To avoid any issues with weeping or texture changes, we'd recommend using a different filling or frosting that is better suited for freezing, like buttercream or ganache.
I'm so sorry, this is probably not the answer you were hoping for. Hope you find a suitable alternative and good luck with your project!
Maretha x