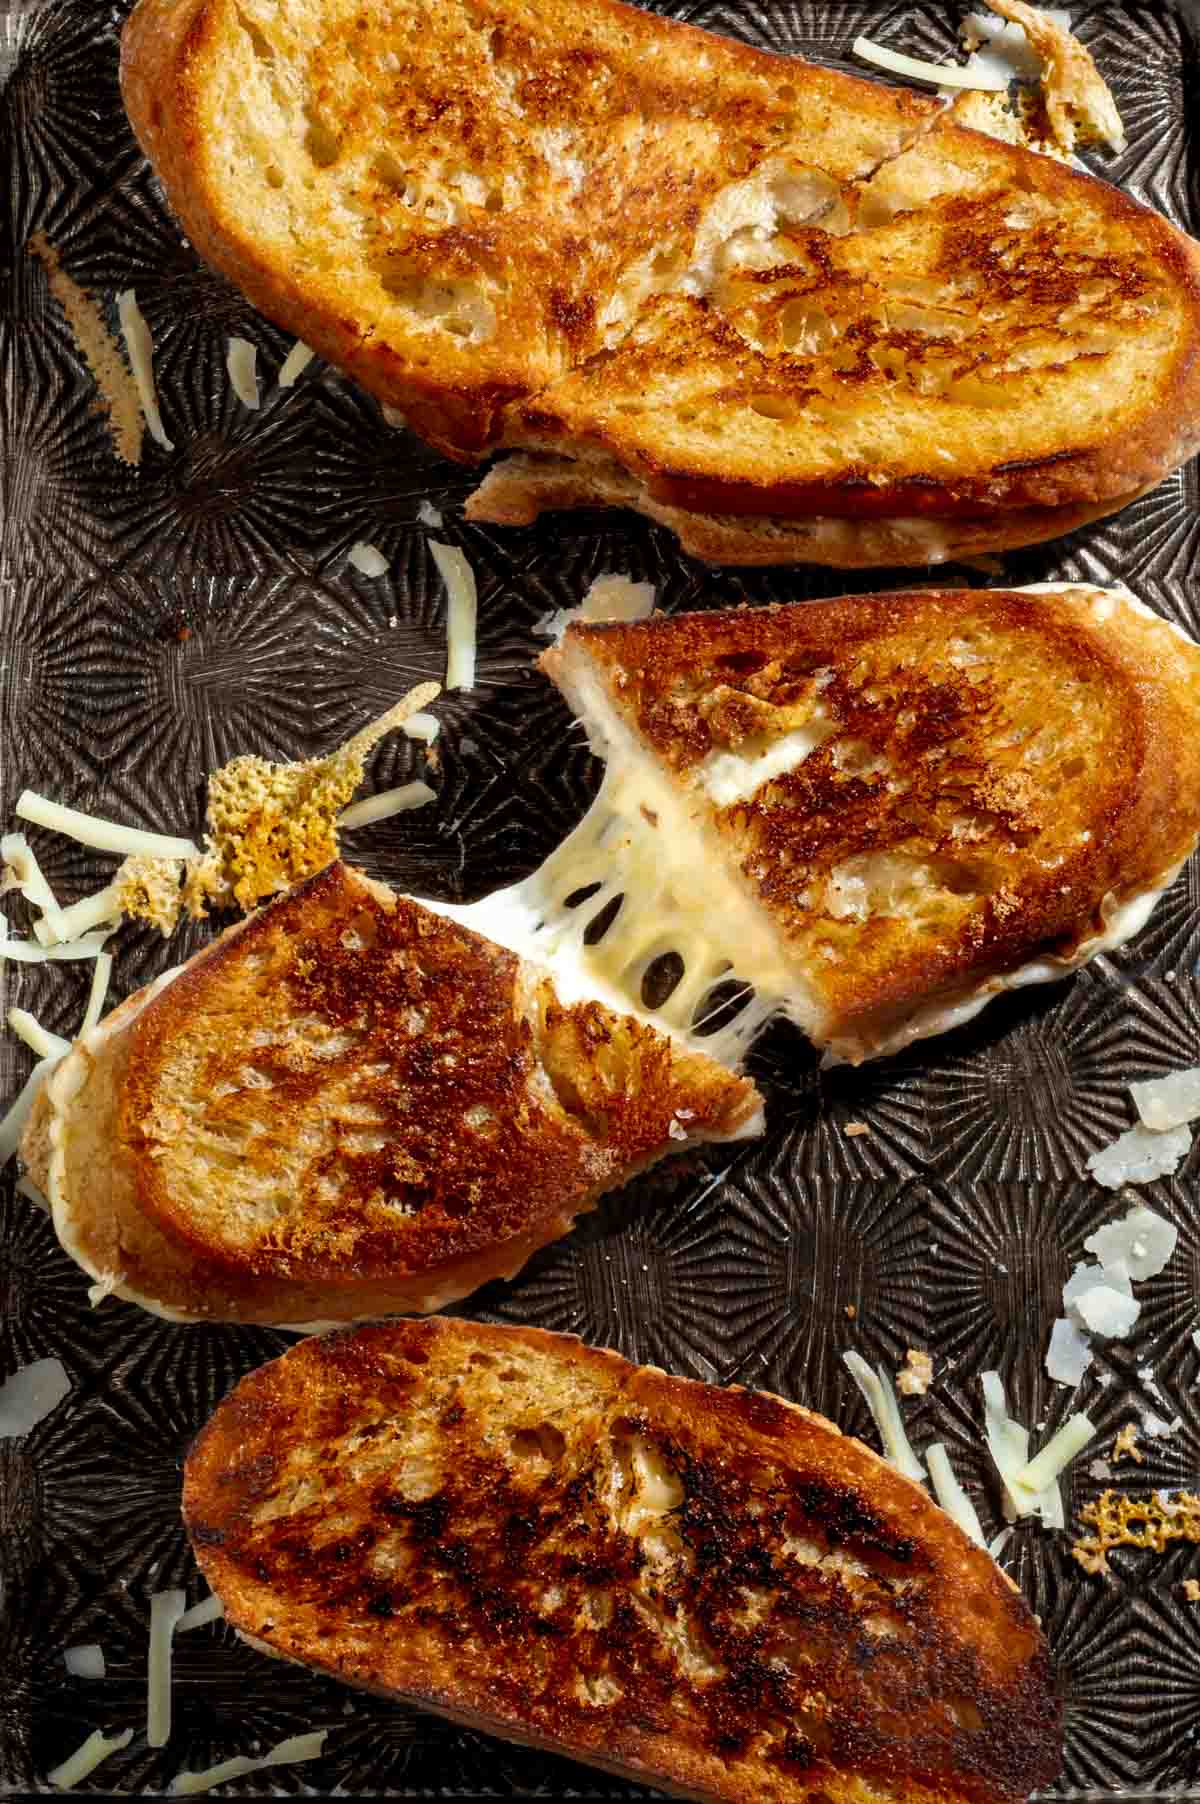
Few things rival the universal love for grilled cheese sandwiches - the ultimate comfort food, an undeniable crowd-pleaser and quite frankly, a bit of an addiction.
But what if we told you that you could elevate this seemingly simple classic to a whole new level with a few simple tips and tricks? That's precisely what we've achieved with our ultimate sourdough grilled cheese recipe.
Jump to:
- What's to love about this recipe
- Key ingredient notes and substitutions
- How thick should you slice the bread?
- The age-old question - Butter or Mayo?
- Should you toast only the outside or all sides?
- Cast-iron skillet vs non-stick frying pan?
- The bread is perfectly toasted, but the cheese hasn't melted?
- Step-by-step instructions
- Variations
- Serving suggestions for a sourdough grilled cheese sandwich
- Storage and reheating
- More sandwich recipes
- Recipe
In our quest for the perfect grilled cheese, we've identified four essential elements that, when combined, create a truly exceptional sandwich.
- The bread: More than a mere vessel for the cheese. It's a crucial component that adds flavour and texture with a delightful crispy crunch that gives way to the golden, molten interior.
- The 'bulk' cheese: The staple - Emmental, cheddar, gouda or any of your favourite types of medium-strength, meltable cheeses. Just your go-to everyday hero.
- The melt factor: For that quintessential grilled cheese 'pull'. Enter mozzarella, the maestro of melt, ensuring that coveted gooey perfection.
- The punch: To add that final flavour punch, a touch of parmesan seals the deal.
We also delve into the 'mayo or butter' debate, toasting techniques and more.
We're not claiming grilled cheese virtuoso status here, but we've tinkered, tasted and survived to tell the tale. Our experiments might just sprinkle some inspiration your way.
May your toasties be forever golden!
What's to love about this recipe
- The Emmental, Mozzarella and Parmesan trio hit all the flavour and texture high notes.
- Tangy sourdough bread offers the perfect balance of substance and crunch.
- Salted butter adds the golden touch for that extra crispy perfection.
- Discover tips to prevent the toast from becoming fully toasted before the cheese achieves perfect meltiness.
Key ingredient notes and substitutions
**Please see the recipe card at the bottom of this post for the full list of ingredients.
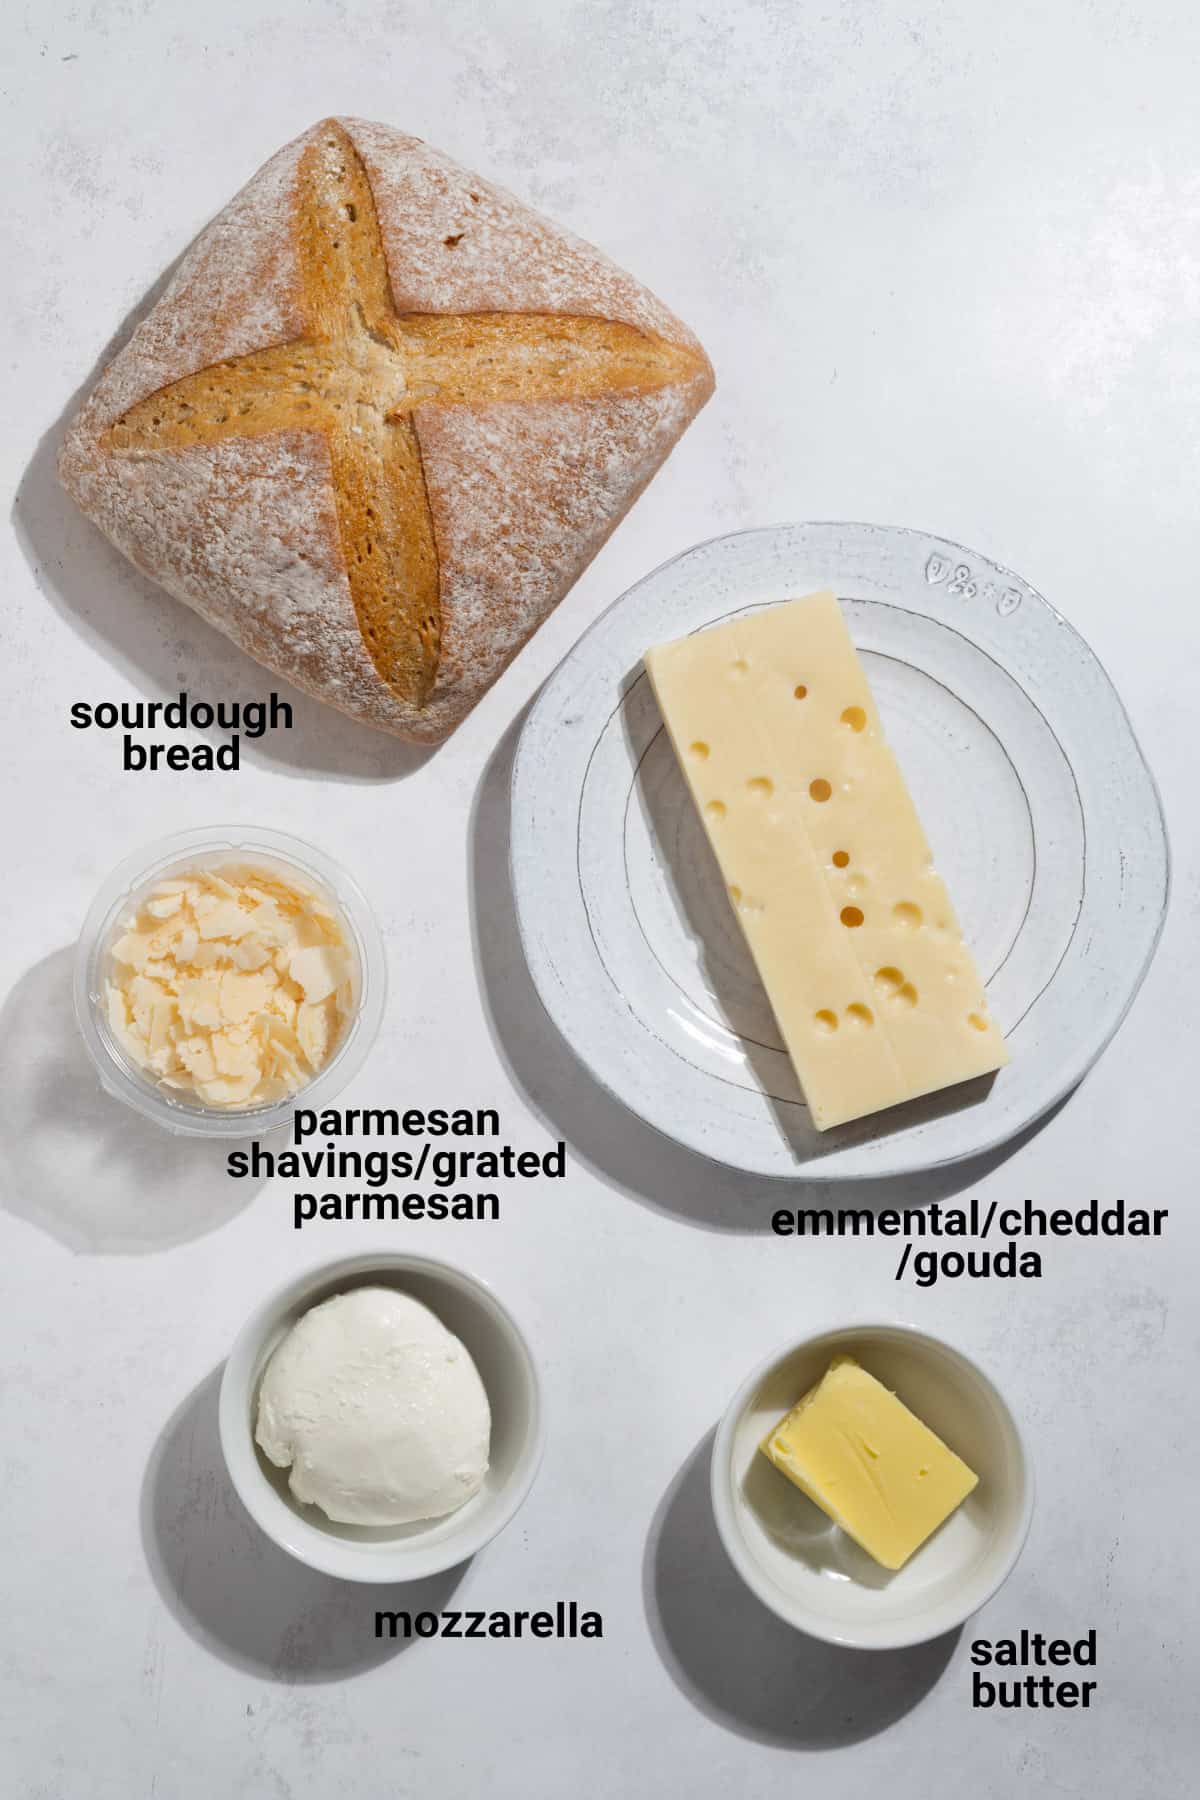
The best bread
After testing various bread types, a hearty sourdough bread emerged as the clear winner for us.
- Sourdough's slight tang complements the savoury cheese.
- It achieves perfect toast every time.
- Its sturdy texture strikes the right balance - not too dense, not too holey.
Much talk revolves around using dense bread for cheese toasties, meaning bread with very few holes. We agree that large holes aren't great but we feel that having a few small holes adds a nice touch, allowing a bit of cheese to ooze through.
The cheese - The three types of cheese to use
Steer clear of pre-grated cheese. It often contains additives like cornflour that hinder proper melting. The best cheese for the ultimate melt is freshly grated.
In making a cheese toastie, our focus centres on three crucial elements related to the cheese. Pick one from each.
1. Bulk
A cheese that adds bulk, the Big Cheese, the familiar flavour. This should be a cheese of medium strength with reliable melting properties. While our go-to is Swiss Emmental, feel free to opt for your preferred 'everyday' cheese.
Options:
- Emmental cheese
- Gouda cheese
- Cheddar cheese
- American cheese slices
- Provolone cheese
- Monterey Jack/Pepper Jack cheese
- Fontina cheese
2. Melt factor
A cheese toastie without strings of melty cheese cascading onto your chin is like a day without sunshine. For us, the undisputed champion in achieving this gooey bliss is Mozzarella – no other cheese melts quite like it.
Opt for full-fat, high-moisture Mozzarella, preferably the balls packed in water. Ensure thorough draining and drying before slicing and using it in your toastie.
Options:
- Mozzarella
- Burrata
3. Flavour
Between your medium-strength 'bulk' cheese and the mild-mannered Mozzarella, introduce some extra flavour with Parmesan cheese - the reigning king of cheese punch in even the smallest quantities.
Options:
- Parmesan shavings
- Freshly grated parmesan
- Pecorino
- Parmigiano-Reggiano
- Grana Padana
Salted butter
Spoiler alert: We're Team Butter over mayo any day! More on that below.
Opt for salted, real, proper butter. In a pinch, or if your chosen cheeses pack a salty punch already, unsalted, real butter is a solid alternative.
How thick should you slice the bread?
At a minimum, aim for slices that are 1cm/0.4" thick. At a maximum, go for slices that are 1.5cm/0.6" thick. You want it thicker than your average shop-sliced loaf but not so thick that the heat will struggle to melt the cheese in the middle.
The goal is for the bread to be substantial enough to comfortably hold the sandwich by hand without collapsing under the weight of the cheese.
The age-old question - Butter or Mayo?
A heated debate surrounds the choice between butter and mayo for achieving the ultimate crisp and golden hue on the outside of your toastie.
After putting both to the test, the verdict is in: Looks-wise, they're remarkably similar. Whether you go with butter or mayo, expect an appealing golden colour and a satisfyingly crunchy texture.
However, butter adds flavour and mayo falls very short in this department. So, for a great grilled cheese sandwich, it's butter all the way.
Should you toast only the outside or all sides?
In our experiment, we buttered all four sides of two slices, chose to toast the insides in the pan first and then proceeded to add the cheese and toast the outsides.
Toasting all the sides resulted in a toastie that was too rough, too crunchy and with a slight charcoal-flavored tinge. In other words, too toasty.
Skip the extra step and only toast the outside. Keep the insides soft.
Cast-iron skillet vs non-stick frying pan?
Undoubtedly, cheese toastie aficionados will swear by nothing less than a cast-iron skillet. Using anything else will relegate you to amateur cook status for all eternity!
Our tests revealed little difference between toasties grilled in a cast-iron pan and those in a non-stick frying pan. The outcomes were nearly identical, with perhaps a slight variation in cooking time due to the cast-iron skillet's longer heat-up period.
The absolute key here is to cook over a very, very low heat, regardless of the type of pan you use.
Rest assured, there will be no cast-iron police coming after you if you opt for your trusty, favourite non-stick pan.
The bread is perfectly toasted, but the cheese hasn't melted?
Truthfully, this has been our biggest challenge throughout all our years of making cheese toasties.
Firstly the basics, as mentioned above, keep your pan over the lowest heat possible and exercise patience. Turn the sandwich frequently.
However, sometimes, depending on the bread, the weather, the state of the world economy or the latest political drama, your cheese might decide to take its sweet time melting, leaving the bread questioning its life choices.
What works for us (see photo instructions below under the step-by-step guide):
- Arrange the cheese on both slices of bread, buttered sides down. So instead of adding a big, fat layer of cheese on one side, split the cheese across two slices. All will make sense in a moment.
- Place the two open, cheese-topped slices in the pan, cover with a lid and keep the heat on low. This traps the heat, giving the cheese a head start.
- Remove the lid as soon as you spot the grated cheese starting to go a bit limp. Not by much though.
- Flip one slice onto the other, cheese sides facing each other. Now, you're all set to start grilling your toastie the usual way, lid off with the cheese already heated up.
Step-by-step instructions
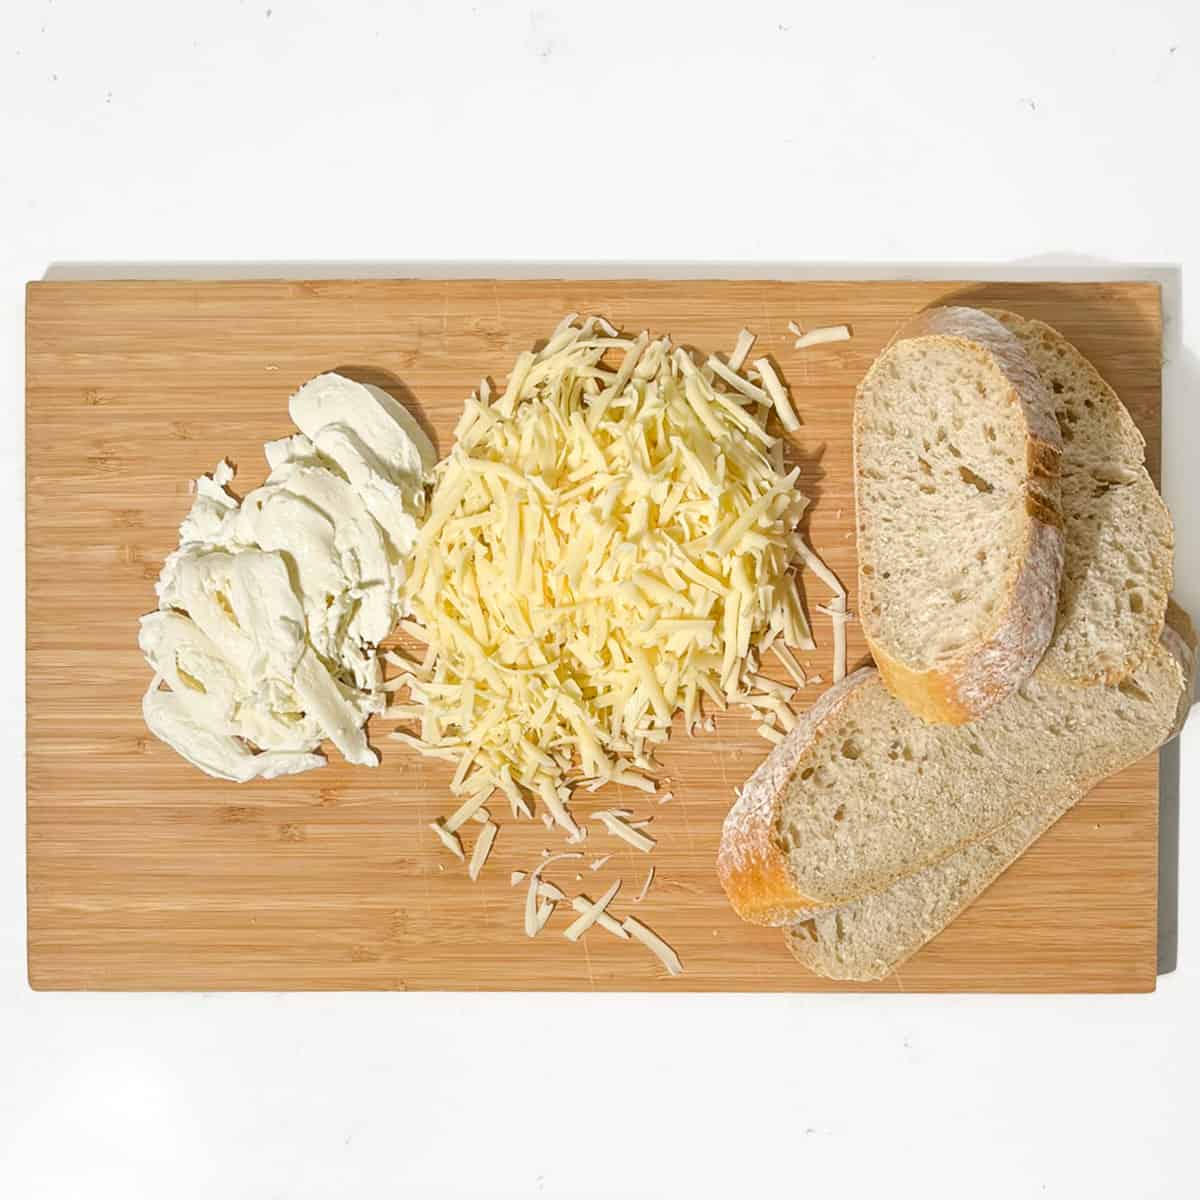
- Grate the Emmental (or your chosen cheese) with a box grater. Drain, dry and finely slice the mozzarella. Slice the bread into medium-thick slices.
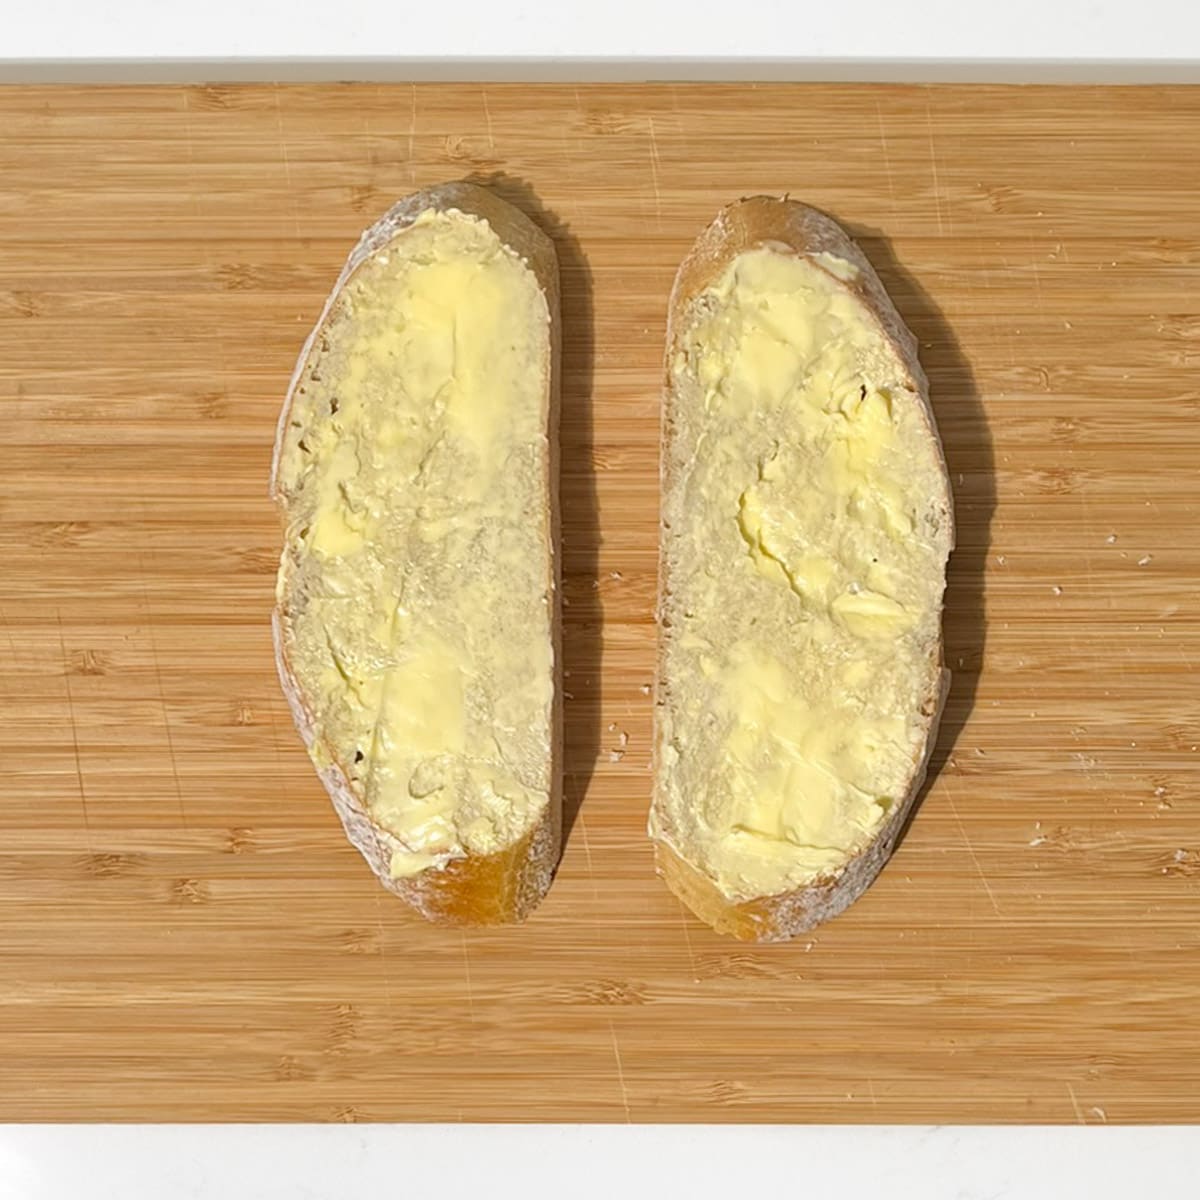
- Spread a generous amount of butter on two slices of sourdough bread, making sure to cover the entire surface from edge to edge. Then, flip the slices over, placing the buttered side down.
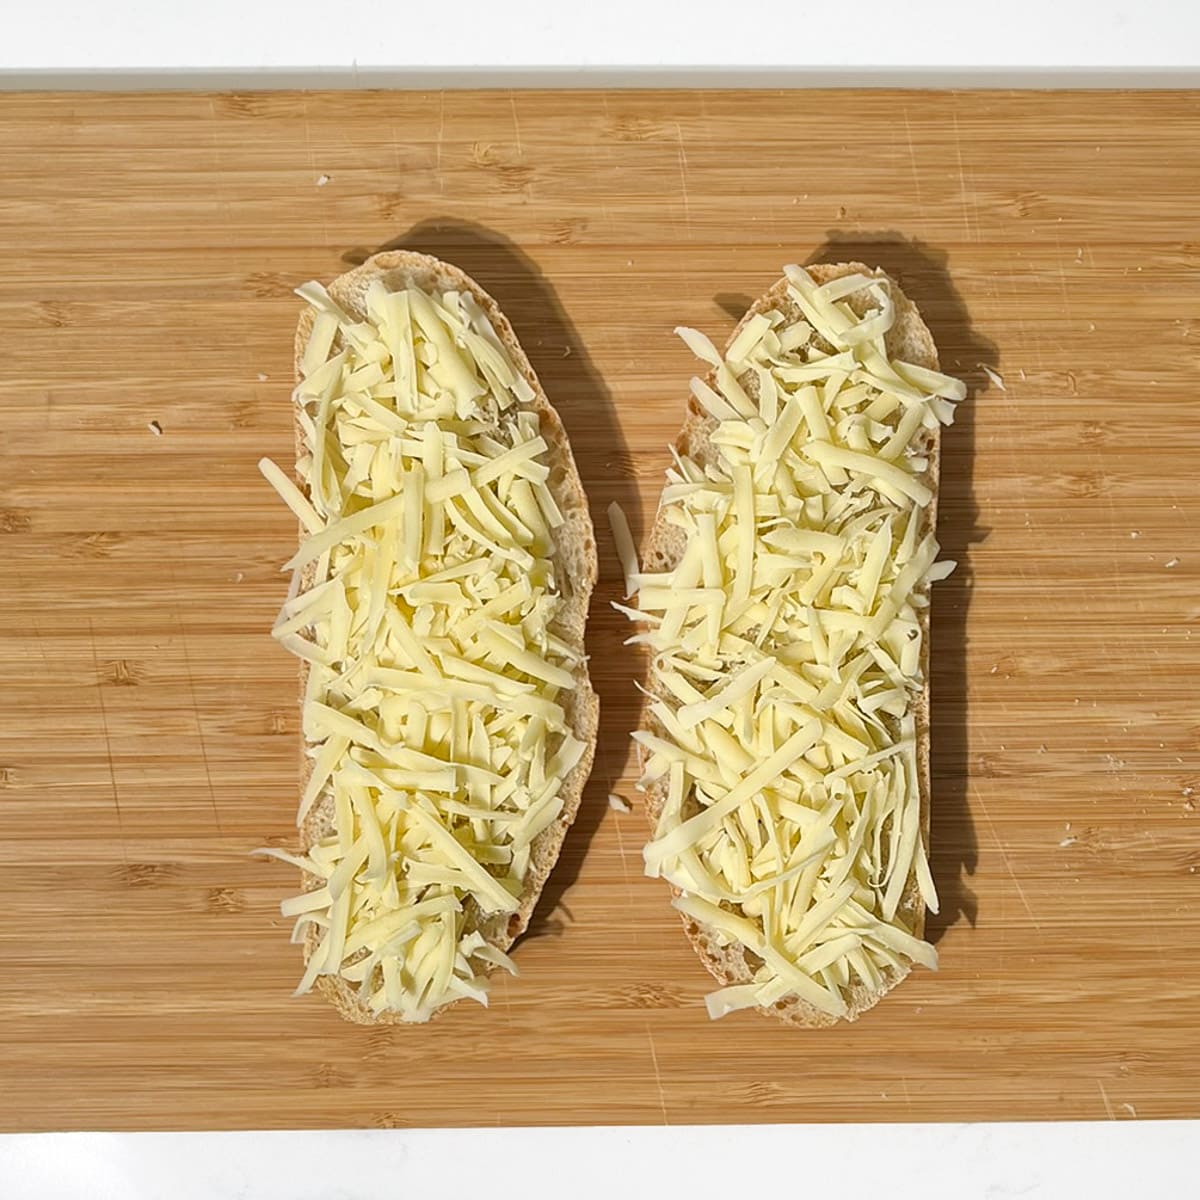
- Generously sprinkle both slices, on the dry sides, with freshly grated Emmental cheese (or your chosen cheese).

- Evenly distribute slices of thinly sliced mozzarella on top of the grated cheese.
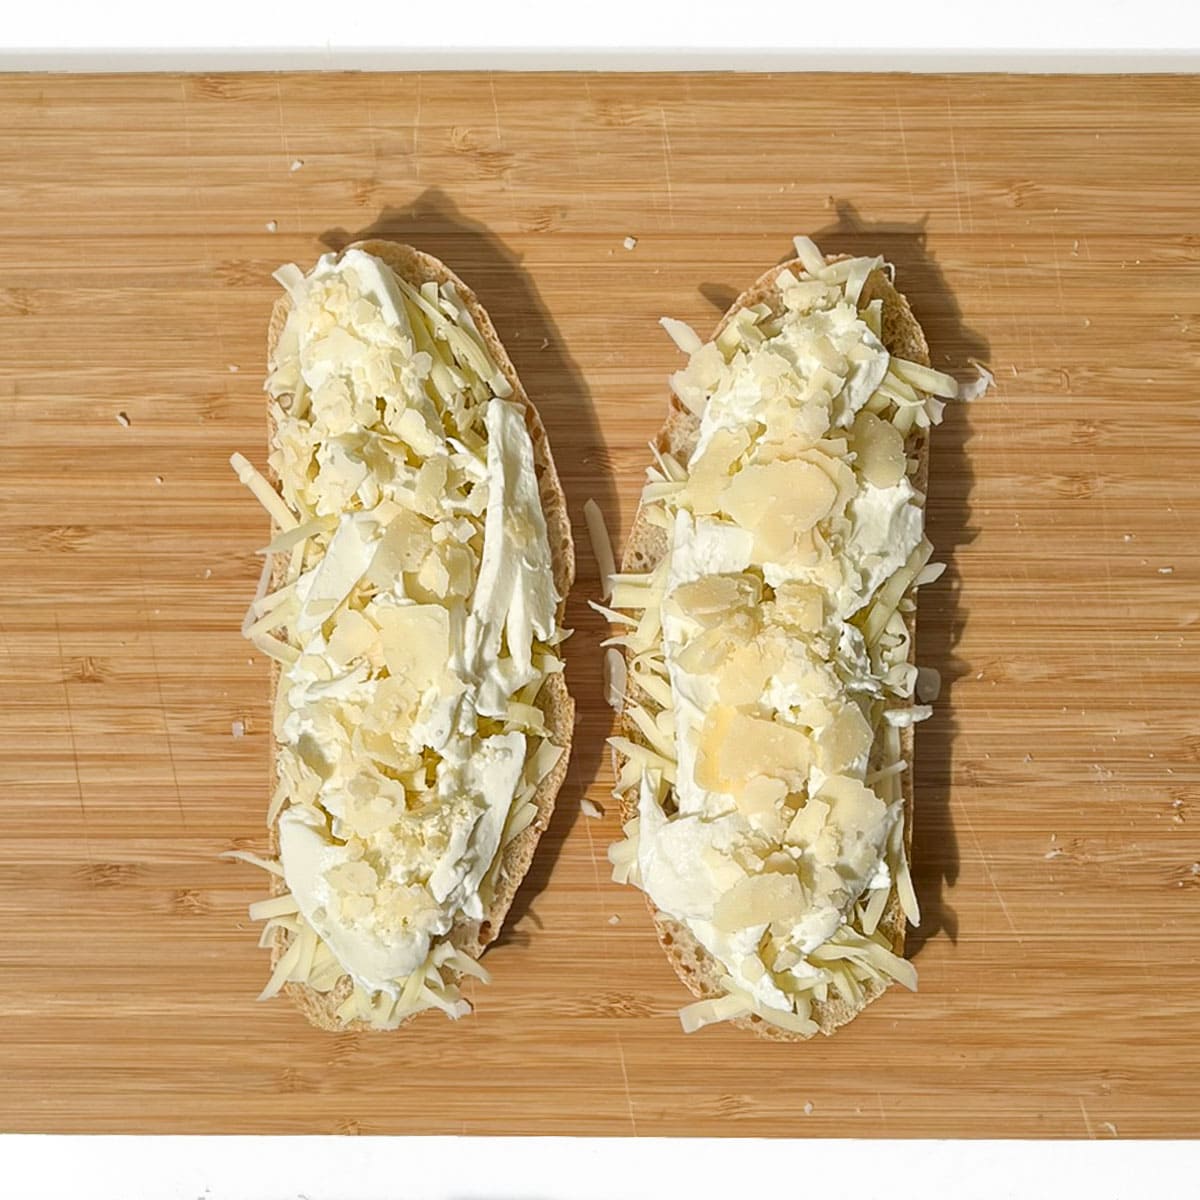
- Finish it off by topping the mozzarella slices with parmesan shavings or a sprinkle of grated parmesan.
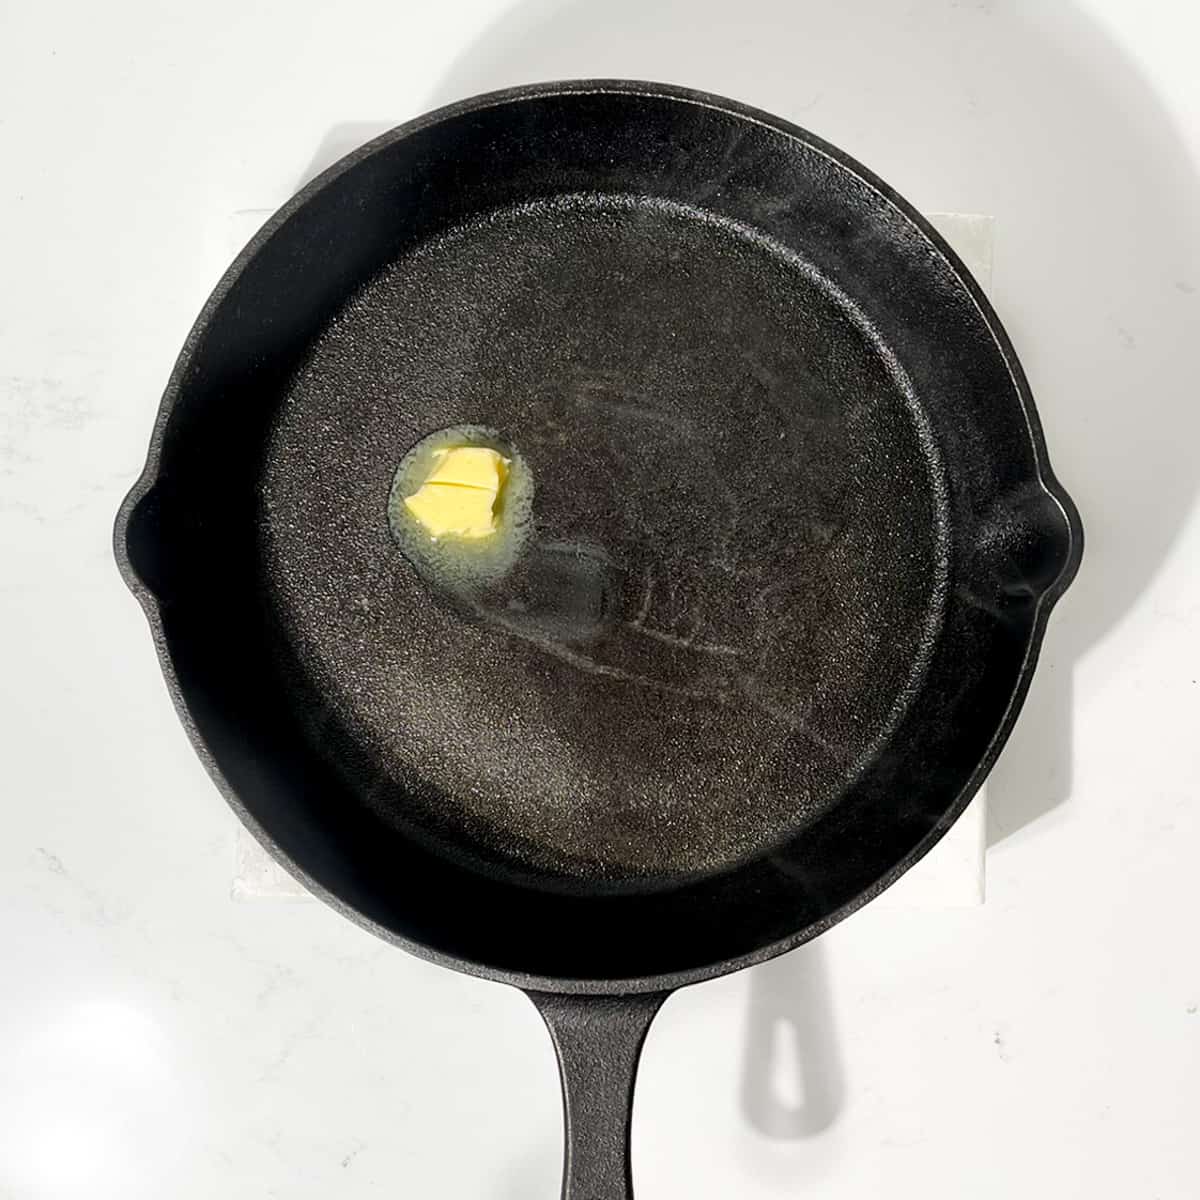
- Melt a small knob of butter (about a teaspoon) in a pan over low heat.
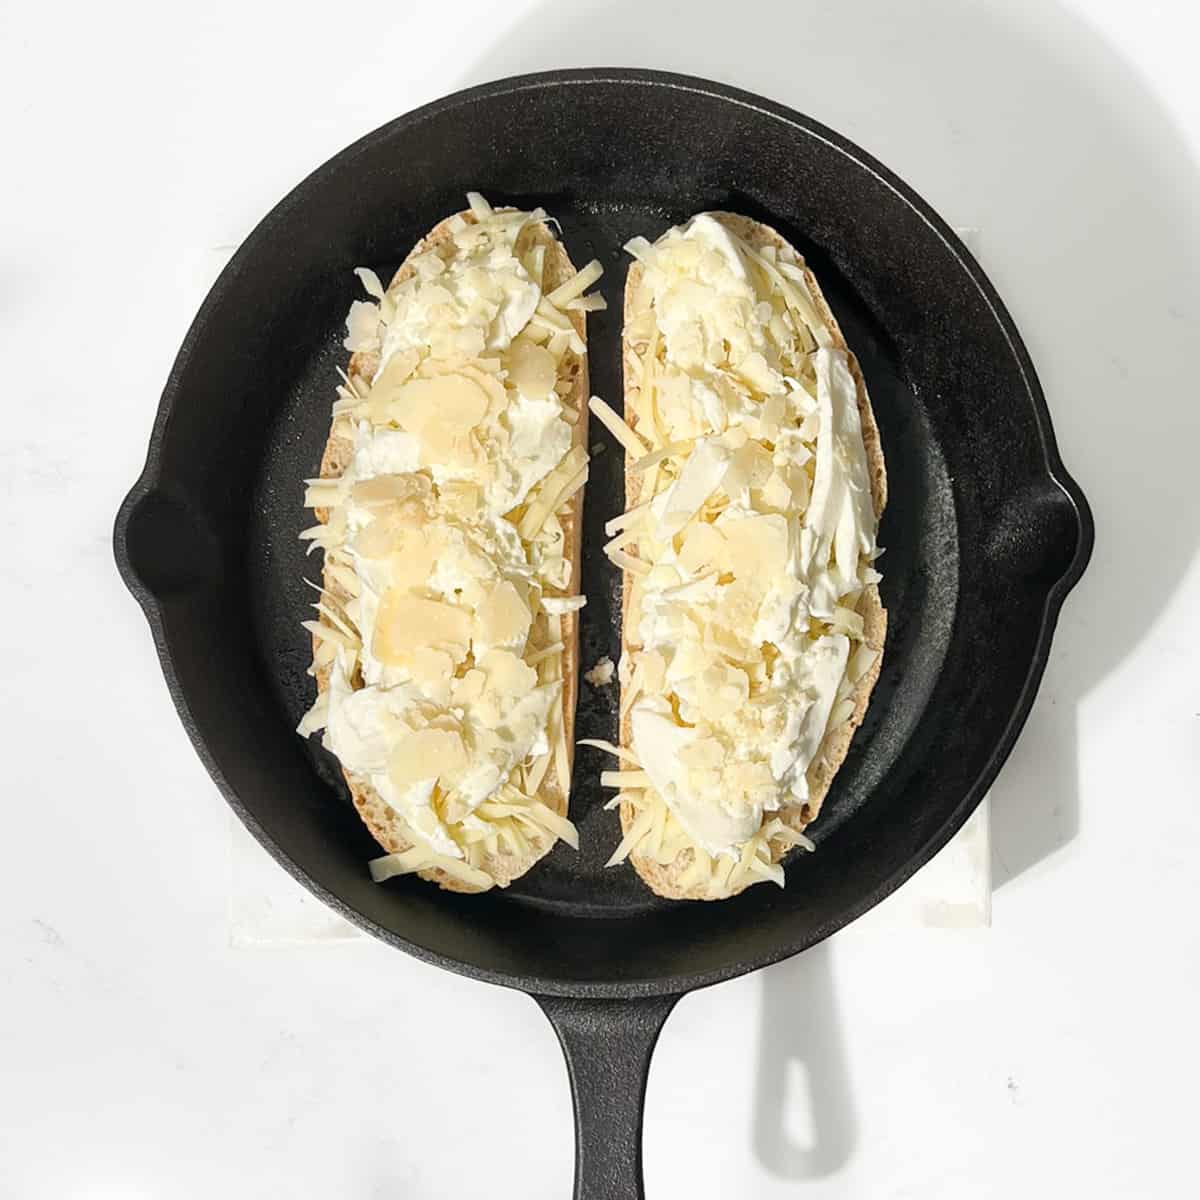
- Once the butter has melted, position the two slices of bread, cheese side up, side by side in the pan.
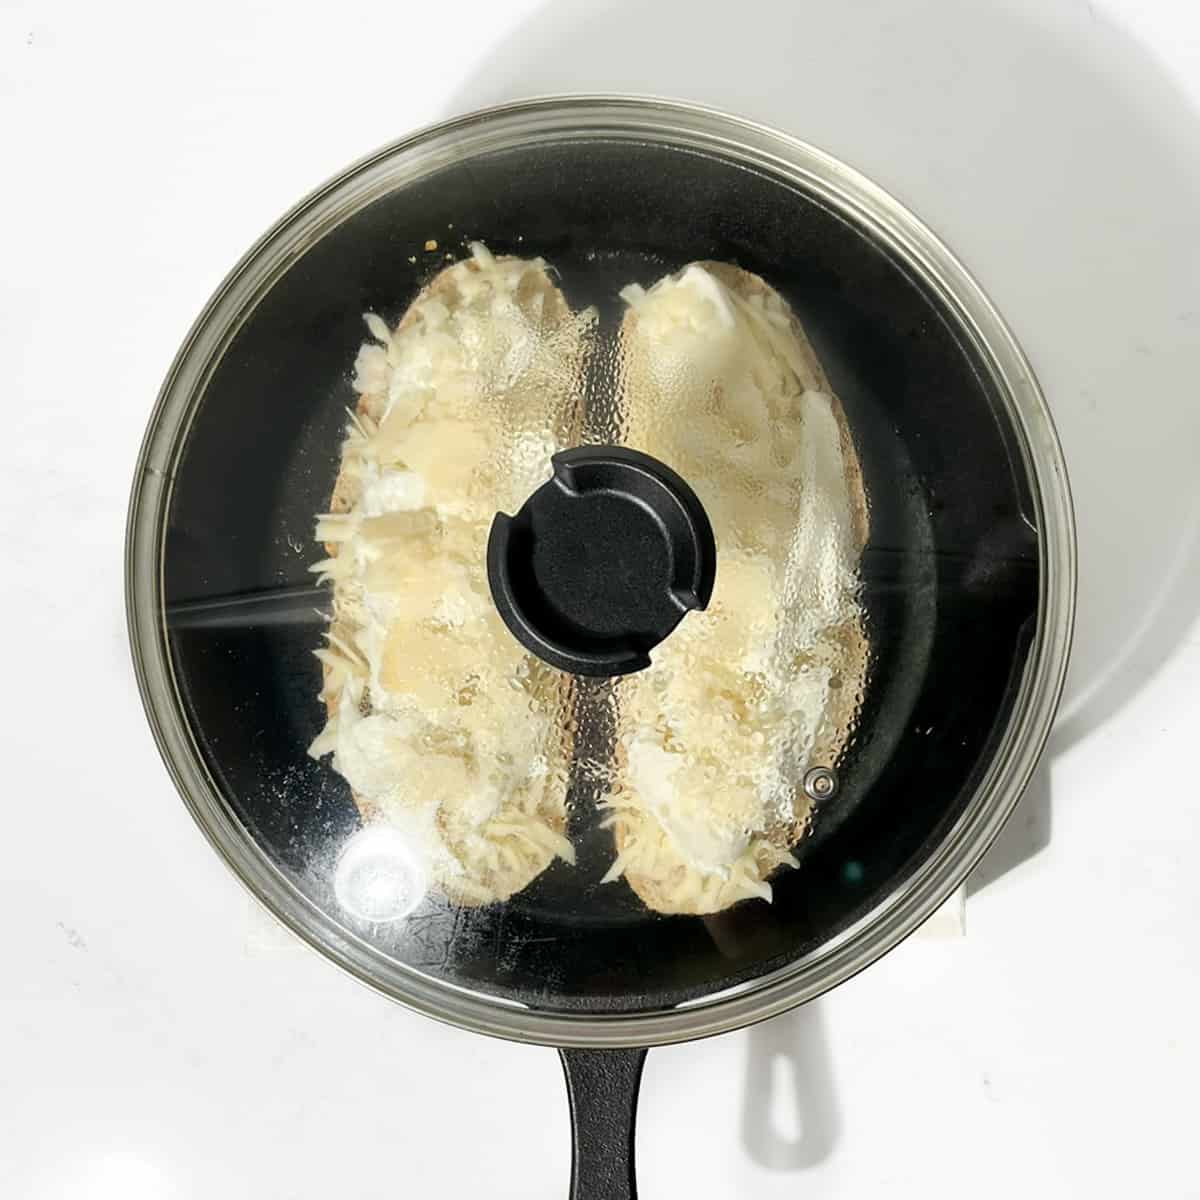
- Place a lid on the pan and continue to heat the bread over low heat for roughly 1.5-2 minutes.
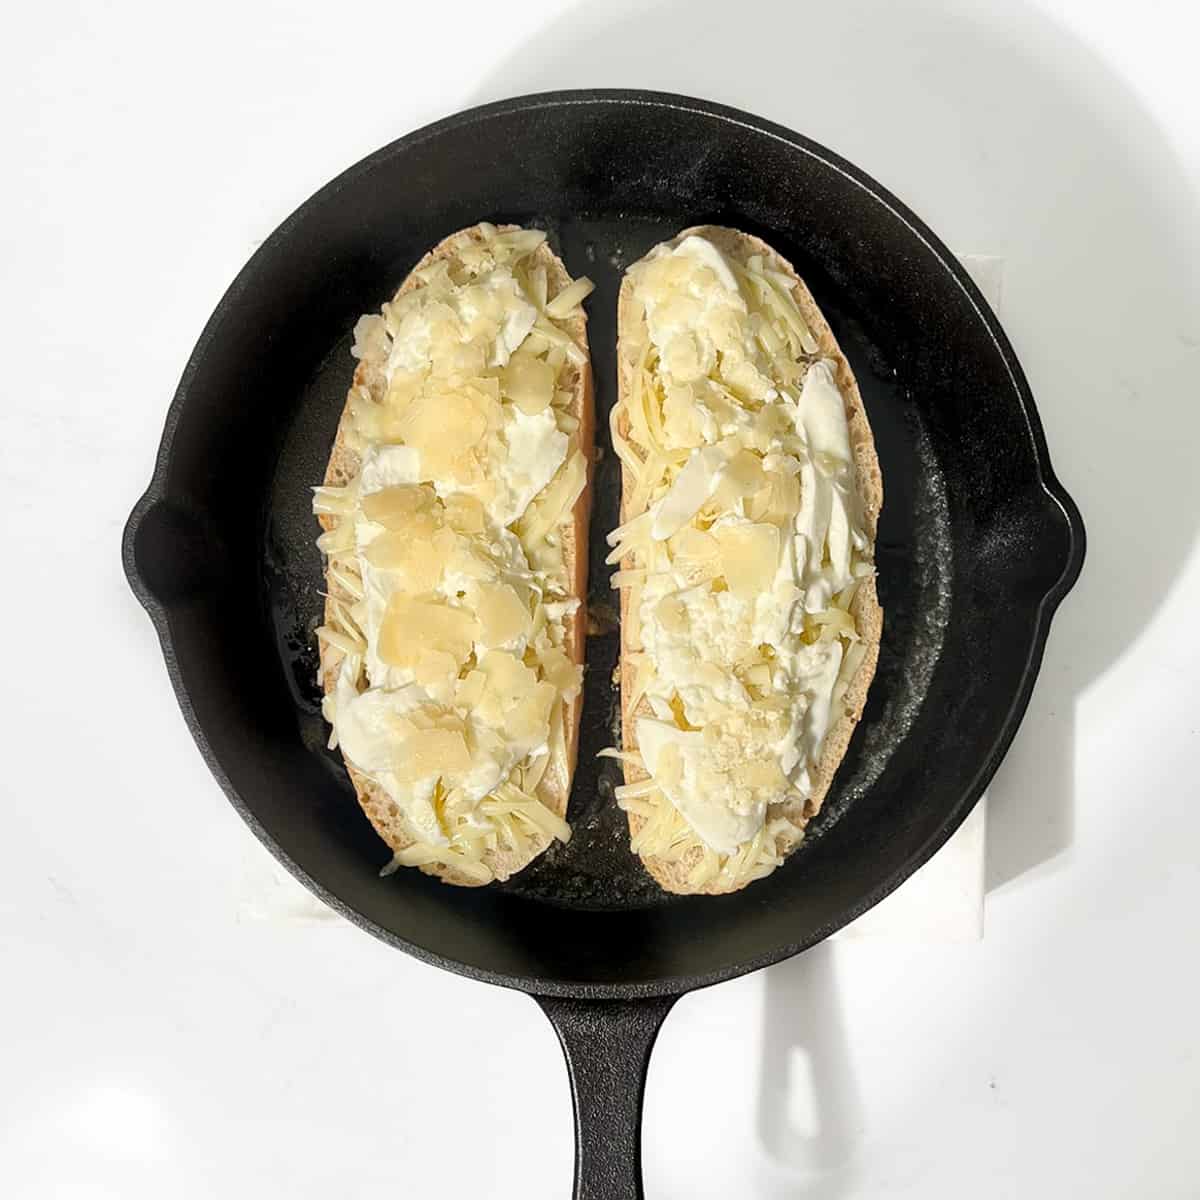
- As soon as some of the grated cheese starts looking a bit limp from warming, go ahead and remove the lid.
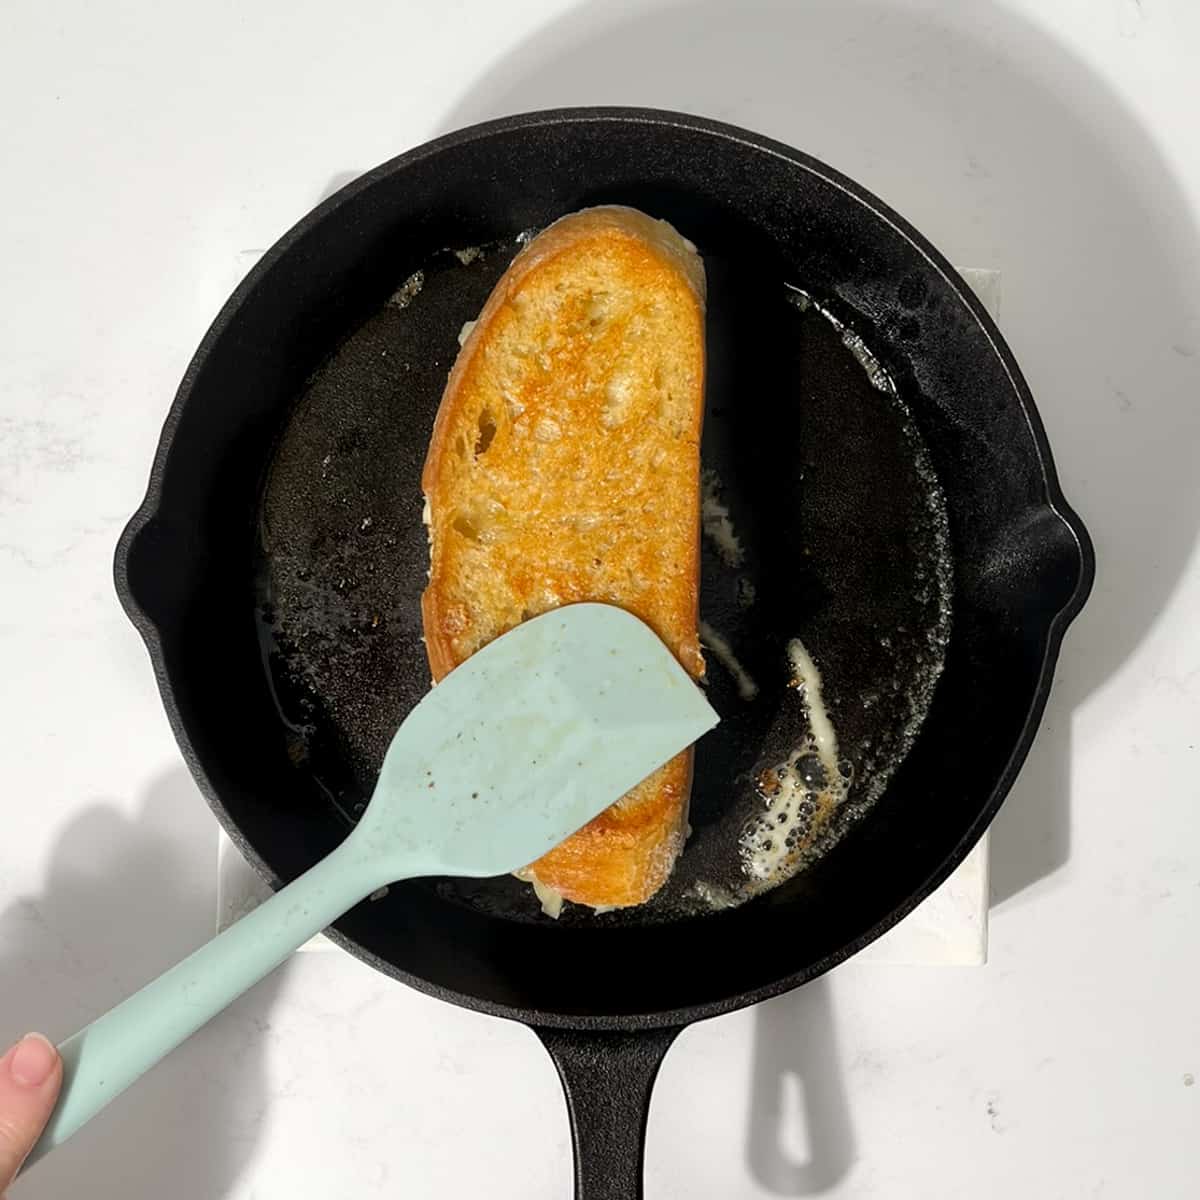
- Flip one slice onto the other so that the cheese faces each other. Give it a gentle press on the top slice with a spatula to 'glue' the cheese together.
- Continue frying the bread over very low heat, turning frequently until both sides are toasted to a golden brown colour, the cheese has fully melted and is just starting to ooze out from the edges.
- Scrape off any melted cheese that landed on the bottom of the pan and serve together with the grilled cheese sandwich (flavour!). Slice through with a serrated knife.
Variations
- Spread a layer of pesto on the inside of the bread before adding the cheese.
- Add a thin layer of fig jam or honey on one side of the bread to balance the savoury cheese with a touch of sweetness.
- Slip in a few fresh tomato slices and fresh basil (or other fresh herbs) leaves between the cheese.
- Sprinkle some crushed red pepper flakes or add a thin layer of hot sauce to turn up the heat. Or have a look at this chilli cheese toast recipe.
- Add meats like ham, bacon or pepperoni.
- Add caramelised onions.
- Use garlic butter instead of plain butter for spreading on the outside of the bread.
- Add garlic sautéed mushrooms.
Serving suggestions for a sourdough grilled cheese sandwich
- Fries or sweet potato fries
- Crisps
- A bowl of tomato soup
- Grilled meats like steak or crispy fried chicken
- Coleslaw
- Potato salad
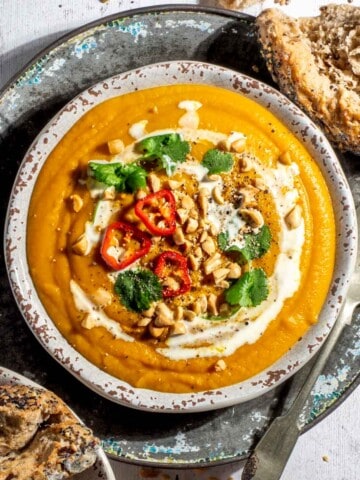
- Sweet potato, coconut and chilli soup.
Storage and reheating
Storage
Store any leftovers in an airtight container in the fridge or wrap them in foil and they should stay fresh for 3-4 days.
Reheating a grilled cheese toastie
You might believe that resurrecting a toasted cheese sandwich to its former glory is impossible. Think again!
Pop it in the microwave for about 40 seconds to warm up the cheese. Then, heat up a frying pan and gently toast both sides until it's heated through and crispy.
While it might not reach the exact 100% freshness of its original pan-fresh state, this reheating method comes pretty close to restoring the crispy and gooey magic of your grilled cheese.
Recipe

The Ultimate Sourdough Grilled Cheese Sandwich
Equipment
- 1 cast iron skillet/frying pan
Ingredients
- 2 slices sourdough bread - sliced no thinner than 1cm/0.4"
- 1 tablespoon salted butter (or more if needed) - spreadable consistency
- 40 grams (1½ oz) emmental/Cheddar/Gouda - or to taste. Freshly grated.
- 40 grams (1½ oz) mozzarella cheese - or to taste. From a ball of mozzarella, thinly sliced
- 1 tablespoon parmesan shavings - or to taste. Grated parmesan works too.
Instructions
- Slice the bread into medium-thick slices. Grate the Emmental (or your chosen cheese). Drain, dry and finely slice the mozzarella.2 slices sourdough bread, 40 grams (1½ oz) emmental/Cheddar/Gouda, 40 grams (1½ oz) mozzarella cheese
- Spread a generous amount of butter on two slices of bread, making sure to cover the entire surface from edge to edge. Then, flip the slices over, placing the buttered side down.1 tablespoon salted butter (or more if needed)
- Generously sprinkle both slices, on the dry sides, with freshly grated Emmental cheese (or your chosen cheese).
- Evenly distribute slices of thinly sliced mozzarella on top of the grated cheese.
- Finish it off by topping the mozzarella slices with parmesan shavings or a sprinkle of grated parmesan.1 tablespoon parmesan shavings
- Melt a small knob of butter (about a teaspoon) in a pan over low heat.
- Once the butter has melted, position the two slices of bread, cheese side up, side by side in the pan.
- Place a lid on the pan and continue to heat the bread over low heat for roughly 1.5-2 minutes. See note 1
- As soon as some of the grated cheese starts looking a bit limp from warming, go ahead and remove the lid.
- Flip one slice onto the other so that the cheese faces each other. Give it a gentle press with a spatula to 'glue' the cheese together.
- Continue frying the bread over very low heat, turning frequently until both sides are toasted to a golden brown colour, the cheese has fully melted and is just starting to ooze out from the edges.
- Scrape off any grilled cheese that landed in the pan and serve together with the grilled cheese sandwich (flavour!).
Notes
-
- Arrange the cheese on both slices of bread, buttered sides down. So instead of adding a big, fat layer of cheese on one side, split the cheese across two slices. All will make sense in a moment.
-
- Place the two open, cheese-topped slices in the pan, cover with a lid and keep the heat on low. This traps the heat, giving the cheese a head start.
-
- Remove the lid as soon as you spot the grated cheese starting to go a bit limp. Not by much though.
-
- Flip one slice onto the other, cheese sides facing each other. Now, you're all set to start grilling your toastie the usual way, lid off with the cheese already heated up.
**Nutritional data disclaimer**
Please keep in mind that the nutritional information provided below is calculated by a third party and we cannot guarantee the accuracy. We try our best to give you the most accurate information, but we do not take responsibility for errors that may be present. Also, the nutritional value of the recipe may change depending on the exact brands and products used. We recommend that you consult with a qualified healthcare professional or registered dietitian for personalised advice on your dietary needs.
Nutrition
For food safety advice, including guidance on food allergies



Leave a Reply