
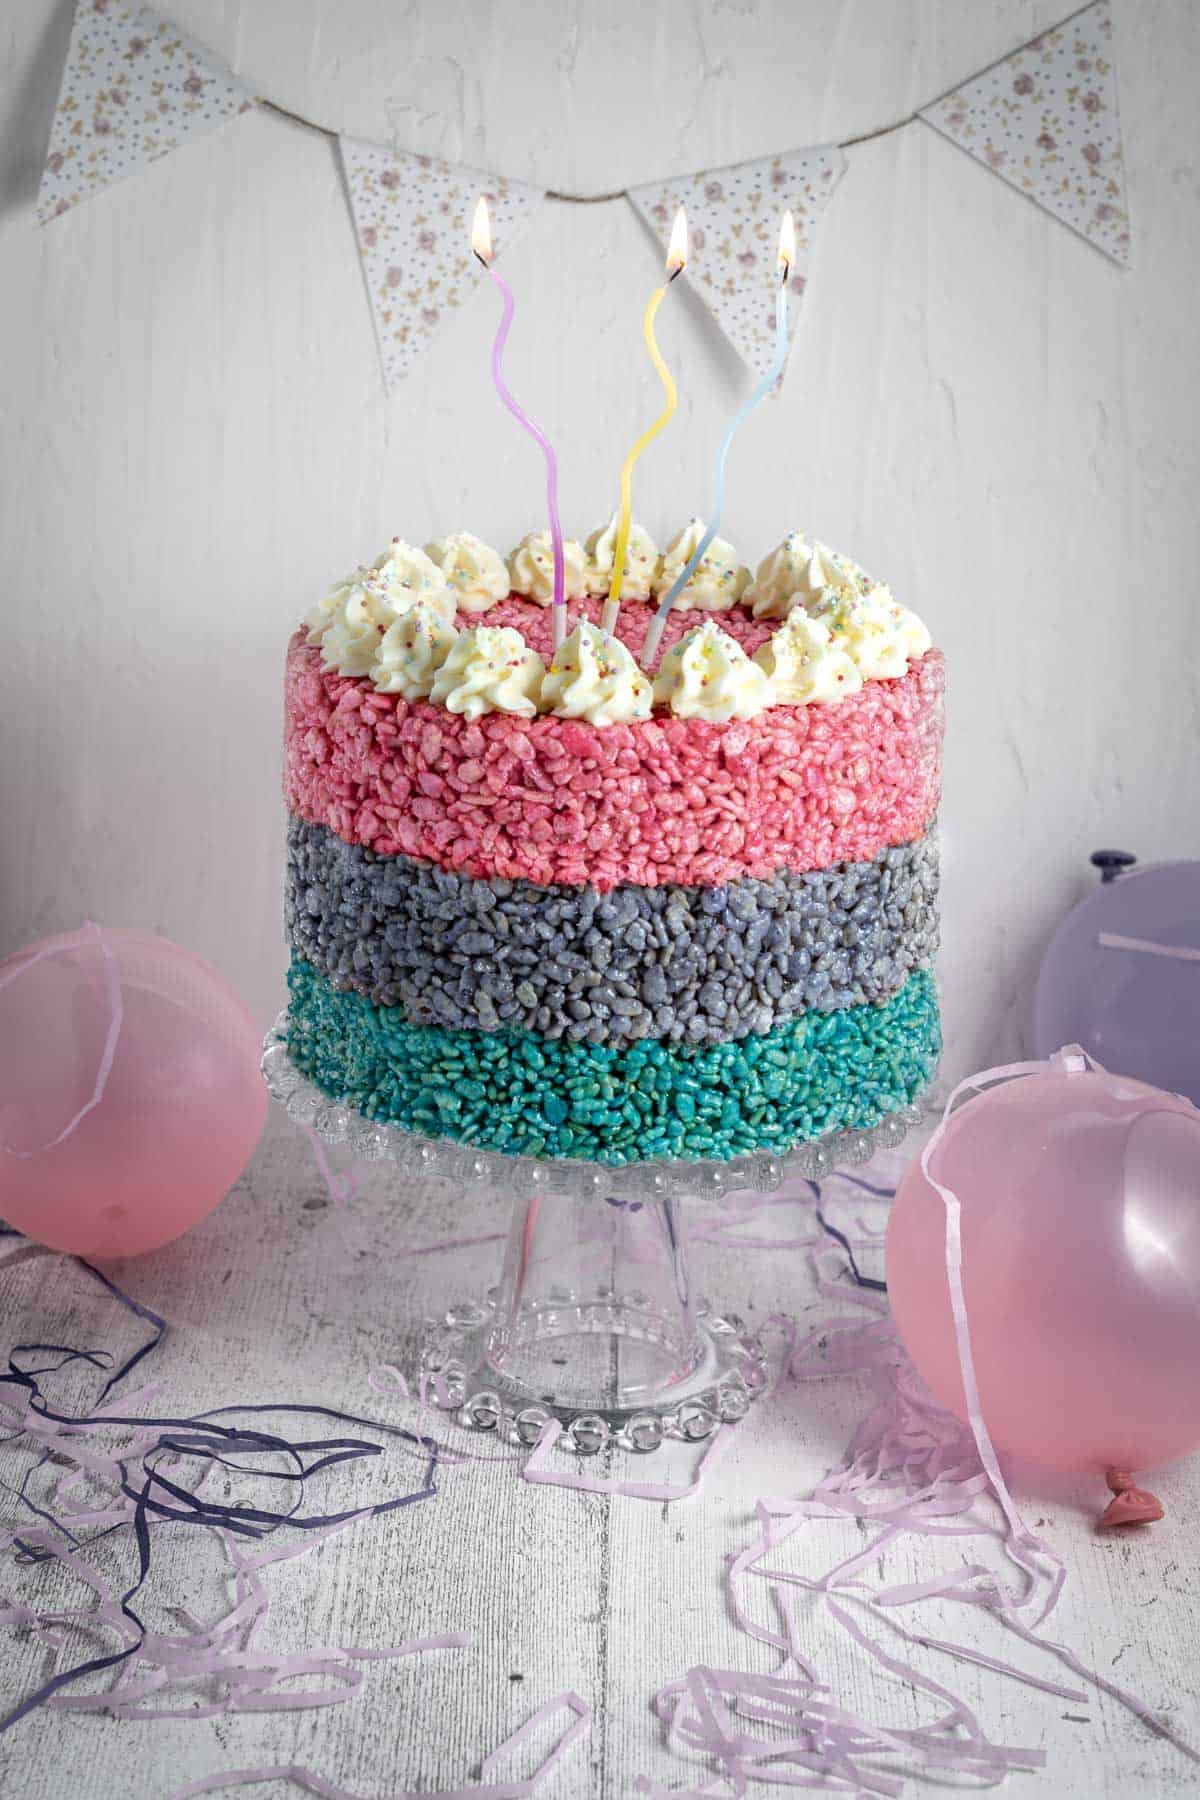
This Rice Krispie treat cake is a colourful no-bake birthday cake made with marshmallows, butter, crispy rice cereal and gel food colouring. Instead of baking sponge layers, you press the marshmallow cereal mixture into cake tins, stack the layers and decorate it like a party cake.
It is a fun alternative to a traditional birthday cake, especially for children's parties, bake sales or anyone who loves classic Rice Krispie treats more than sponge cake. You can make it in three colours, keep it as one big layer or match the colours to your party theme.
No oven, no eggs and no serious baking skills required. Just a large pan, a little patience and the ability to avoid eating half the marshmallow mixture straight from the spoon.
Jump to:
Why this recipe works
- No baking needed - ideal when you want a fun cake without the oven.
- Four main ingredients - cereal, marshmallows, butter and colour.
- Easy to customise - change the colours, sprinkles and decorations.
- Great for parties - easy to slice into small pieces.
- Flexible shape - make layers, one big cake or a bundt-style cake.
- Egg-free - handy for egg-free party treats.
Key ingredient notes and substitutions
Marshmallows
White marshmallows give the cleanest colours, especially for yellow, green or orange layers. If you only have mixed pink and white marshmallows, use the pink ones for pink, purple or blue layers.
Mini marshmallows melt fastest. Large marshmallows also work, but cut them into smaller pieces so they melt evenly.
Rice Krispies or crispy rice cereal
Rice Krispies or any supermarket crispy rice cereal will work. Use a fresh, crisp cereal for the best texture, as stale cereal will make the cake taste flat and less crunchy.
Gel food colouring
Gel food colouring gives stronger colours without adding too much liquid to the marshmallow mixture. The colour will look paler once the cereal is stirred in, so make the melted marshmallow mixture slightly brighter than you want the final layer to be.
Butter
Unsalted or salted butter both work. If using salted butter, the cake will have a slightly more balanced sweet-salty flavour.
Cake tin tips
- For a three-layer cake, use three 20cm/8 inch round cake tins if you have them. Line the bases with baking paper and lightly grease the sides so the layers release cleanly.
- If you only have one tin, make one layer at a time. Once the first layer is pressed in, run a knife around the edge, turn it out carefully and reuse the tin for the next colour.
- Use a large saucepan or pot for melting the marshmallows. Once the cereal goes in, you need enough room to stir without launching Rice Krispies across the kitchen like tiny edible confetti.
How to make a Rice Krispie treat cake
Step 1: Divide the butter, marshmallows and cereal into three equal portions before you start. This keeps the layers even and saves you trying to do maths while holding a sticky spoon.
Step 2: For each layer, melt one portion of butter in a large saucepan over a low heat. Add one portion of marshmallows and stir until fully melted and smooth.
Step 3: Add the gel food colouring and stir until the colour is evenly mixed. Make the colour slightly stronger than you want the finished layer to be, as the cereal will lighten it.
Step 4: Take the pan off the heat, then stir in one portion of Rice Krispies until every piece is coated in the marshmallow mixture.
Step 5: Tip the mixture into the prepared tin. Press it into an even layer with a lightly greased spatula, spoon or the bottom of a glass. Press firmly enough to level it, but not so hard that the finished cake becomes dense.
Step 6: Repeat with the remaining colours. Stack the layers on a cake stand or serving plate, pressing each one down gently so the cake sits neatly.
If the layers feel too soft to handle, chill them for 10 minutes before stacking.
Tips for success
- Keep the heat low when melting the marshmallows. High heat can make the mixture stiff and harder to work with.
- Work quickly once the cereal is added, as the mixture firms up as it cools.
- Lightly grease your spoon, spatula or hands before pressing the mixture into the tin.
- Do not squash the layers down too hard. A little pressure helps them hold their shape, but too much can make the cake tough.
- Let the cake sit for a short while before slicing if it feels very soft.
Decoration ideas
Decorate the cake once the layers are stacked and firm enough to handle.
Try:
- piped buttercream or marshmallow fluff around the top edge
- melted chocolate drizzled over the top
- sprinkles, candles, flags or cake toppers
- a simple icing drip
- sweets or mini marshmallows piled on top
Keep heavy decorations near the centre rather than right on the edges, especially if the cake is going to travel.
Variations
Chocolate Rice Krispie treat cake
Use Coco Pops or chocolate crispy rice cereal instead of plain Rice Krispies. The butter and marshmallow quantities can stay the same.
Funfetti Rice Krispie cake
Skip the food colouring and stir sprinkles into the mixture instead. Add them just before pressing the mixture into the tin so the colours do not bleed too much.
One-layer shortcut cake
Press the whole mixture into one large cake tin or bundt tin instead of making three layers. This is quicker and still works well for candles and decorations.
Flavoured version
Add a little vanilla extract to the melted marshmallow mixture, or use a few drops of peppermint extract for a choc-mint version with chocolate drizzle.
Storage
I do not recommend freezing it. Freezing and thawing can add moisture, which softens the cereal and spoils the crisp texture.
Store the Rice Krispie treat cake in an airtight container at room temperature for up to 5 days. Keep it away from heat and moisture so the cereal stays crisp.
It is best eaten within the first 2-3 days, when the texture is at its freshest.
Troubleshooting
Why is my Rice Krispie cake hard?
The mixture may have been cooked over too high a heat, pressed too firmly into the tin or made with too much cereal. Melt the marshmallows gently over a low heat and press the layers just firmly enough to level them.
Why are my layers falling apart?
The cereal may not have been fully coated in the marshmallow mixture, or the layers may have been stacked before they had firmed up. Stir until every piece of cereal is coated and chill soft layers for 10 minutes before stacking.
Why did my colours look dull?
The colour becomes paler once the cereal is added. Use gel food colouring and make the melted marshmallow mixture slightly brighter than you want the final layer to be.
More easy party treats
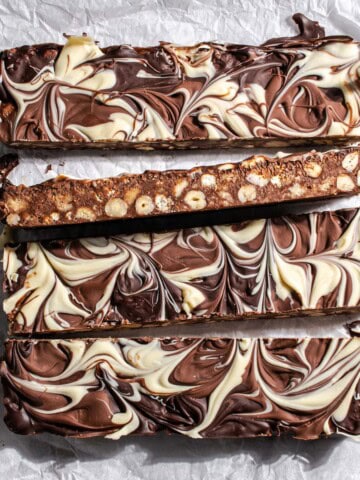
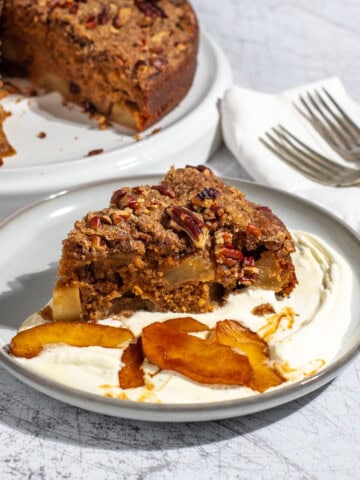
For more easy sweet treats, try my rocky road fudge, raspberry and white chocolate blondies, easy coconut ice with condensed milk or Rice Krispie squares with marshmallow fluff.
Recipe
Rice Krispie Treat Cake
Equipment
- 3 20cm/8 inch round cake tins - if you only have one, re-use it for each colour
Ingredients
- 90 grams unsalted butter (3.2oz) - divided into 3 x 30g
- 450 grams white marshmallows (15.9oz) - divided into 3 x 150g. You can use pink marshmallows if you are going to colour some layers pink, purple or even blue.
- 600 grams Rice Krispies (21.2oz) - divided into 3 x 200g
- 3 x gel food colouring of choice
Instructions
- Grease and line three 20cm/8 inch round cake tins with baking paper. If using one tin, you can make one layer at a time and reuse it.
- Divide the butter, marshmallows and Rice Krispies into three equal portions.90 grams unsalted butter (3.2oz) , 450 grams white marshmallows (15.9oz), 600 grams Rice Krispies (21.2oz)
- For the first layer, melt one portion of butter in a large saucepan over a low heat.
- Add one portion of marshmallows and stir until fully melted and smooth.
- Add a little gel food colouring and stir until evenly mixed. Make the colour slightly brighter than you want the finished layer to be, as the cereal will lighten it.3 x gel food colouring of choice
- Remove the pan from the heat and stir in one portion of Rice Krispies until evenly coated.
- Spoon the mixture into the prepared tin and press it into an even layer with a lightly greased spatula, spoon or the bottom of a glass. Press firmly enough to level it, but not so hard that the layer becomes dense.
- Repeat with the remaining butter, marshmallows, cereal and colours to make the other two layers.
- If the layers feel very soft, chill them for 10 minutes before stacking.
- Stack the layers on a cake stand or serving plate, pressing each one down gently so the cake sits neatly.
- Decorate with buttercream, marshmallow fluff, melted chocolate, sprinkles, candles or sweets.
- Slice into small wedges or pieces to serve.
Notes
- Use gel food colouring for the strongest colours.
- Keep the heat low when melting the marshmallows so the mixture stays soft and workable.
- Press the layers firmly enough to level them, but not so hard that the cake becomes dense.
- Store in an airtight container at room temperature for up to 5 days. Best eaten within 2-3 days.
- Not suitable for freezing.

**Nutritional data disclaimer**
Please keep in mind that the nutritional information provided below is calculated by a third party and we cannot guarantee the accuracy. We try our best to give you the most accurate information, but we do not take responsibility for errors that may be present. Also, the nutritional value of the recipe may change depending on the exact brands and products used. We recommend that you consult with a qualified healthcare professional or registered dietitian for personalised advice on your dietary needs.
Nutrition
For food safety advice, including guidance on food allergies

Leave a Reply