
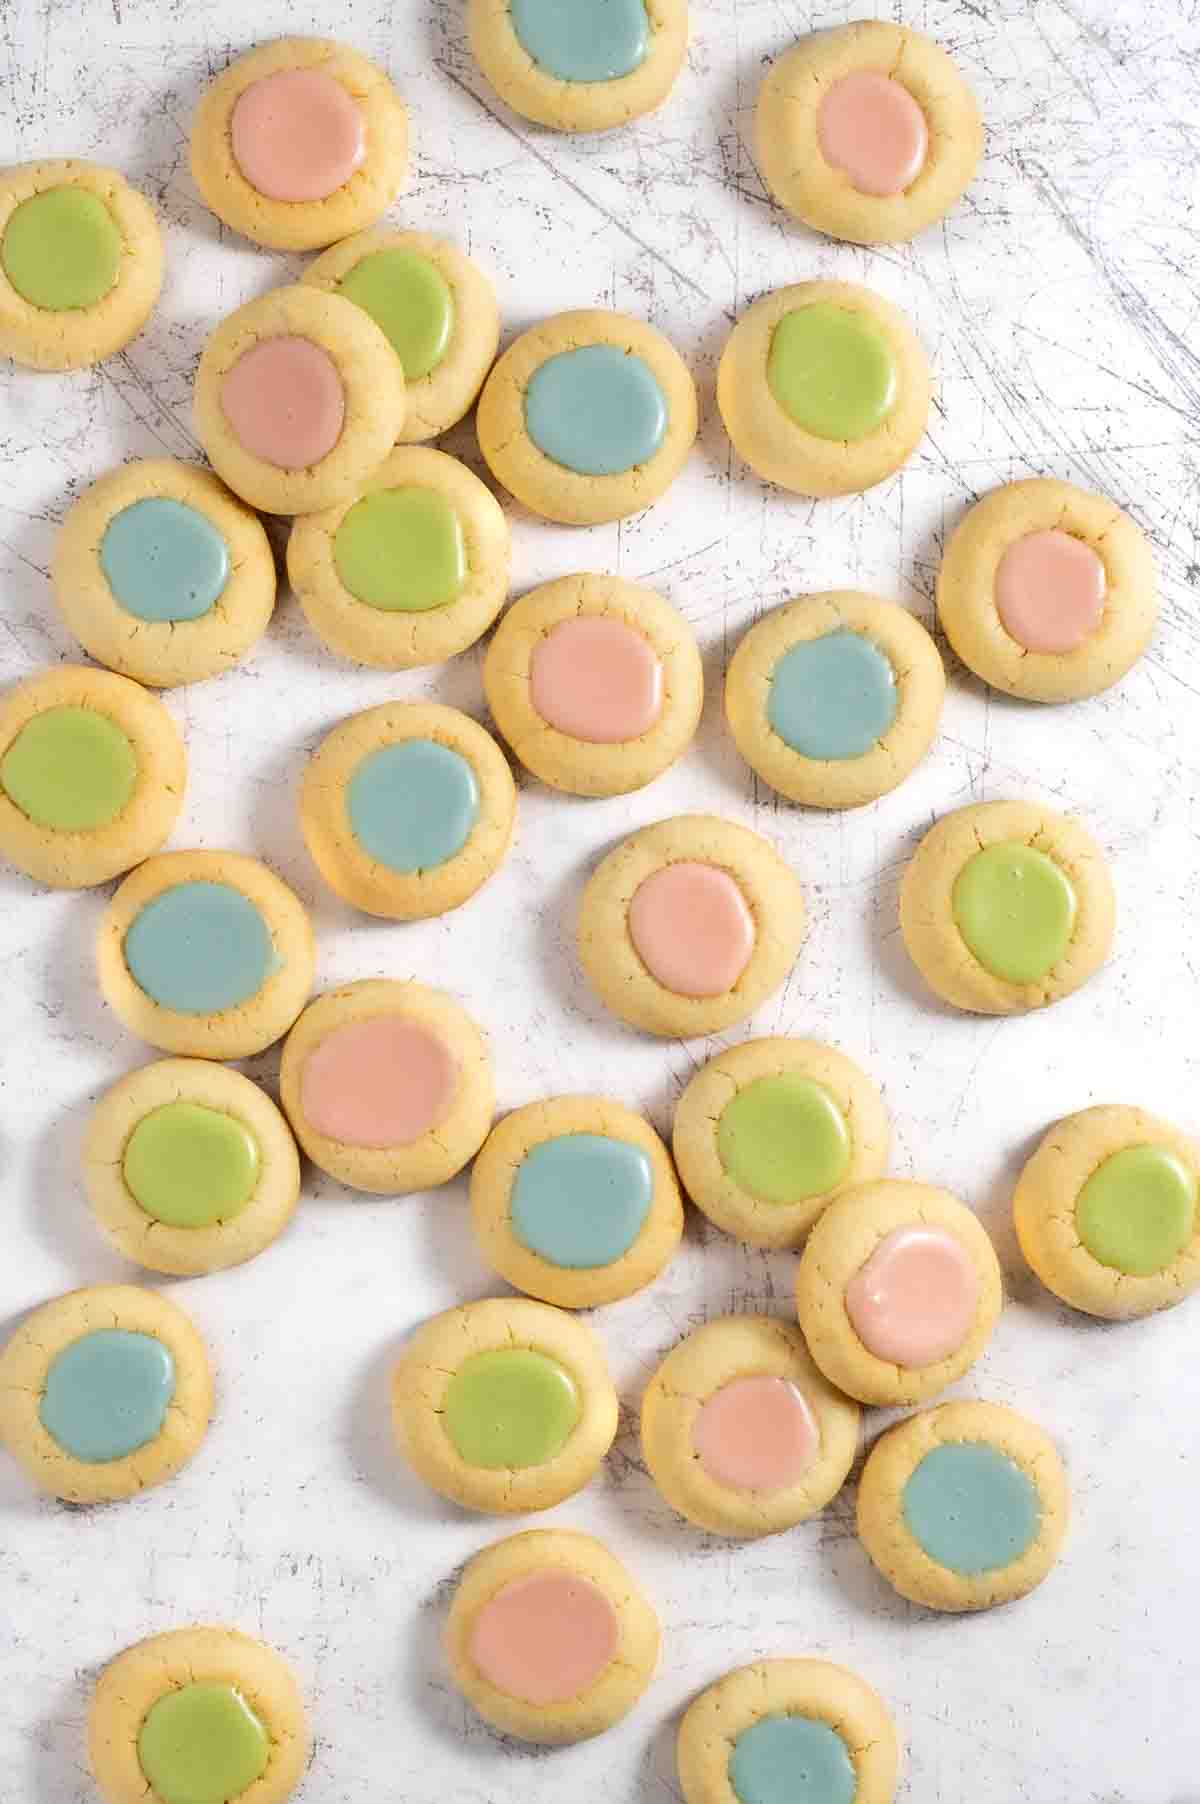
Thumbprint icing cookies are a simple way to freshen up this classic buttery biscuit.
Unlike the usual jam-filled versions, these have smooth, colourful icing that feels fresh and cheerful.
This recipe sits perfectly between a tender shortbread and a soft sugar cookie - buttery, delicate, but with enough structure to hold its shape.
Plus, you can easily swap in any icing colours or add subtle flavours like lemon or almond to make them your own.
Whether you're new to baking or just want a reliable, beautiful cookie, these iced thumbprint cookies are a lovely go-to.
Jump to:
- Icing vs Jam: What's the Difference?
- Recipe highlights
- Recipes to try next...
- Key ingredient notes and substitutions
- Quick tip
- Quick tip
- The perfect icing consistency
- Step-by-step instructions
- Troubleshooting
- Variations and flavour twists
- Decorating ideas for thumbprint icing cookies
- Storage
- Recipe
- The perfect icing consistency
- Troubleshooting
Icing vs Jam: What's the Difference?
The main difference between jam-filled and icing thumbprint cookies is when the filling is added.
Jam goes in before baking and softens into the cookie, while icing is added after the cookies have cooled, sitting neatly on top.
To keep the indentations crisp, you simply re-press the wells halfway through baking, so your thumbprint cookies hold their shape perfectly.
Recipe highlights
- Buttery, soft cookies with a delicate crumb - very moreish!
- Smooth icing that's fun to colour and flavour your way.
- Holds its thumbprint shape with a simple baking trick.
- Easy to make, even easier to customise.
- Lovely for gifting, sharing, or a quiet afternoon bake.
Recipes to try next...
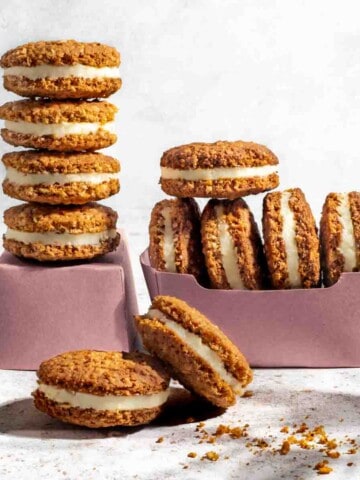
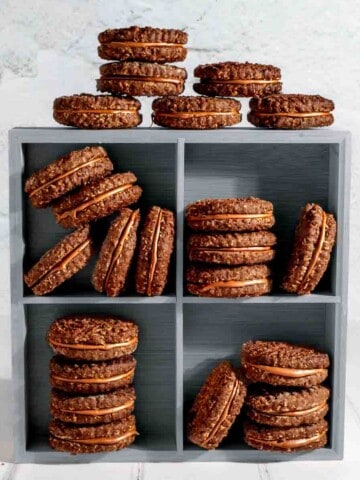
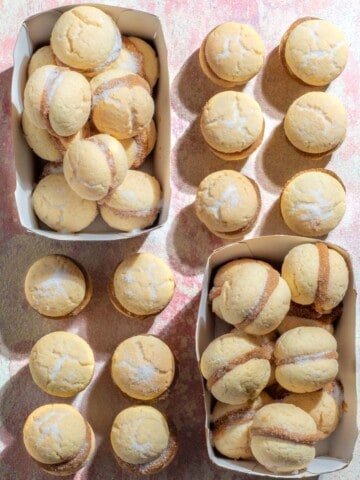
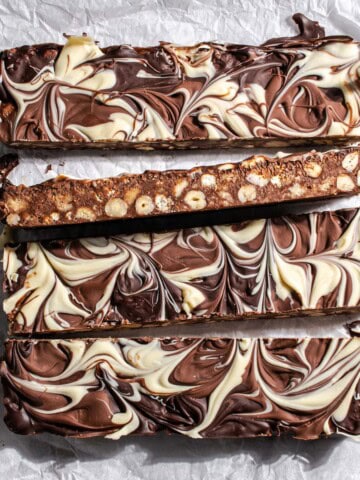
If you love these thumbprint icing cookies, you'll want to explore our other iced favourites - Gypsy creams, Romany creams, and Casadinhos.
Each offers a unique twist with their smooth icing and delicious textures, perfect for anyone who appreciates a beautifully iced cookie.
Key ingredient notes and substitutions

Soft, unsalted butter
Using unsalted butter lets you control the salt in the recipe, but if you only have salted butter, just leave out the ¼ teaspoon of added salt.
Make sure your butter is soft enough to cream with the sugar - pliable, but not melting.
You should be able to press a finger in easily without it collapsing. If it's too soft, the dough will be tricky to shape.
Egg
We use one large egg, about 60g (2oz) in the shell.
Make sure it's at room temperature - cold eggs can cause the butter to seize and make the dough harder to mix evenly.
Quick tip
Forgot to take your egg out? Just place it in a bowl of warm (not hot) water for 5-10 minutes to bring it to room temperature quickly.
Icing/powdered sugar
For the smoothest icing tops, it's worth taking a moment to sift the icing sugar first (our least favourite baking task - right up there with cleaning the mixer - yet somehow non-negotiable).
It helps prevent any lumps that could spoil those perfect little drops on each cookie.
Milk
Start with no more than 2 tablespoons to thin the icing, then add just a small drop at a time.
Even a little extra can quickly make the icing too runny. Tiny adjustments go a long way.
Food colouring
You can absolutely leave the icing white if that's the look you're after, but it's much more fun to play with soft, complementary colours.
If you're curious how we achieved the muted tones in these cookies, here's what we used:
- Pink: Sugarflair Dusky Pink + a speck of Wilton Brown
- Blue: Sugarflair Baby Blue + a speck of Wilton Brown
- Green: Sugarflair Gooseberry + a speck of Wilton Brown
Quick tip
Gel food colouring works best here, it gives vibrant colour without thinning the icing.
The perfect icing consistency
The ideal icing should be just runny enough to settle smoothly into the hollows, without spilling over.
Think the texture of runny honey - thick and slow-flowing.
When you drizzle a ribbon from a spoon, it should disappear back into itself within 5 to 10 seconds.
If it's too runny, it might overflow, especially if the hollow is slightly uneven.
But if you prefer a more defined, piped look, feel free to keep it a little thicker. There's no wrong way to do it.
Step-by-step instructions
1. Line 2-3 baking sheets with parchment paper.
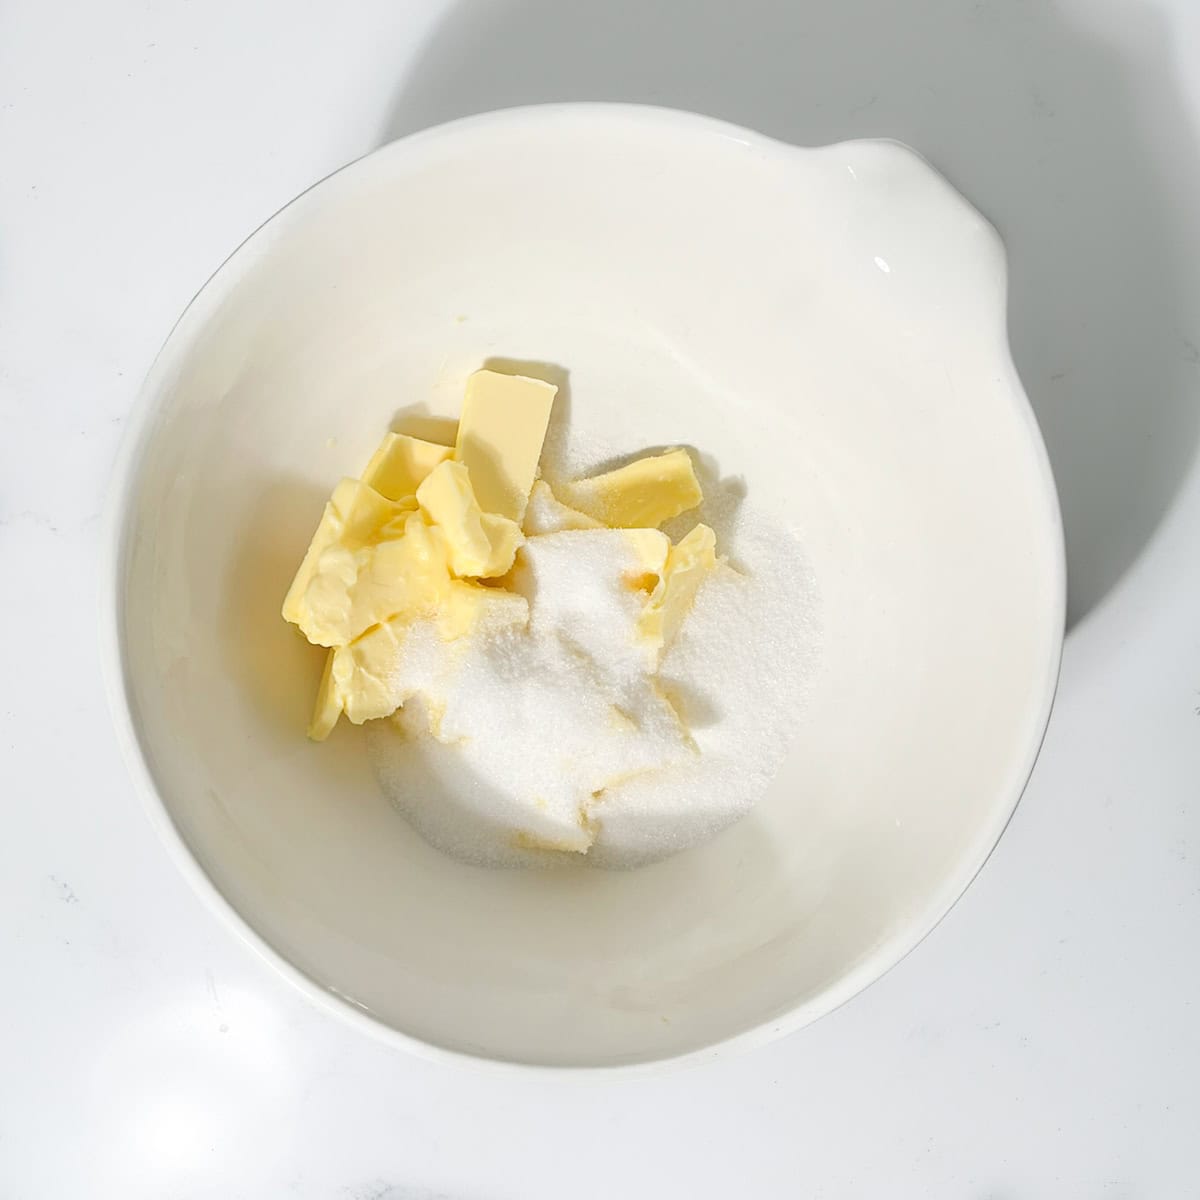
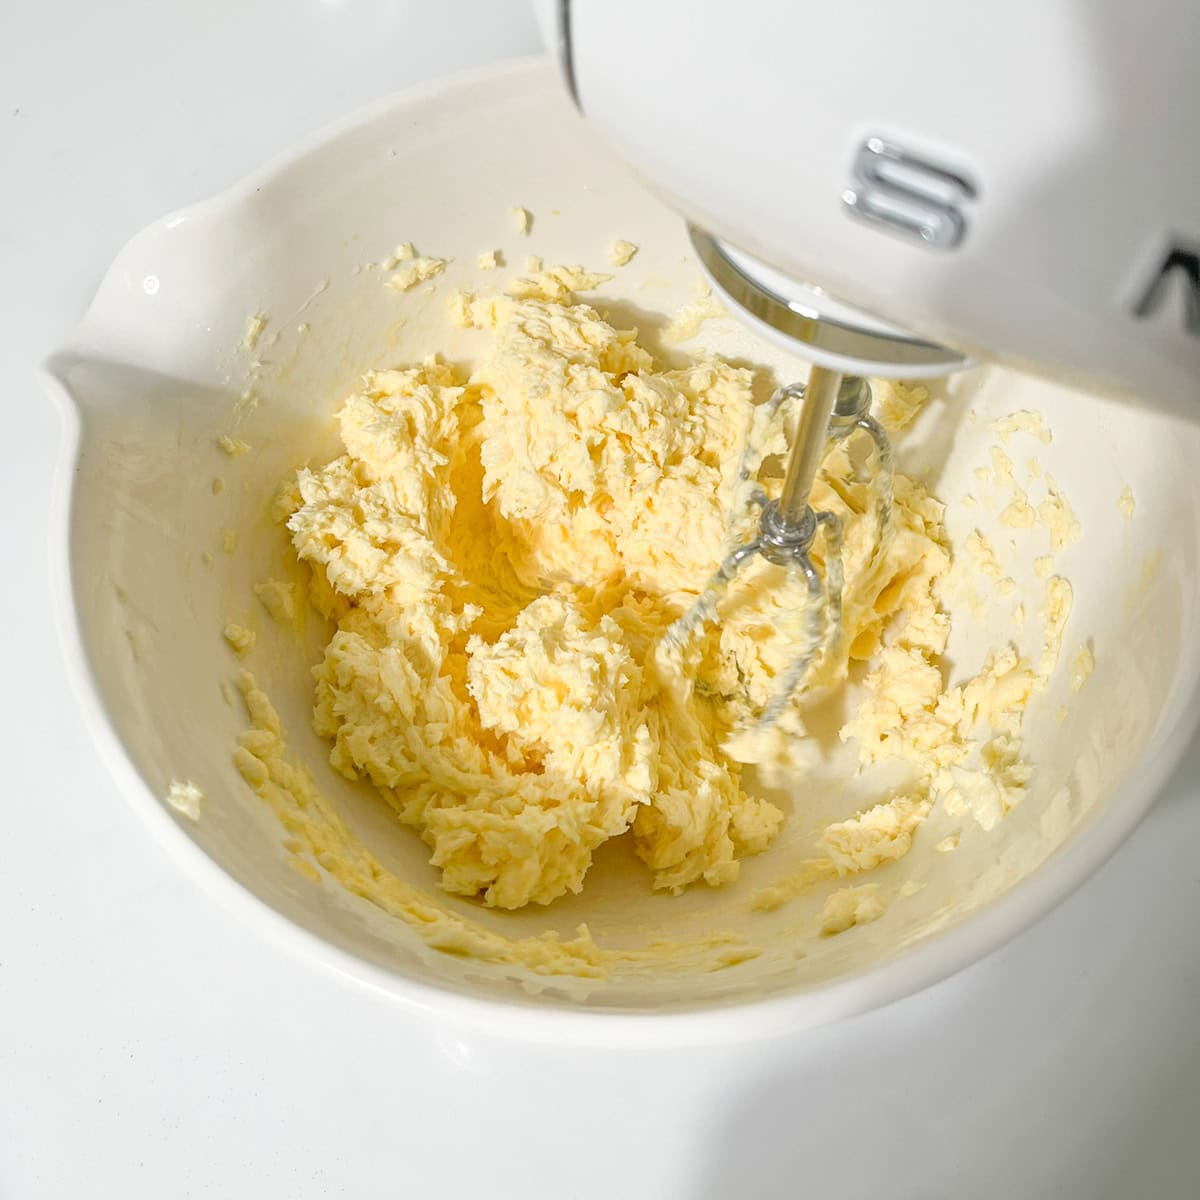
2. In a large bowl, beat the soft butter and sugar together with a hand mixer (or stand mixer) for 3-4 minutes until pale and fluffy.
3. Add the egg, vanilla and salt and mix again until fully combined. Don't worry if the mixture looks slightly curdled - that's perfectly normal.
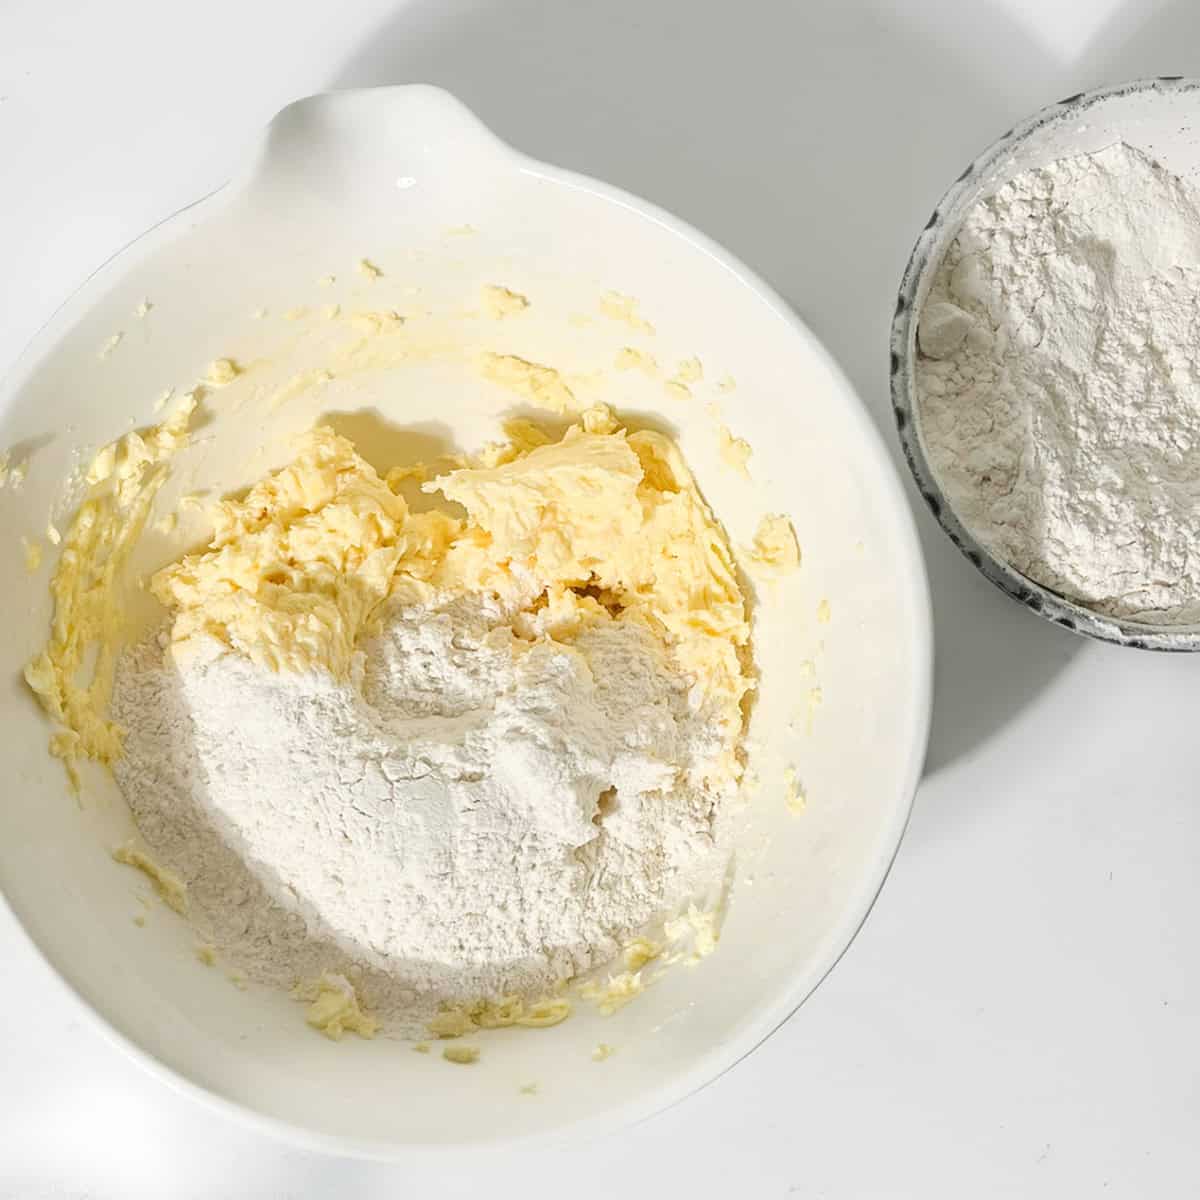
4. Add the flour in three stages. Beat in the first two additions, then use your hands to gently bring the dough together with the final third.
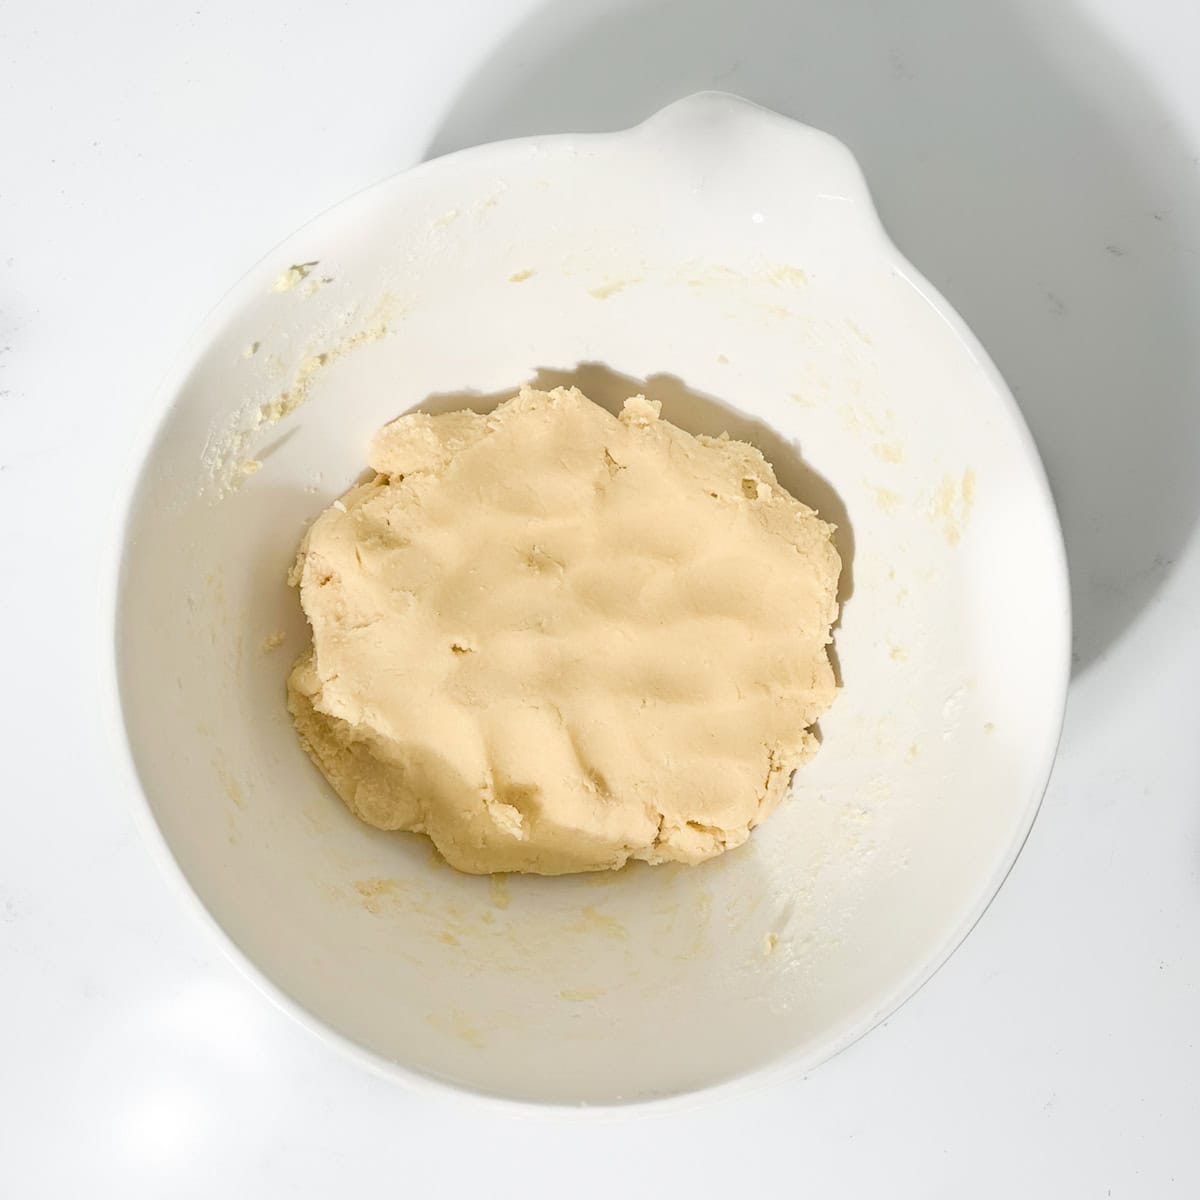
5. Keep mixing by hand until you have a smooth, cohesive dough with no dry patches at the bottom of the bowl. Try to avoid overworking the dough.
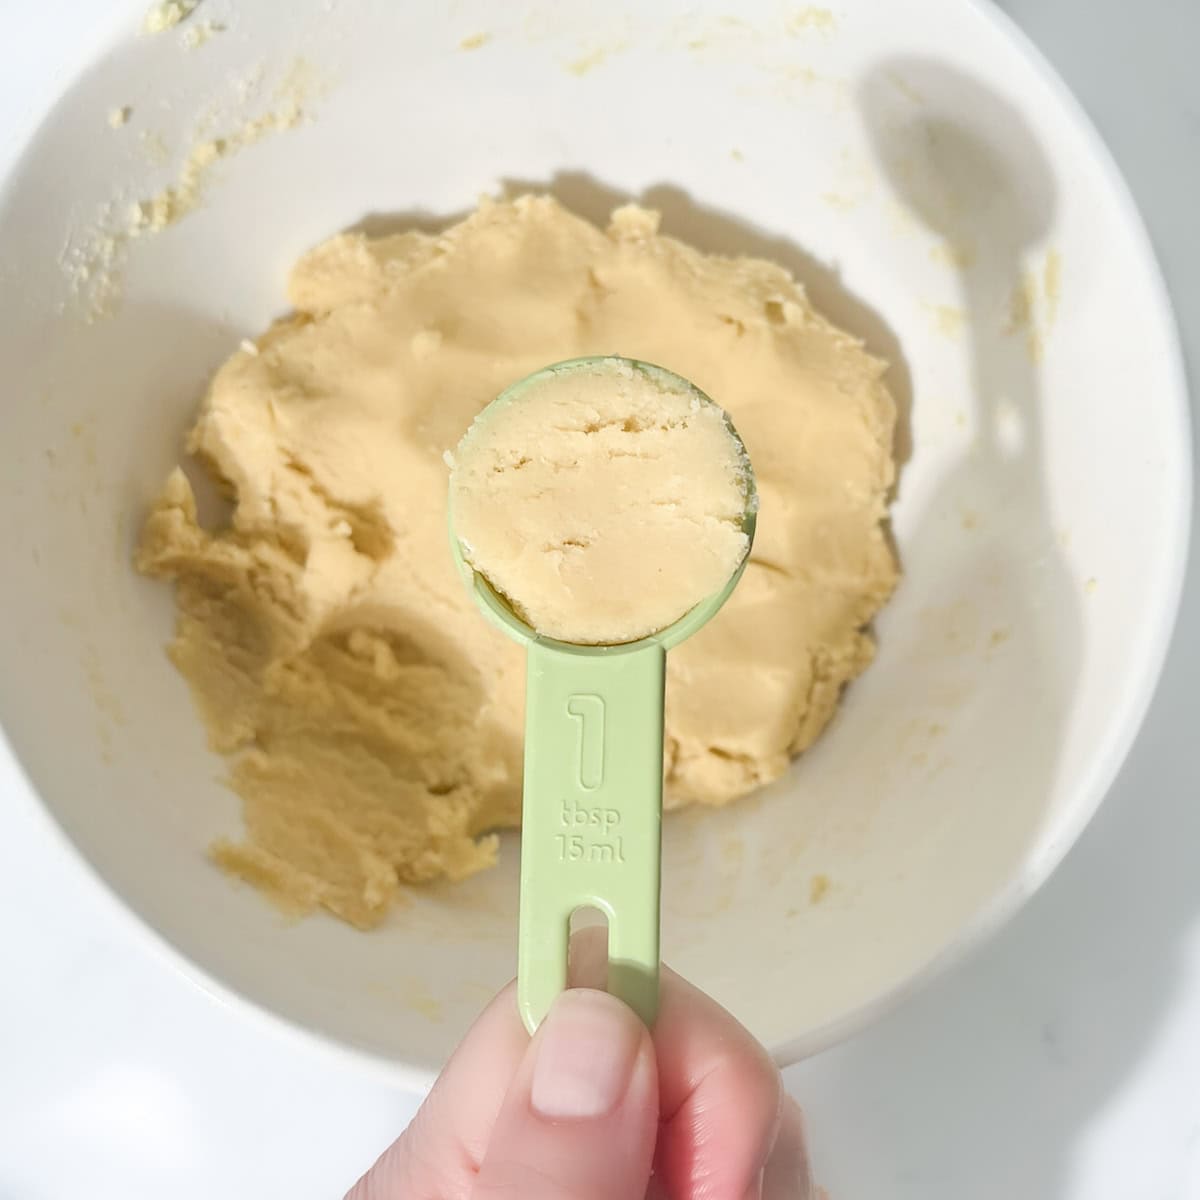
6. Scoop level tablespoons of dough and roll each one into a smooth ball with no cracks or seams. Space them about 3 inches (8cm) apart on the prepared trays.
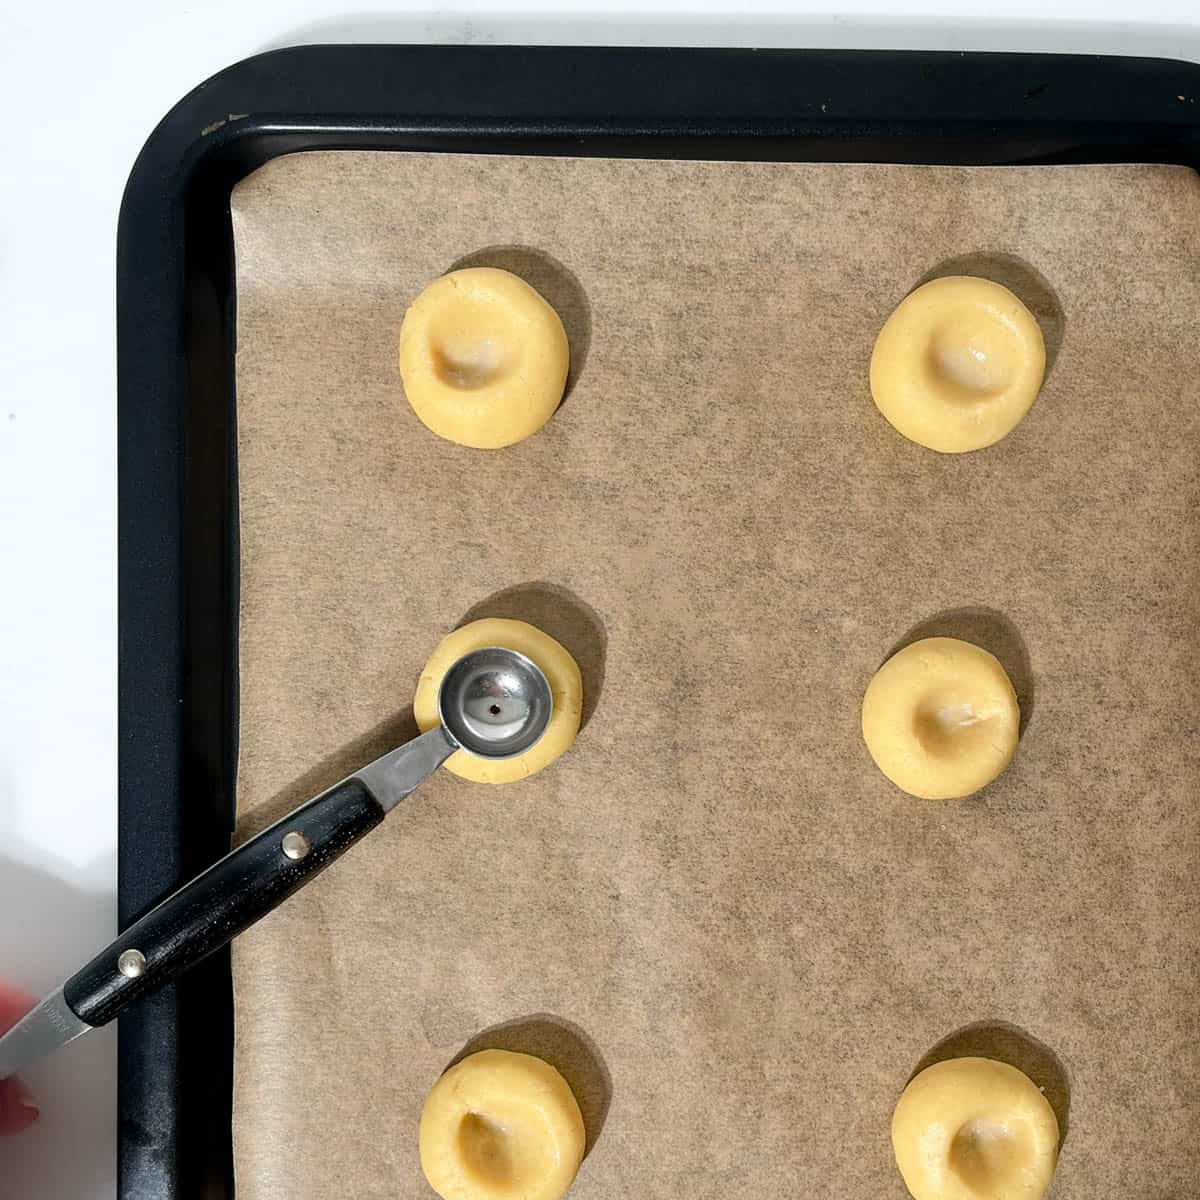
7. Make an indentation in the centre of each ball using a melon baller, a half-teaspoon measure, or your thumb/knuckle. If needed, dip your thumb/knuckle in water to prevent sticking.
8. Preheat the oven to 350°F (180°C)
9. Chill the trays in the fridge for 10 minutes to help the cookies keep their shape.
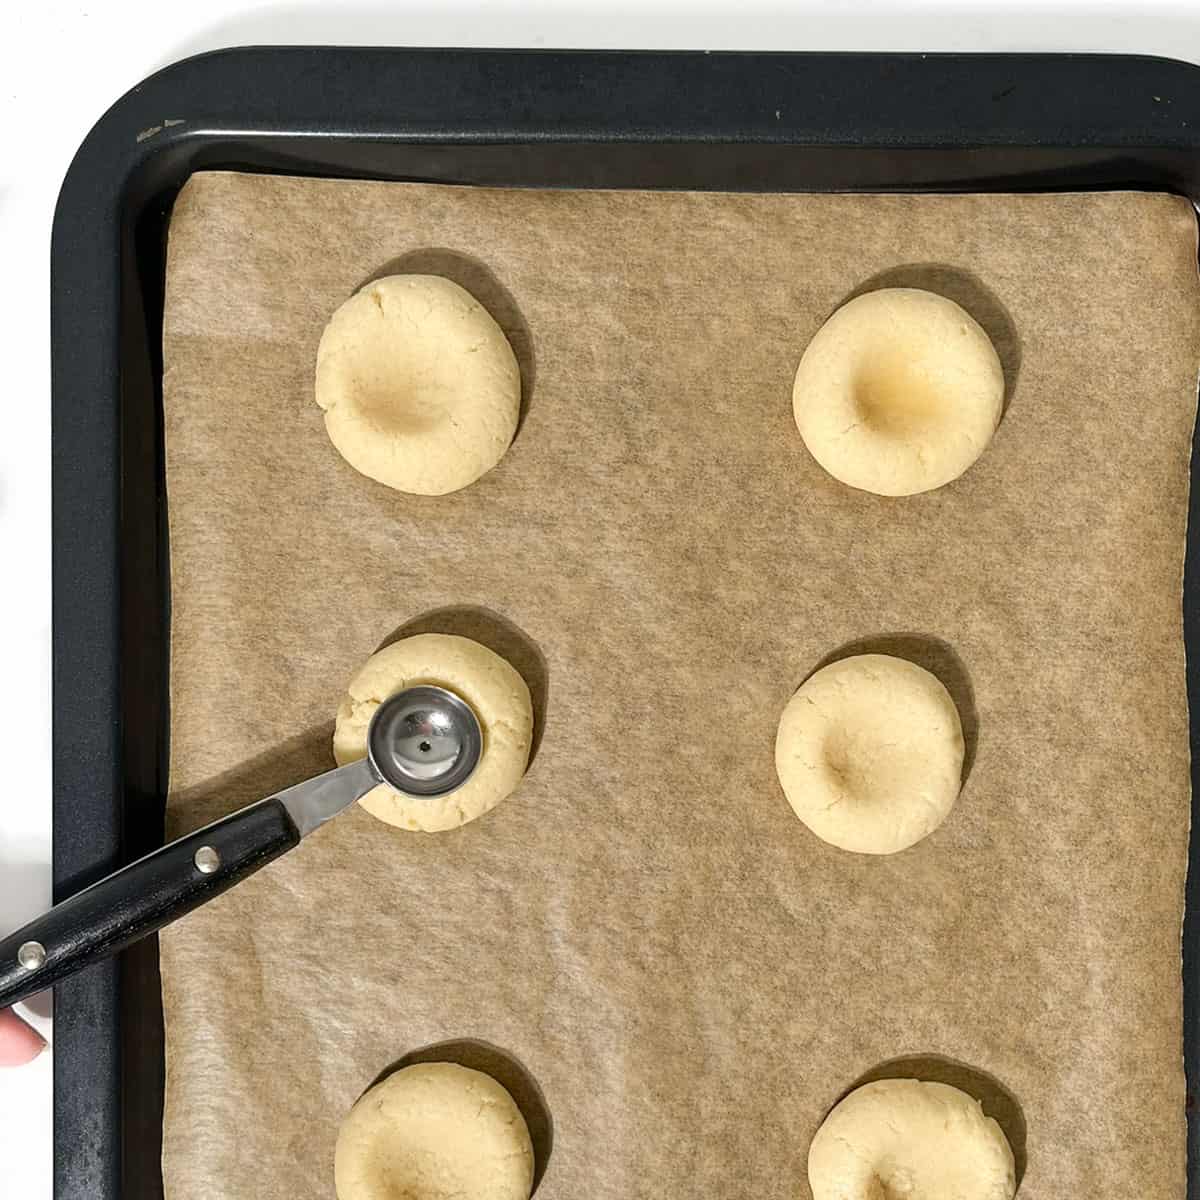
10. Bake for 9 minutes, then remove from the oven and gently re-indent each cookie (they puff slightly). Return to the oven and bake for another 6 minutes until lightly golden at the edges.
11. Cool completely on a wire rack before icing.
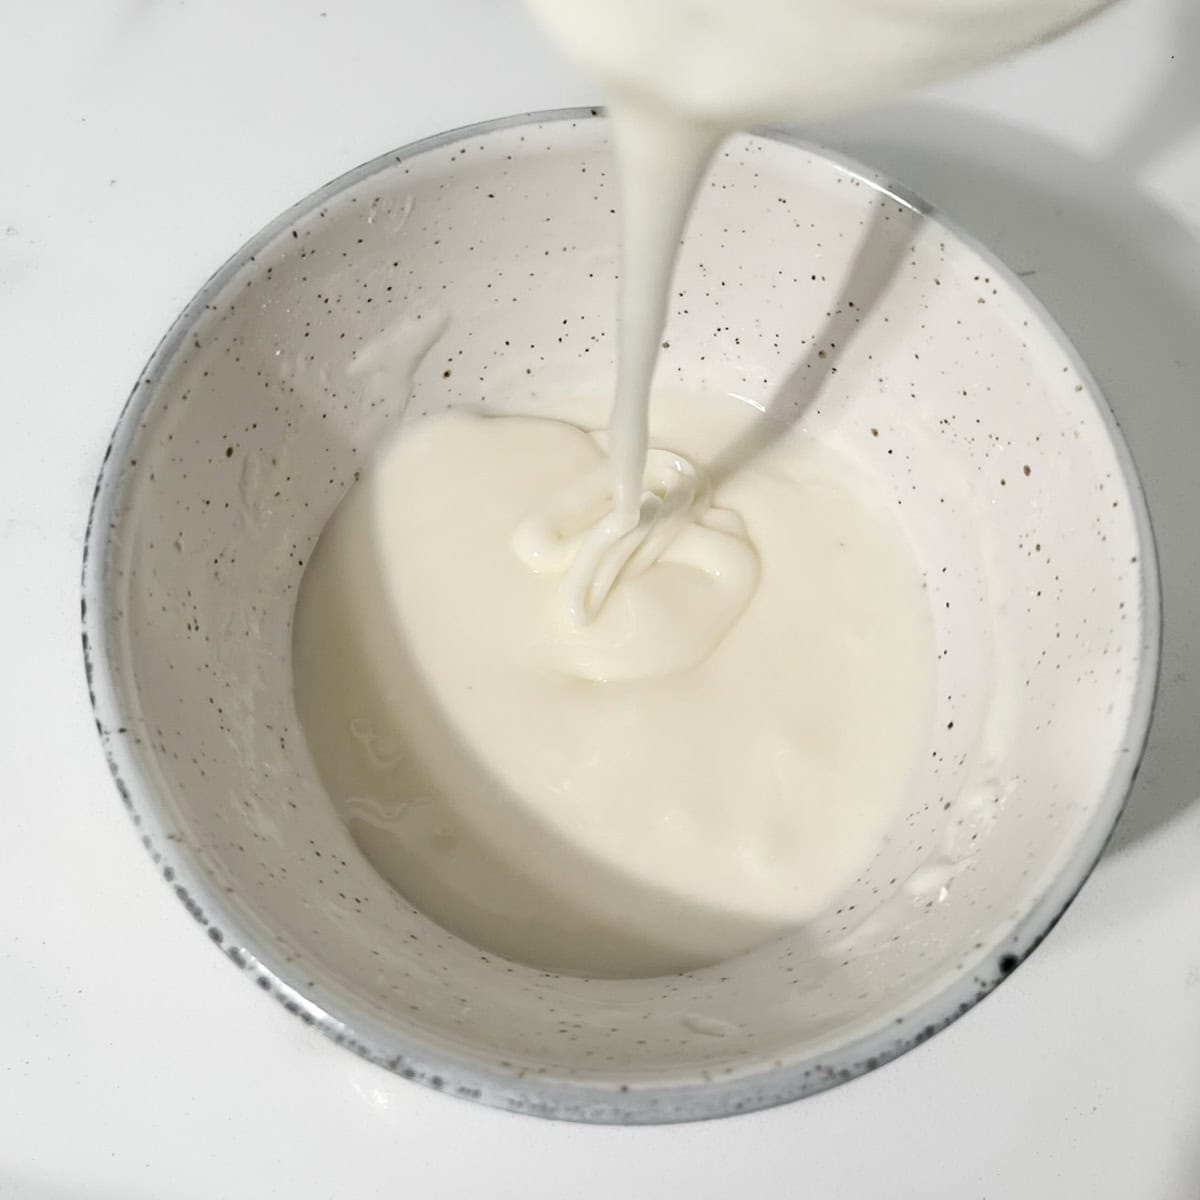
12. To make the icing, sift the powdered sugar into a bowl and add 2 tablespoons of milk along with the vanilla extract. Stir well, then adjust the texture by adding milk just ½ teaspoon at a time.
You want a texture similar to runny honey - thick but smooth and pourable.
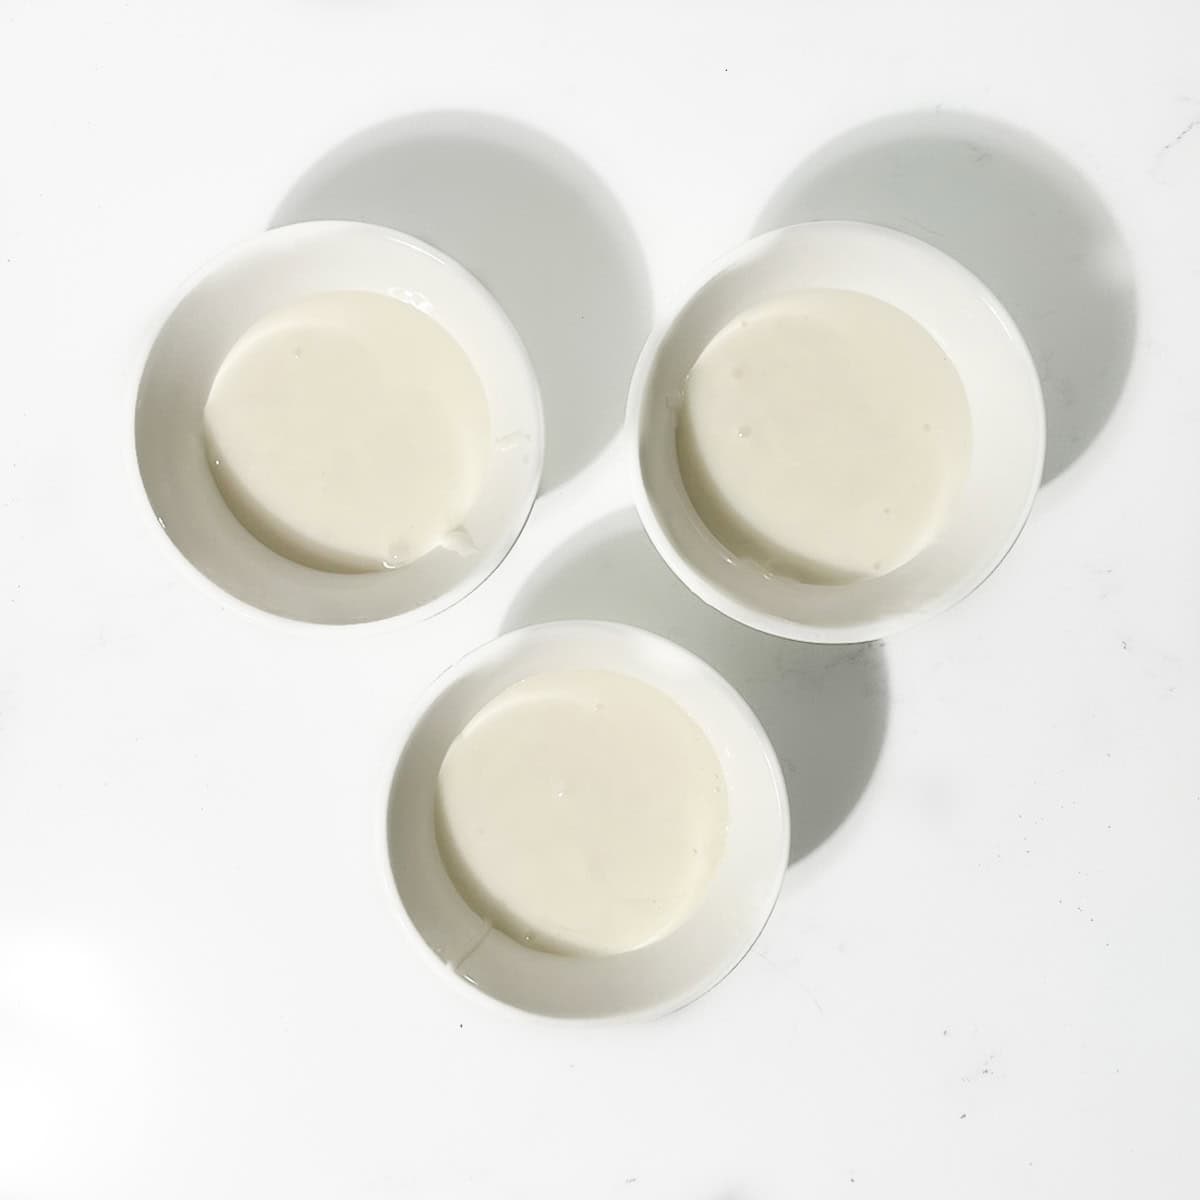
13. Divide the icing into bowls if using multiple colours.
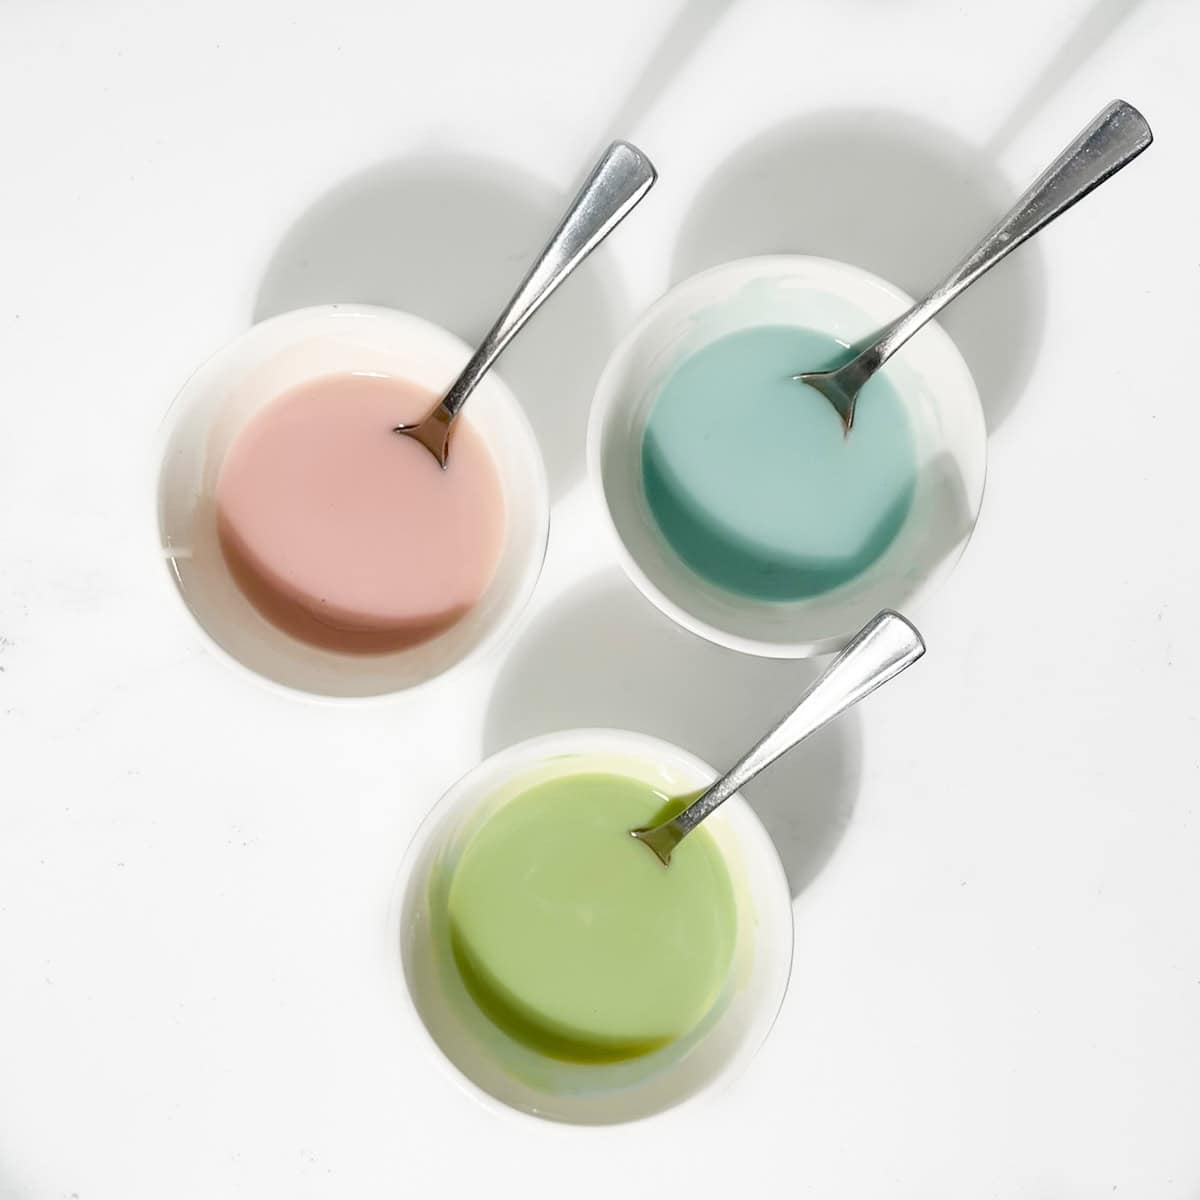
14. Tint each bowl with a small amount of gel colouring. Start with a toothpick's tip, mix well, and adjust as needed.
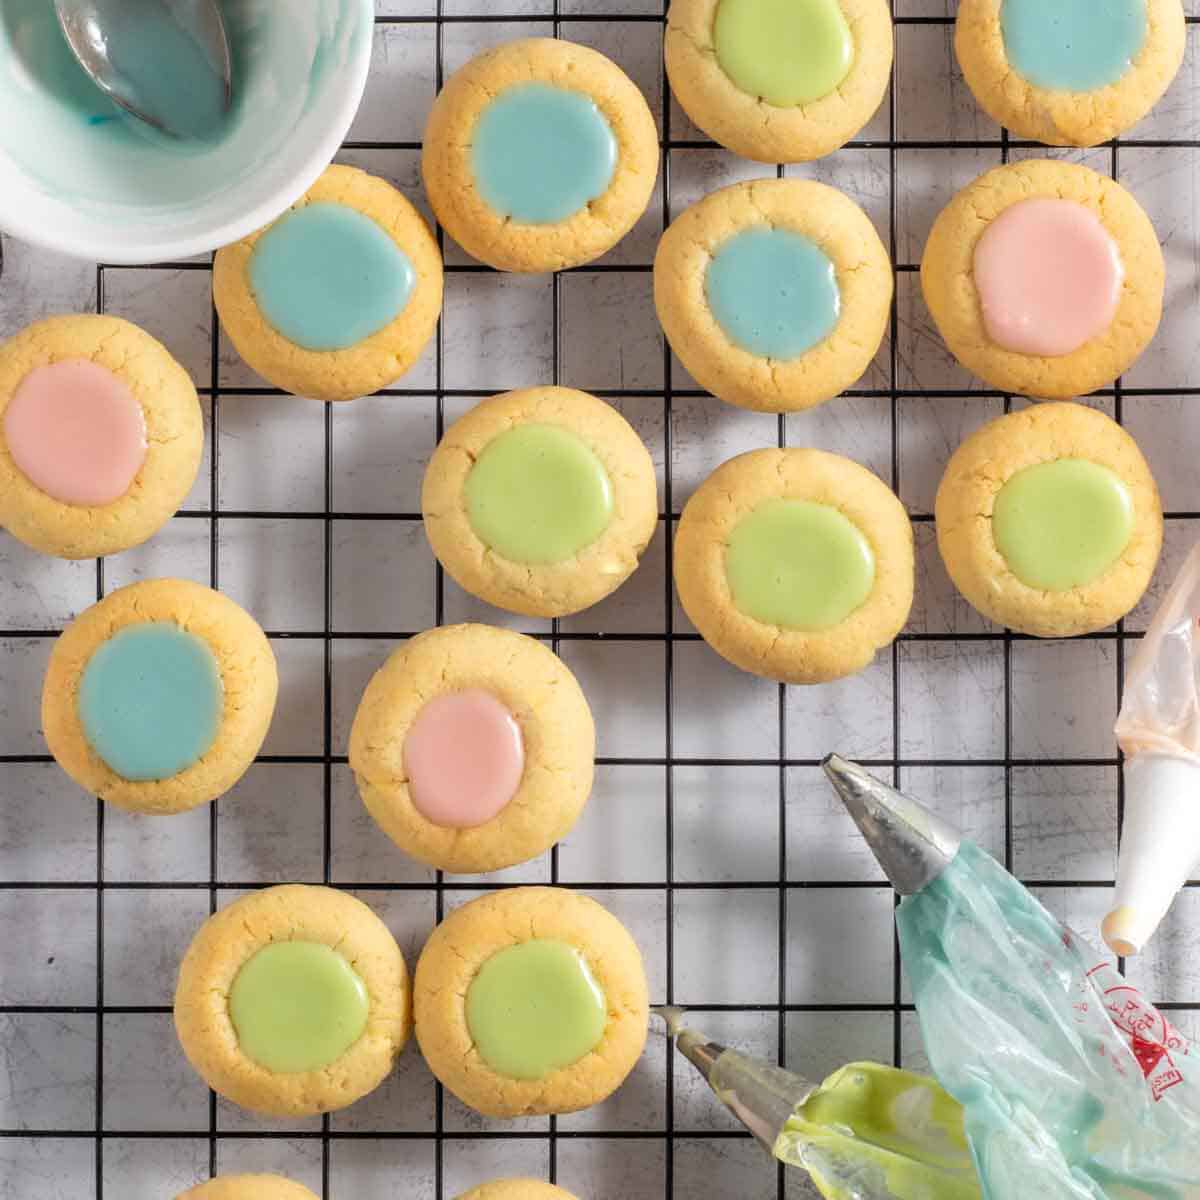
15. Fill the cookies using a small round piping tip or a teaspoon. Fill just to the top of the indent - avoid overfilling or it may spill over. Let the icing set for a few hours before serving.
Troubleshooting
How to minimise cracks on your cookies
Some cracking is normal, but these tips help keep your cookies smooth:
- Roll the dough balls completely smooth with no seams or cracks.
- Don't let the dough dry out before making the indentations.
- Avoid chilling the dough before making hollows - too firm dough can crack when indented.
- If cracks do appear while making the hollows, gently pinch them closed and smooth with a damp fingertip.
How to fix icing that's too runny
If your icing is too thin, simply add 1-2 tablespoons of sifted icing sugar at a time to thicken it back up.
How to store cookies without damaging the icing
We highly recommend storing the cookies in a single layer to keep the icing pristine.
Even parchment paper between layers can sometimes leave marks or smudges on the icing.
Avoid refrigeration, as it can cause the icing to soften or sweat.
Variations and flavour twists
These cookies are super versatile, perfect for adding your own flavour twists.
In the dough:
Try adding lemon or orange zest for a fresh brightness, or a splash of almond extract for warmth. A pinch of cinnamon, nutmeg, or cardamom gives a cosy, spiced touch.
In the icing:
Switch up vanilla for almond, lemon, or even peppermint extract to add a new dimension. Rosewater works beautifully for something more elegant.
Decorating ideas for thumbprint icing cookies
Single colour icing:
Keep it classic and simple - soft pink for Valentine's or pure white for a timeless Christmas look.
Multi-colour designs:
Get festive with red and green for Christmas, a mixture of blue and pink cookies for gender reveals, or play with shades of green for St. Patrick's Day.
Add some sparkle:
Sprinkles, edible glitter, or piping a contrasting colour on top can take your cookies from pretty to party-ready.
Storage
Store these thumbprint icing cookies in an airtight container in a single layer to keep the icing intact. They'll stay fresh for up to one week at room temperature.
Recipe

Easy Thumbprint Icing Cookies
Equipment
- 2-3 large baking sheets
- piping bags and tips (optional)
Ingredients
For the cookies
- 8 ounces (225g) unsalted butter, softened
- 4.7 ounces (135g) granulated sugar
- 1 large egg, at room temperature
- 1½ teaspoons vanilla extract
- ¼ teaspoon salt
- 13.2 ounces (375g) all-purpose flour
For the thumbprint frosting
- 6.4 ounces (180g) powdered sugar - (icing sugar)
- 2-3 tablespoons milk
- ½ teaspoon vanilla extract
- gel food colouring of choice
Instructions
- Line 2-3 baking sheets with parchment paper.
- In a large bowl, beat the soft butter and sugar together with a hand mixer (or stand mixer) for 3-4 minutes until pale and fluffy.8 ounces (225g) unsalted butter, softened, 4.7 ounces (135g) granulated sugar
- Add the egg, vanilla and salt and mix again until fully combined. Don't worry if the mixture looks slightly curdled - that's perfectly normal.1 large egg, at room temperature, 1½ teaspoons vanilla extract, ¼ teaspoon salt
- Add the flour in three stages. Beat in the first two additions, then use your hands to gently bring the dough together with the final third.13.2 ounces (375g) all-purpose flour
- Keep mixing by hand until you have a smooth, cohesive dough with no dry patches at the bottom of the bowl. Try to avoid overworking the dough.
- Scoop level tablespoons of dough and roll each one into a smooth ball with no cracks or seams. Space them about 3 inches (8cm) apart on the prepared trays.
- Make an indentation in the centre of each ball using a melon baller, a half-teaspoon measure, or your thumb/knuckle. If needed, dip your thumb/knuckle in water to prevent sticking.
- Preheat the oven to 350°F (180°C)
- Chill the trays in the fridge for 10 minutes to help the cookies keep their shape.
- Bake for 9 minutes, then remove from the oven and gently re-indent each cookie (they puff slightly). Return to the oven and bake for another 6 minutes until lightly golden at the edges.
- Cool completely on a wire rack before icing.
- To make the icing, sift the powdered sugar into a bowl and add 2 tablespoons of milk along with the vanilla extract. Stir well, then adjust the texture by adding milk just ½ teaspoon at a time. You want a texture similar to runny honey - thick but smooth and pourable.6.4 ounces (180g) powdered sugar, 2-3 tablespoons milk, ½ teaspoon vanilla extract
- Divide the icing into bowls if using multiple colours.
- Tint each bowl with a small amount of gel colouring. Start with a toothpick's tip, mix well, and adjust as needed.gel food colouring of choice
- Fill the cookies using a small round piping tip or a teaspoon. Fill just to the top of the indent - avoid overfilling or it may spill over. Let the icing set for a few hours before serving.
Notes
The perfect icing consistency
The ideal icing should be just runny enough to settle smoothly into the hollows, without spilling over. Think the texture of runny honey - thick and slow-flowing. When you drizzle a ribbon from a spoon, it should disappear back into itself within 5 to 10 seconds. If it’s too runny, it might overflow, especially if the hollow is slightly uneven. But if you prefer a more defined, piped look, feel free to keep it a little thicker. There’s no wrong way to do it.Troubleshooting
How to minimise cracks on your cookies
Some cracking is normal, but these tips help keep your cookies smooth:- Roll the dough balls completely smooth with no seams or cracks.
- Don't let the dough dry out before making the indentations.
- Avoid chilling the dough before making hollows - too firm dough can crack when indented.
- If cracks do appear while making the hollows, gently pinch them closed and smooth with a damp fingertip.
How to fix icing that's too runny
If your icing is too thin, simply add 1–2 tablespoons of sifted icing sugar at a time to thicken it back up.How to store cookies without damaging the icing
We highly recommend storing the cookies in a single layer to keep the icing pristine. Even parchment paper between layers can sometimes leave marks or smudges on the icing. Avoid refrigeration, as it can cause the icing to soften or sweat.
**Nutritional data disclaimer**
Please keep in mind that the nutritional information provided below is calculated by a third party and we cannot guarantee the accuracy. We try our best to give you the most accurate information, but we do not take responsibility for errors that may be present. Also, the nutritional value of the recipe may change depending on the exact brands and products used. We recommend that you consult with a qualified healthcare professional or registered dietitian for personalised advice on your dietary needs.
Nutrition
For food safety advice, including guidance on food allergies

Leave a Reply