
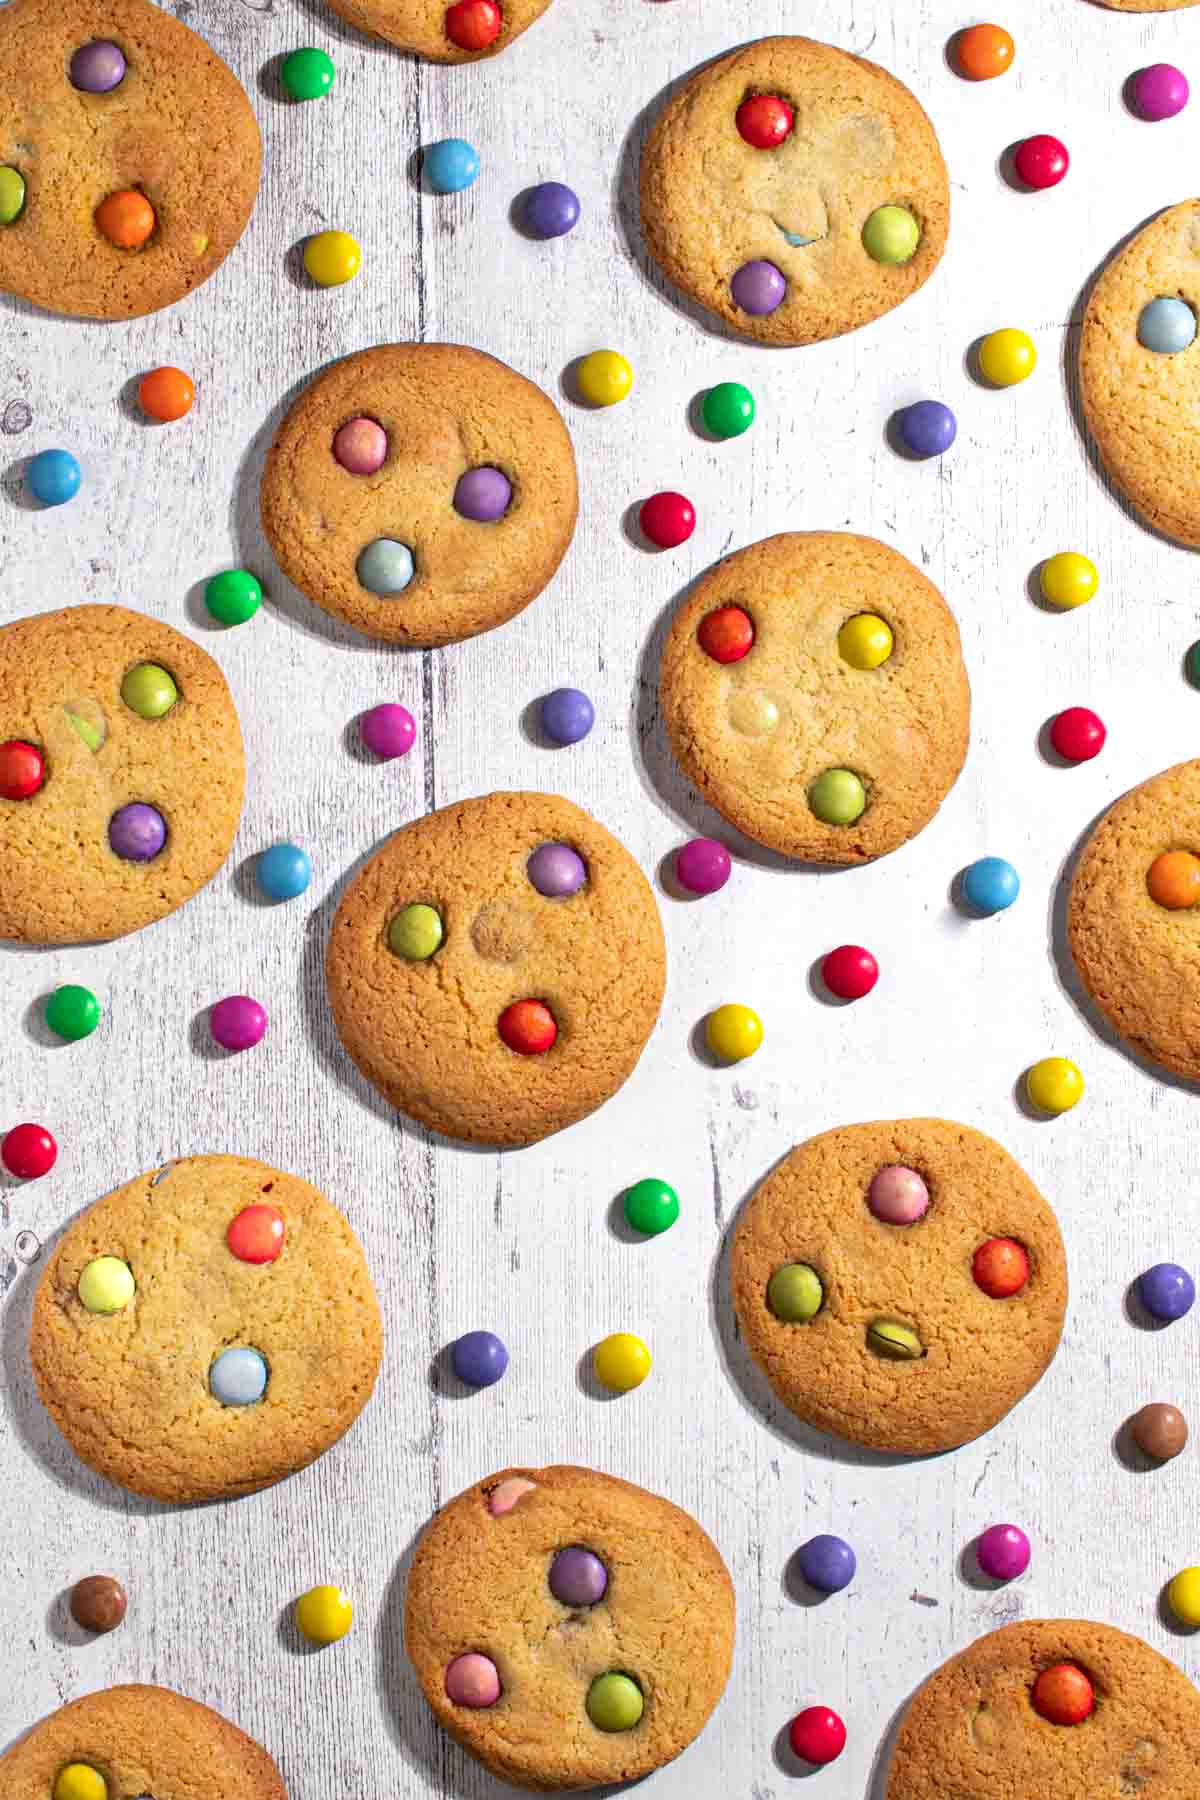
This Smartie cookies recipe is bound to put a smile on anyone's face!
They're so easy to make, colourful and have a delicious crunch and burst of flavour from the Smarties hidden within.
The cookies are crunchy on the outside and chewy in the middle - the perfect cookie consistency in our humble opinion!
So go on, spread the rainbow and bring some colour and joy to someone's day with a plate of these cheerful sweet treats!
This recipe is based on our chocolate chip cookies without brown sugar recipe - a must-try if you enjoy these Smartie cookies.
Jump to:
What's to love about this recipe
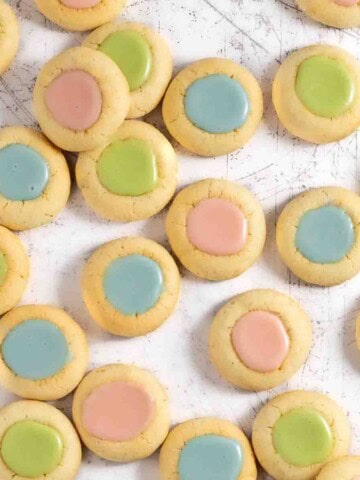
- Visually appealing, colourful cookies.
- The Smarties lend a delicious flavour and crunch.
- This is an easy Smarties cookies recipe and suitable for bakers at all skill levels, so get the kids involved. They're so much fun to make!
- Perfect use of leftover Smarties.
- Swap the Smarties for choc chips, chunks of chocolate, M&Ms etc.
- Will be a hit at bake sales!
Key ingredient notes and substitutions
**Please see the recipe card at the bottom of the post for the complete list of ingredients.
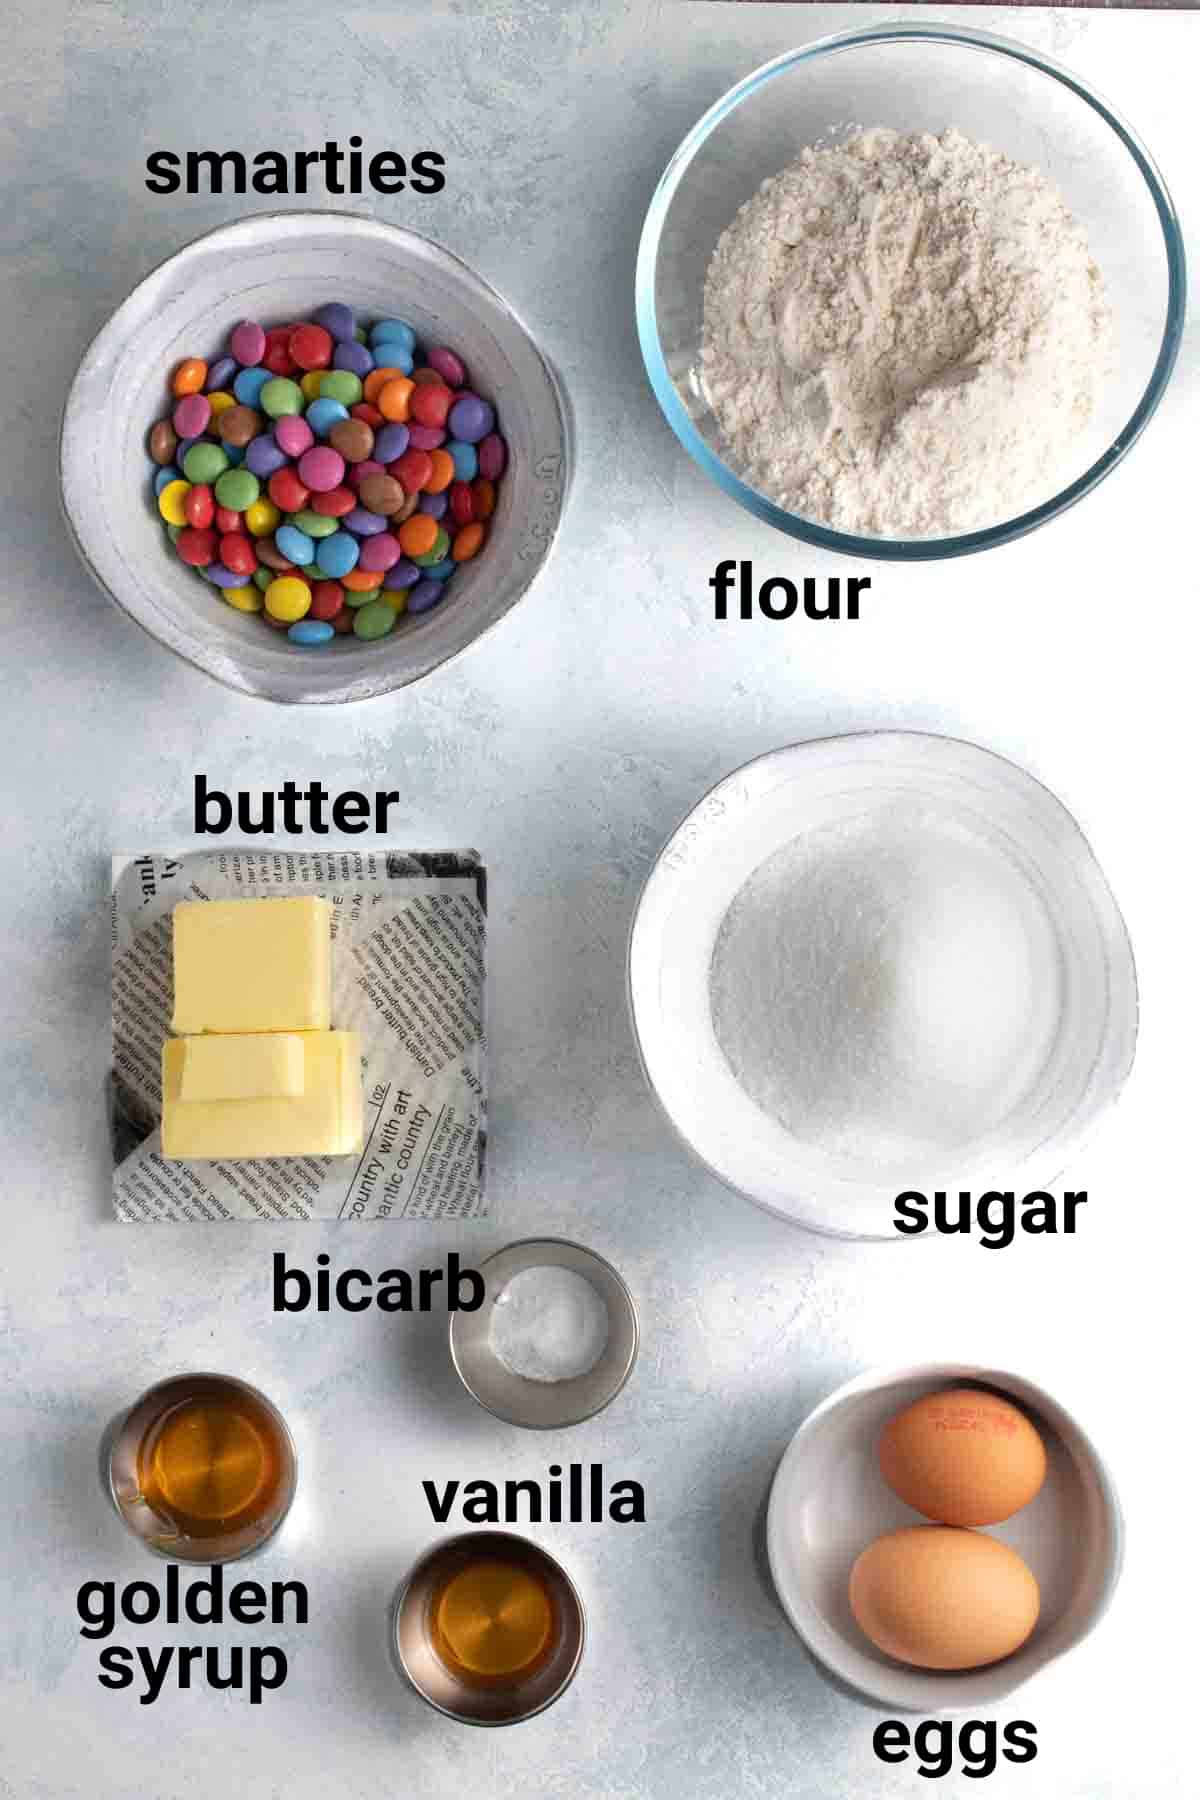
Butter
We prefer using unsalted butter, but if you like a bit of a salty kick to your cookies, you can use salted.
Sugar
Just plain granulated sugar is needed. You can also use white caster sugar.
Golden syrup
Golden syrup is widely available in most countries now. According to Martha Stewart, most US supermarkets stock it. This should hopefully be the case when searching for it!
Lyle's Golden Syrup is the most widely loved and popular brand of golden syrup in the UK and many other countries.
You can replace it with corn syrup, although the flavour might not be exactly the same. Golden syrup has a slightly deeper taste and is also thicker than corn syrup.
Eggs
We will need two eggs, but we only use one whole egg and the yolk from the other.
Unfortunately, there isn't much you can do with just one spare egg white, apart from maybe throwing it in with your breakfast eggs the next morning.
Smarties
The recipe calls for 200g of Smarties, but we highly recommend having extra Smarties on hand to add a pop of colour on top of each dough ball before baking.
These extra Smarties add a pop of colour on top of the cookies.
How to make Smartie cookies
- Line two baking sheets with parchment paper or silicone baking mats. Don't preheat the oven just yet.
- Place the butter in a microwave-safe bowl and melt on low heat until liquified. Set aside to cool for about 5 minutes. It does not need to be at room temperature, just not scorching hot.
- Meanwhile, measure the white sugar into a large bowl along with the golden syrup.
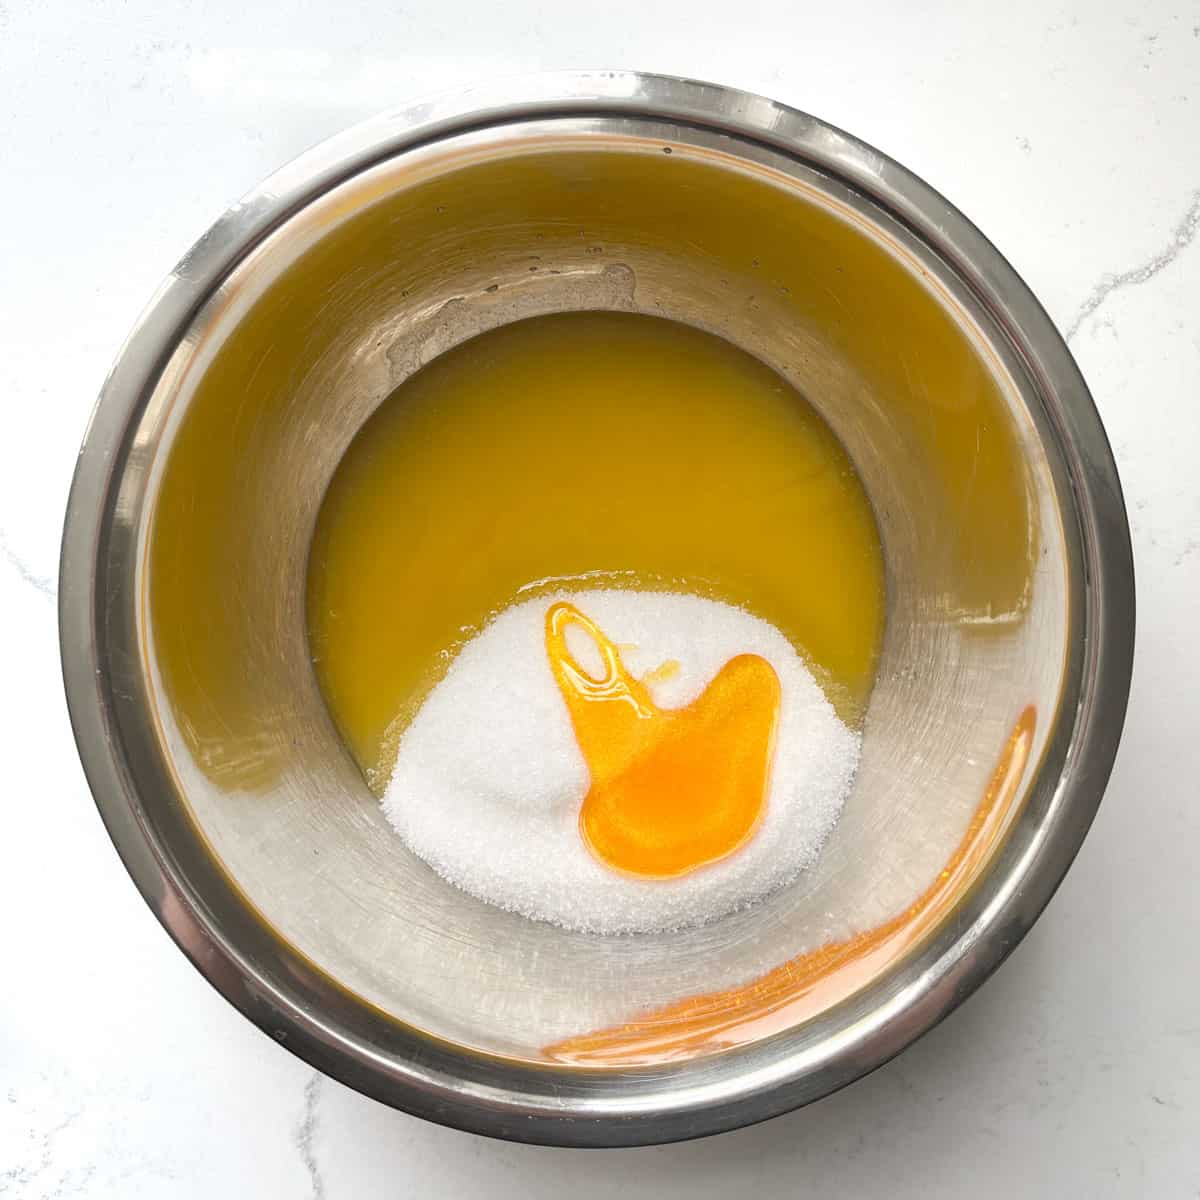
- Pour the melted butter into the bowl with the sugar and syrup. With an electric hand mixer, or stand mixer (paddle attachment, not whisk), beat for 1 minute until combined.
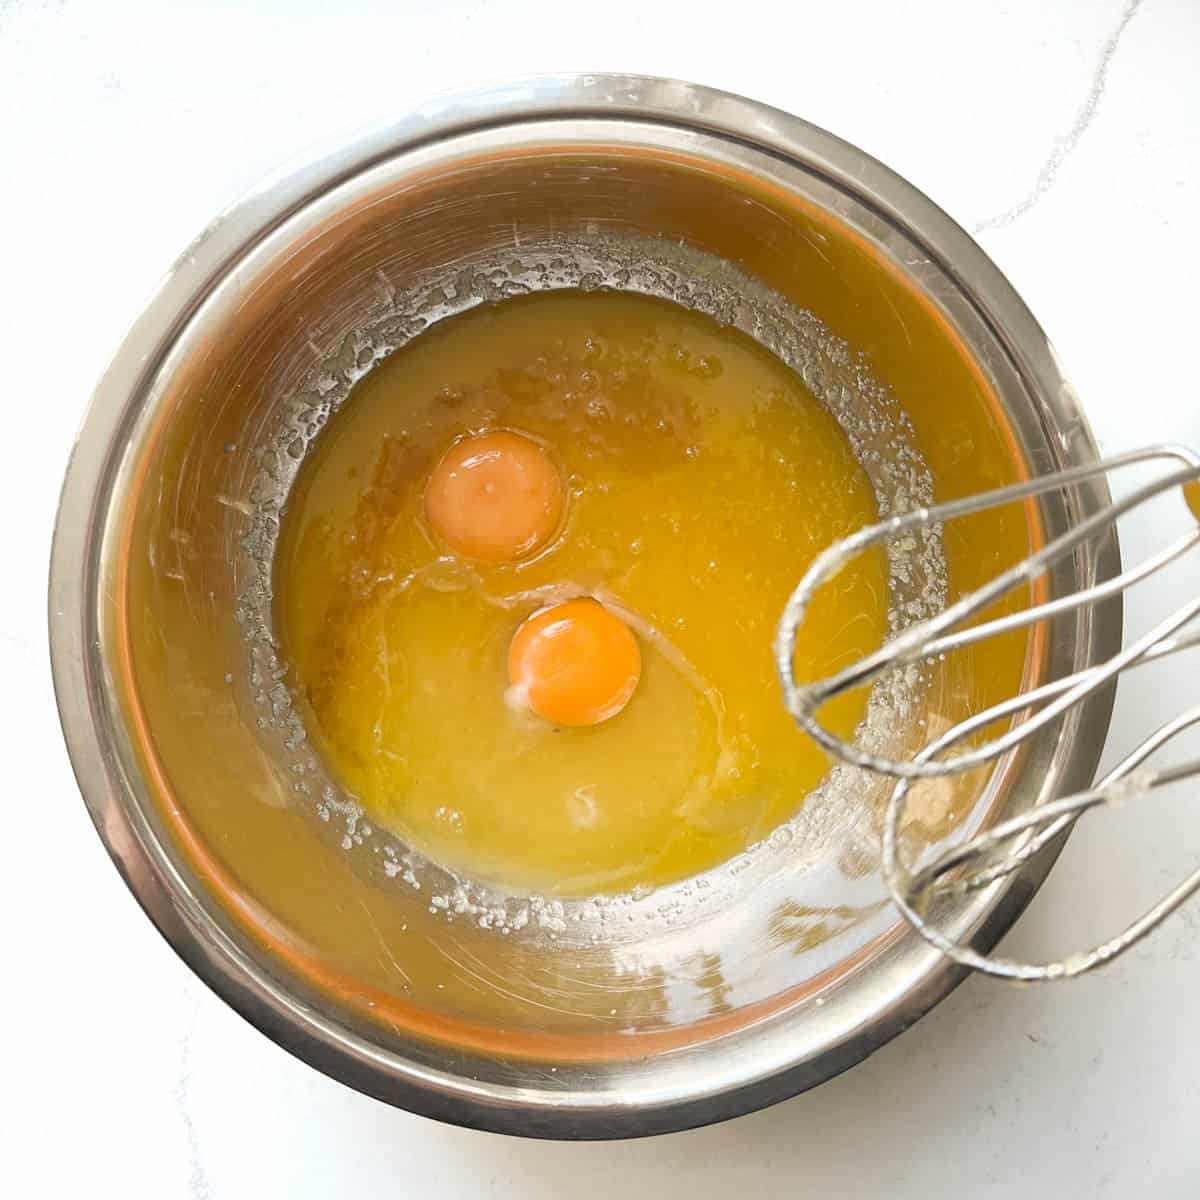
- Add the vanilla extract, one whole egg and the egg yolk only from the second egg to the butter mixture.
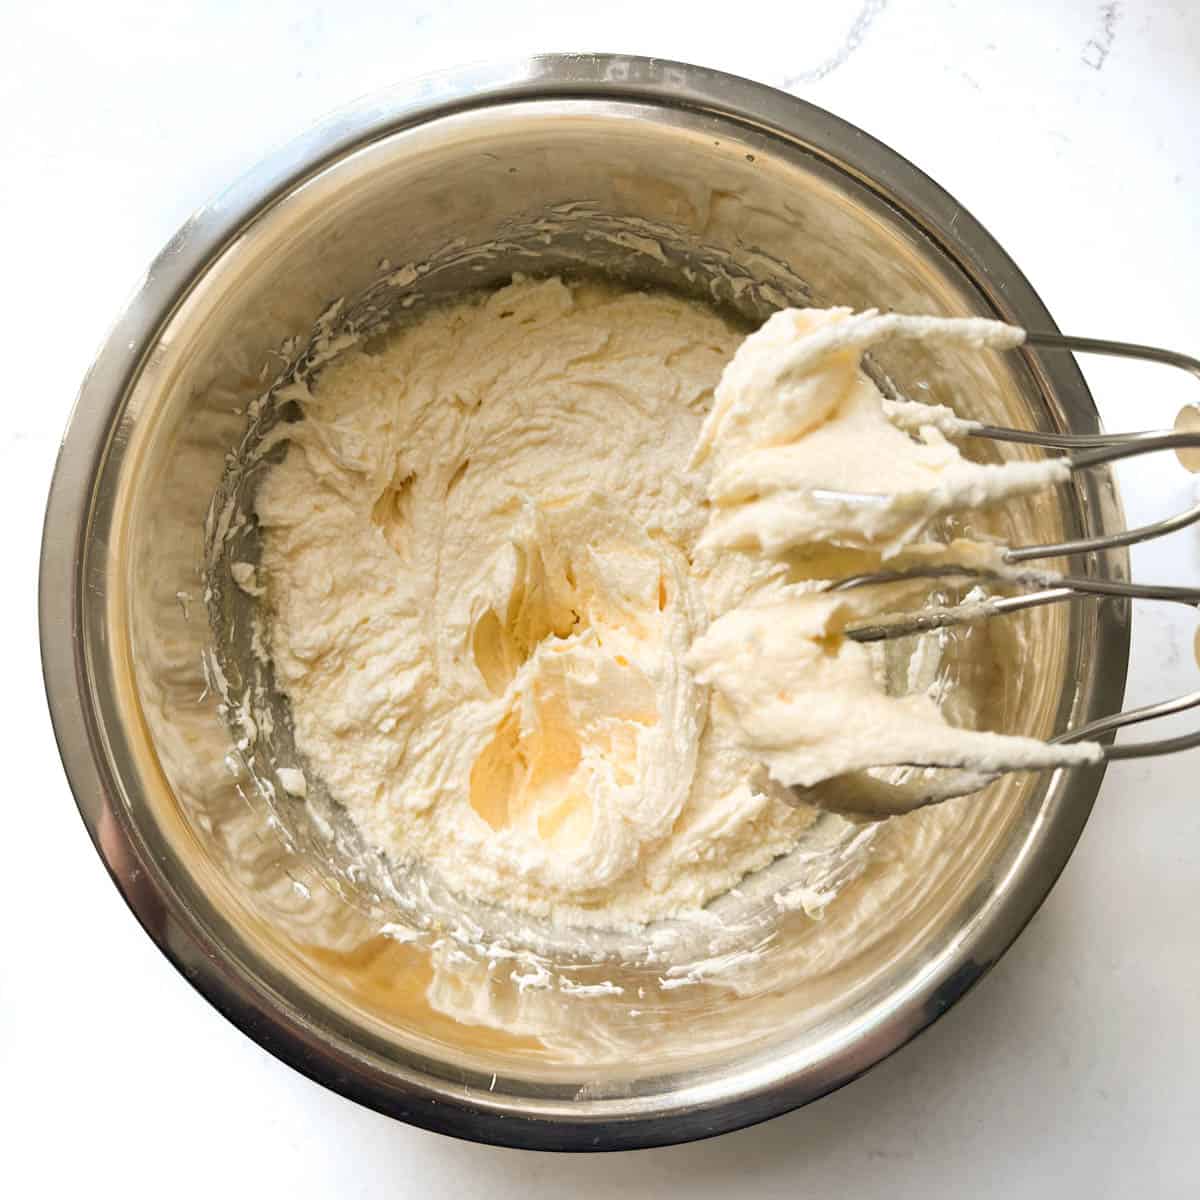
- With the mixer, beat for 2-3 minutes until the mixture is light in colour, thickened and creamy. If you are using a stand mixer, it might take less time to reach a light and creamy consistency.
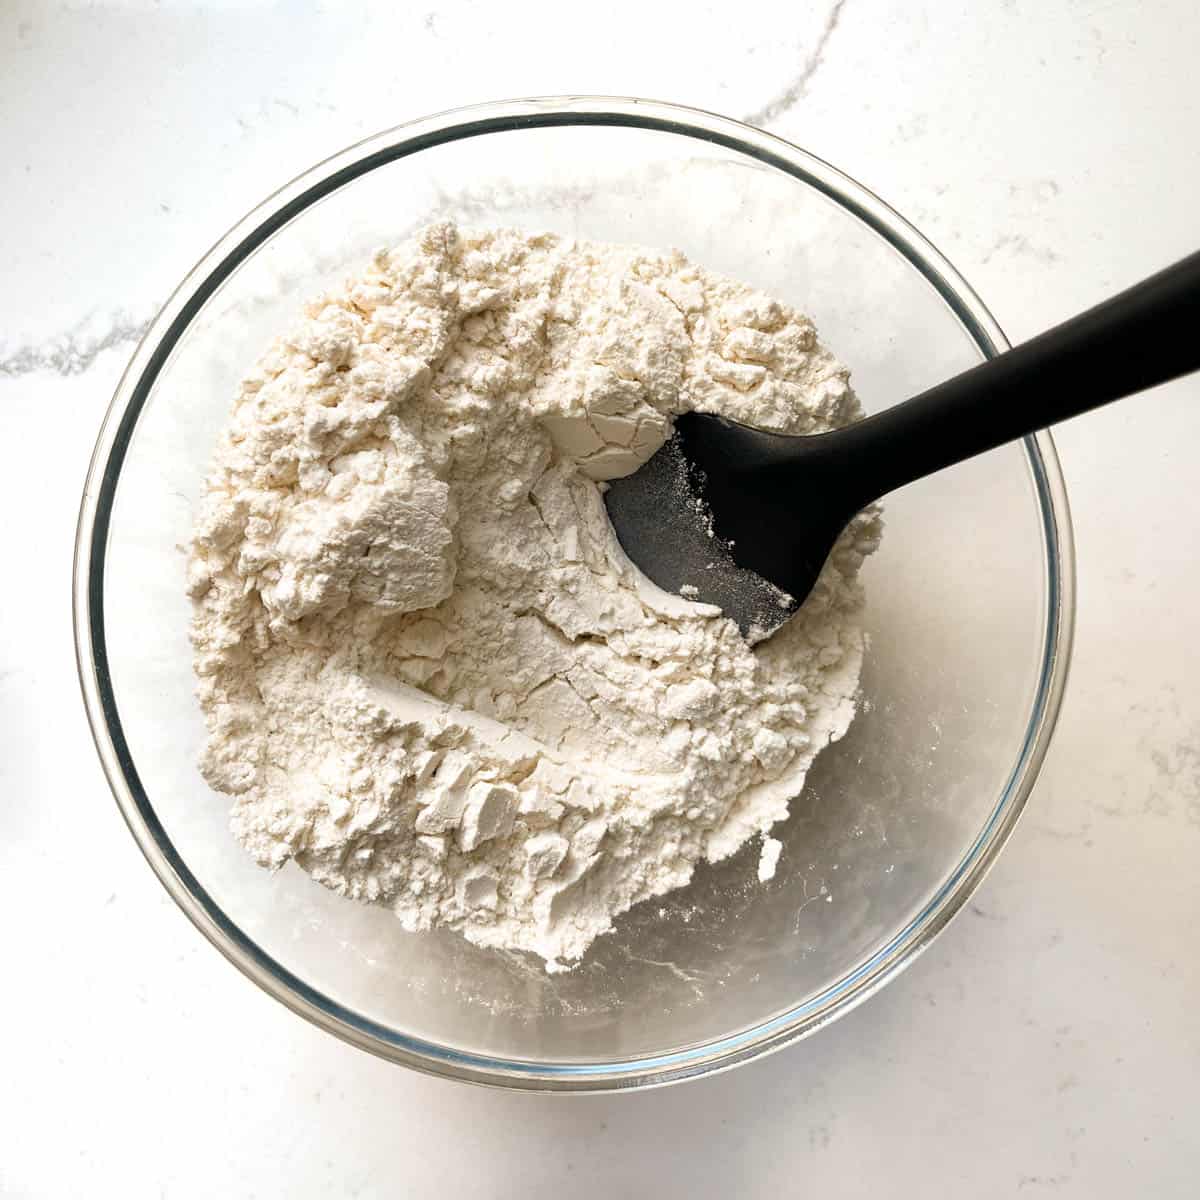
- In a separate large mixing bowl, combine the plain flour and the bicarbonate of soda (baking soda).
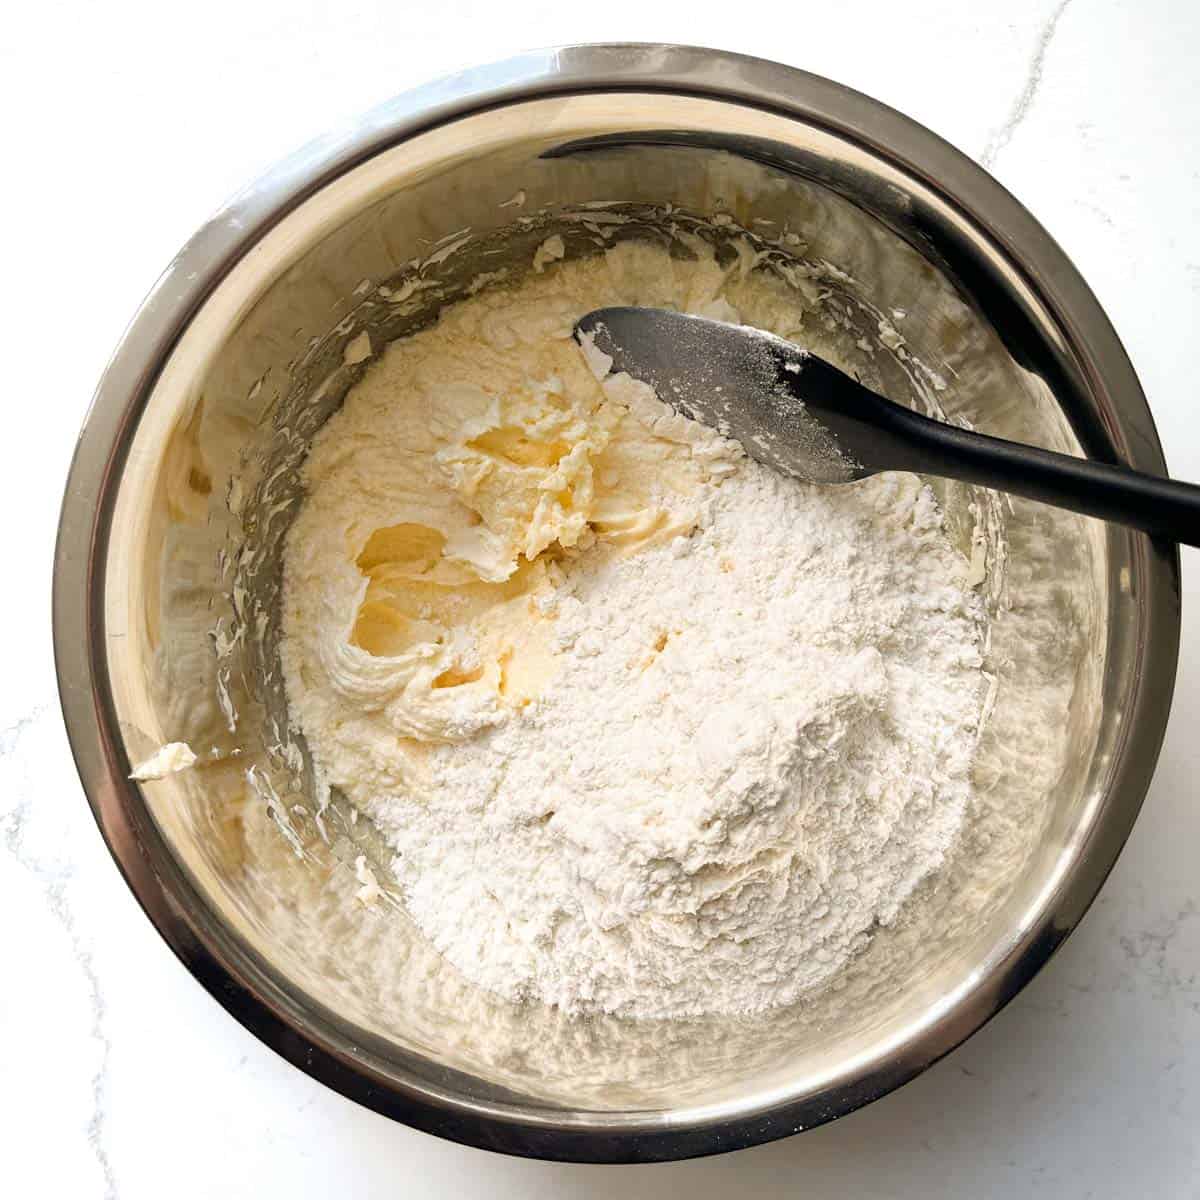
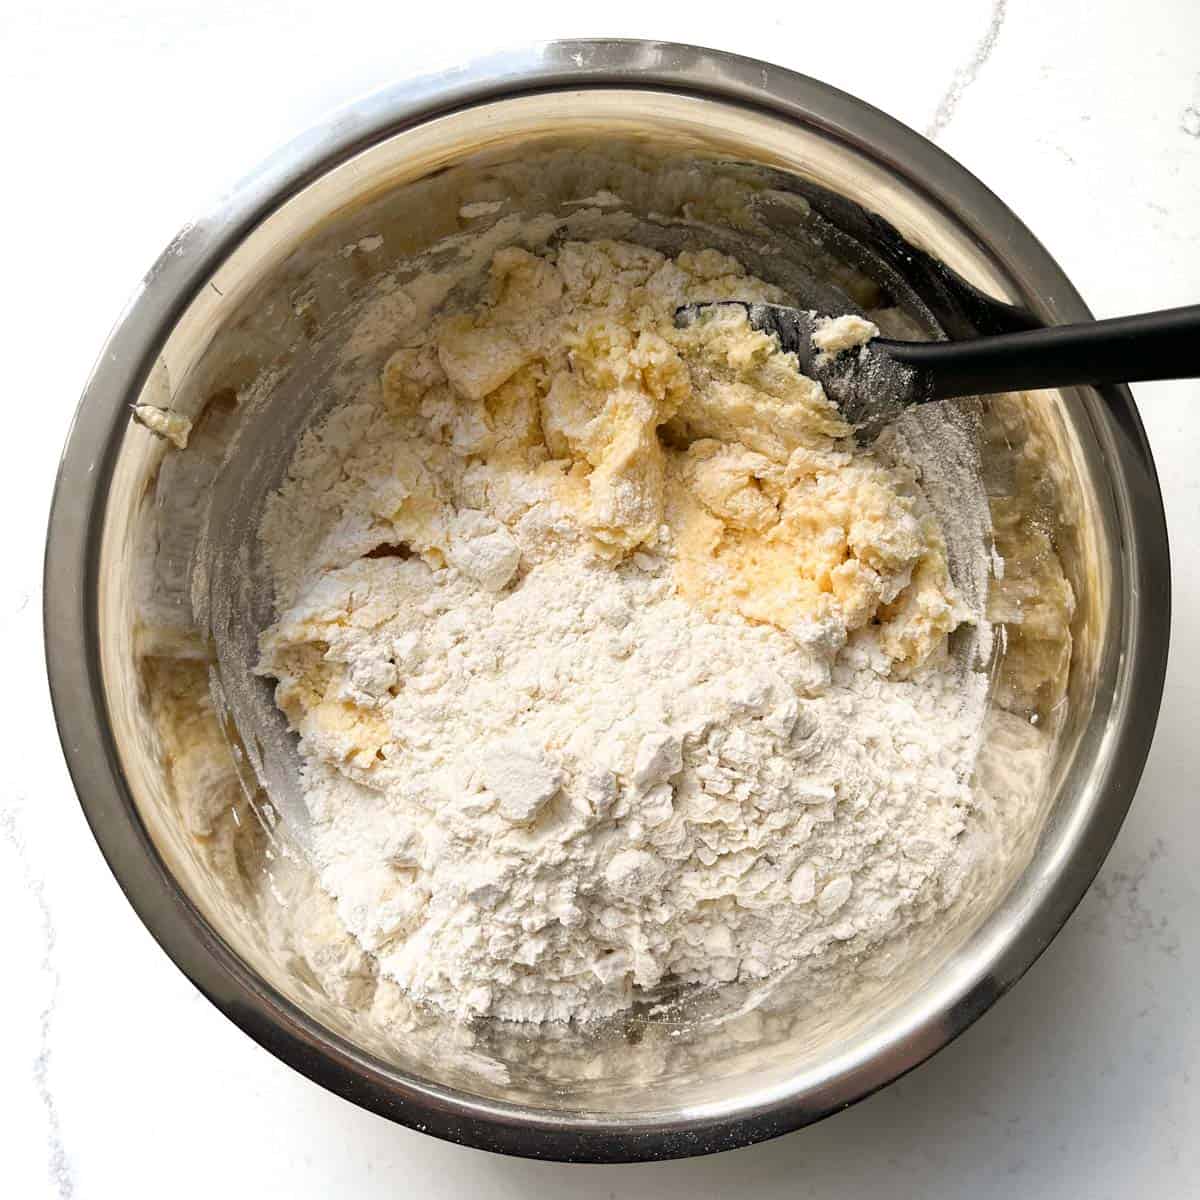
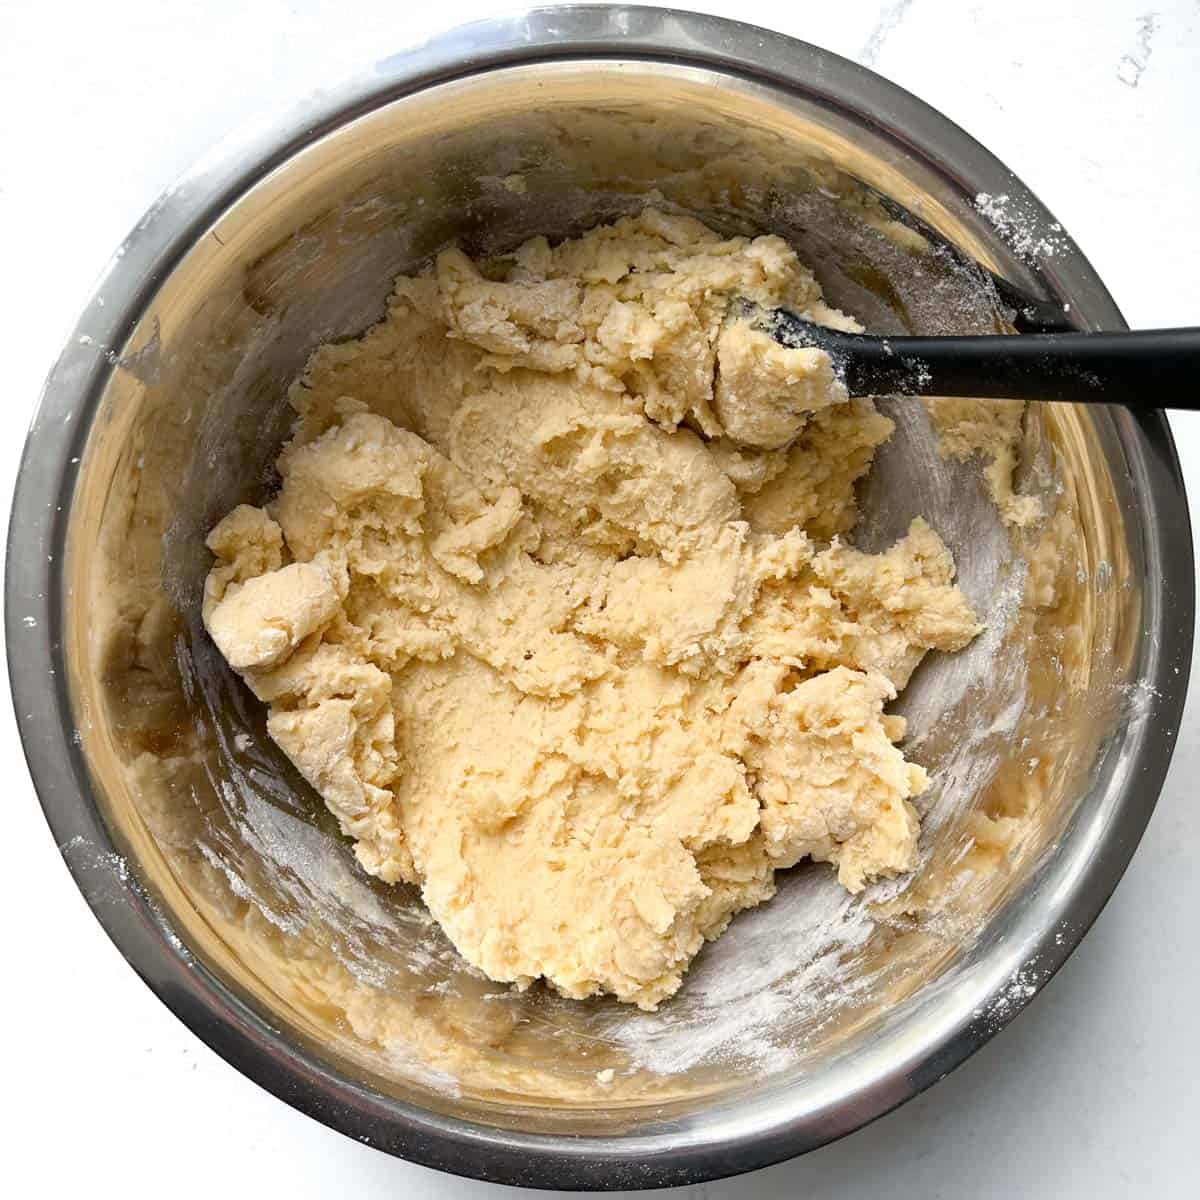
- Add the dry ingredients in two parts to the egg mixture, gently folding it in by hand with a spatula or a wooden spoon. As soon as the flour has been incorporated, stop mixing.
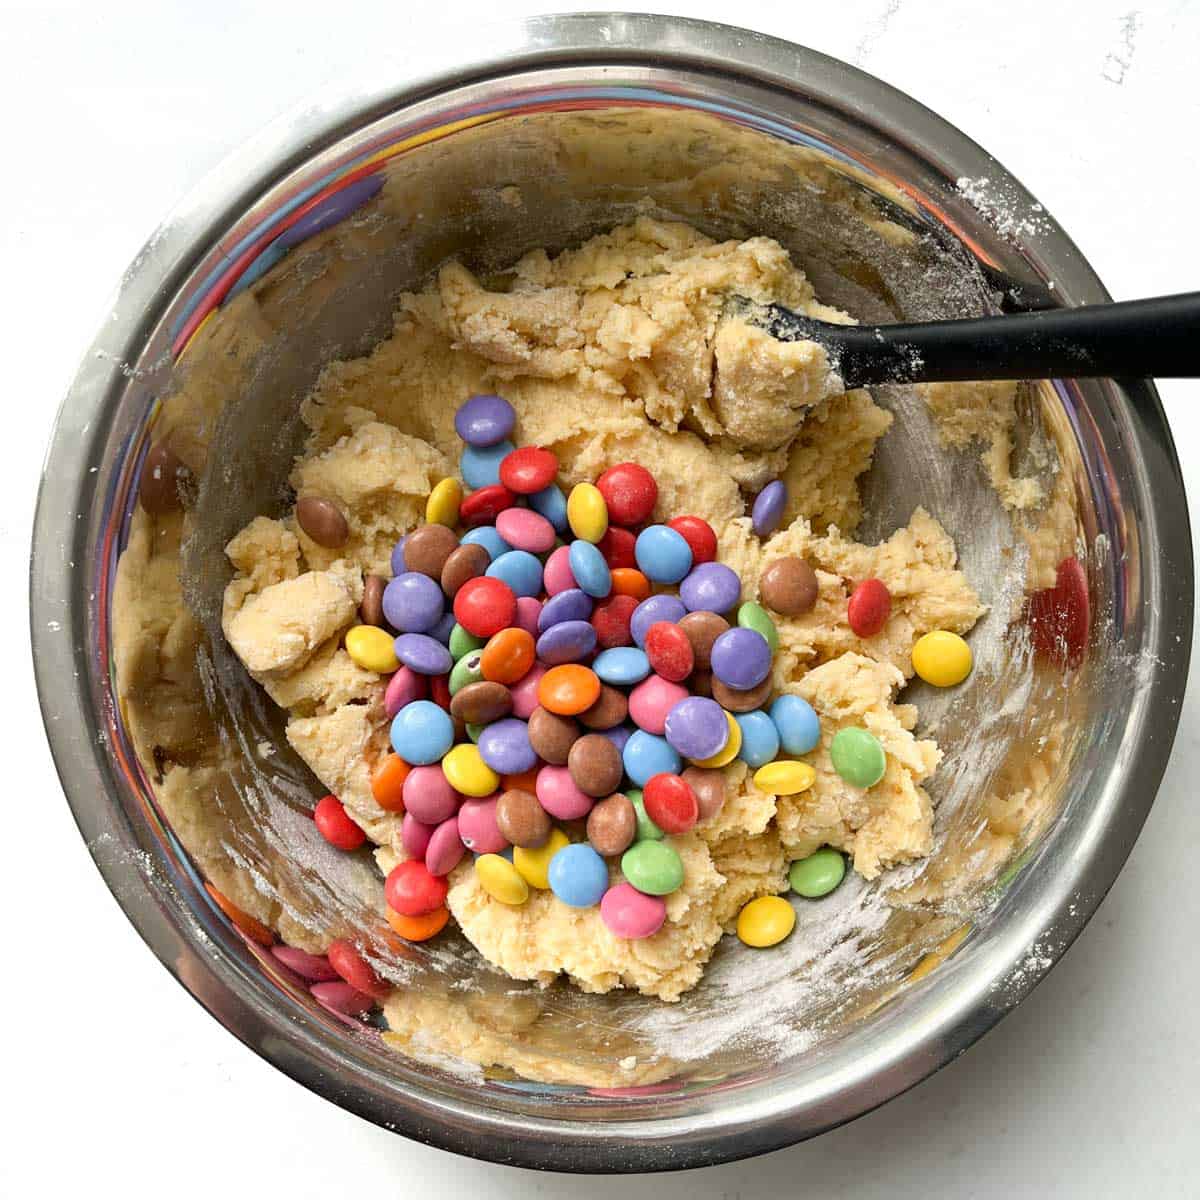
- Tip in the Smarties and combine until you have an even spread of Smarties throughout the dough. Do this gently and don't overmix.
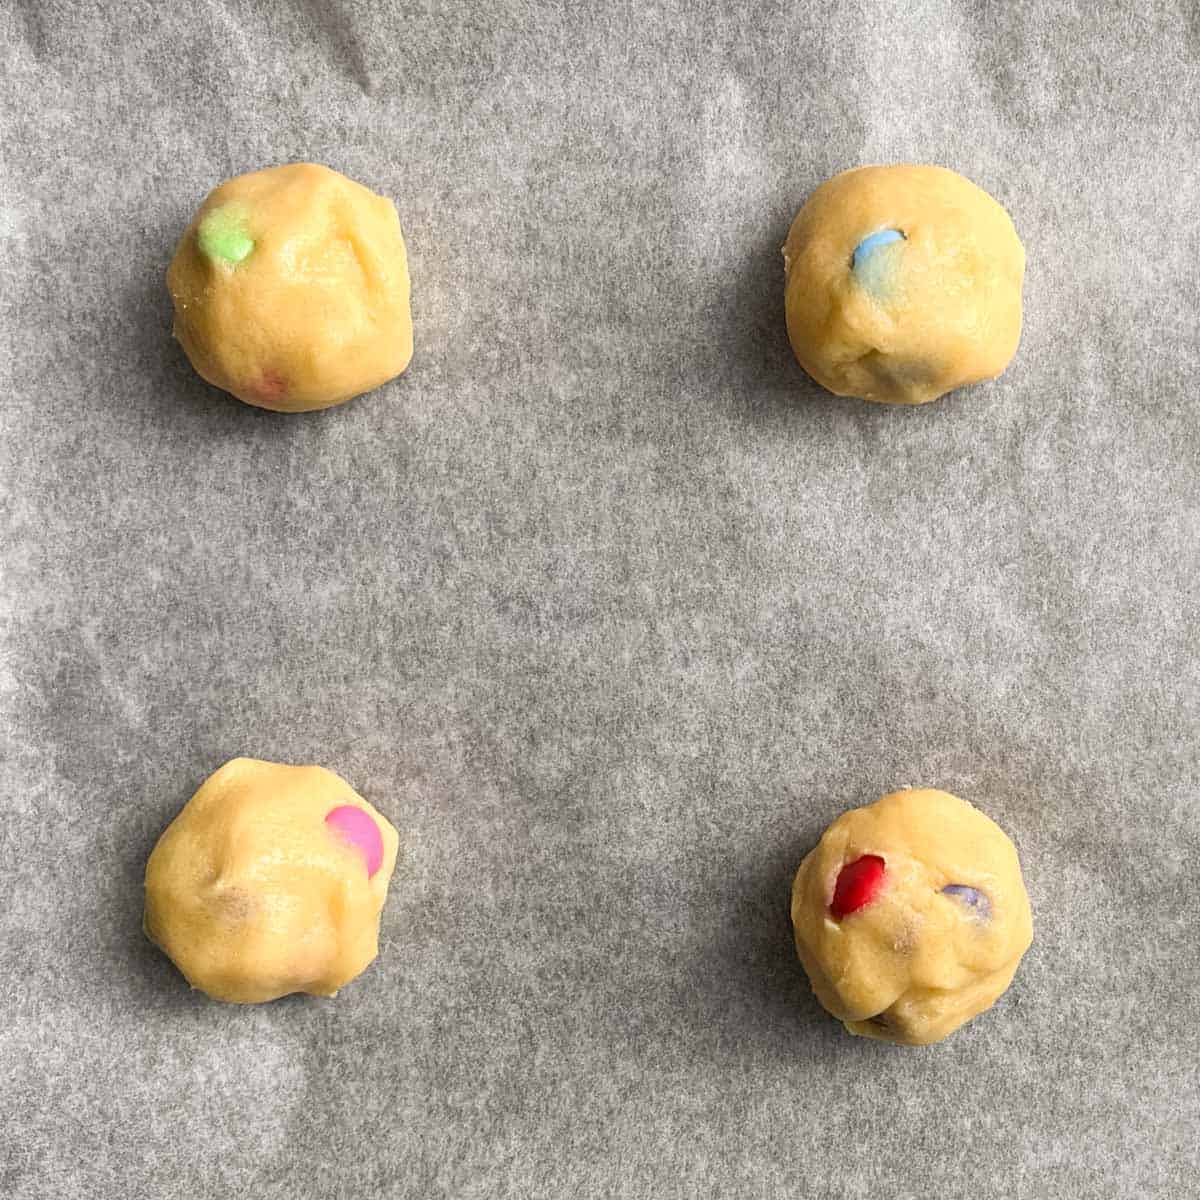
- Use an ice cream scoop or large spoon to measure out equal amounts of cookie dough. Gently shape each portion into a ball and transfer it to the prepared baking sheet.
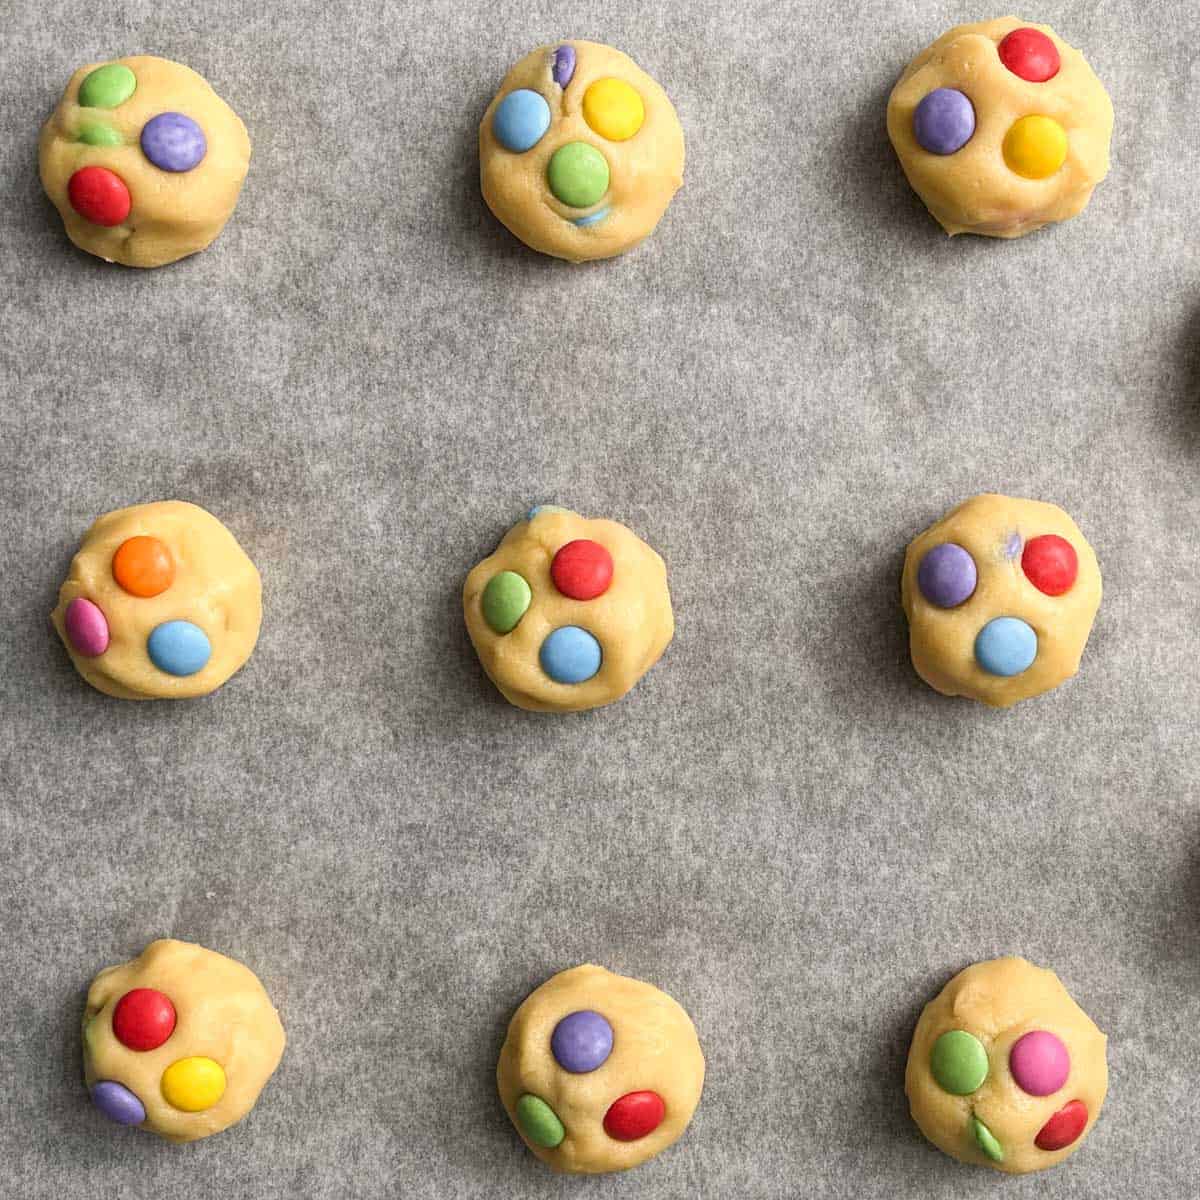
Leave enough space between each cookie to allow for spreading (about 8cm). You can now press some extra Smarties into the top of each cookie.
- Place the cookie sheets in the fridge while you preheat the oven.
- Preheat the oven to 170℃/325℉/gas mark 3.
- When the oven's ready, place the first baking tray on the middle rack in the oven and bake for 14-15 minutes, or until the cookies are light golden in colour. Repeat for any additional baking trays.
- Allow the cookies to cool on their trays for 5-10 minutes before transferring them to a wire cooling rack.
Tips for making the best Smartie cookies
- Don't overmix the cookie mixture. Overmixing might lead to tougher cookies. Gently fold the ingredients together and stop as soon as everything has been incorporated.
- Don't be tempted to press the dough balls flatter before putting them in the oven. The shape of the dough also contributes to the crispy outside and chewy middle. Trust that the cookies will reach the perfect thickness by the time they are baked.
- Not all ovens are alike. If by 15 minutes the cookies don't look done, give it another minute or two, but keep a close eye on it.
Variations
You can swap the Smarties for..
- White, milk or dark chocolate chips.
- Chopped chocolate chunks.
- M&Ms.
- Nuts.
- Raisins.
The cookie sizes
We like to weigh out each dough ball to ensure all the cookies are the same size. 50g is a good weight for a standard-sized cookie. You can make these into a giant Smartie cookie by doubling the weight to 100g per cookie.
You can also shape a thick disc with the cookie batter on a baking sheet to make a cookie pizza! Decorate lavishly with the colourful chocolate Smarties.
Storage
These cookies have a good shelf life and can be stored in an airtight container for up to three weeks.
Can you freeze Smartie cookies?
Yes! You can batch bake them and store them in the freezer for up to 6 months.
Alternatively, you can freeze the dough before baking. Wrap it thoroughly in cling wrap before placing it in the freezer. To defrost, place the frozen cookie dough in the fridge overnight. The next day, roll into balls and bake following the same instructions as for the recipe.
Other colourful recipes you might enjoy


Other cookie recipes you can try
No-bake Lithuanian Lazy Cookies
Chocolate chip cookies made with condensed milk
Easy peasy no-bake Biscoff slices
Recipe

Cheerful Smartie cookies
Ingredients
- 150 grams butter - unsalted
- 225 grams sugar - white granulated
- 1 tablespoon golden syrup
- 2 teaspoons vanilla extract
- 2 eggs - we will use one whole egg and the yolk from the other
- 300 grams all purpose flour
- ½ teaspoon bicarbonate of soda
- 200 grams Smarties - and a few extra for decoration
Instructions
- Line two baking sheets with parchment paper or silicone baking mats. Don't preheat the oven just yet.
- Place the butter in a microwave safe bowl and melt on a low heat until liquified. Set aside to cool for about 5 minutes.
- Meanwhile, measure the white sugar into a large bowl along with the golden syrup.
- Pour the melted butter into the bowl with the sugar and syrup. With an electric hand mixer, or stand mixer, beat for 1 minute until combined.
- Add the vanilla extract, one whole egg and the egg yolk only from the second egg.
- With the mixer, beat for 2-3 minutes until the mixture is light in colour, thickened and creamy. If you are using a stand mixer, it might take less time to reach a light and creamy consistency.
- In a separate bowl, combine the flour and the bicarbonate of soda.
- Add the flour in two parts to the egg mixture, gently folding it in by hand with a spatula or large spoon. As soon as the flour has been incorporated, stop mixing.
- Tip in the Smarties and combine until you have an even spread of Smarties throughout the dough. Do this gently and don't overmix.
- Use an ice cream scoop or large spoon to measure out equal amounts of cookie dough. Gently shape each portion into a ball and place on the prepared baking trays. Leave enough space between each cookie to allow for spreading (about 8cm). You can now press some extra Smarties into the top of each cookie.
- Place the baking trays with cookies in the fridge while you preheat the oven.
- Preheat the oven to 170℃/325℉/gas mark 3.
- When the oven's ready, place the first baking tray on the middle rack in the oven and bake for 14-15 minutes, or until the cookies are light golden in colour. Repeat for any additional baking trays.
- Allow the cookies to cool on their trays for 5-10 minutes before transferring them to a wire cooling rack.

**Nutritional data disclaimer**
Please keep in mind that the nutritional information provided below is calculated by a third party and we cannot guarantee the accuracy. We try our best to give you the most accurate information, but we do not take responsibility for errors that may be present. Also, the nutritional value of the recipe may change depending on the exact brands and products used. We recommend that you consult with a qualified healthcare professional or registered dietitian for personalised advice on your dietary needs.
Nutrition
For food safety advice, including guidance on food allergies

Leave a Reply