
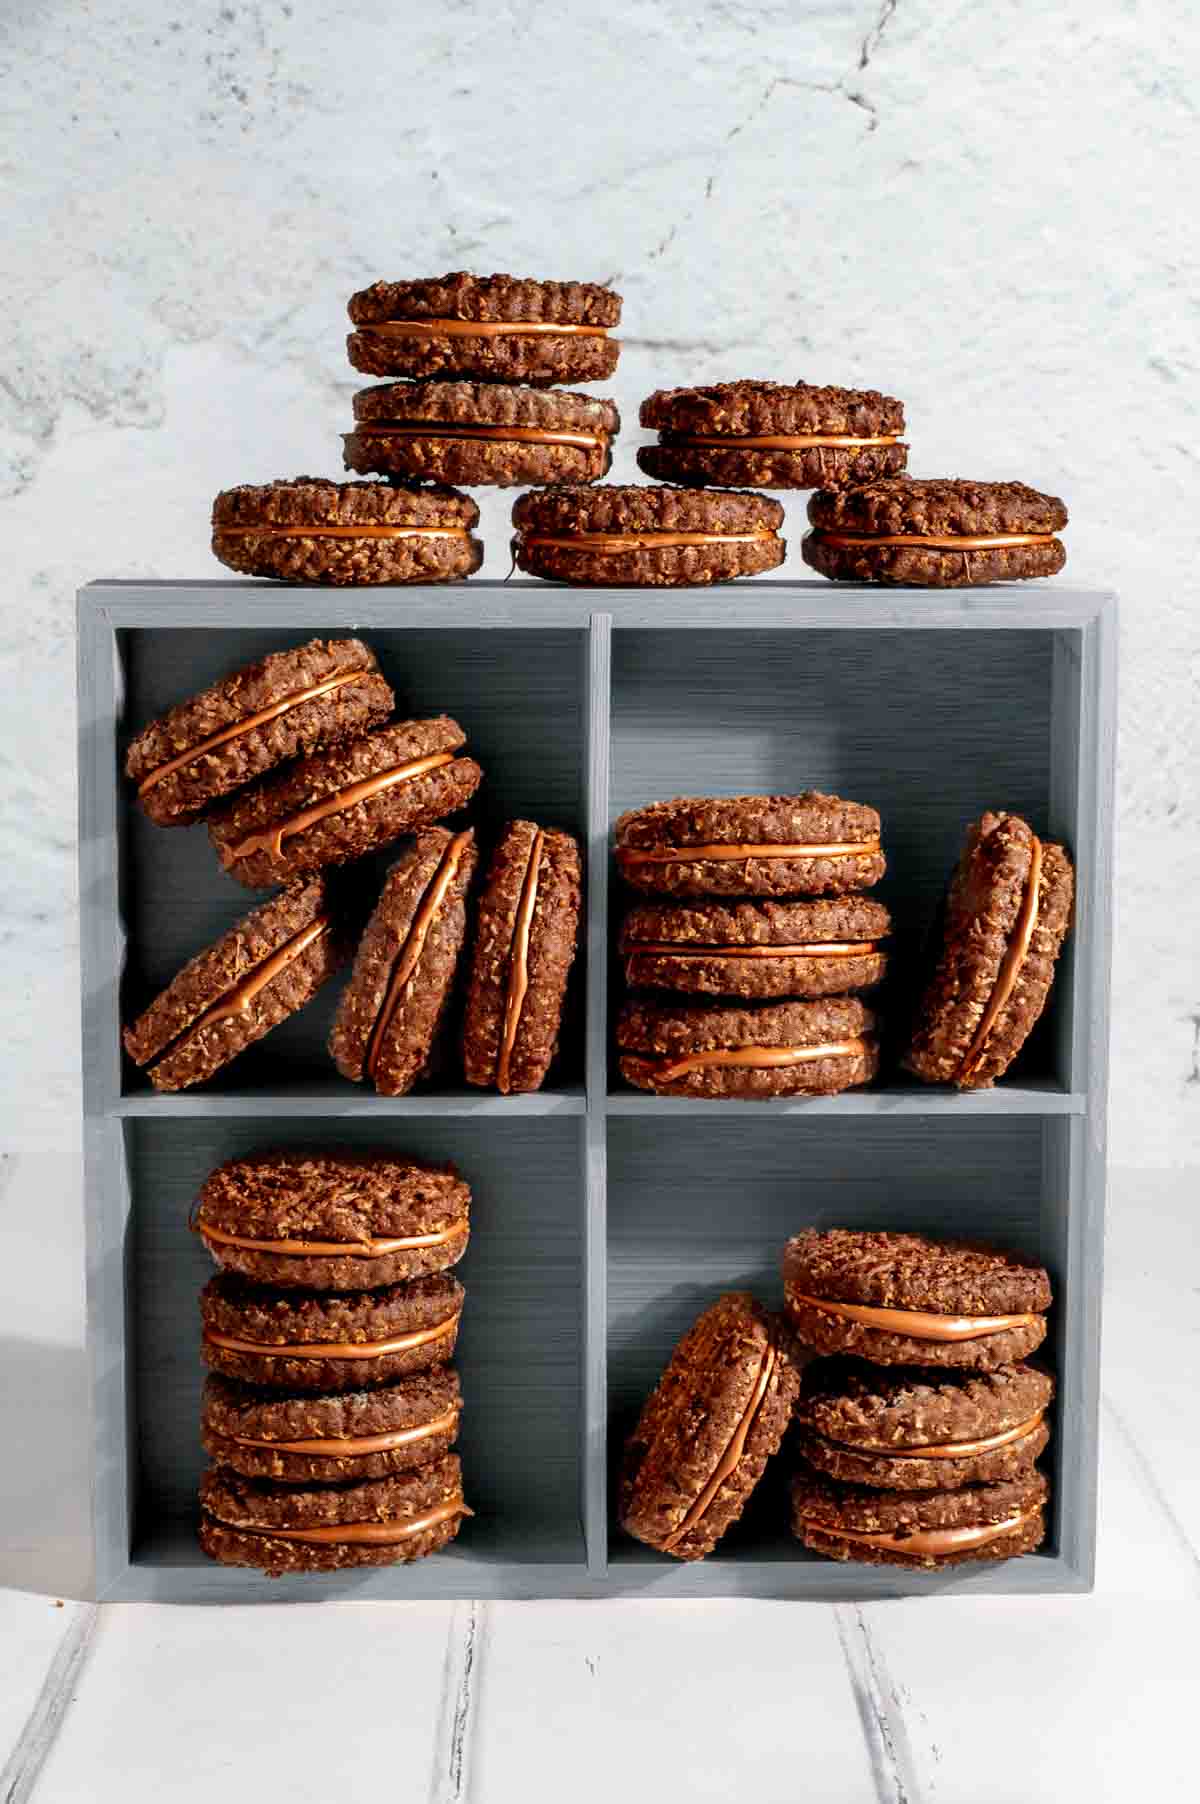
This South African Romany Creams recipe makes crisp chocolate coconut sandwich biscuits filled with melted chocolate. They're homemade, nostalgic and shaped to look like the classic Bakers Romany Creams many of us grew up with.
My version is egg-free, with a shortbread-like snap and that rough, coconutty texture that makes Romany Creams so recognisable. I'll show you how to make the criss-cross surface, pinch the biscuits into that familiar oval shape and keep the chocolate filling from oozing out.
Jump to:
From my kitchen
This recipe comes from my VLU award-winning mum, who knew her way around a biscuit tin. As a South African-born home cook living in the UK, this is exactly the kind of bake I love sharing: practical, nostalgic and made for anyone missing a proper South African tea-time treat.
Why this recipe works
- Egg-free biscuit dough gives the biscuits a crisp, shortbread-like snap.
- Coarse desiccated coconut helps create that familiar rough Romany Creams texture.
- Simple shaping method gives you the oval, criss-cross look without needing a special cutter.
- Melted chocolate filling keeps them close to the classic South African packet version.
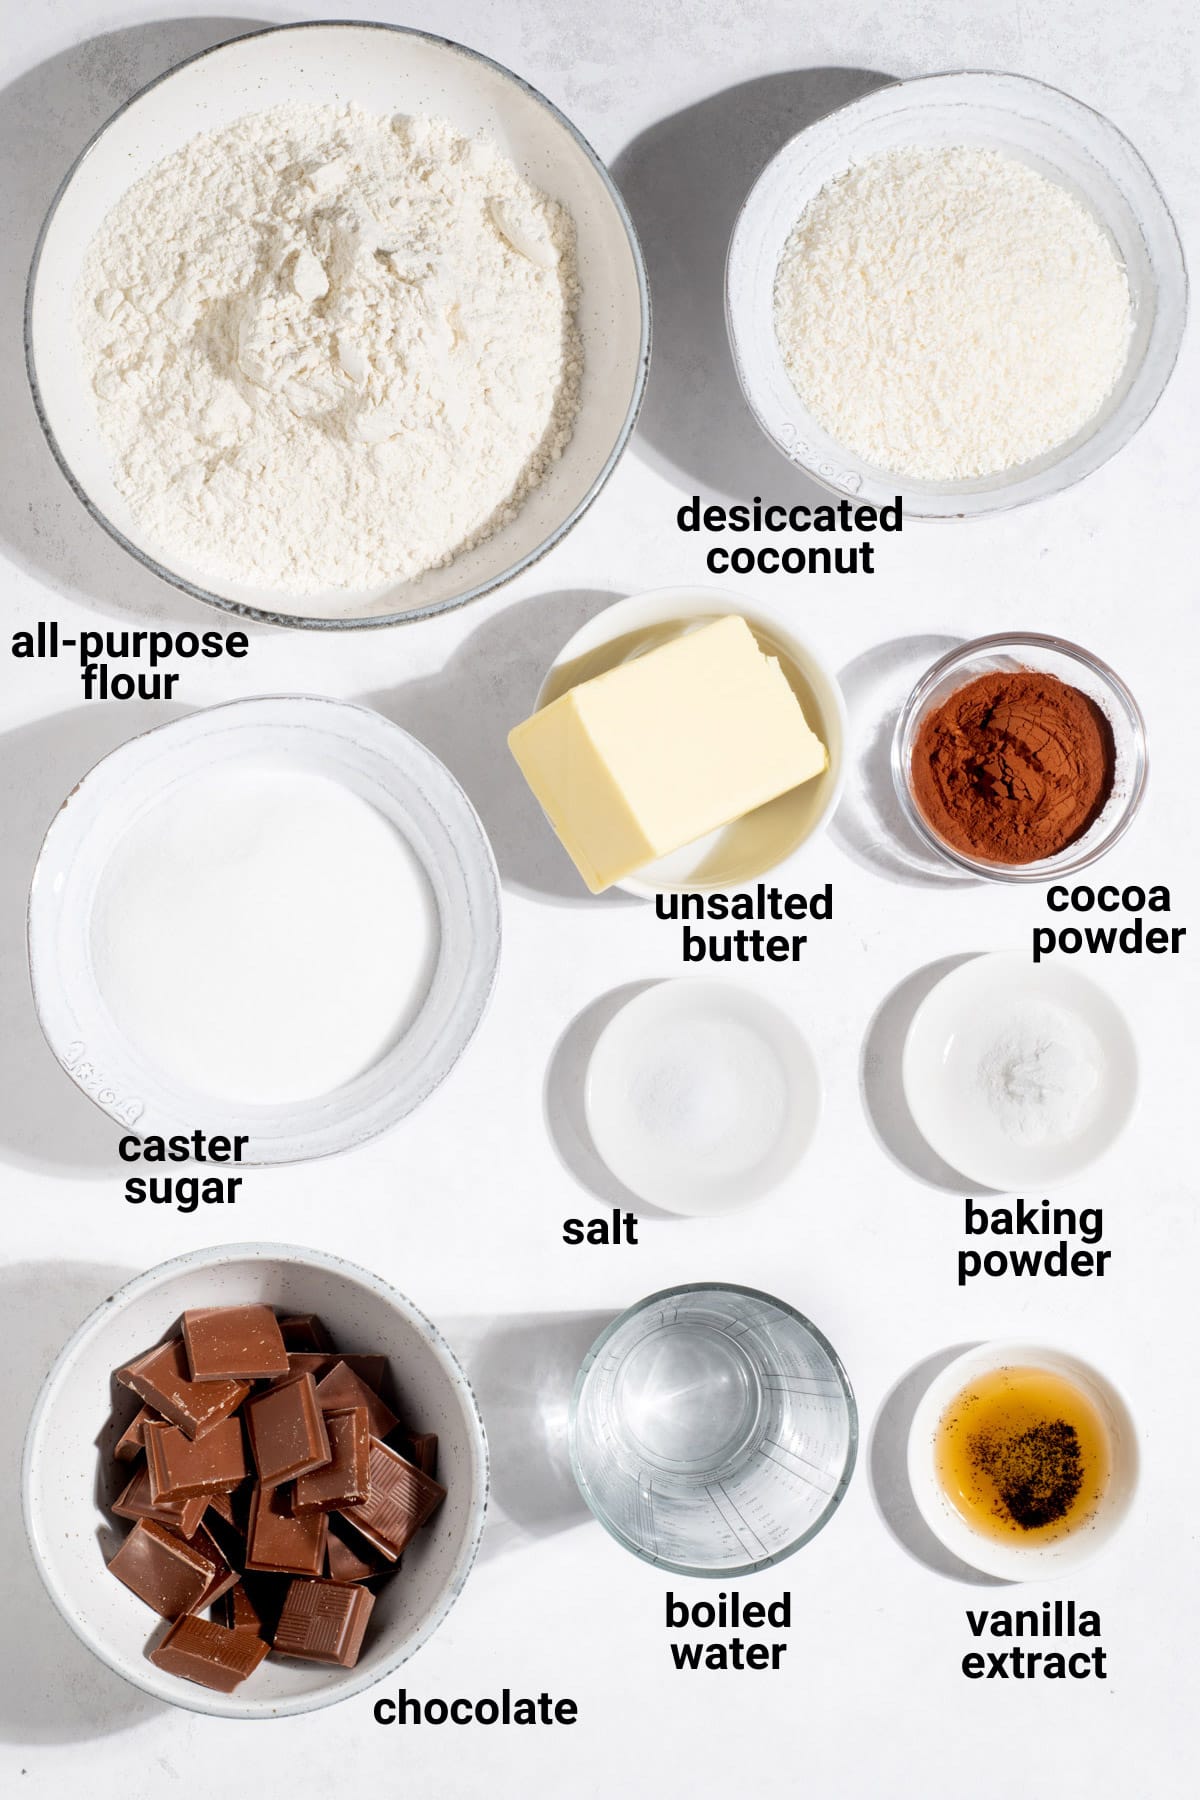
Key ingredient notes and substitutions
You'll find the full ingredient list with measurements in the recipe card at the bottom of the post.
Desiccated coconut
Use medium or slightly coarse desiccated coconut if you can. It gives the biscuits their rough, coconutty texture and makes them feel closer to classic Romany Creams.
In the UK, standard desiccated coconut is usually coarse enough for this recipe.
Caster sugar
Caster sugar creams more smoothly into the butter and gives a finer biscuit texture.
If you only have granulated sugar, blitz it briefly in a food processor until it sits somewhere between granulated and icing sugar.
The chocolate
Regular milk or dark chocolate works well for the filling. Milk chocolate gives the most familiar packet-style flavour, while dark chocolate makes them less sweet.
Let the melted chocolate thicken slightly before sandwiching so it doesn't run out the sides.
A quick note on measurements
I use grams for this recipe because biscuit dough is much more reliable by weight, especially with flour and coconut. If you're used to cups, a small digital scale will give you the best result here.
How to make Romany Creams
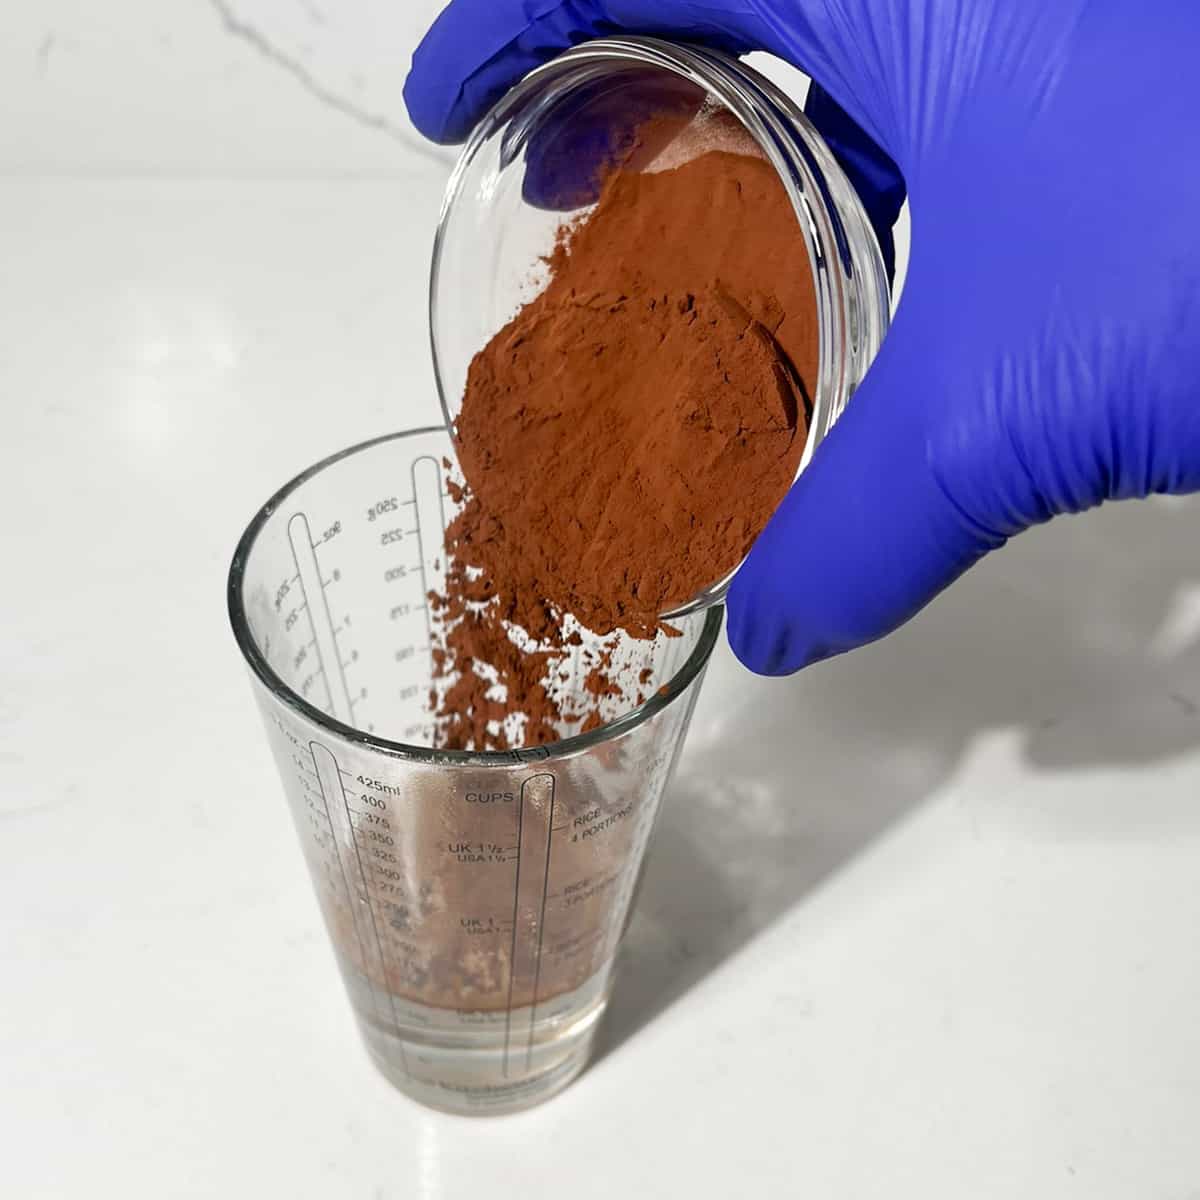
1. Mix the cocoa powder with the boiled water until dissolved, then set it aside to cool slightly.

2. In a large bowl, add the room-temperature butter, caster sugar and vanilla essence.
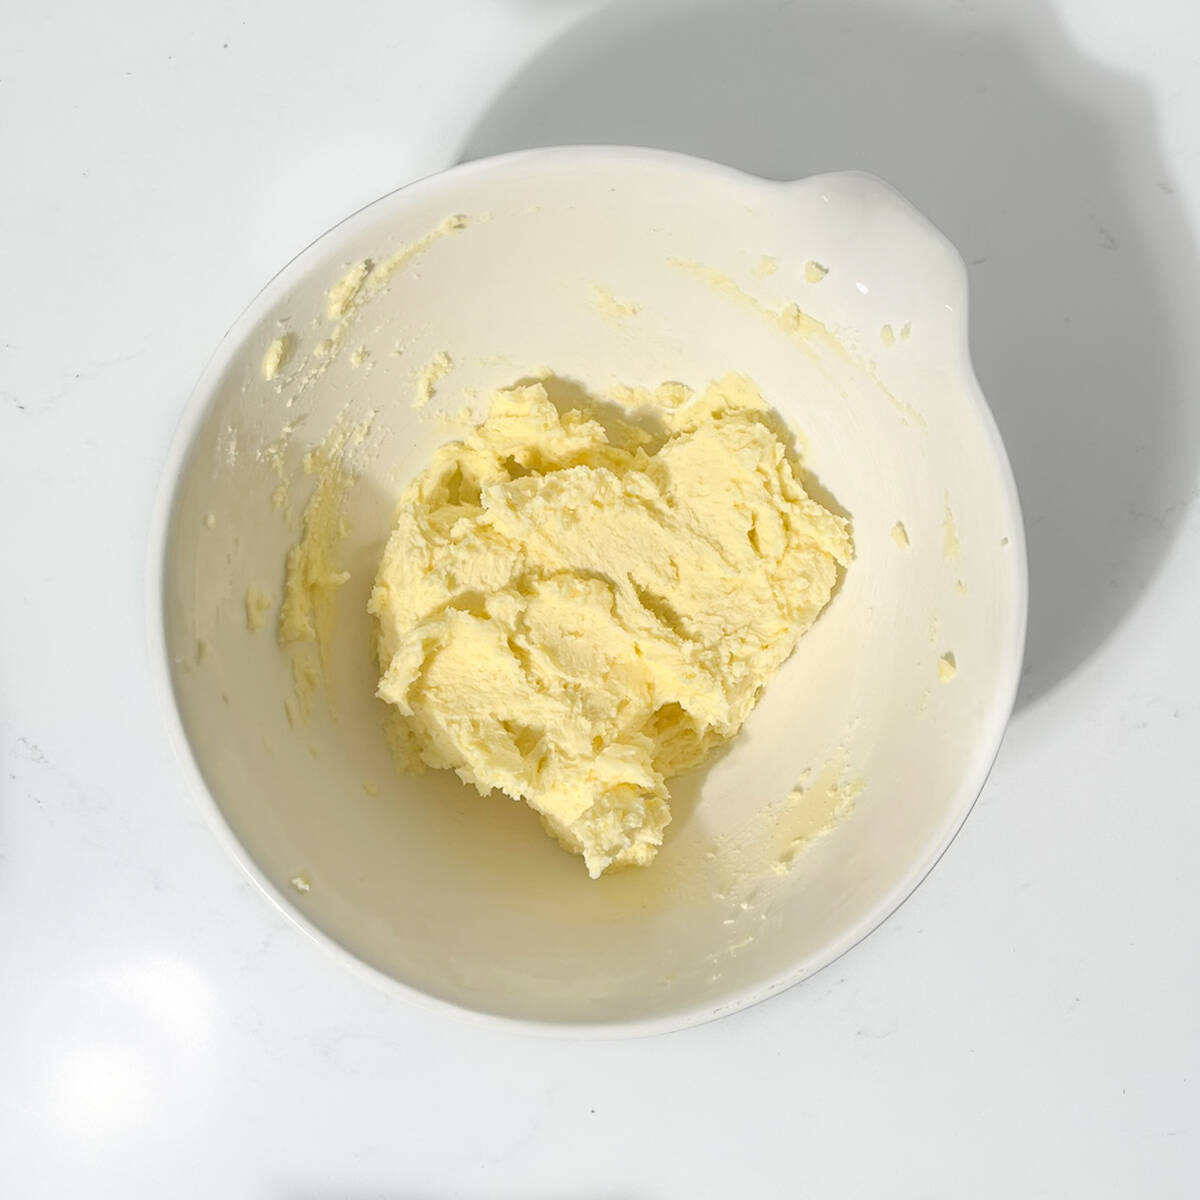
3. Using an electric hand mixer or a stand mixer, beat the butter and sugar until light and creamy, around 2-3 minutes.
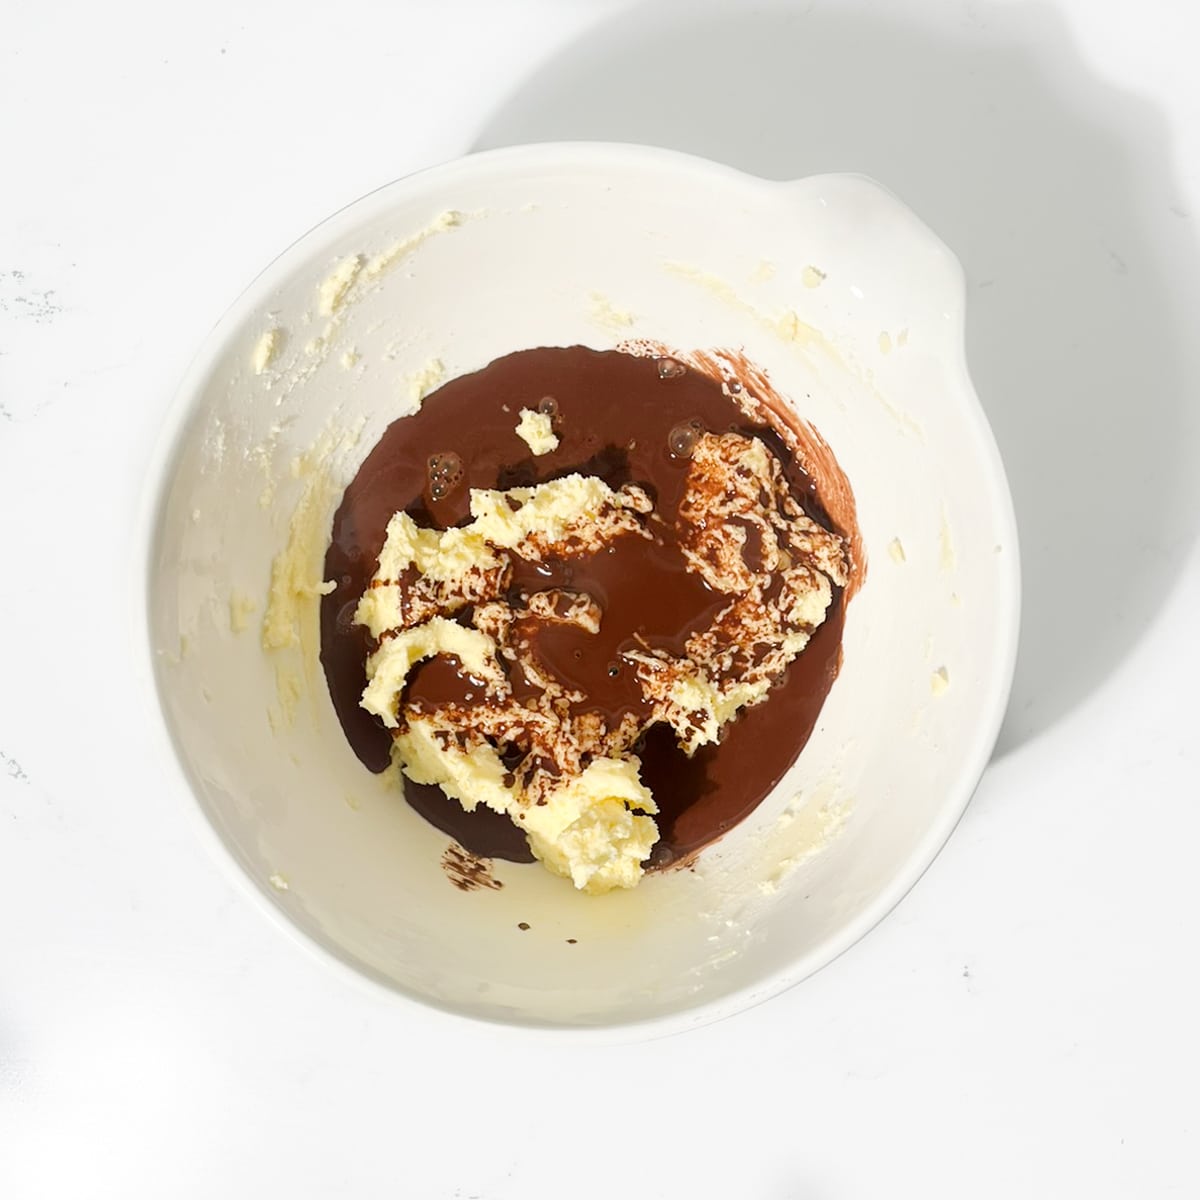
4. Add the cocoa powder mixture to the creamed butter and sugar mixture.

5. Beat until well incorporated, approximately 1-2 minutes. Don't worry if it looks slightly curdled at first, adding the flour will resolve that.

6. Sift the all-purpose flour, baking powder and salt into the bowl with the cocoa mixture.

7. Next, add the desiccated coconut on top of the dry ingredients.

8. Using a rubber spatula or a large spoon, fold the ingredients together until mostly combined.

9. Set the spatula aside and use your hands to bring the dough together until well combined and a soft dough forms. The dough should come together easily, but if it feels very soft, the fridge rest will firm it up.

10. Tip the dough onto a large piece of clingfilm. Shape it into a rough, flat circle of approximately 2.5cm (1") thickness. Cover it completely with the clingfilm and place it in the fridge for 30 minutes to firm up.
11. Preheat the oven to 180°C/160°C fan/350°F. Line a couple of baking sheets with parchment paper.
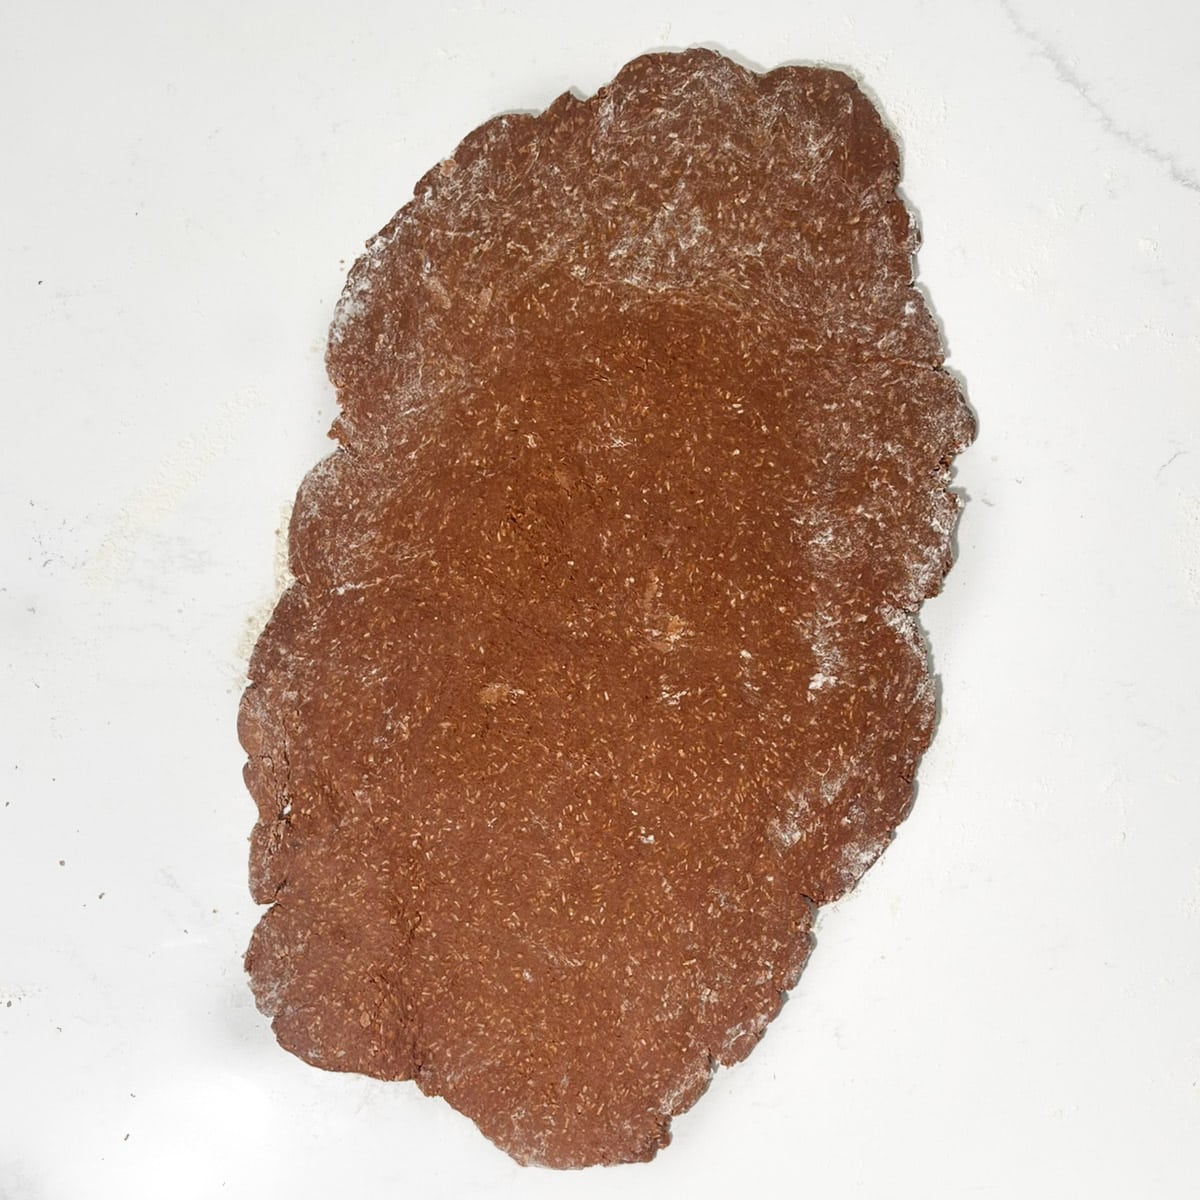
12. Sprinkle some flour on the work surface and roll out the chilled dough to a thickness of about 6mm.
Note: Remember to sprinkle only a small amount of flour on top of the dough and around the rolling pin before you begin rolling. Avoid using too much flour on top, as it may show once baked. Alternatively, roll the dough out between two pieces of baking or wax paper.
How to get the classic Romany Creams shape

13. Take a fork and scrape rough lines across the entire surface of the rolled-out dough.

14. Scrape lines in the opposite direction to create a rough, textured, criss-cross pattern.
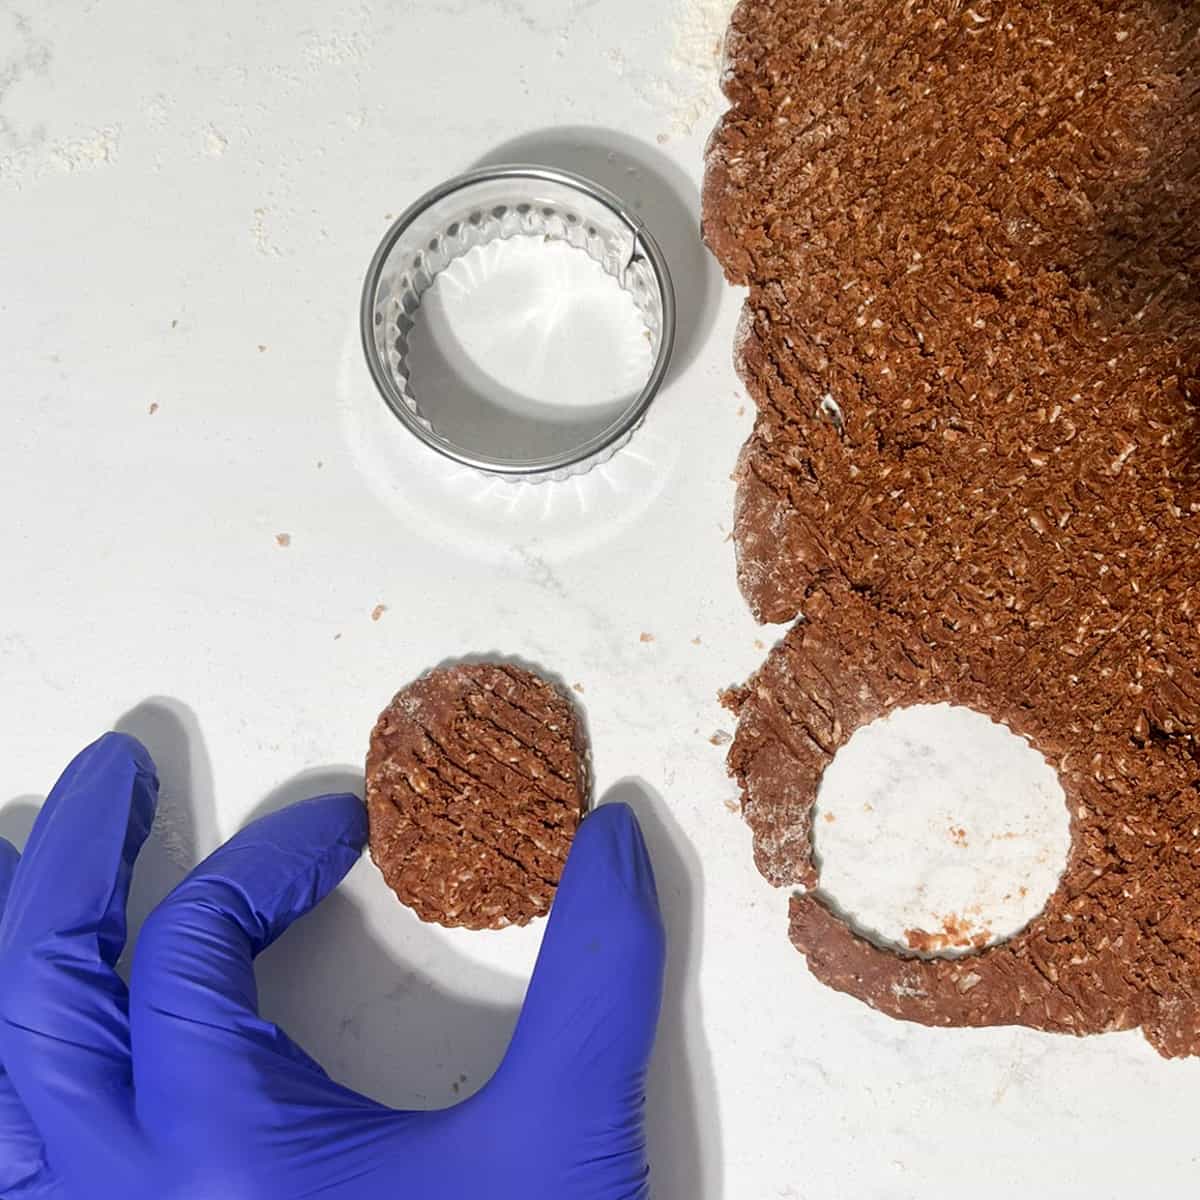
15. Use a round 5cm diameter cookie cutter to cut out the cookies. For the Romany Cream shape, use your fingers to gently pinch the sides of each cut-out cookie into more of an oval.
Note: Feel free to use any cookie cutter shape you prefer, or roll the dough into small balls and flatten them with a fork.
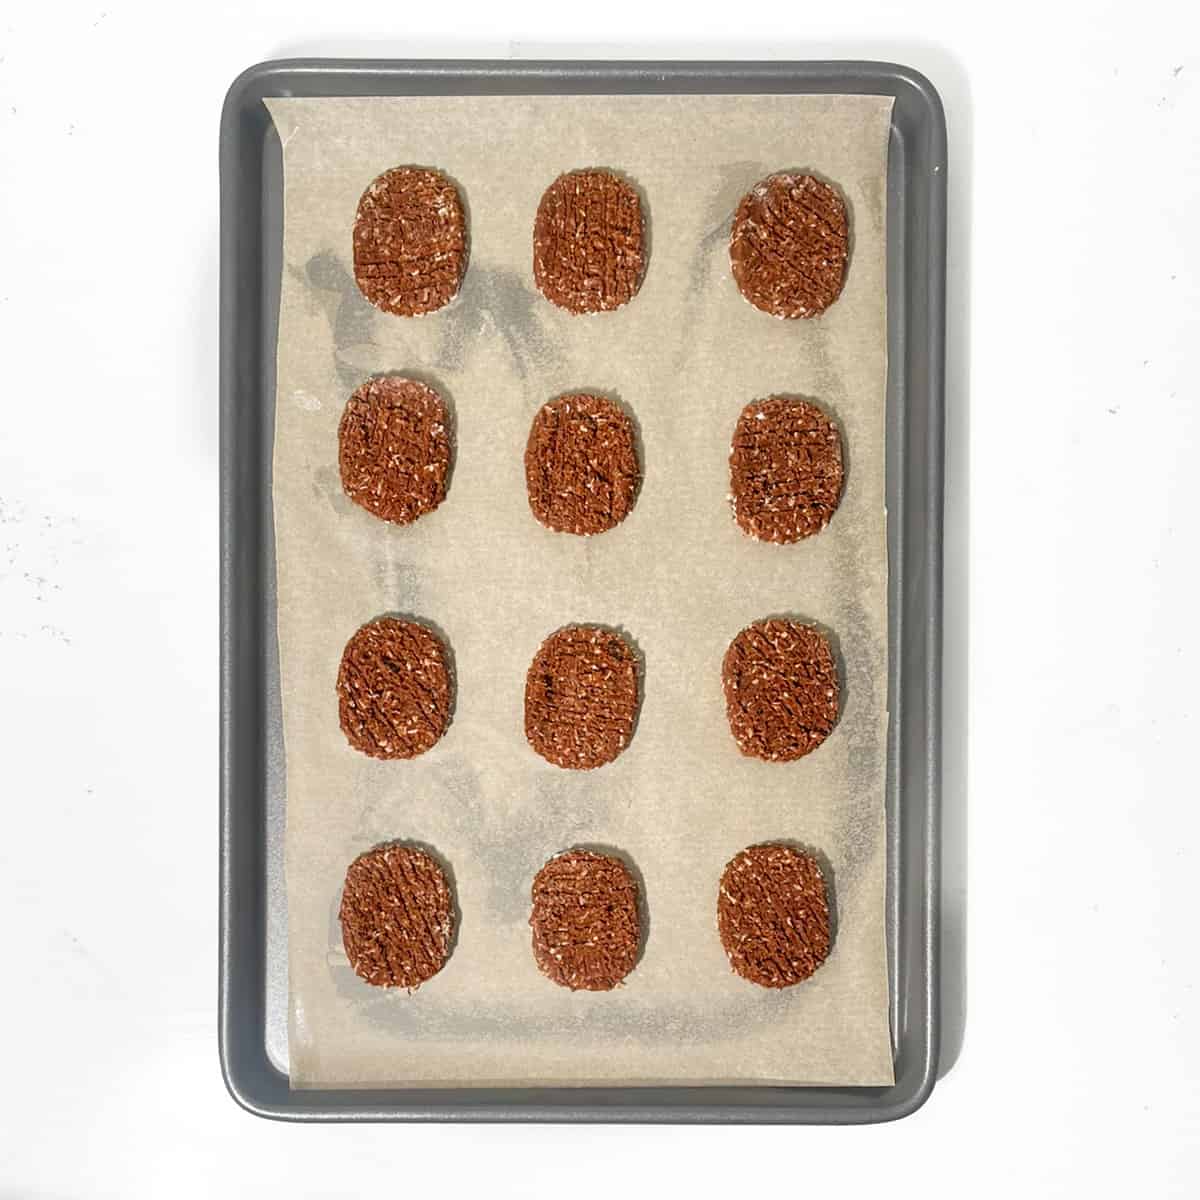
16. Place the cut-out cookies on a lined baking tray or cookie tray, leaving approximately 2.5cm (1") between each cookie. If the trays are not going into the oven immediately, place them in the fridge. This helps the cookies retain their shape during baking.
17. Bake the cookies in the preheated oven for 14-15 minutes, until they look dry on the surface and feel set around the edges. Because the dough is dark, don't rely on colour alone.
Note: If you rolled the cookies thinner than 6mm, they may need less time to bake, so check around the 12-minute mark.
18. Allow the cookies to cool on their baking sheet for 10 minutes before transferring them to a wire cooling rack.

19. Pair up the cookies for sandwiching by matching similar shapes and sizes.

20. Break the chocolate into smaller pieces and place it in a small microwaveable bowl. Melt the chocolate in 30-second intervals, stirring between each, until fully melted.
21. After melting the chocolate, let it sit for around 5 minutes to firm up slightly. This prevents the chocolate from being too runny and running off the cookies.
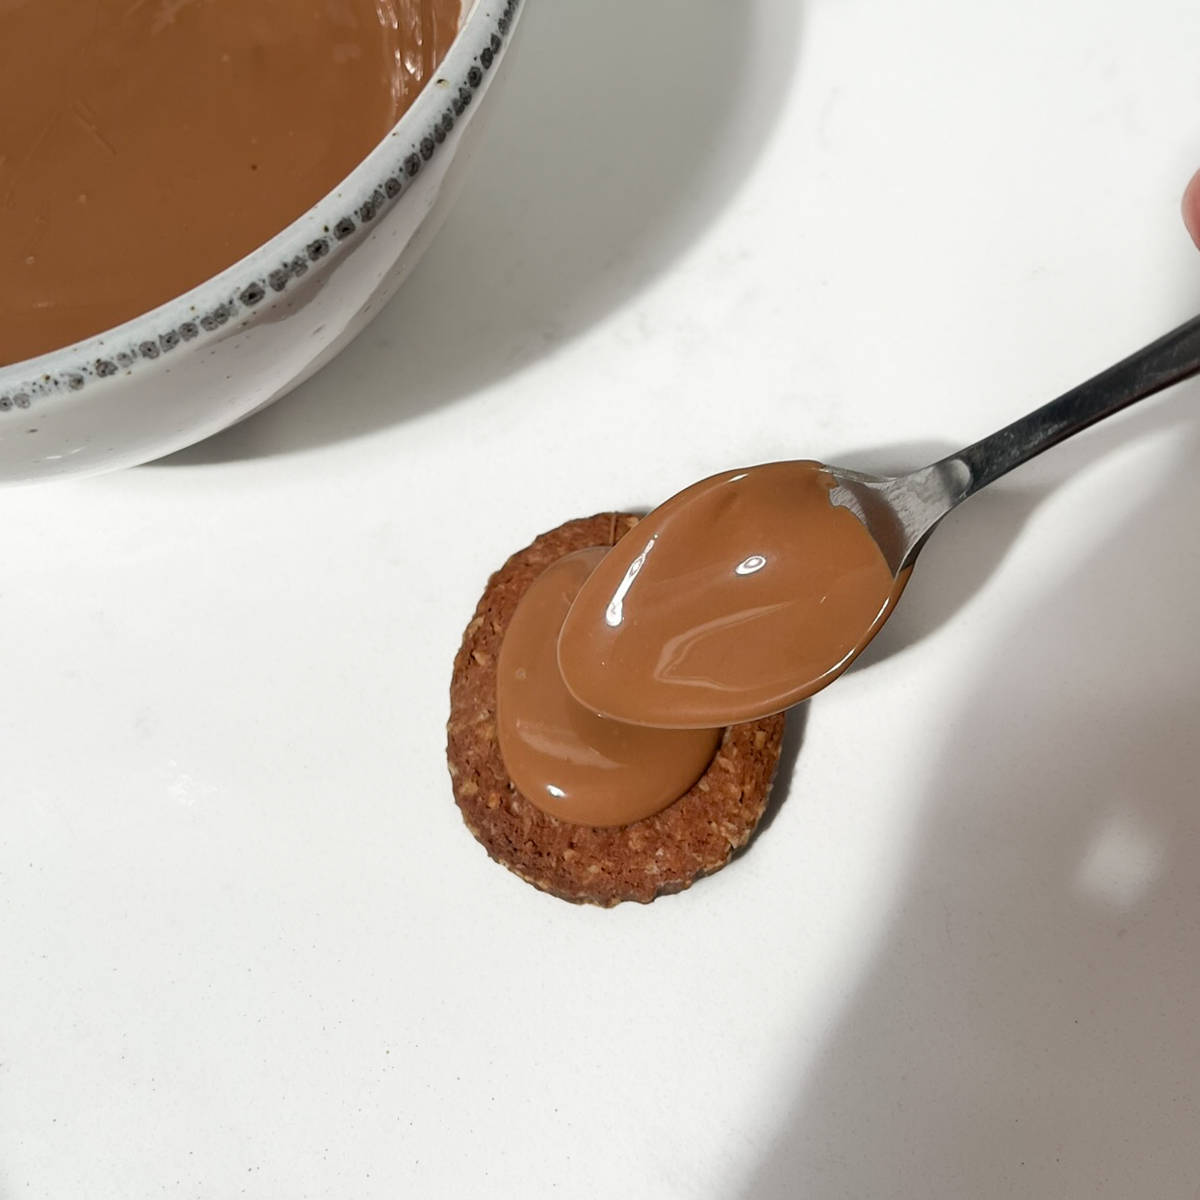
22. Spread a teaspoon of melted chocolate on one cookie, leaving its paired-up friend without chocolate, as it will be the top half of the sandwich.
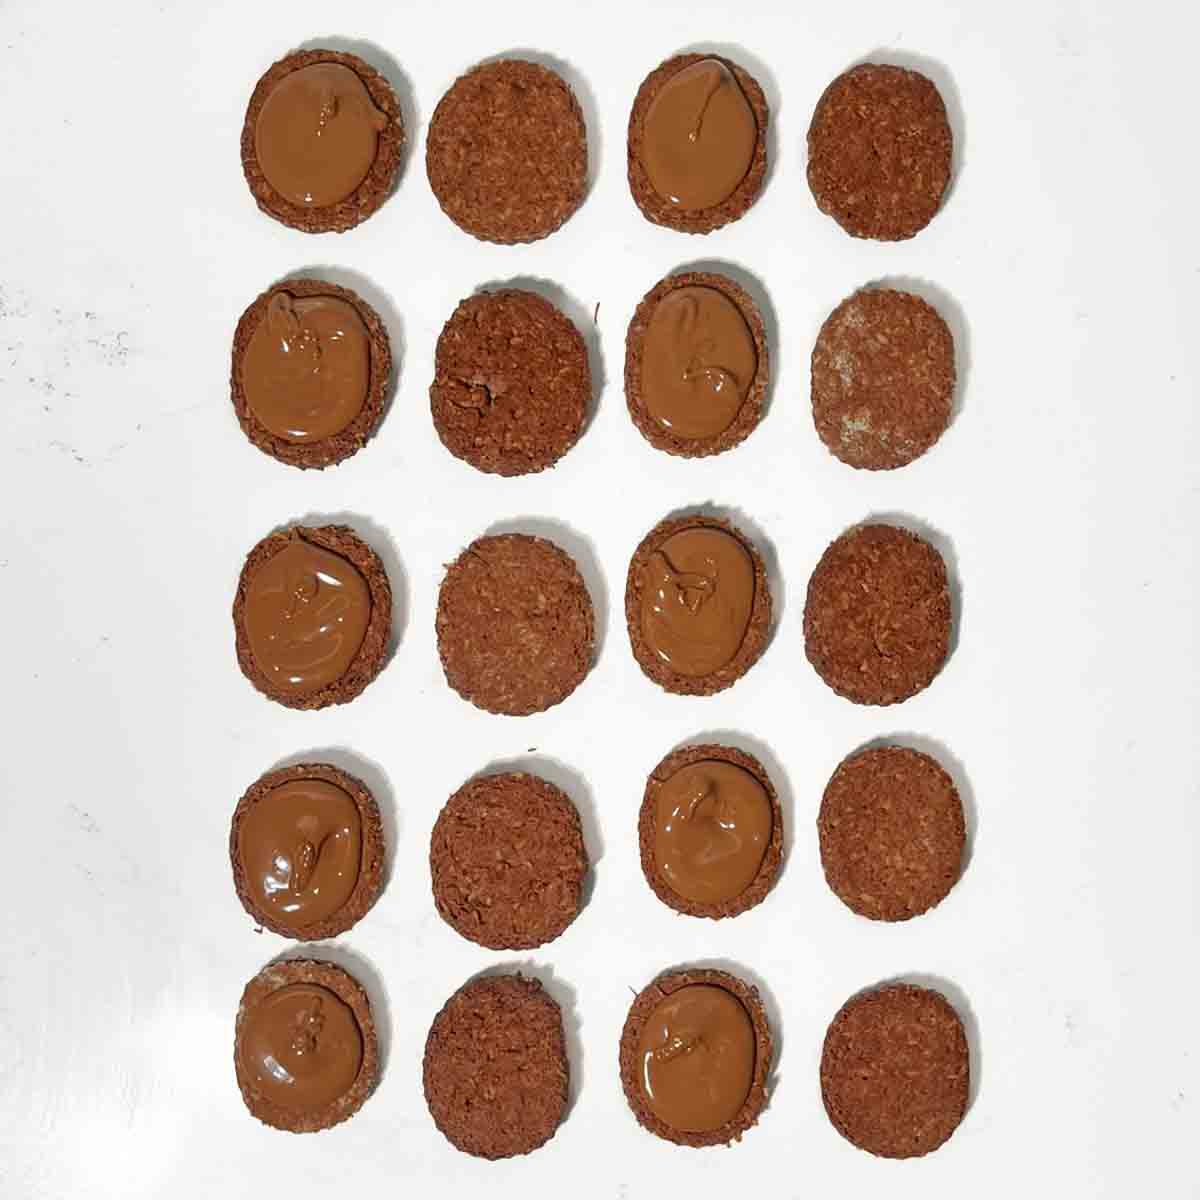
23. For best results, spread chocolate on several cookies first before sandwiching them. Allowing the chocolate to set a bit prevents it from oozing out once sandwiched.

24. Once sandwiched, allow the chocolate filling to be fully set before handling the cookies or transferring them to cookie tins. This ensures they maintain their shape and integrity.
Tips for success
- Chill the dough before rolling so the biscuits hold their shape.
- Use only a light dusting of flour when rolling, or pale flour marks may show after baking.
- Scrape the surface before cutting the biscuits.
- Let the melted chocolate thicken for a few minutes before sandwiching. Runny chocolate will slide out and make the biscuits look untidy.
- Let the filled biscuits set fully before packing them into tins.
Troubleshooting
My dough is too soft to roll
Wrap it and chill it for another 10-15 minutes. Butter-based biscuit dough softens quickly in a warm kitchen.
My biscuits lost their shape
The dough was probably too warm, or the tray sat out too long before baking. Chill the cut biscuits on the tray if your kitchen is warm.
My chocolate filling is running out
Let the melted chocolate sit for a few minutes before spreading. It should be glossy but slightly thickened, not hot and runny.
My biscuits are too hard
They may have baked a little too long. They should be crisp, but not jaw-training equipment. Check them at the lower end of the baking time next time.
Variations
Half-dipped Romany Creams: Instead of sandwiching them, dip each biscuit halfway into melted chocolate and leave to set on baking paper.
White chocolate: Use melted white chocolate for a sweeter filling.
Mint chocolate: Use smooth mint chocolate for the filling. Peppermint Crisp is too chunky for neat sandwiching.
Coffee Romany Creams: Add 1-2 tablespoons instant coffee or espresso powder to the cocoa mixture for a mocha-style version.
Storage
Store Romany Creams in an airtight container at room temperature for up to 3 weeks. Let the chocolate filling set completely before stacking them.
For longer storage, freeze them in a sealed container for up to 3 months, with baking paper between layers. Thaw at room temperature before serving.
More South African biscuit and sweet recipes
For more South African bakes, try my outydse soetkoekies, hertzoggies, condensed milk cookies, milk tart with condensed milk or peppermint crisp tart.
Recipe

Classic South African Romany Creams
Ingredients
- 120 millilitre boiled water
- 5 tablespoons cocoa powder
- 225 grams unsalted butter - at room temperature. You can use salted butter, just leave out the ½ teaspoon salt.
- 220 grams caster sugar
- 1 teaspoon vanilla extract
- 350 grams all-purpose flour
- 1 teaspoon baking powder
- ½ teaspoon salt
- 120 grams desiccated coconut - medium grain coconut, not fine
- 200 grams milk or dark chocolate
Instructions
- Mix the cocoa powder with the boiled water until dissolved, then set it aside to cool slightly.120 millilitre boiled water, 5 tablespoons cocoa powder
- In a large bowl, add the room-temperature butter, caster sugar and vanilla extract.225 grams unsalted butter, 220 grams caster sugar , 1 teaspoon vanilla extract
- Using an electric hand mixer or a stand mixer, beat the butter and sugar until light and creamy, around 2-3 minutes.
- Add the cocoa powder mixture to the creamed butter and sugar mixture.
- Beat until well incorporated, approximately 1-2 minutes. Don't worry if it looks slightly curdled at first, adding the flour will resolve that.
- Sift the all-purpose flour, baking powder and salt into the bowl with the cocoa mixture.350 grams all-purpose flour, 1 teaspoon baking powder, ½ teaspoon salt
- Next, add the desiccated coconut on top of the dry ingredients.120 grams desiccated coconut
- Using a rubber spatula or a large spoon, fold the ingredients together until mostly combined.
- Set the spatula aside and use your hands to bring the dough together until well combined and a soft dough forms. The dough should come together easily, but if it feels very soft, the fridge rest will firm it up.
- Tip the dough onto a large piece of clingfilm. Shape it into a rough, flat circle of approximately 2.5cm (1") thickness. Cover it completely with the clingfilm and place it in the fridge for 30 minutes to firm up.
- Preheat the oven to 180°C/160°C fan/350°F. Line a couple of baking sheets with parchment paper.
- Sprinkle some flour on the work surface and roll out the chilled dough to a thickness of about 6mm.
- Take a fork and scrape rough lines across the entire surface of the rolled-out dough.
- Scrape lines in the opposite direction to create a rough, textured, criss-cross pattern.
- Use a round 5cm diameter cookie cutter to cut out the cookies. For the Romany Cream shape, use your fingers to gently pinch the sides of each cut-out cookie into more of an oval.
- Place the cut-out cookies on a lined baking tray or cookie tray, leaving approximately 2.5cm (1") between each cookie. If the trays are not going into the oven immediately, place them in the fridge. This helps the cookies retain their shape during baking.
- Bake the cookies in the preheated oven for 14-15 minutes, until they look dry on the surface and feel set around the edges. Because the dough is dark, don't rely on colour alone.
- Allow the cookies to cool on their baking sheet for 10 minutes before transferring them to a wire cooling rack.
- Pair up the cookies for sandwiching by matching similar shapes and sizes.
- Break the chocolate into smaller pieces and place it in a small microwaveable bowl. Melt the chocolate in 30-second intervals, stirring between each, until fully melted.200 grams milk or dark chocolate
- After melting the chocolate, let it sit for around 5 minutes to firm up slightly. This prevents the chocolate from being too runny and running off the cookies.
- Spread a teaspoon of melted chocolate on one cookie, leaving its paired-up friend without chocolate, as it will be the top half of the sandwich.
- For best results, spread chocolate on several cookies first before sandwiching them. Allowing the chocolate to set a bit prevents it from oozing out once sandwiched.
- Once sandwiched, allow the chocolate filling to be fully set before handling the cookies or transferring them to cookie tins. This ensures they maintain their shape and integrity.
Notes
- Use medium or coarse desiccated coconut for the best texture.
- If using salted butter, leave out the added salt.
- Chill the dough before rolling. If your kitchen is warm, chill the cut biscuits on the tray before baking so they hold their shape.
- Let melted chocolate thicken slightly before sandwiching.
- Store in an airtight tin for up to 3 weeks.

**Nutritional data disclaimer**
Please keep in mind that the nutritional information provided below is calculated by a third party and we cannot guarantee the accuracy. We try our best to give you the most accurate information, but we do not take responsibility for errors that may be present. Also, the nutritional value of the recipe may change depending on the exact brands and products used. We recommend that you consult with a qualified healthcare professional or registered dietitian for personalised advice on your dietary needs.
Nutrition
For food safety advice, including guidance on food allergies


Joan Fish says
These sound so good, but I'm an American and not good at metric measurements.
Maretha Corbett says
Hi Joan!
Thank you so much for your kind words! I completely understand how metric measurements can feel daunting if you're used to the US system (it's the same the other way around for us outside the US - cold sweats, I tell ya!).
I prefer using metric because it offers that extra bit of accuracy, especially with baking. It may seem like an adjustment, but investing in a good pair of digital scales is such a game-changer — it makes everything so much easier and more precise!
As much as I'd love to convert the measurements, it often results in odd amounts that could affect the recipe, and I’d hate for that to happen. I truly want you to have the best outcome possible!
Happy baking,
Maretha x