
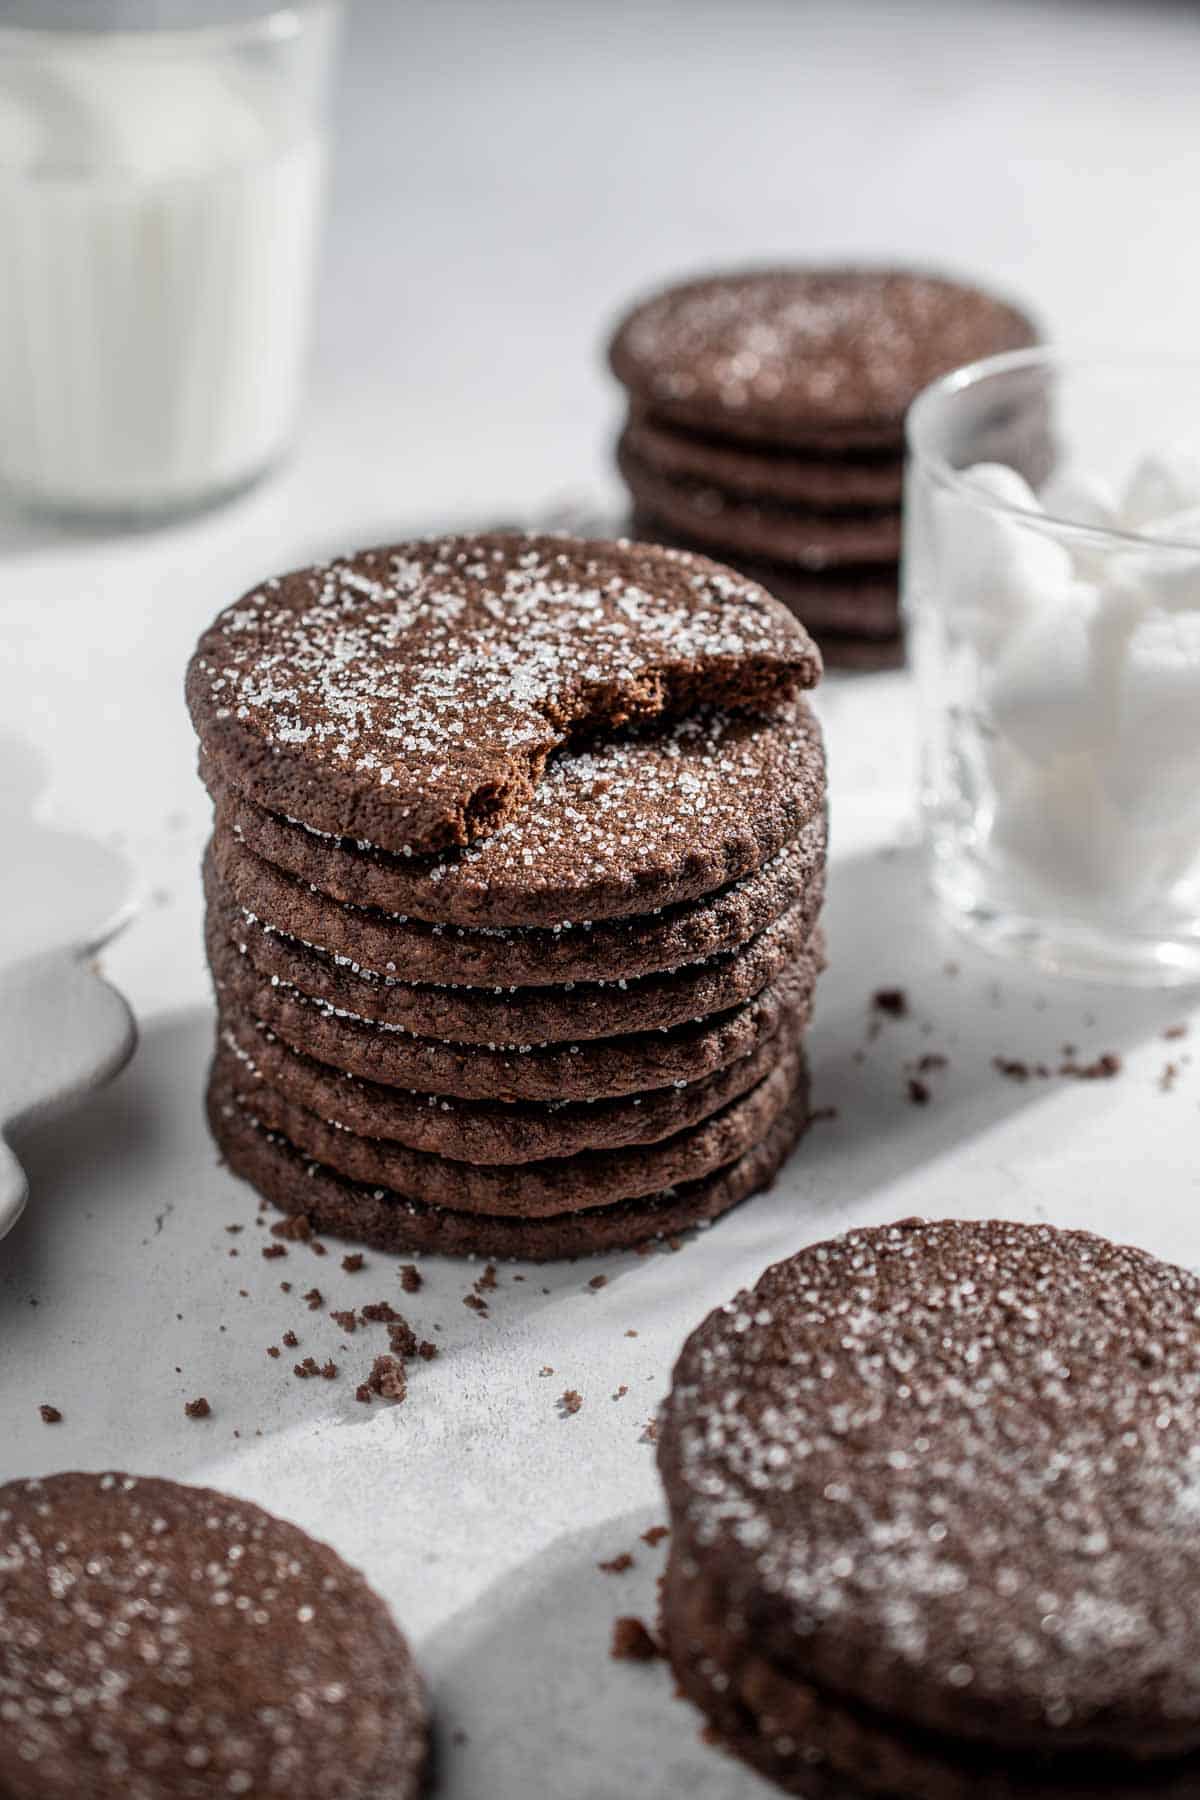
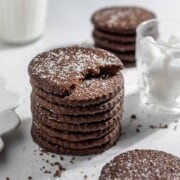
This delicious chocolate shortbread recipe delivers everything you love about traditional shortbread - a rich, buttery flavour and a delicate, crumbly texture.
Each bite melts in your mouth with a lovely snap from the shortbread. The addition of cocoa makes these cookies extra special. Be warned, the cookie dough is incredibly addictive so it's hard to resist sneaking spoonfuls before baking!
Jump to:
Cut into fun shapes with cookie cutters or leave plain - either way, this recipe yields irresistible chocolate shortbreads. Drizzle with chocolate, dip in chocolate or add a sweet sugar coating for extra crunch.
To help you make these cookies successfully, please read our Top Tips section further below before you start.
If you'd like another easy-to-make cookie recipe like these chocolate shortbreads, try these peanut butter chocolate chip cookies or these condensed milk cookies.
Recipe highlights
- Crumbly, buttery and rich.
- No eggs needed.
- Fun to cut into shapes.
- Crisp, snappy texture.
- Made with pantry staples.
- Easy to customise with nuts or chocolate chips.
- Dress them up with a dip, drizzle or sugar sprinkle.
Key ingredient notes and substitutions
**Please see the recipe card at the bottom of this post for the full list of ingredients.

Unsalted butter
Use good-quality, room-temperature butter for the best flavour and texture. Unsalted is ideal so you can control the salt, but if using salted butter, just skip the added salt.
Butter is essential for shortbread's rich, creamy taste. Don't substitute with margarine or shortening.
Make sure it's softened to room temperature to whip in air and create that perfect tender-yet-crisp texture.
Quick tip
To soften butter fast, microwave a bowl of water until boiling. Discard the water, then invert the hot bowl over the butter for a few minutes.
Icing sugar
Also called powdered or confectioners' sugar, it dissolves easily and blends smoothly, giving the shortbread a finer texture without grittiness.
It also contains cornstarch, which absorbs moisture, resulting in cookies that are crisp on the outside and tender inside.
Cocoa powder
We highly recommend using a good quality Dutch-processed, 100% unsweetened cocoa powder like Valrhona, Callebaut or Ghirardelli.
Otherwise, use the cocoa powder available to you.
How to make this recipe - Step-by-step
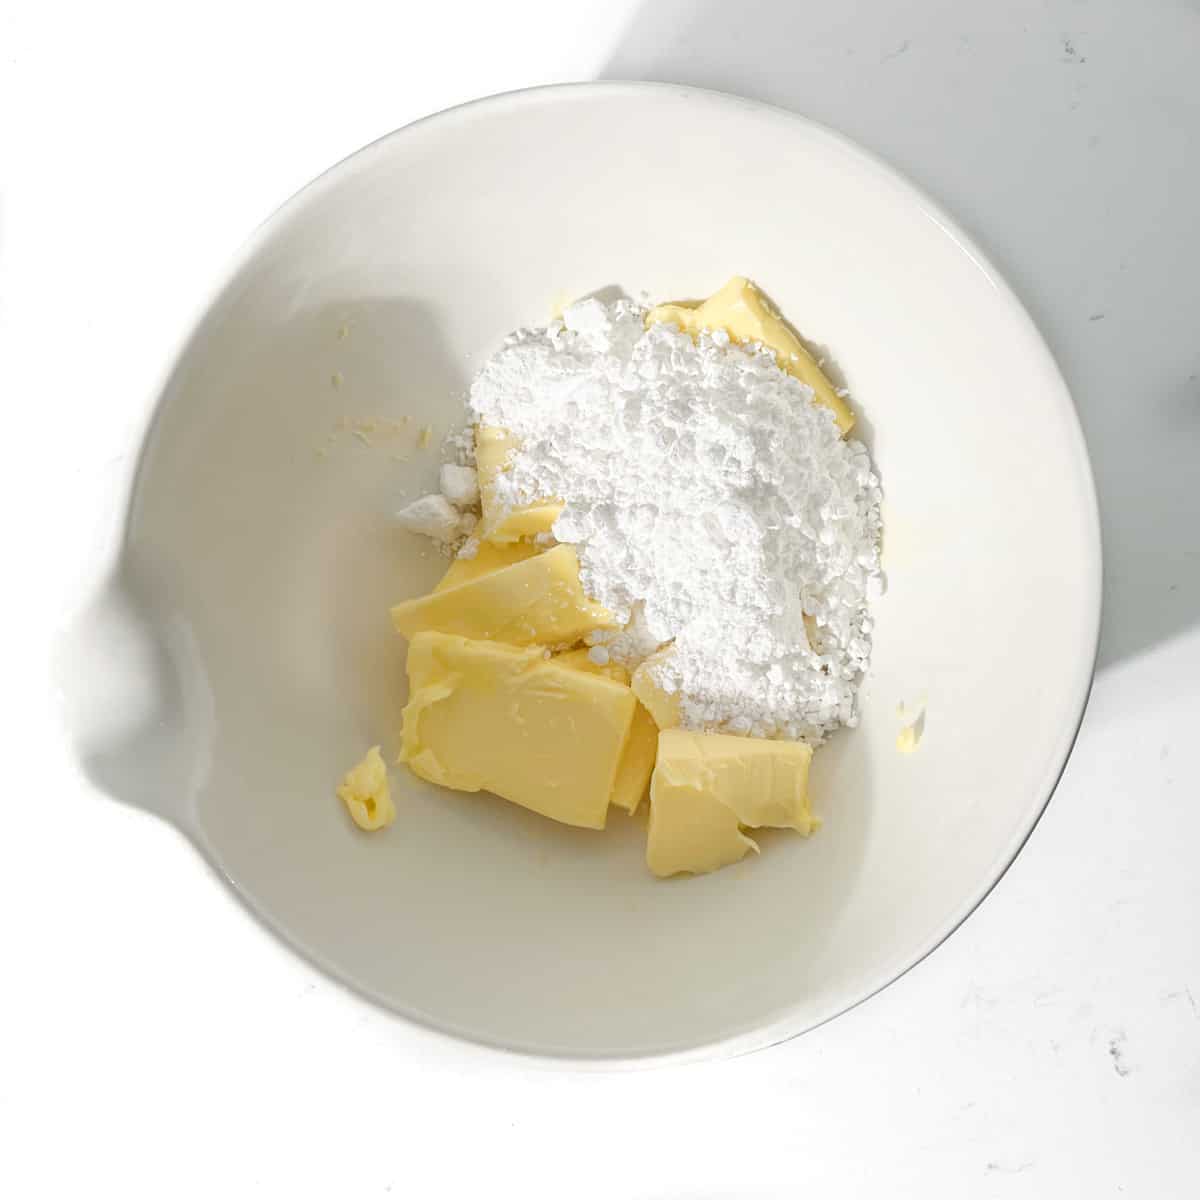
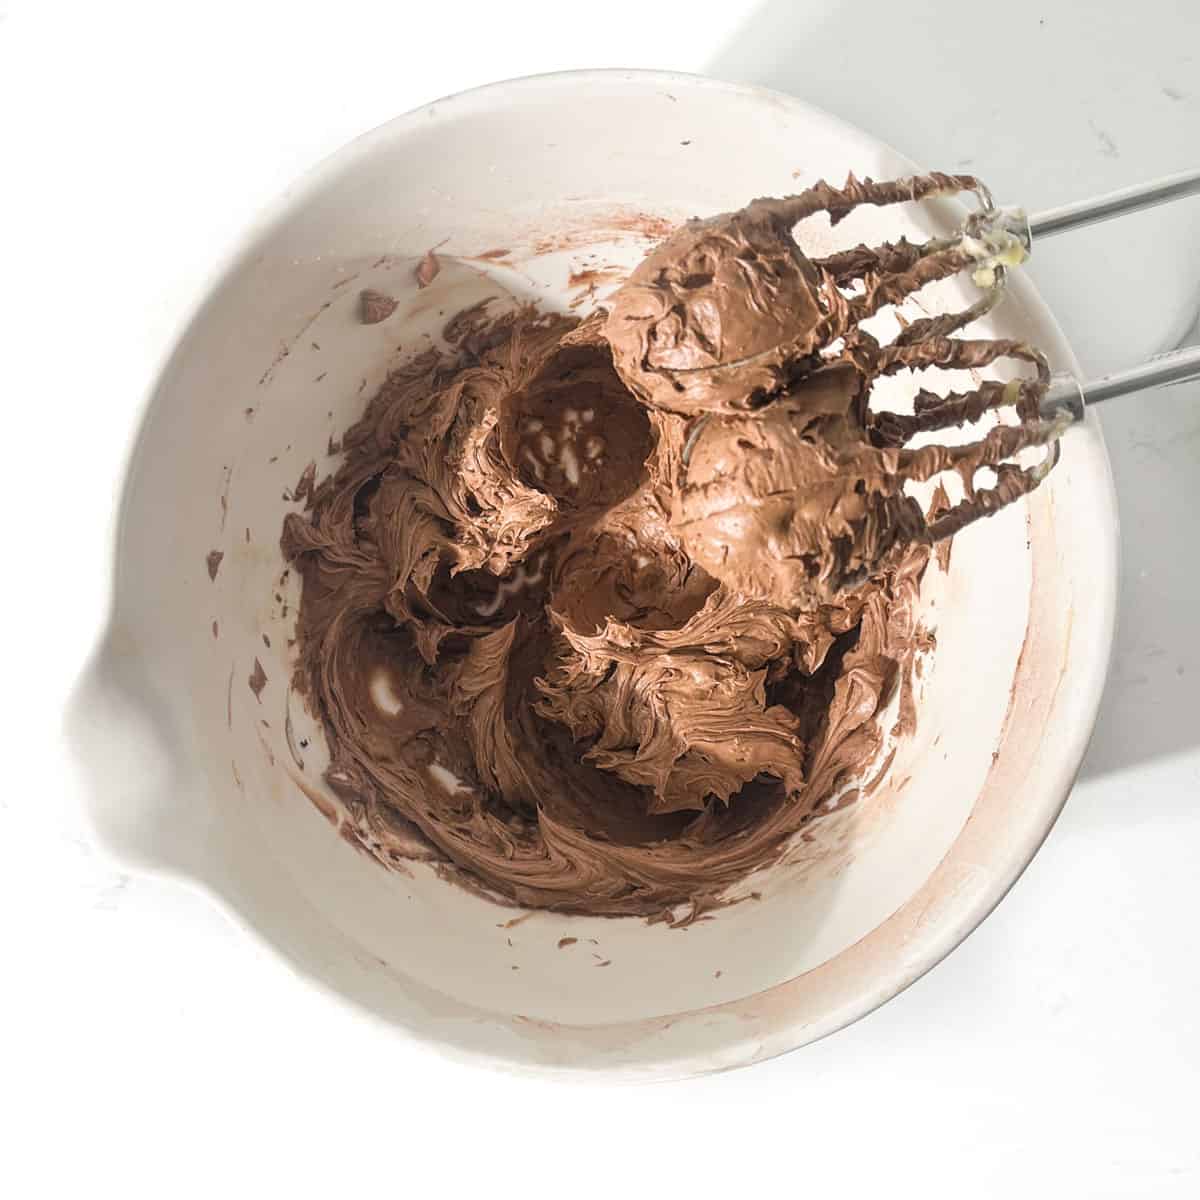
1. First, add the softened butter and icing sugar to a large bowl.
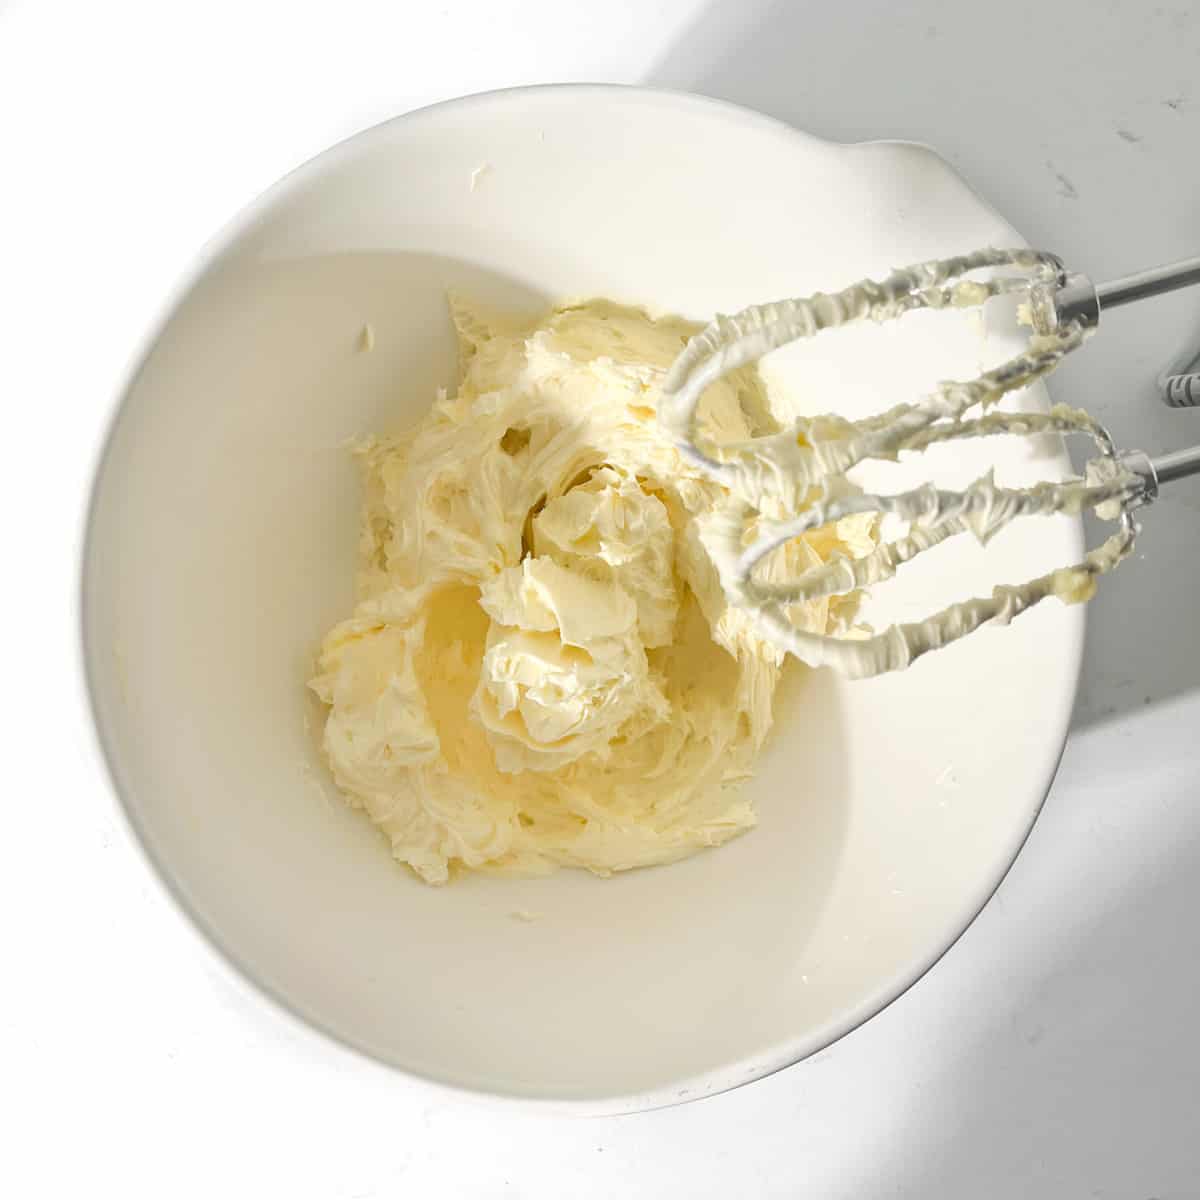
2. Using an electric handheld mixer or stand mixer (with paddle attachment), beat the butter and icing sugar together until light and fluffy, about 2-3 minutes.
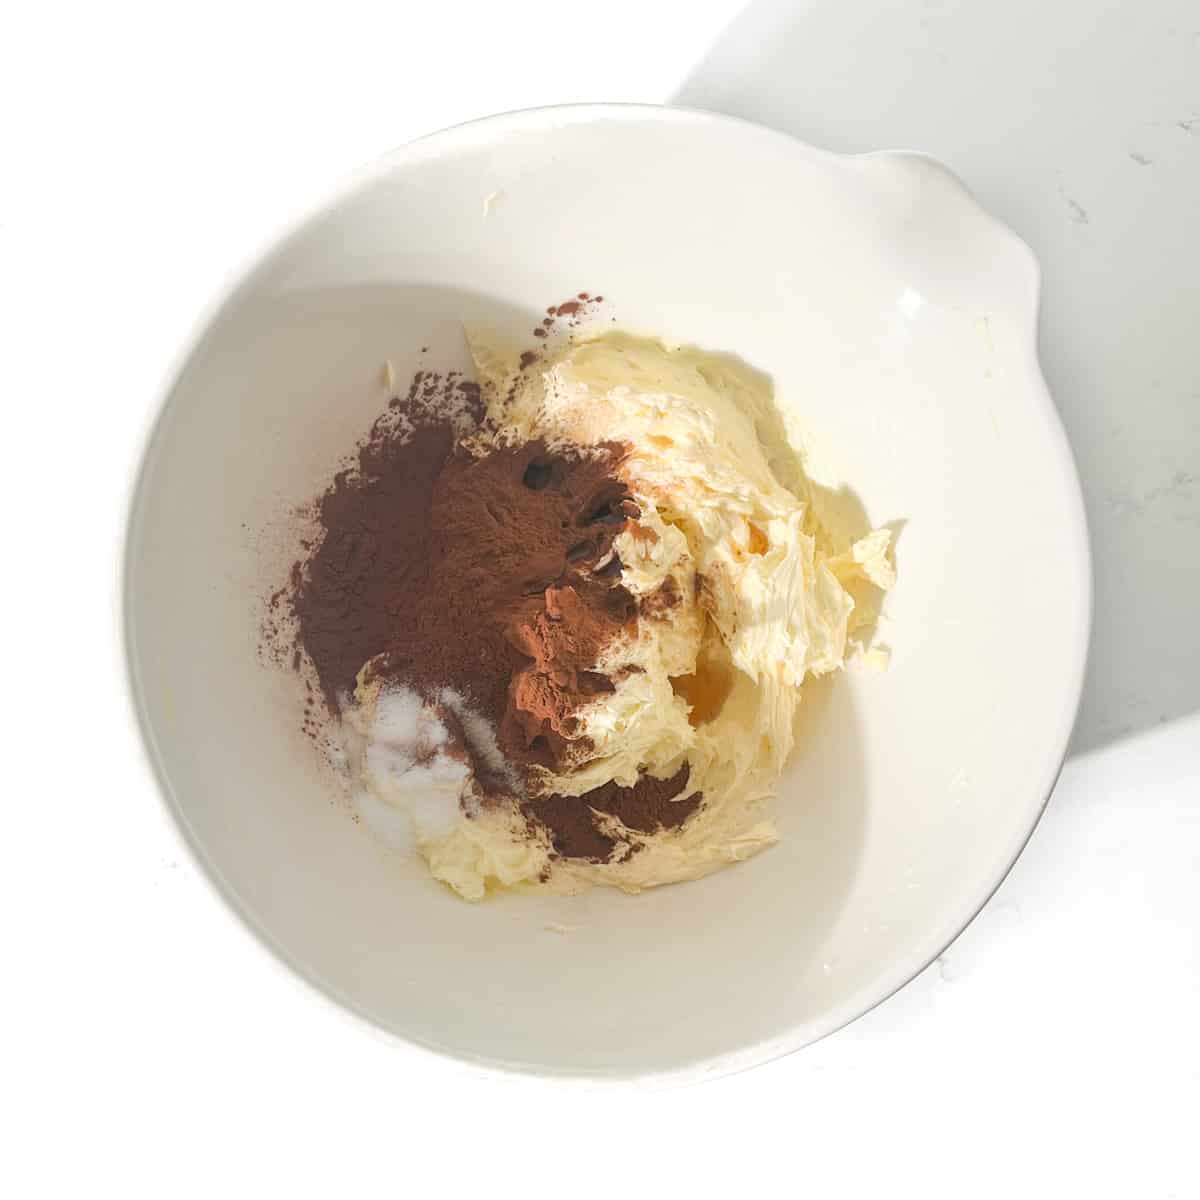
3. Next, add in the cocoa powder, salt and vanilla extract to the butter and sugar mixture.
4. Beat until everything is thoroughly combined and you have a smooth, creamy mixture.
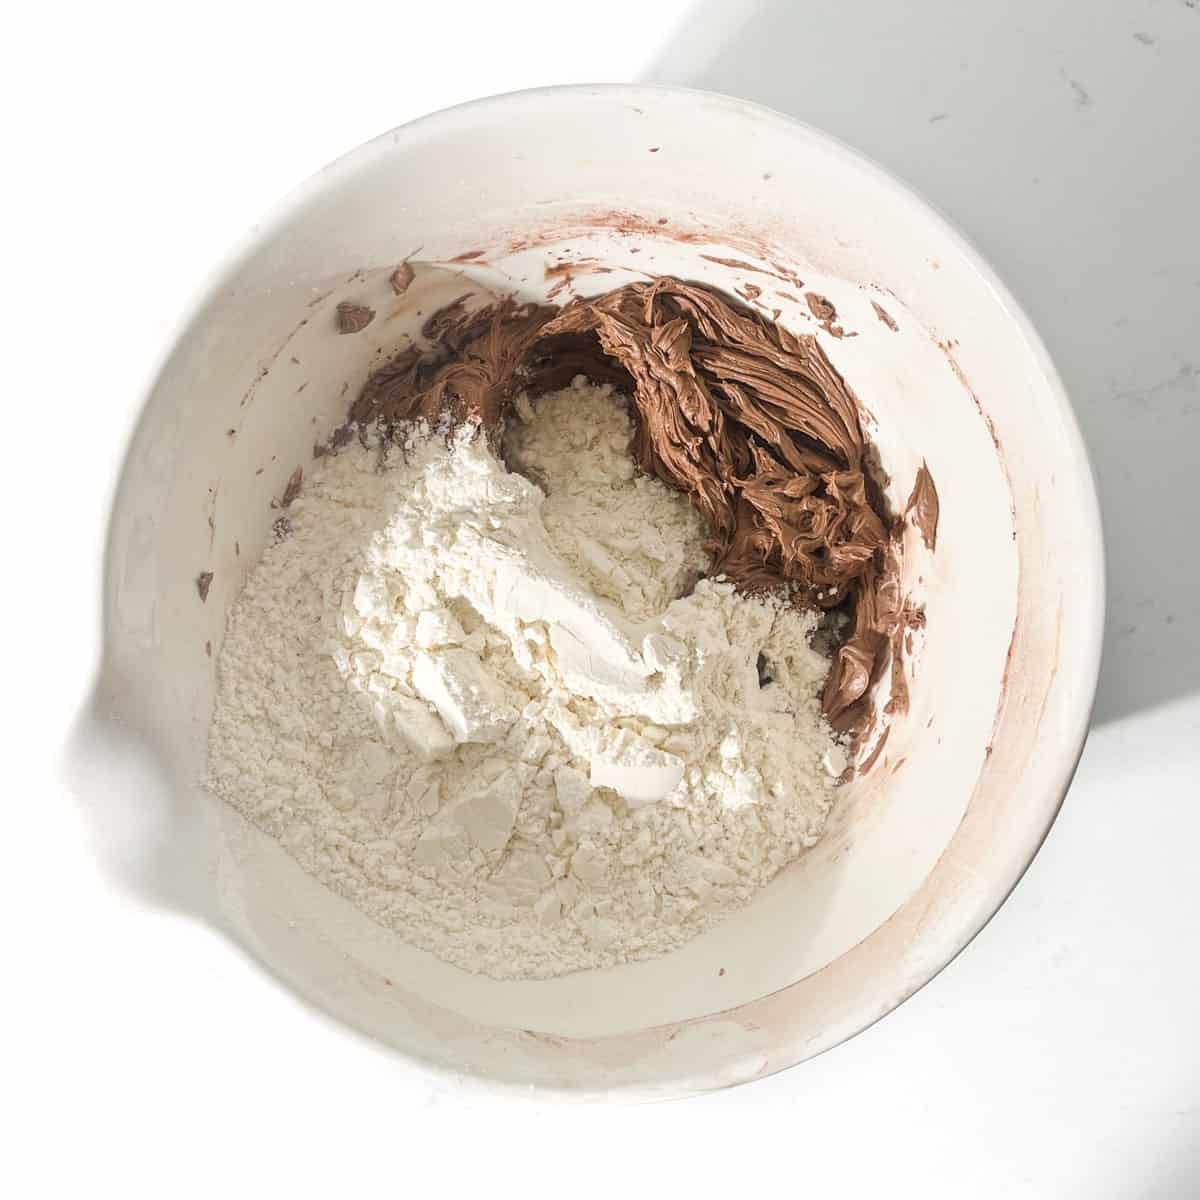
5. Add all of the all-purpose flour to the bowl.
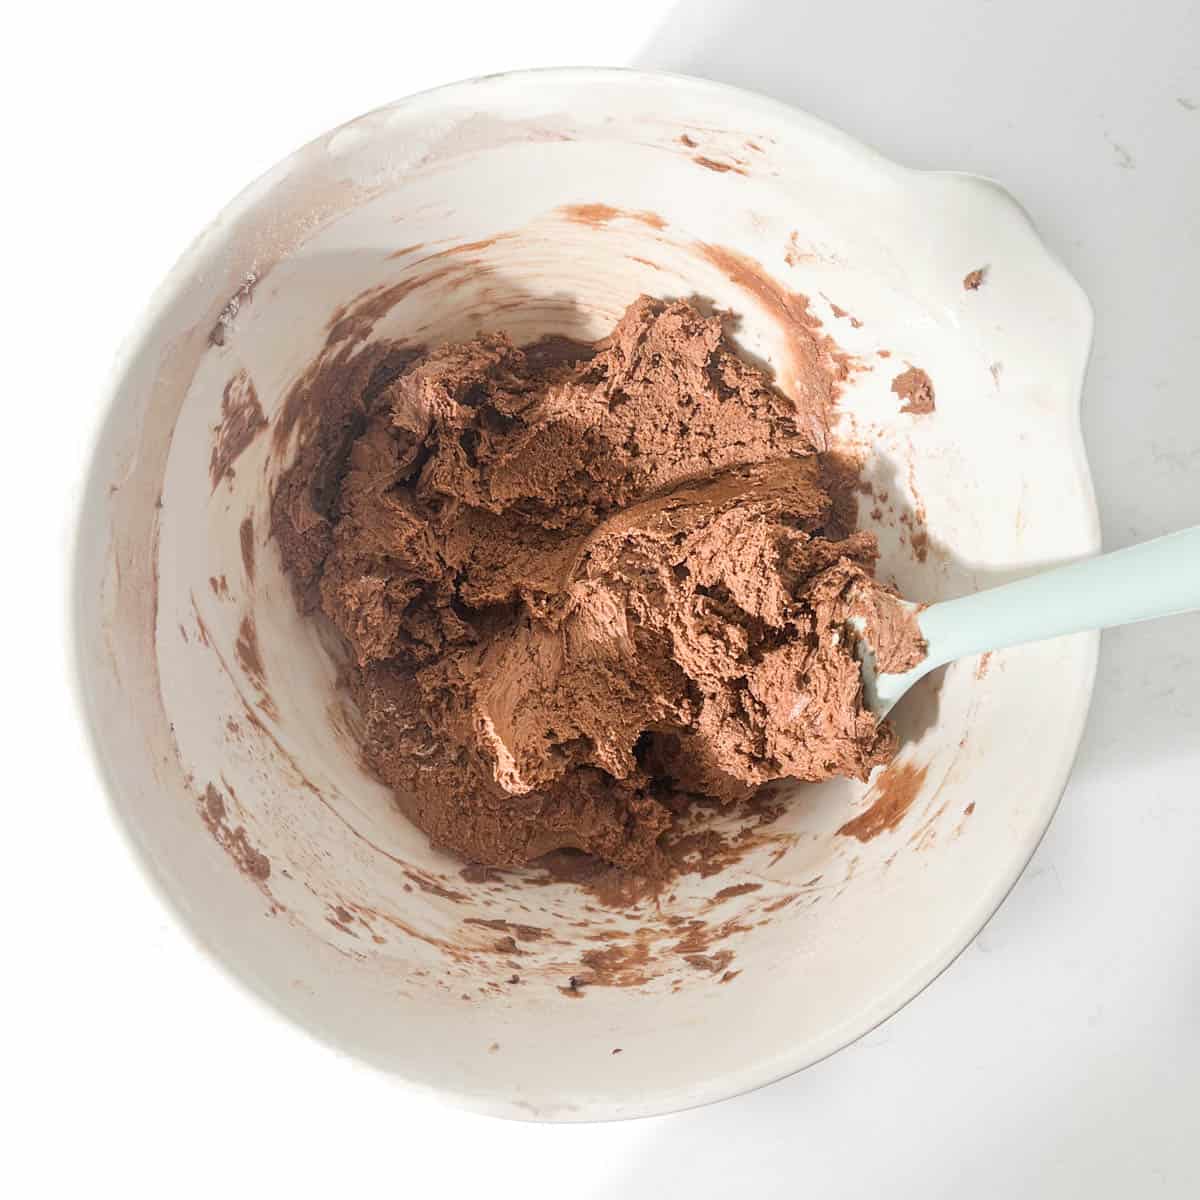
6. Slowly beat just until you cannot see any more specks of flour. We recommend starting with the electric mixer and finishing by hand (with a wooden spoon or rubber spatula), scraping down the sides and bottom of the bowl.
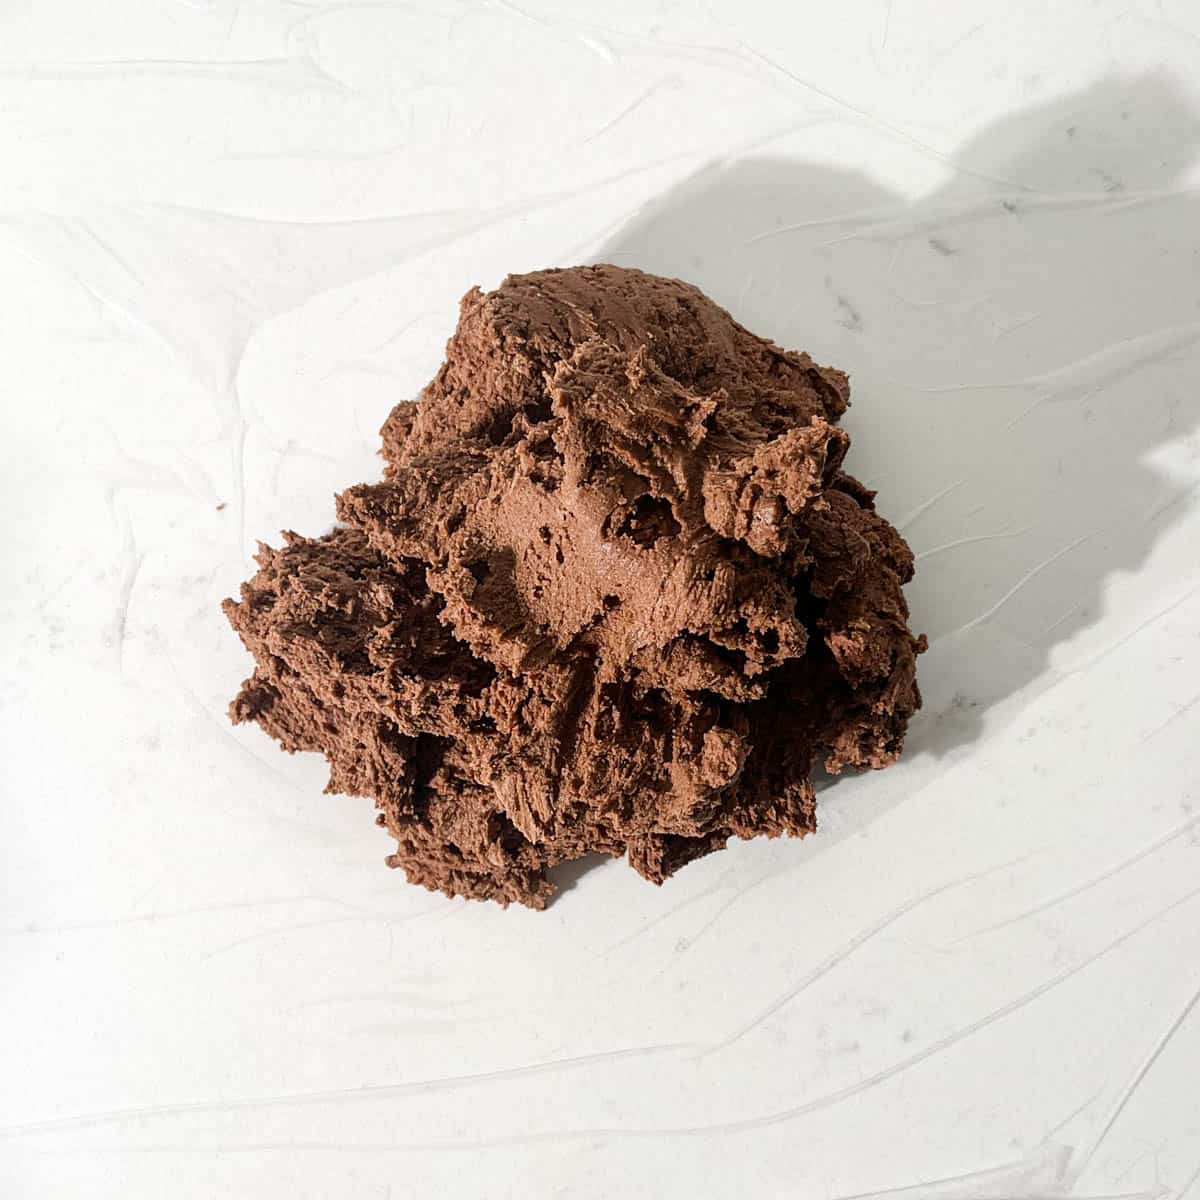
7. Tip the chocolate shortbread dough out onto a piece of plastic wrap on the work surface. The dough will be quite soft but we are going to firm it up in the fridge.
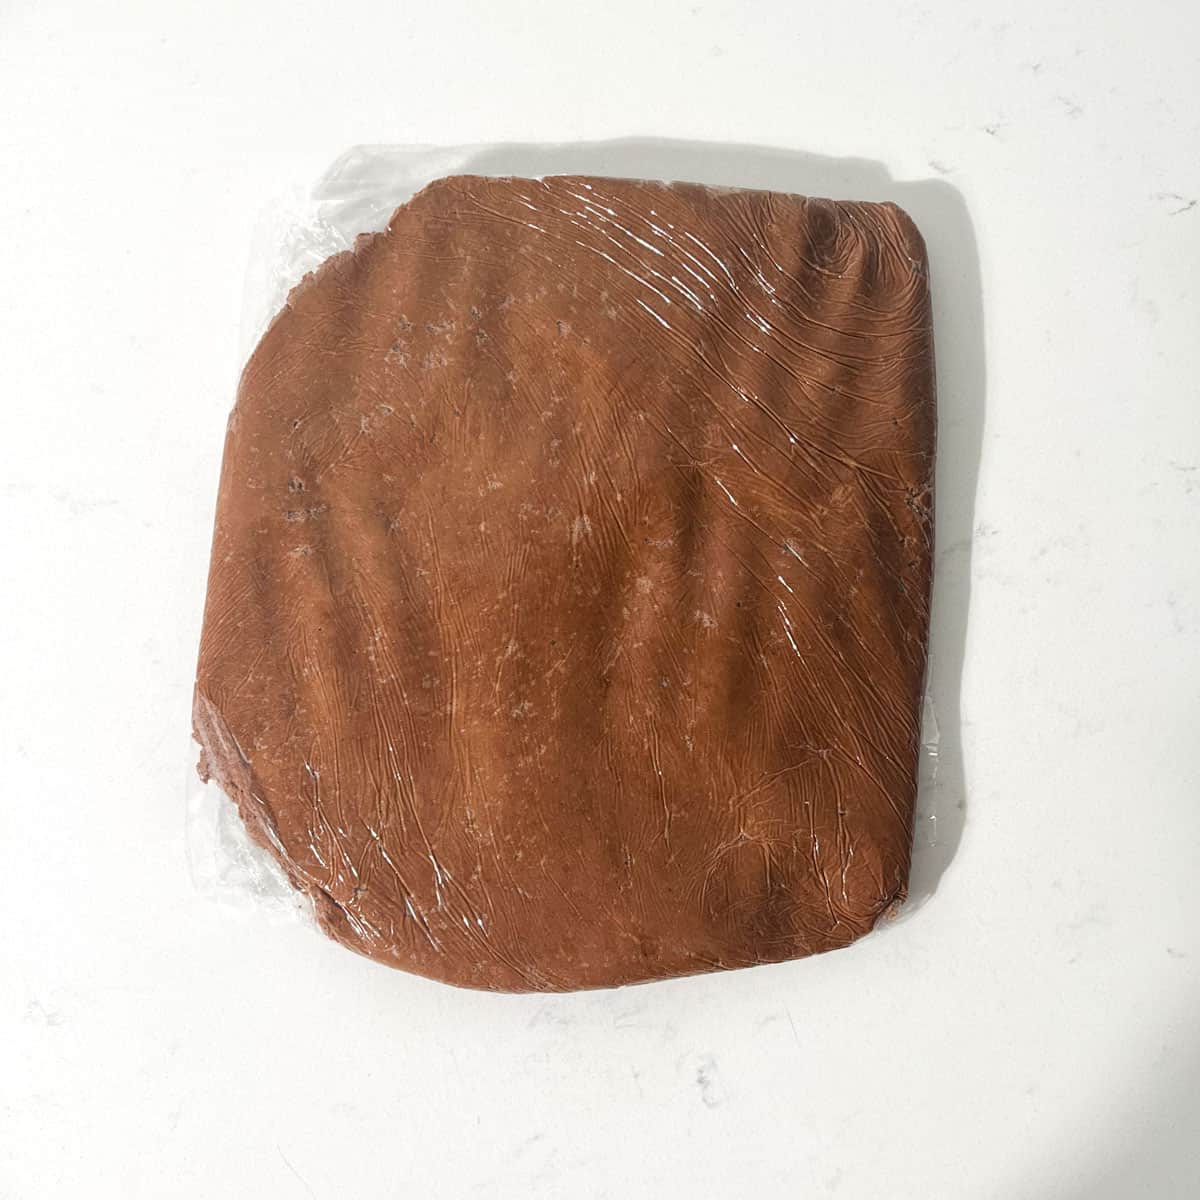
8. Shape it into a flat disk and wrap it in the plastic wrap. Place in the fridge for a minimum of 1 hour, or in the freezer for 30 minutes.
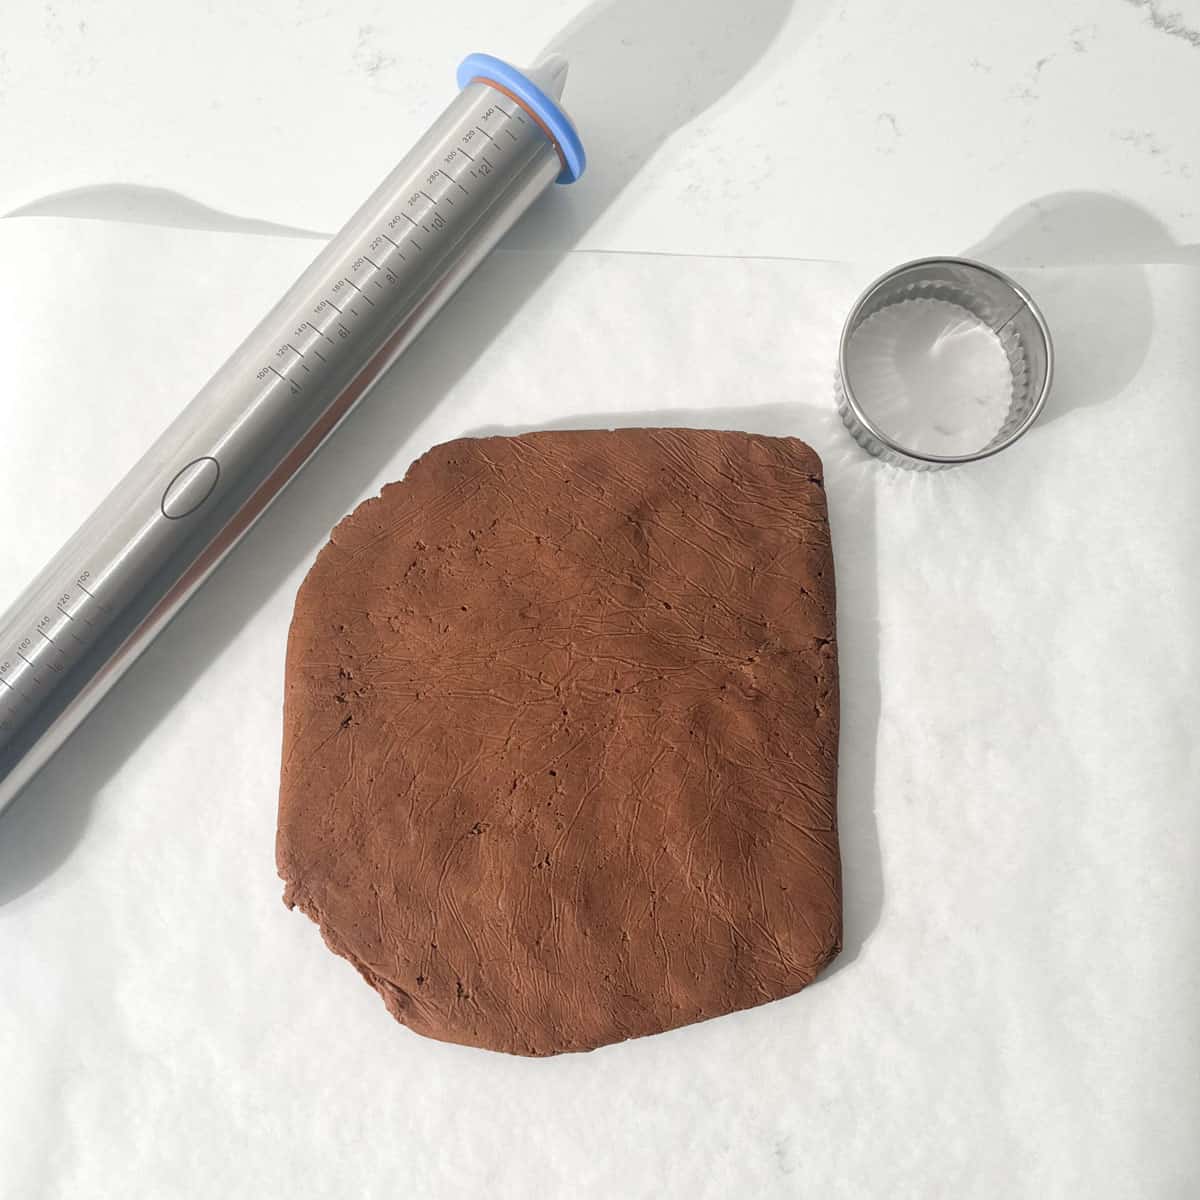
9. Once the dough is cold and firm, unwrap it and place it on a large piece of parchment paper.
10. Cover it with another piece of parchment paper.
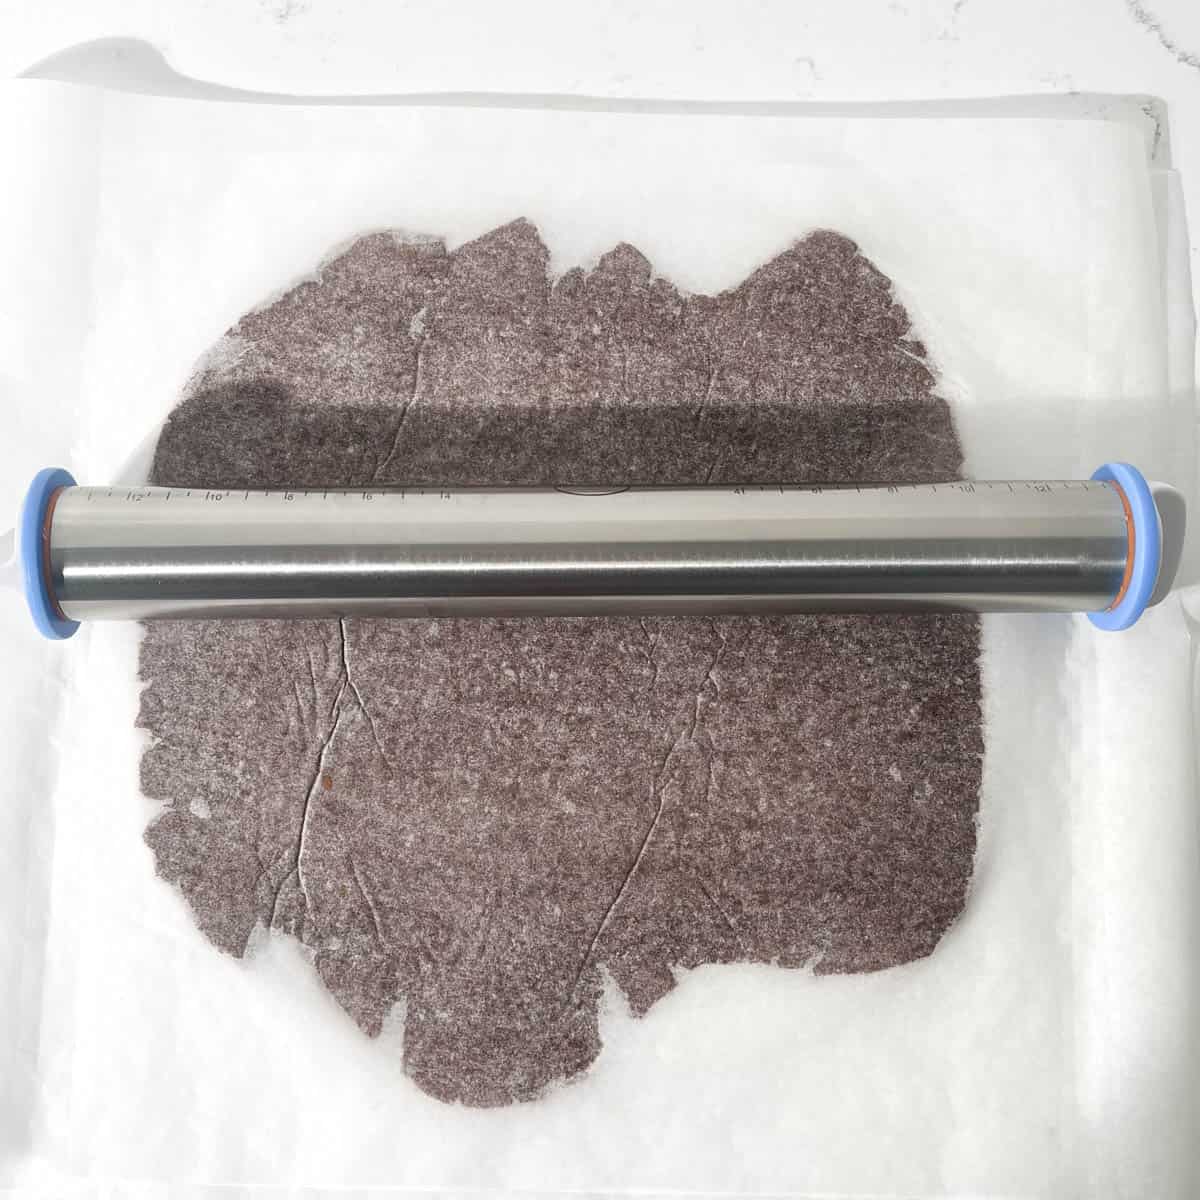
11. Using a rolling pin, roll the dough out to a thickness of 6mm/1/4".
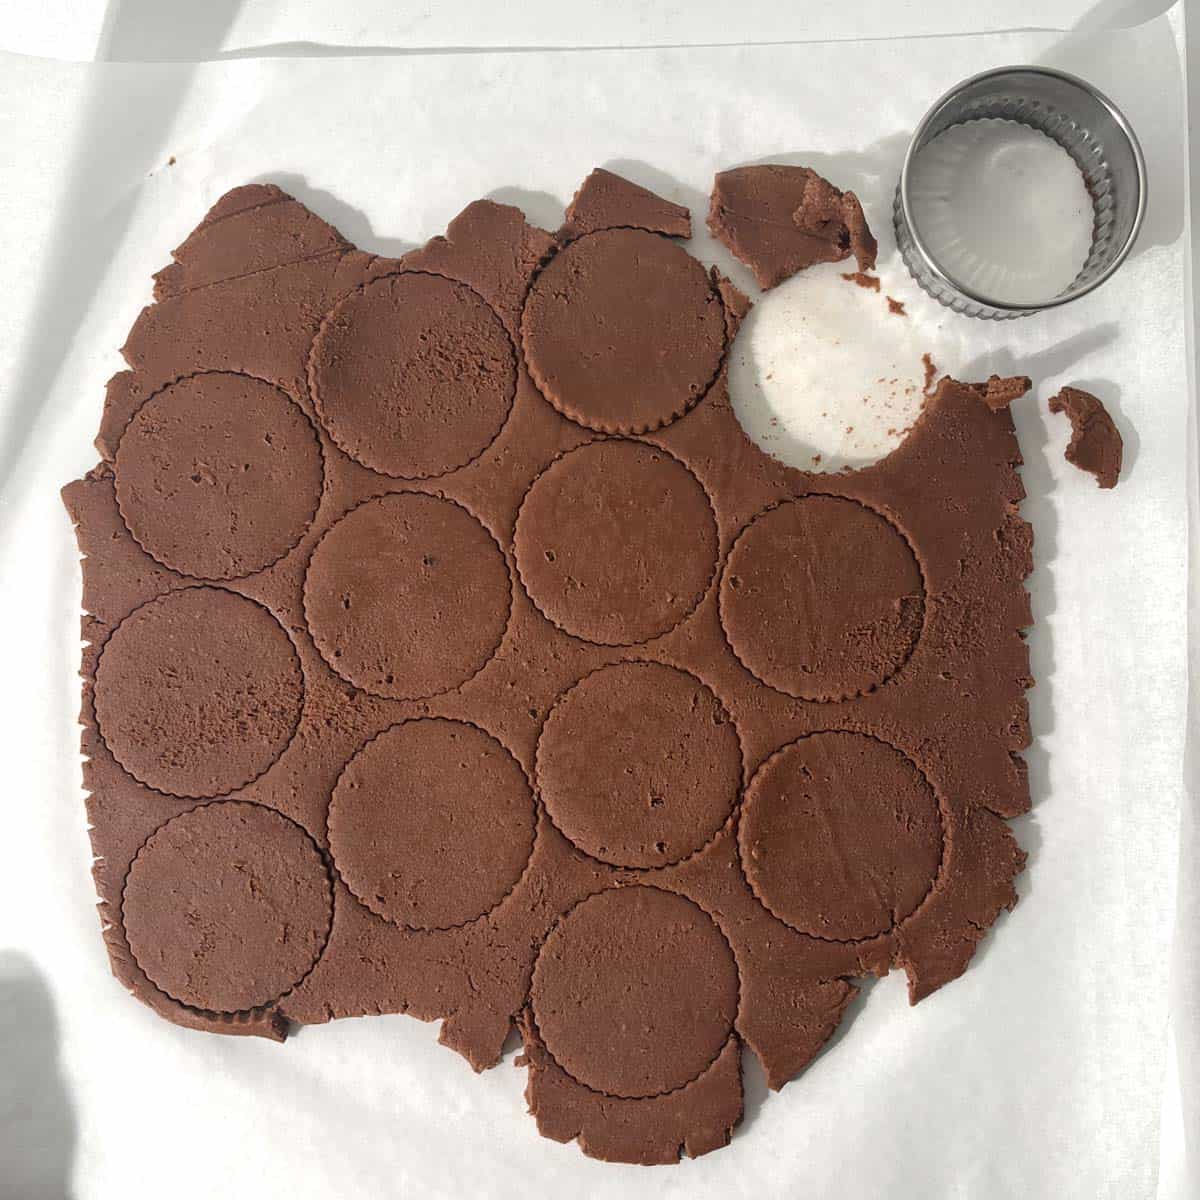
12. Cut out your desired shapes from the dough using a cookie cutter. Re-roll any leftover pieces of dough. If the dough has gone soft, return it to the fridge for 10 minutes.
13. Line two baking sheets with parchment paper and transfer the cut-out cookies onto the sheets, leaving enough space between them for expansion.
14. Place the baking sheets in the fridge to firm up the cookies whilst the oven preheats.
15. Preheat the oven to 170C/338F/gas mark 3.
16. Once preheated, bake the cookies on the middle shelf of the oven for 15-17 minutes. Since the cookies are dark, you won't have visual cues like with light cookies. Look for a dull surface and dry edges to know they are done.
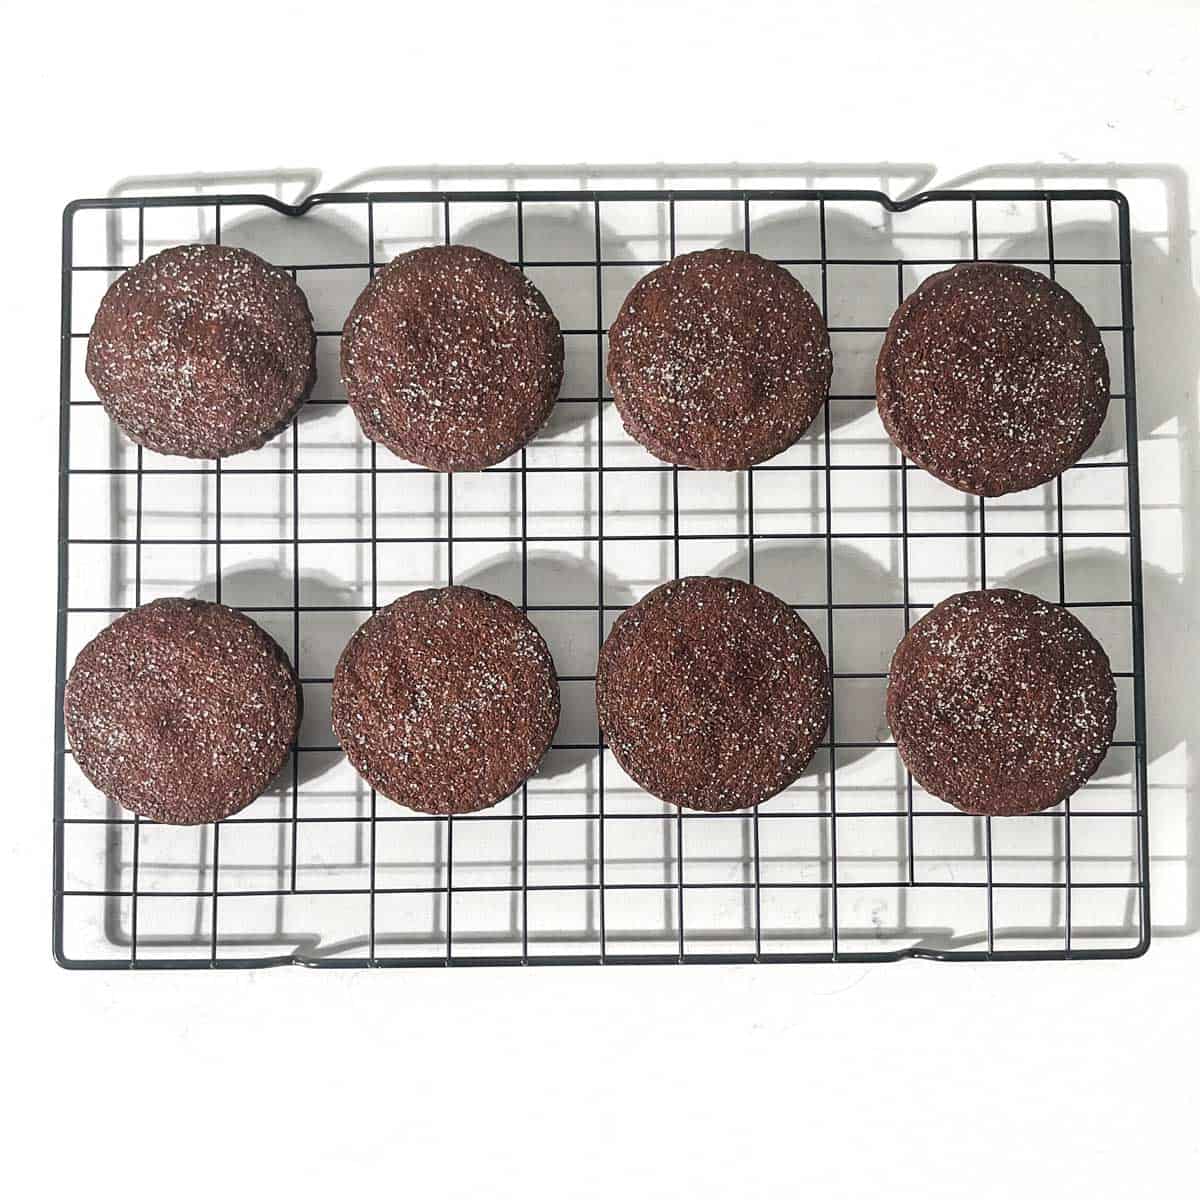
17. Leave the cookies on the trays for 10 minutes before moving them to a wire rack to cool completely.
18. If you wish, sprinkle them with granulated or caster sugar as soon as they come out of the oven. Gently press down to make the sugar stick.
Top Tips
Weigh your ingredients accurately
Use digital kitchen scales for precise results. No scales yet? Definitely worth adding to your Christmas list.
Don't overmix the dough
Mix gently and stop as soon as everything's combined to avoid tough cookies.
Chilling the dough is a *must*
The dough is quite soft, so chilling before rolling and cutting is essential.
Shape into a flat disk, wrap in cling film, and chill for at least 1 hour (fridge) or 30 minutes (freezer) to firm it up.
If scraps soften while cutting, chill them again for 10 minutes.
Alternatively, roll the dough on parchment, place it on a tray, and chill until firm before cutting.
Chilling helps the dough hold its shape for neat, clean cookies. Don't skip it!
Re-chill the cut-out cookies before baking
Re-chilling cut-out cookies before baking is essential. Dough can warm and soften while handling, especially in a warm kitchen or under bright lights.
Wait to preheat the oven until after transferring cookies to a baking sheet and chilling them again in the fridge.
This second chill firms the dough and helps the shapes hold their form in the oven.
Resist the urge to bake immediately. Re-chilling ensures sharp edges and crisp details.
How to tell if your cookies are done
With chocolate cookies, it's tricky to tell when they're done since you don't get the usual visual cues.
- First, trust your nose. When they're ready, you'll smell that irresistible chocolate aroma.
- Check the surface: Done cookies have a dull, matte look, not glossy or wet.
- Gently press the edges. If they feel firm and almost dry, they're likely baked through.
- Remember, cookies keep cooking after you take them out, so it's safer to pull them just shy of done to avoid drying out.
Let your senses guide you to perfect chocolate shortbread every time.
A bonus 'nice-to-have'
Get a rolling pin with built-in thickness guides for perfectly even dough. Another great gift idea!
Decoration ideas for chocolate shortbreads
- Drizzle or dip in melted chocolate (white chocolate adds nice contrast).
- Roll edges in chocolate sprinkles or coat with sea salt.
- Sprinkle with granulated or cinnamon sugar, crushed nuts, or mini chocolate chips (pressed on top or mixed in dough).
- Press Smarties or other colourful candies into unbaked cookies for a fun pop.
- Sandwich pairs with buttercream, jam, Nutella, or marshmallow fluff.
- Add peppermint extract for a festive twist.
- Decorate with royal icing and sprinkles for extra flair.
Why it's better to roll on parchment paper
Roll your dough on parchment paper to prevent sticking without adding extra flour, which can dry out the dough and cause a chalky texture.
It also keeps things tidy, helps flip and reroll scraps easily, and avoids uneven thickness or tearing. Plus, no burnt flour on the cookie bottoms!
Storage suggestions
Keep baked cookies in an airtight container at room temperature for up to 1 week or freeze for up to 3 months.
Store unbaked dough wrapped in plastic in the fridge for a few days or freeze shaped dough/discs up to 3 months. Thaw overnight before use.
For convenience, freeze individual unbaked cookies on trays, then transfer to bags and bake from frozen, adding 1-2 minutes to baking time.
Avoid storing in places with temperature changes to prevent condensation.
Recipe
Chocolate Shortbreads
Ingredients
- 230 grams unsalted butter - or salted butter, but omit the extra salt in the recipe
- 110 grams icing sugar - otherwise known as powdered sugar
- 30 grams cocoa powder - use a good quality
- ½ teaspoon salt
- 1 teaspoon vanilla extract
- 220 grams all purpose flour
Instructions
- Add the softened butter and icing sugar to a large mixing bowl.230 grams unsalted butter, 110 grams icing sugar
- Using an electric hand mixer or stand mixer, beat the butter and icing sugar together until light and fluffy, about 2-3 minutes.
- Next, add in the cocoa powder, salt and vanilla extract to the butter and sugar mixture. Beat until everything is thoroughly combined and you have a smooth, creamy mixture.30 grams cocoa powder, ½ teaspoon salt, 1 teaspoon vanilla extract
- Add all of the all-purpose flour to the bowl. Slowly beat just until you cannot see any more specks of flour. We recommend starting with the electric mixer and finishing by hand, scraping down the sides and bottom of the bowl.220 grams all purpose flour
- Tip the cookie dough out onto a piece of plastic wrap.
- Shape it into a flat disk and wrap in the plastic wrap. Place in the fridge for a minimum of 1 hour, or in the freezer for 30 minutes.
- Once the dough is cold and firmed up, unwrap it and place on a sheet of parchment paper. Cover it with another piece of parchment paper.
- Using a rolling pin, roll the dough out to a thickness of 6mm/1/4".
- Cut out your desired shapes from the dough using a cookie cutter. Re-roll any leftover pieces of dough. If the dough has gone soft, return it to the fridge for 10 minutes.
- Line two baking trays with parchment paper and transfer the cut out cookies onto the trays, leaving enough space between them for expansion.
- Place the baking trays in the fridge to firm up the cookies.
- Preheat the oven to 170C/338F/gas mark 3.
- Once preheated, bake the cookies on the middle shelf of the oven for 15-17 minutes. Since the cookies are dark, you won't have visual cues like with light cookies. Look for a dull surface and dry edges to know they are done.
- Leave the cookies on the trays for 10 minutes before moving them to a wire rack to cool completely.
- If you wish, sprinkle them with granulated sugar as soon as they come out of the oven. Gently press down to make the sugar stick.
Notes
Weigh your ingredients accurately
Using a digital scale to weigh out your ingredients will always give you more accurate results. If you haven't got a set of digital kitchen scales, consider adding it to your Christmas list.Don't overmix the dough
For best results, don't overmix the cookie mixture. Overmixing might lead to tougher cookies. Gently fold the ingredients together and stop as soon as everything has been incorporated.Chilling the dough is a *must*
The dough is fairly soft, so chilling it in the fridge before rolling and cutting is a essential. After mixing, shape the dough into a flat disk, wrap it in cling film and chill it in the fridge for at least 1 hour or in the freezer for 30 minutes. This firms up the dough and makes it much easier to work with. If any leftover dough scraps soften up while cutting shapes, simply return them to the fridge for 10 minutes to firm up again. Another great technique is to roll out the dough on parchment paper to the desired thickness right away, transfer it to a baking sheet and place the sheet in the fridge until firm before cutting shapes. Chilling helps retain the dough's shape for cutting neat cookies. So, take advantage of your fridge or freezer to ensure these cookies turn out just the way they should.Re-chill the cut out cookies before baking
Re-chilling the cut out cookies before baking is an important extra step. While rolling and handling the dough, it can start to warm up and soften, especially if your kitchen is hot, you're under bright lights or your hands run warm. Wait to preheat the oven until after you have transferred all the cut out cookies to a cookie sheet and returned them to the fridge to firm up one last time. This second chill hardens the dough again and helps the shapes retain their form when hit with the heat of the oven. So really, really resist the urge to bake them immediately! Allowing the cut cookies to re-chill will ensure you end up with beautifully defined edges and details.How to tell if your cookies are done
With chocolate cookies, it can be tricky to gauge doneness since you don't have the same visual cues as lighter-coloured baked goods.-
- First, trust your nose - when they're done baking, you'll smell that irresistible chocolate aroma.
-
- Check the surface of the cookies too. When done, they will have a dull, matte look rather than a glossy wet appearance.
-
- Press gently on the edges of the cookies. If they feel quite firm and almost dry, they are likely fully baked.
-
- Keep in mind that cookies continue cooking even once removed from the oven. To avoid overbaking, be cautious and pull them when you think they seem just shy of done. It's better to have cookies that are slightly underbaked rather than dried out.
A bonus 'nice-to-have'
Invest in a rolling pin with built-in guides or adjustable add-on guides for easy, tidy rolling. The guides act as a frame of reference so you can roll the dough precisely to the desired thickness all over. Perhaps something else to add to your Christmas list!
**Nutritional data disclaimer**
Please keep in mind that the nutritional information provided below is calculated by a third party and we cannot guarantee the accuracy. We try our best to give you the most accurate information, but we do not take responsibility for errors that may be present. Also, the nutritional value of the recipe may change depending on the exact brands and products used. We recommend that you consult with a qualified healthcare professional or registered dietitian for personalised advice on your dietary needs.
Nutrition
For food safety advice, including guidance on food allergies


Leave a Reply