
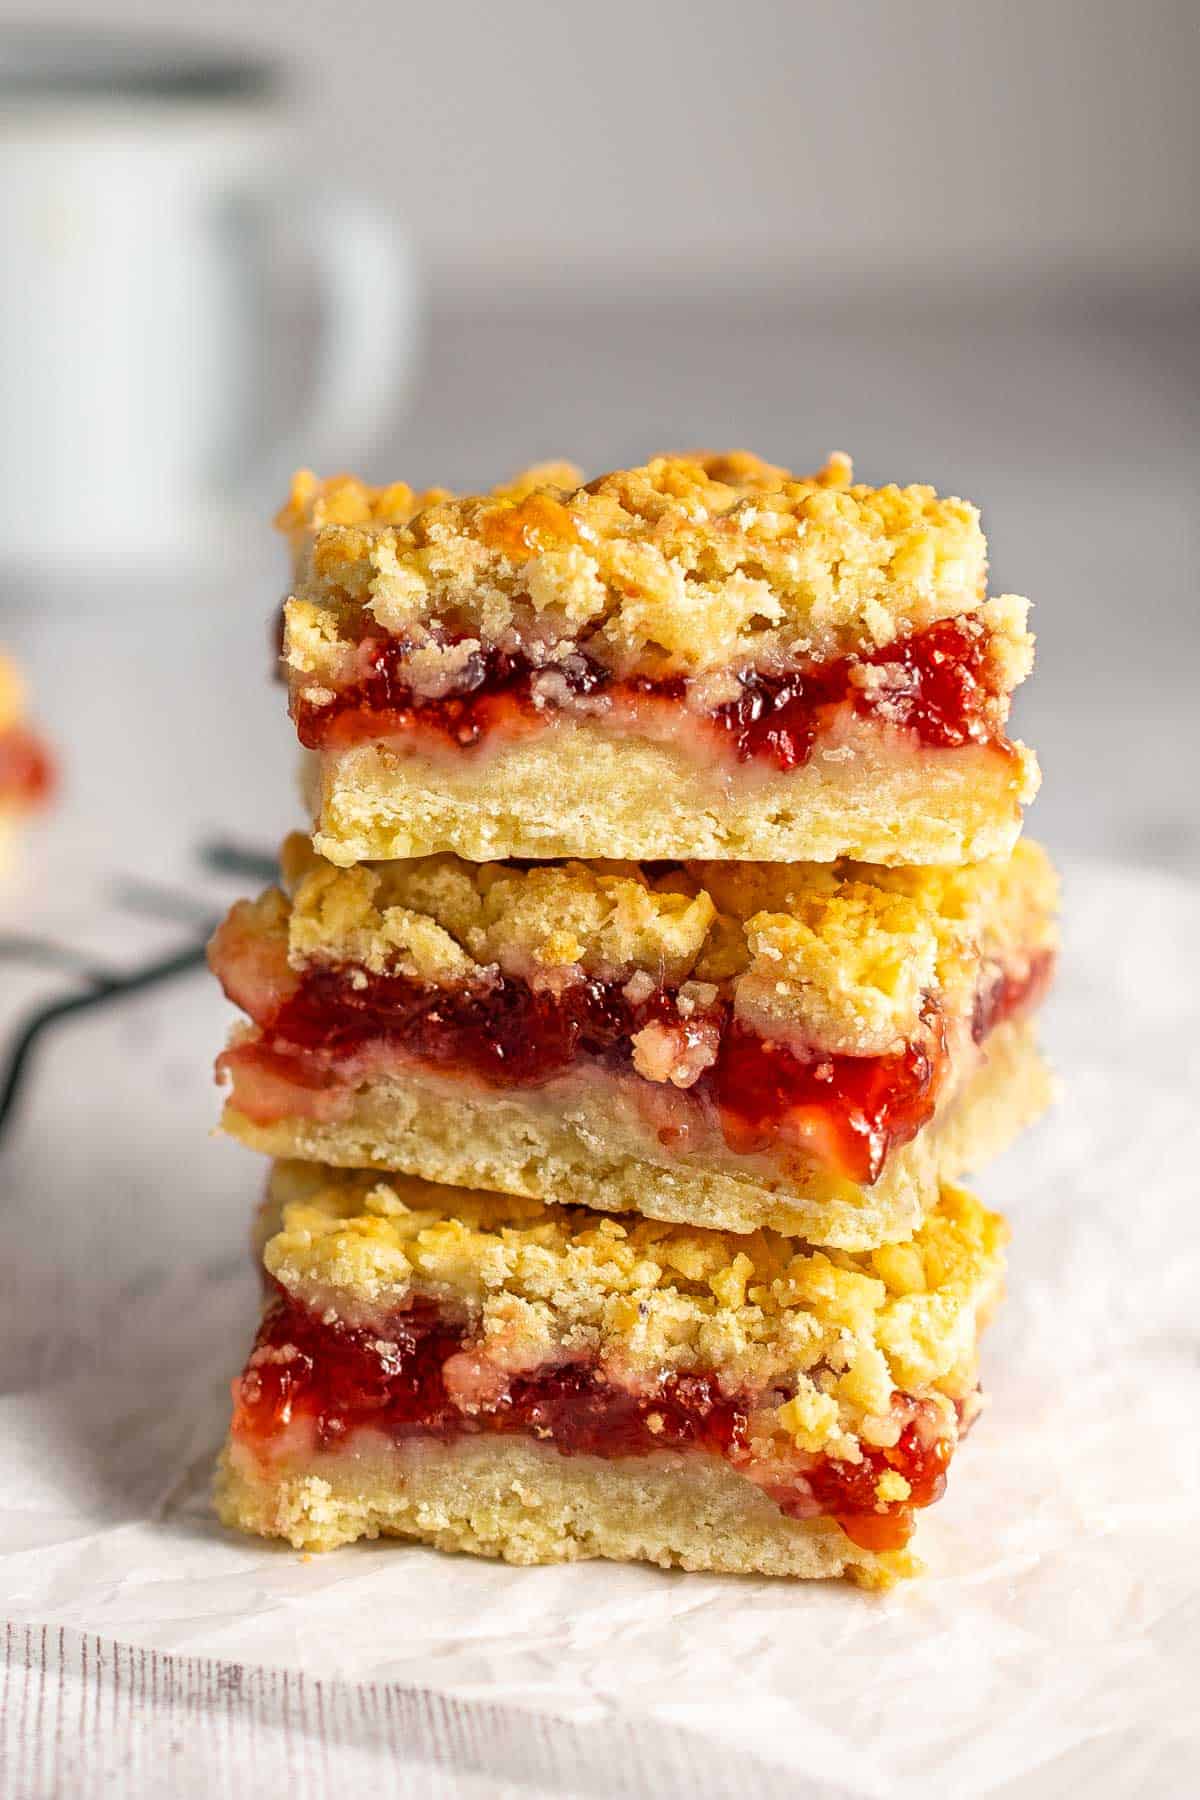
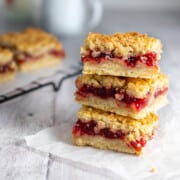
These old-fashioned jam squares are buttery shortbread-style bars with a thick layer of jam and a grated crumble topping. They're crisp at the edges, softer in the middle and easy to slice once cooled.
The dough is chilled and grated, which gives the bars a rough, crumbly topping without needing oats or a separate crumble mixture. I usually make them with strawberry jam, but apricot, raspberry, plum or blackcurrant all work beautifully.
Jump to:
Updated in June 2026 with clearer step-by-step tips, jam variation ideas, storage and freezing advice, troubleshooting and improved recipe card notes.
Why this recipe works
- Old-fashioned texture - buttery, shortbread-style crumbs with a jammy middle.
- Grated crumble topping - the chilled dough is grated over the jam for a rough, crumbly finish.
- No separate topping - the same dough is used for the base and the crumble.
- Flexible jam filling - strawberry, apricot, raspberry, plum and blackcurrant all work well.
- Good make-ahead bake - the bars slice best once cooled and keep well for several days.
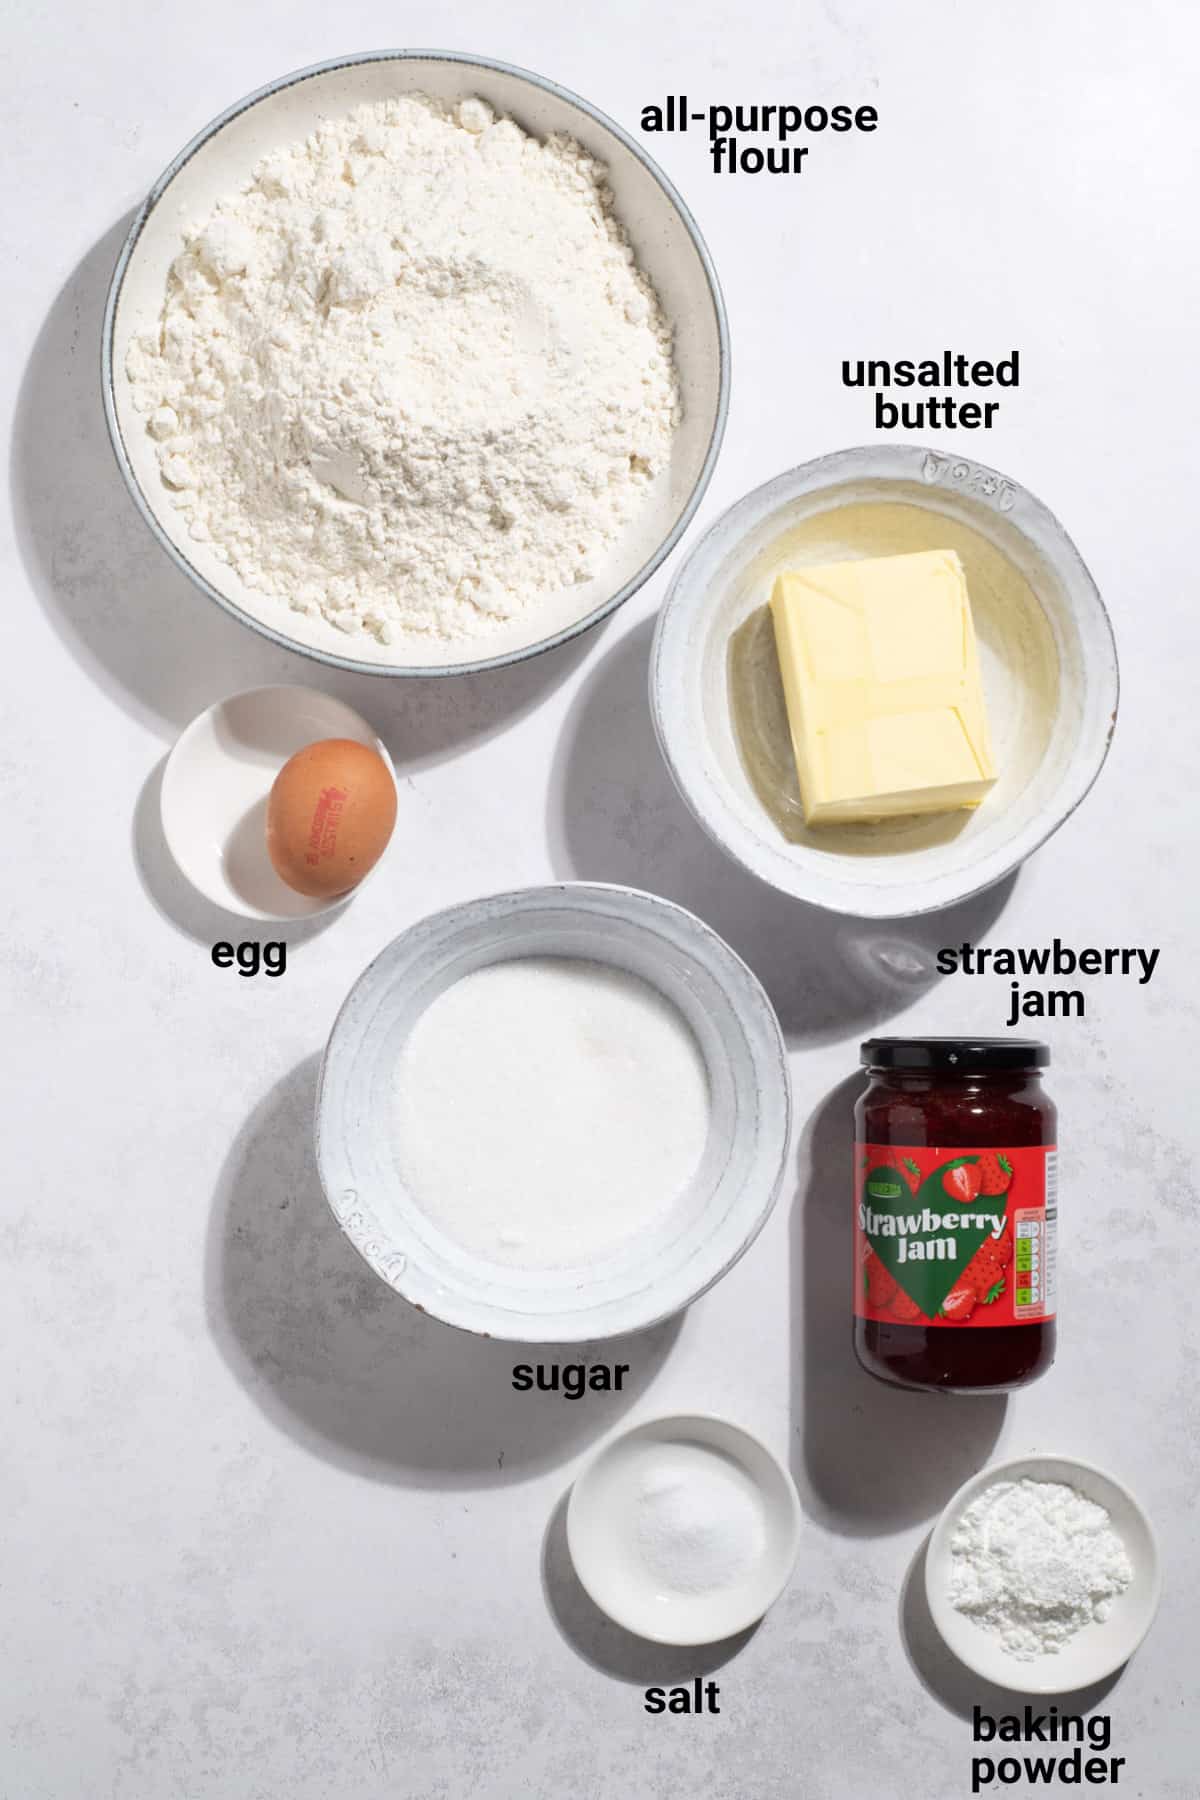
Key ingredient notes and substitutions
You'll find the full ingredient list with measurements in the recipe card at the bottom of the post.
Butter
Use softened butter so it creams properly with the sugar. Salted or unsalted butter both work. If using salted butter, you can leave out the extra salt in the recipe.
Sugar
White granulated sugar gives the cleanest shortbread-style texture. Brown sugar will make the dough softer and less crisp.
Jam
Use a thick jam or conserve that spreads easily but still holds its shape on a spoon. Very runny jam can bubble too much and make the bars harder to slice neatly.
Strawberry jam is the classic choice in this version. Apricot gives a more old-fashioned flavour, while raspberry, plum and blackcurrant add a sharper contrast to the buttery crumble.
If your jam is very stiff, warm it briefly before spreading so it does not pull up the crumb base.
Baking pan size
Use a 20cm x 20cm/8-inch square tin for this recipe. A larger tin will make thinner, drier bars, while a smaller tin will make them thicker and may need a few extra minutes in the oven.
Line the tin with baking paper and leave an overhang so you can lift the cooled bake out neatly.
How to make jam squares
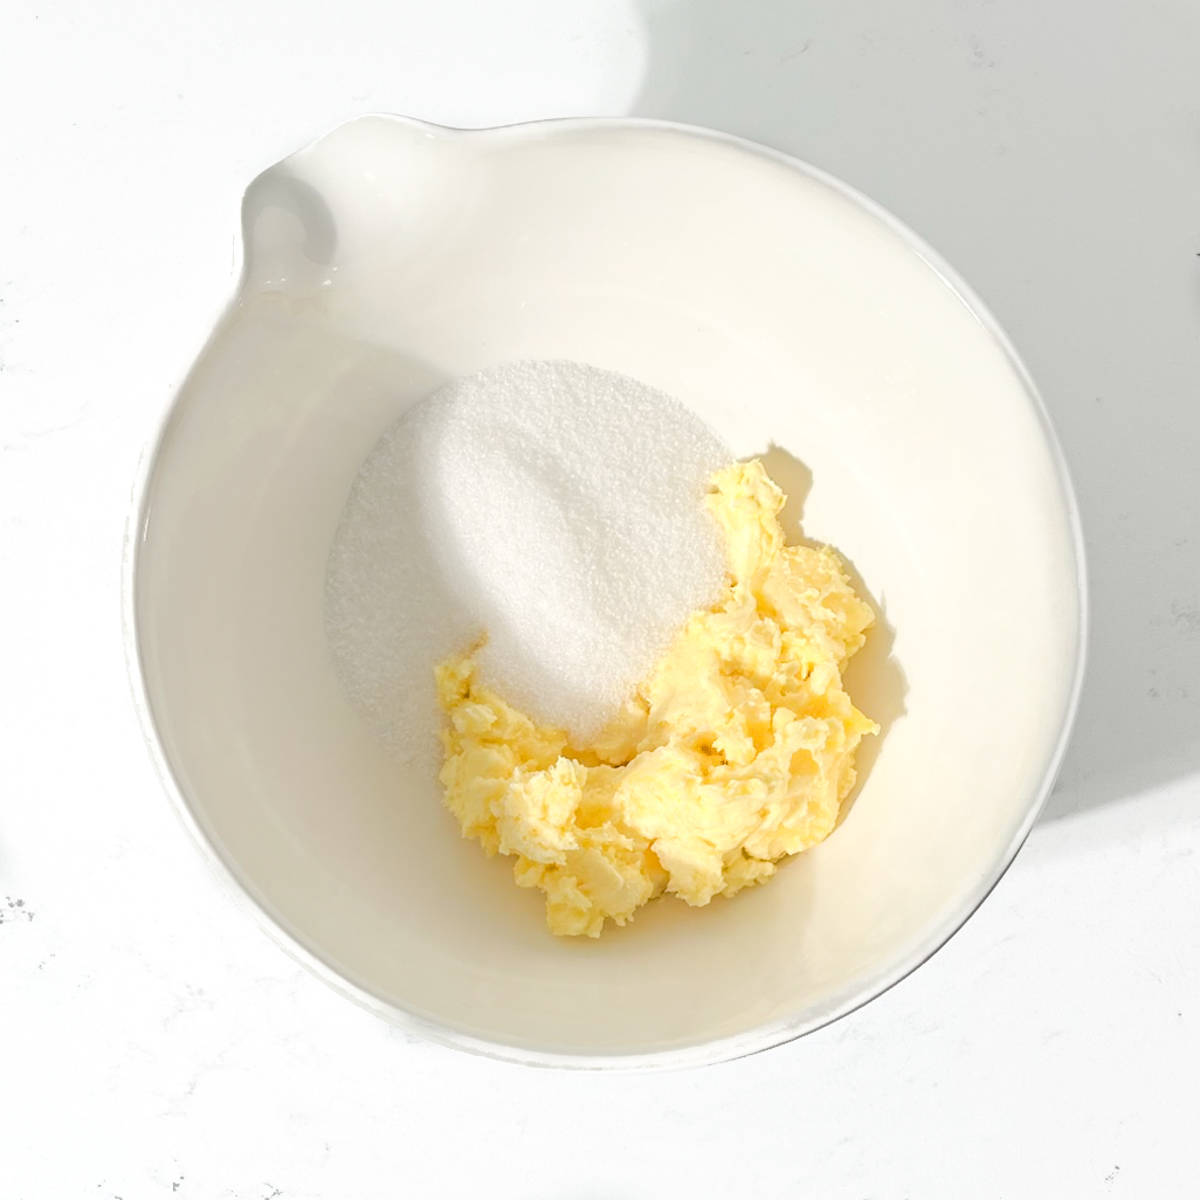
1. In a large bowl, beat the softened butter and sugar until pale, soft and creamy.
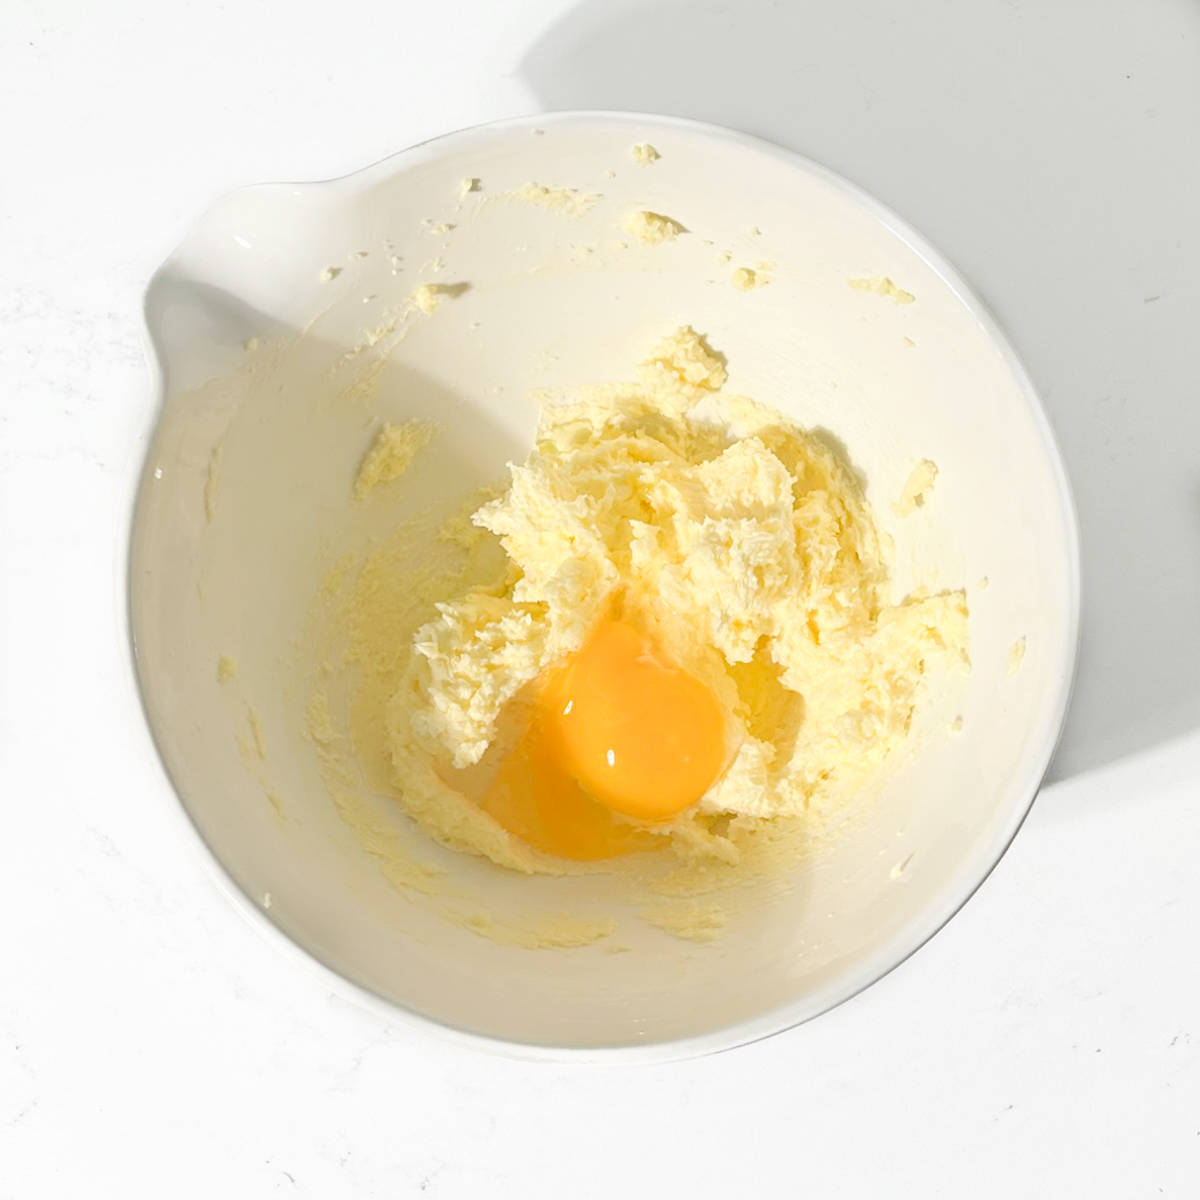
2. Add the egg and mix until fully combined.
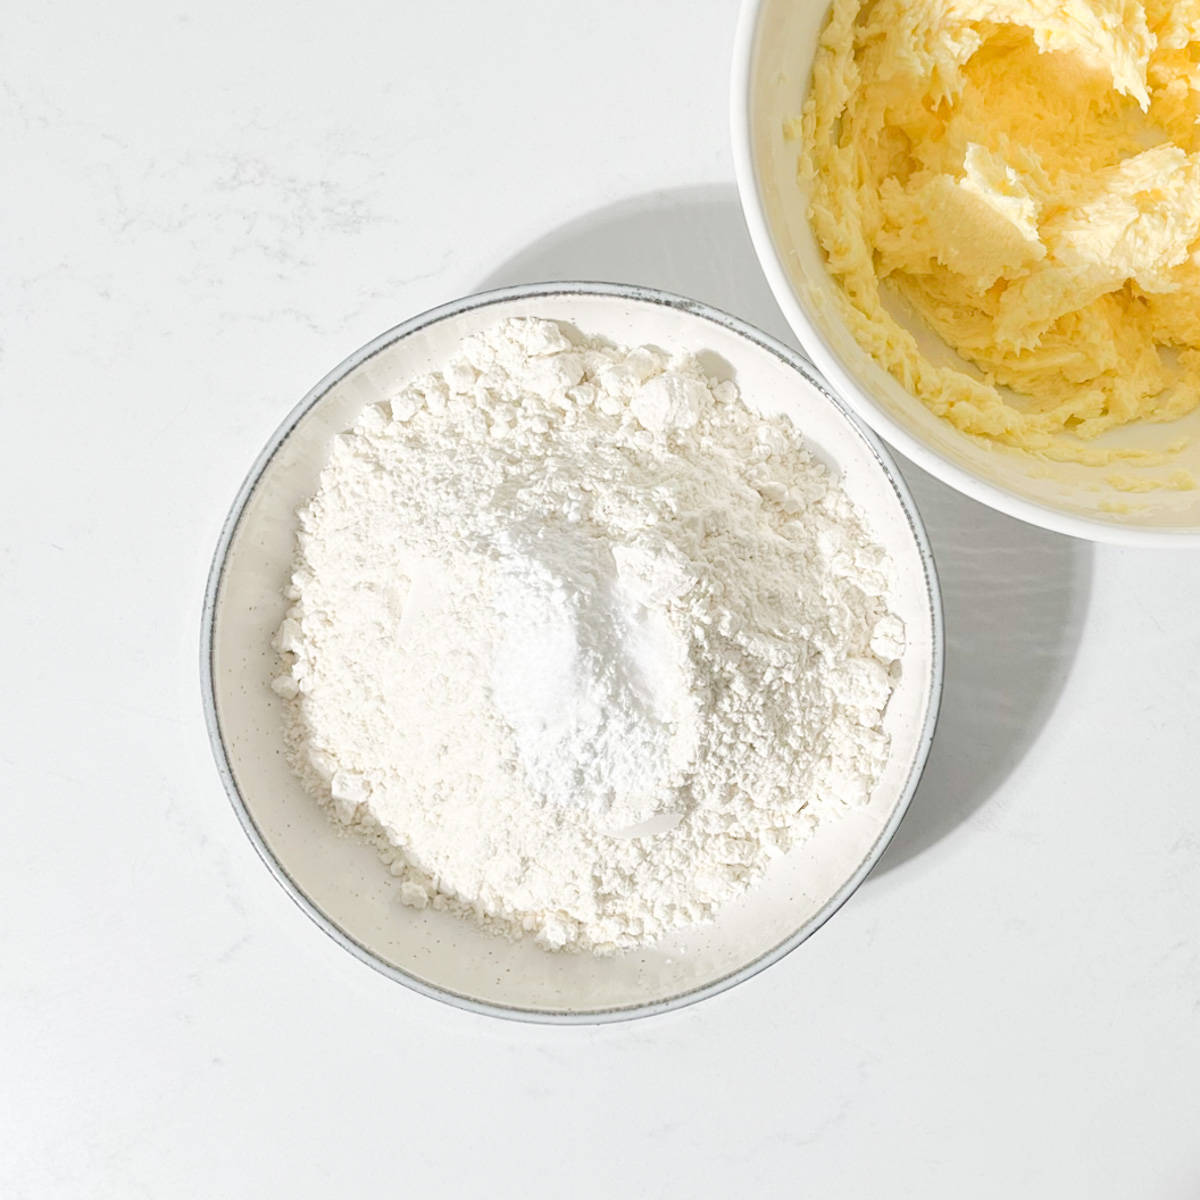
3. In a separate medium bowl, stir together the plain flour, baking powder and salt.
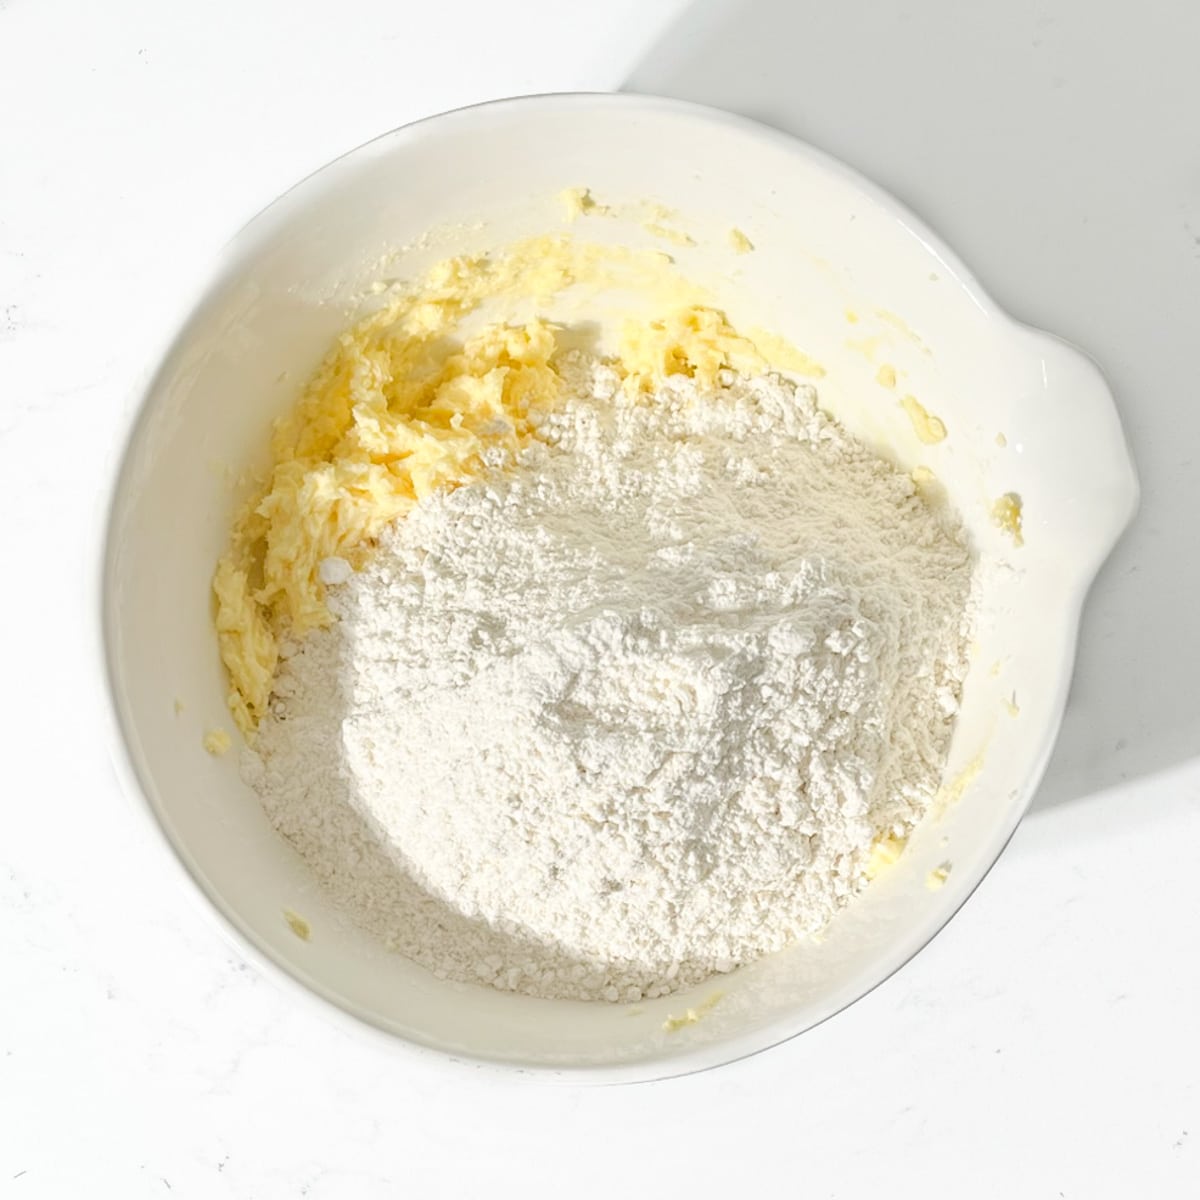
4. Add the dry ingredients to the butter mixture.
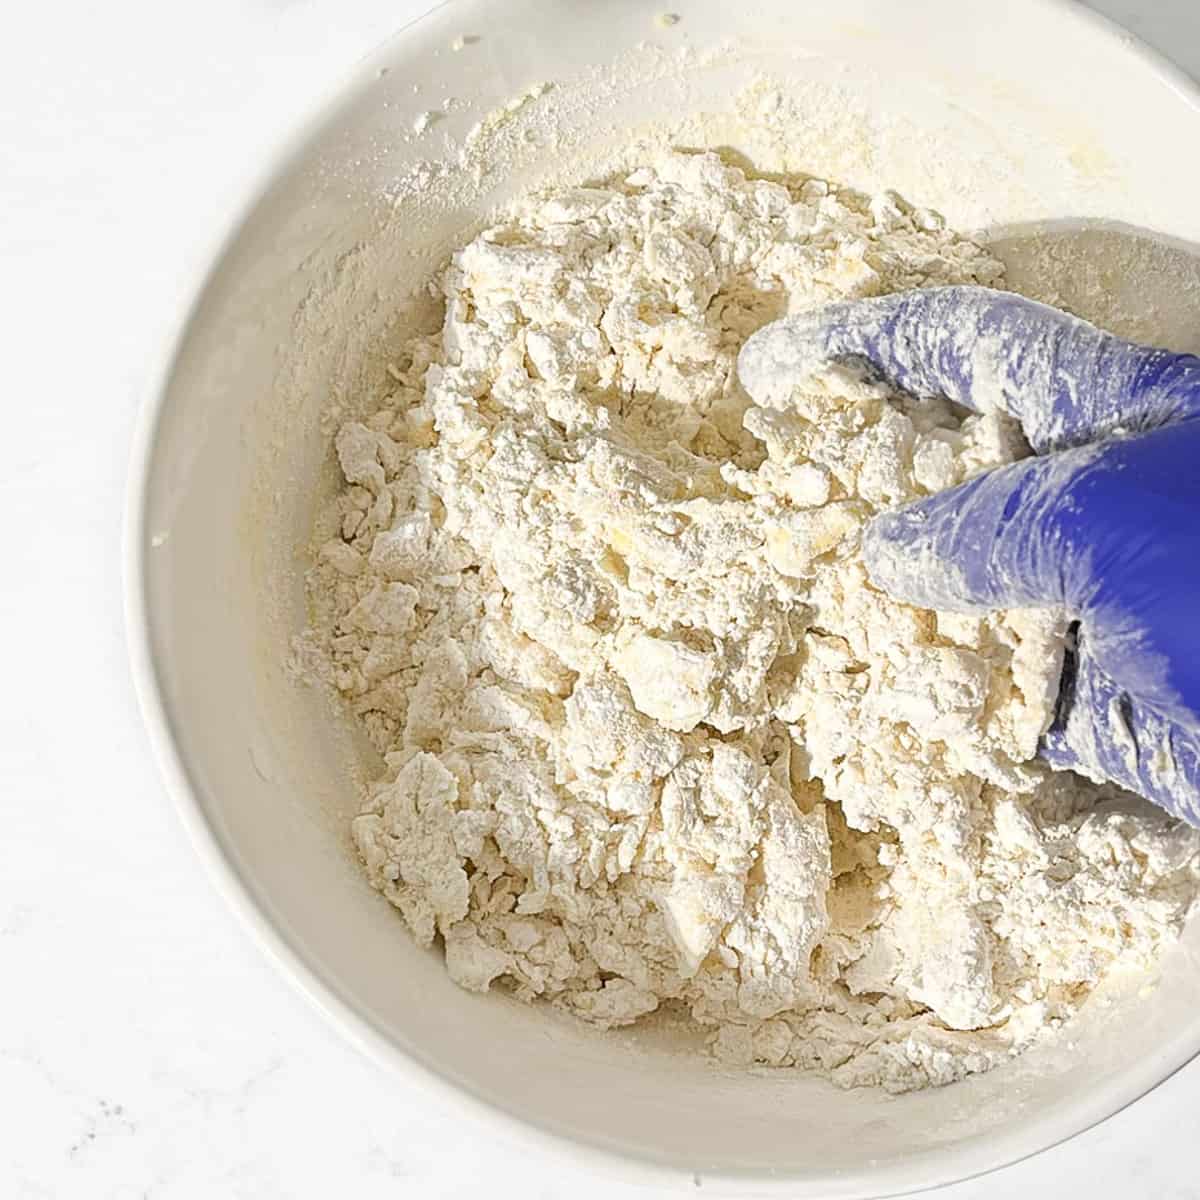
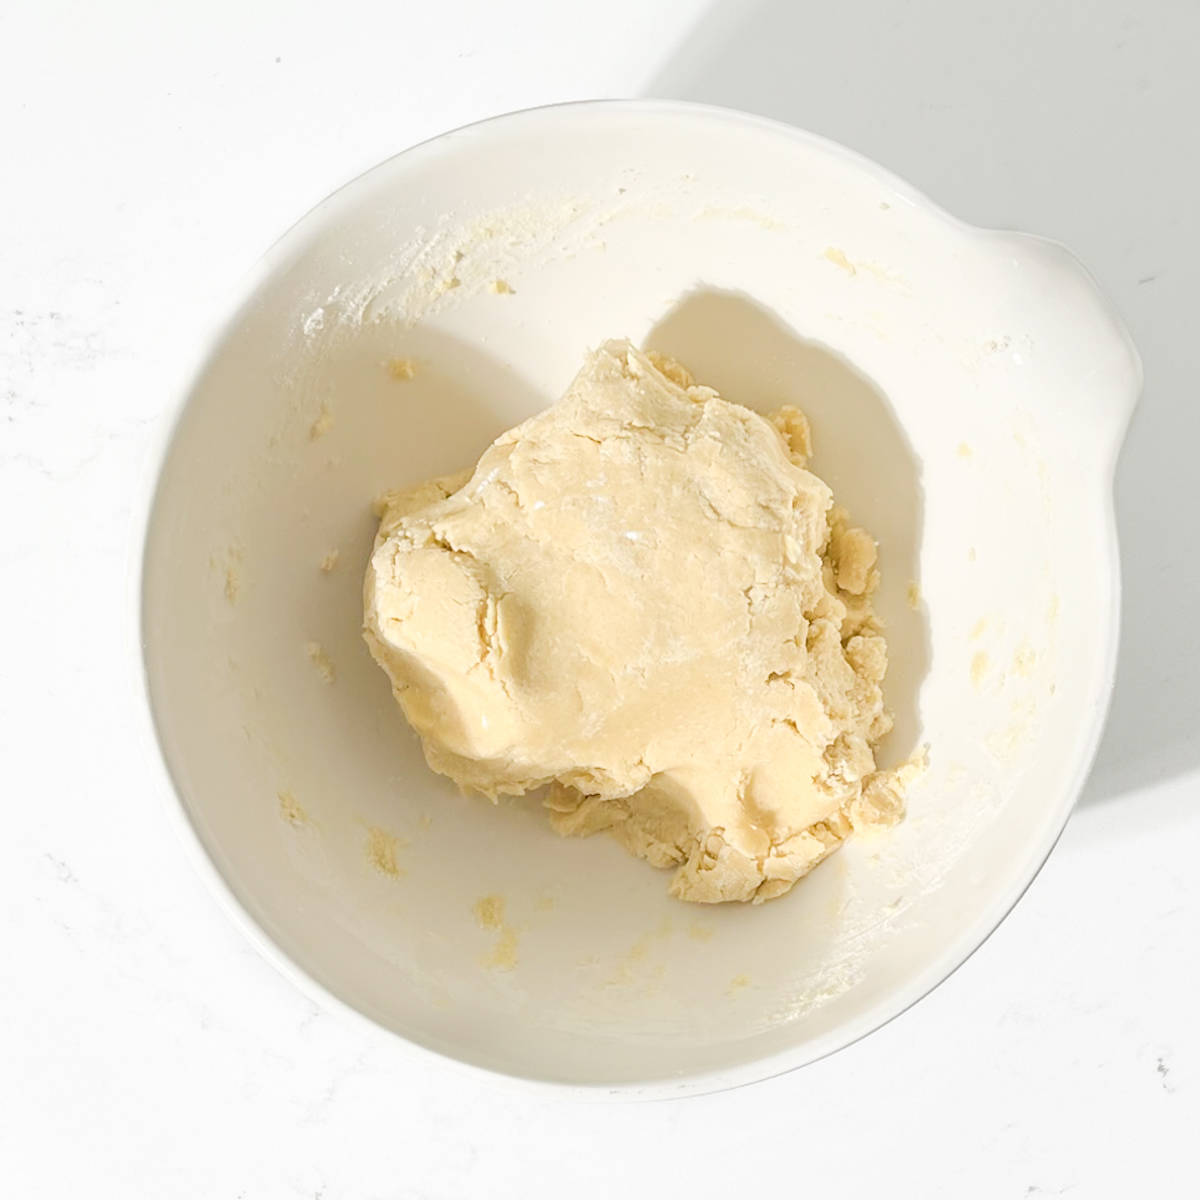
5. Work the mixture together with your hands. It will look dry and crumbly at first, but it will come together into a stiff dough. Do not add liquid.
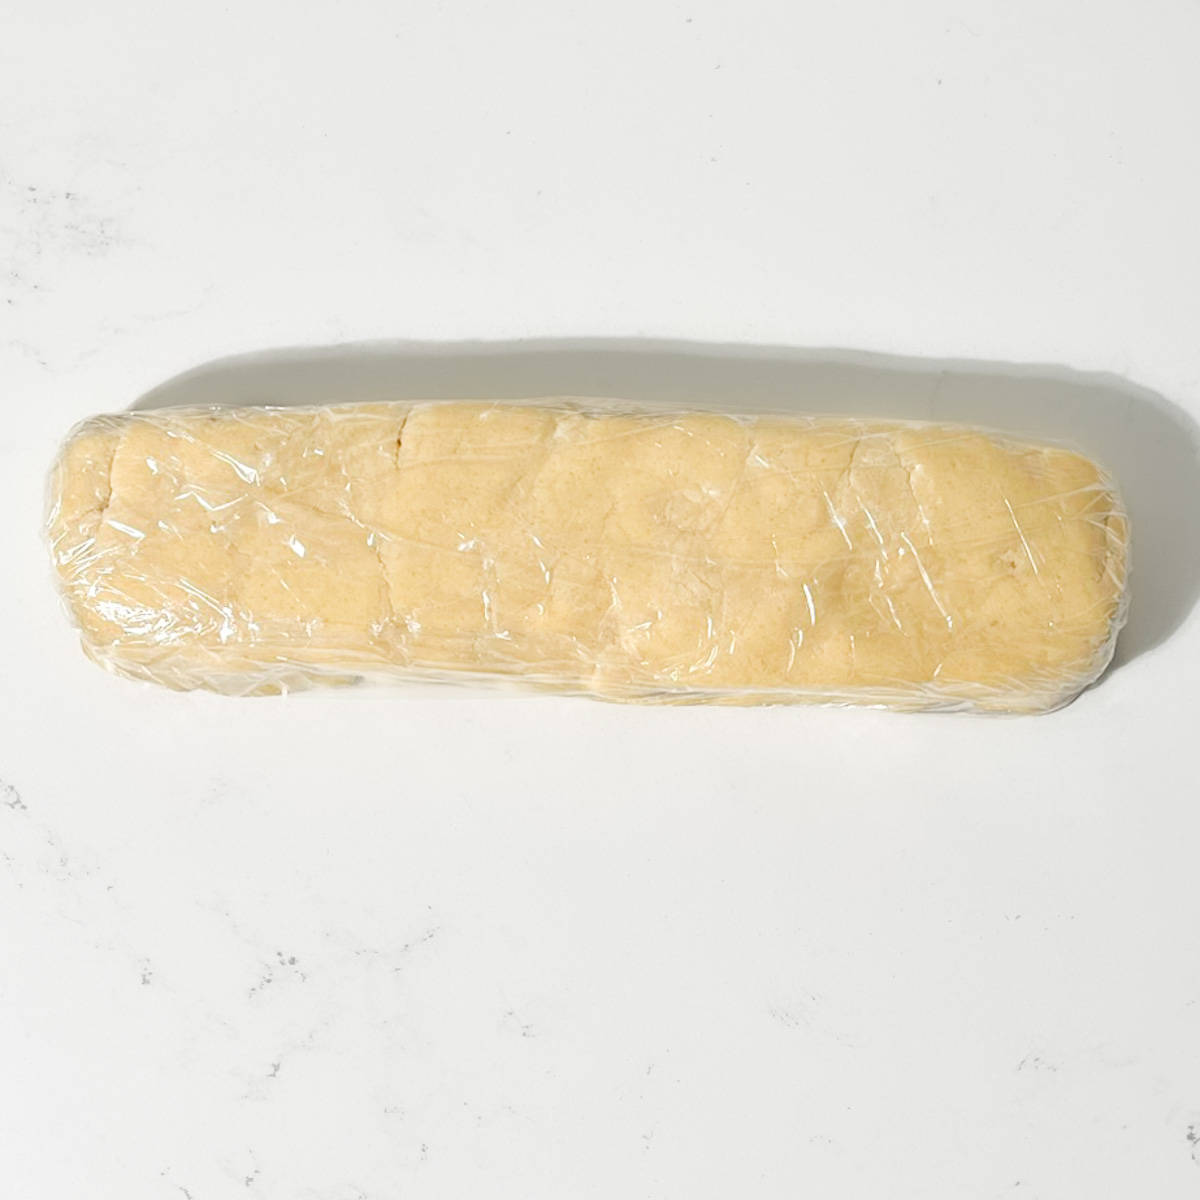
6. Shape the dough into a log. Wrap it in cling film and chill in the fridge for at least 1 hour, or in the freezer for 30 minutes.
7. Preheat oven to 180°C/356°F/gas mark 4.
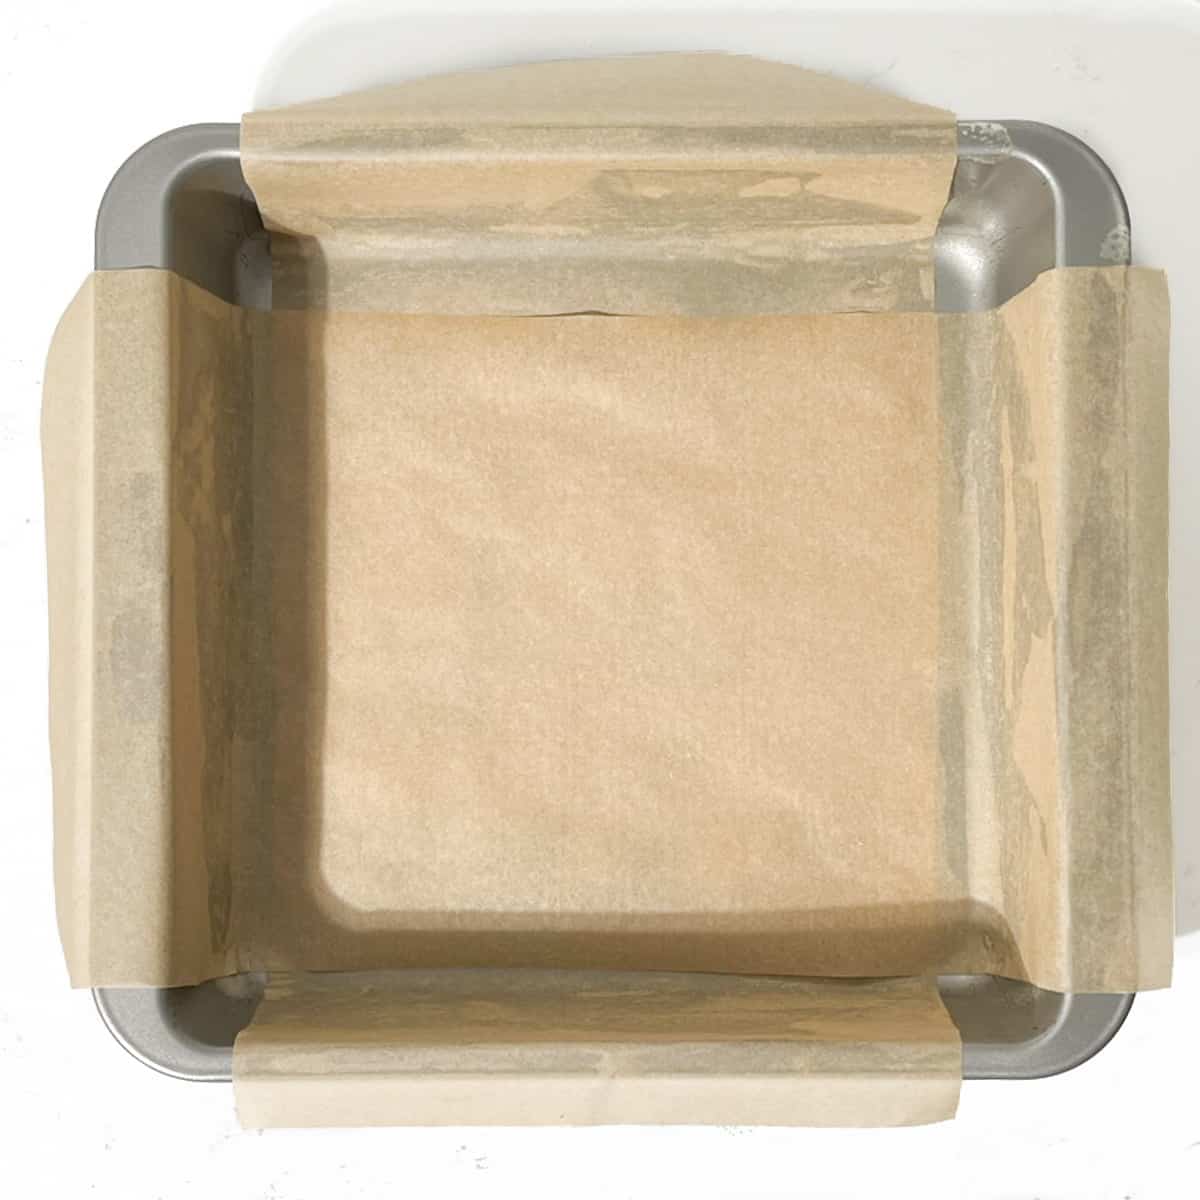
8. Line a 20cm x 20cm (8" x 8") square tin with baking paper, leaving a slight overhang.
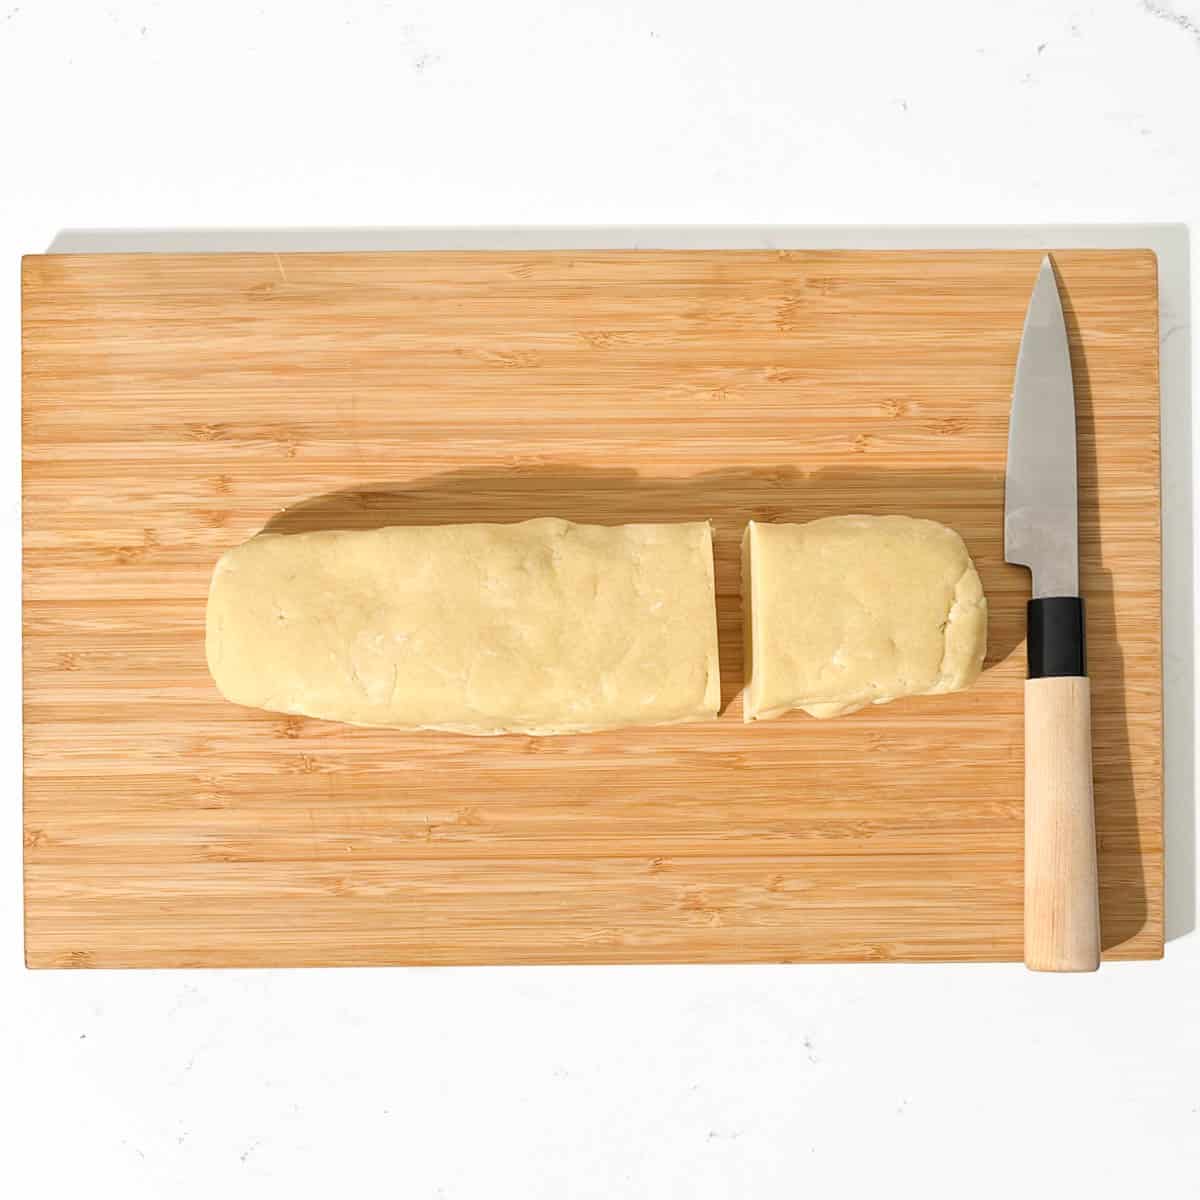
9. Cut three-quarters from the chilled dough log and place the remaining quarter back in the fridge.
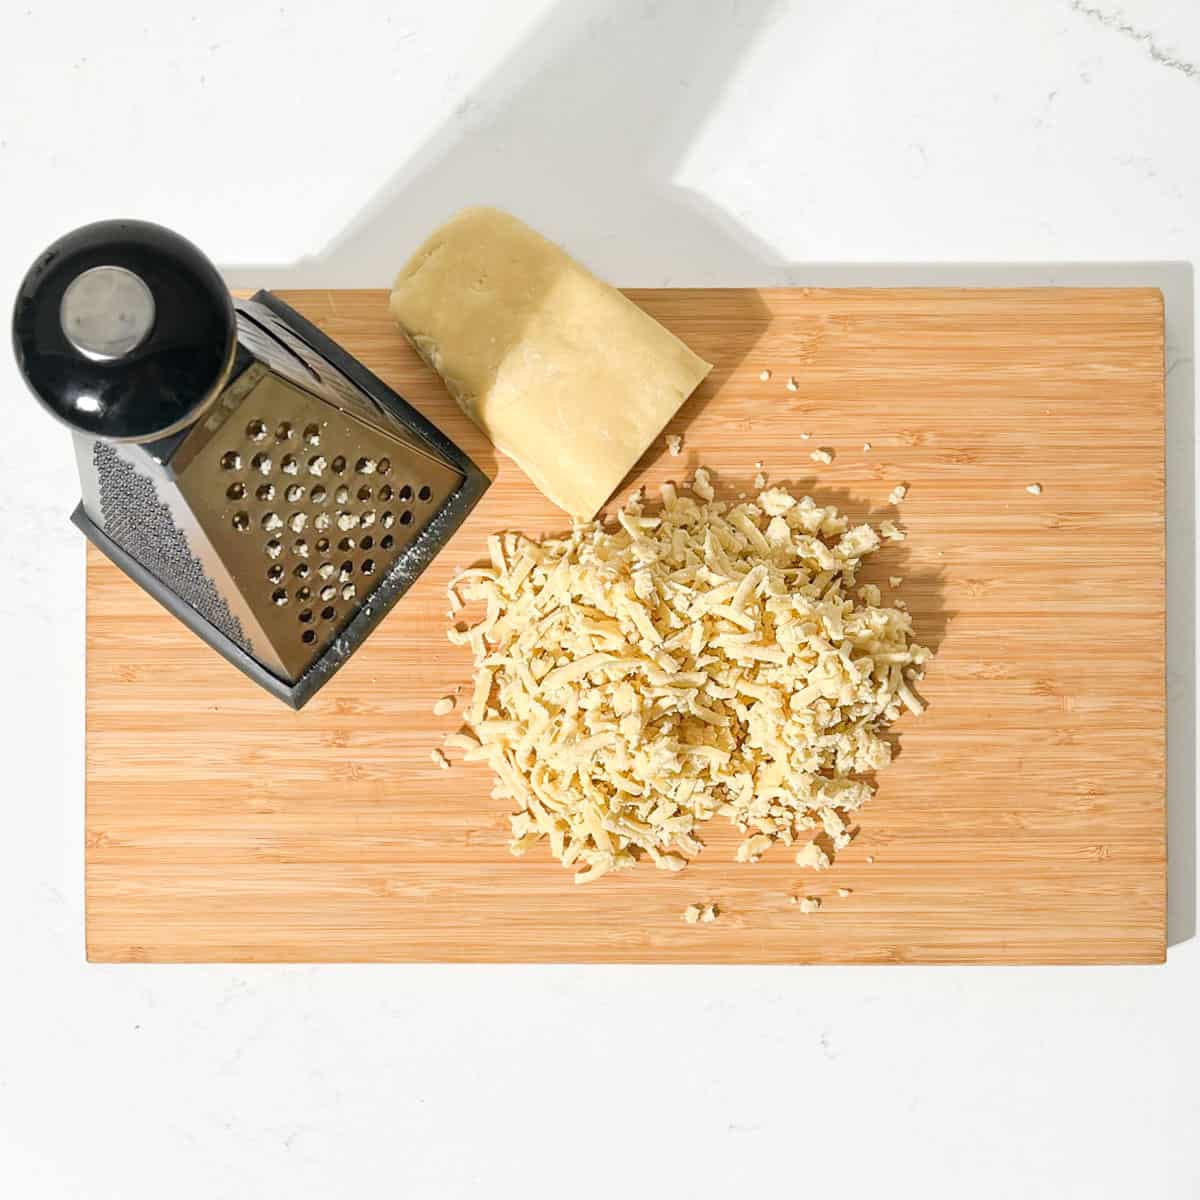
10. Grate the larger piece of dough into coarse crumbs.
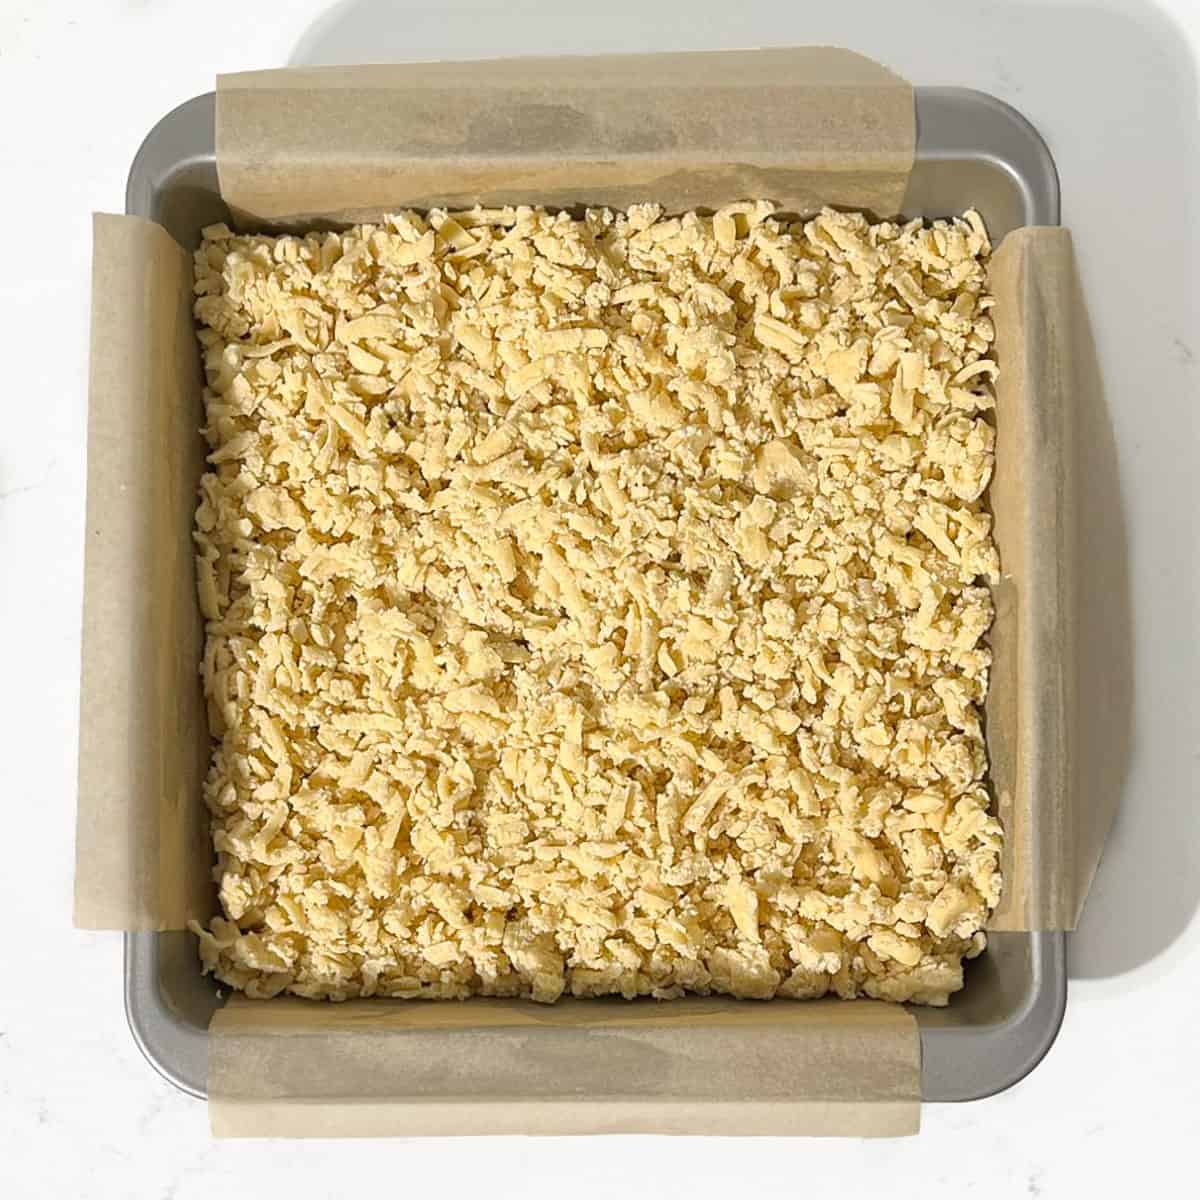
11. Spread the grated dough evenly into the prepared tin and press down very lightly.
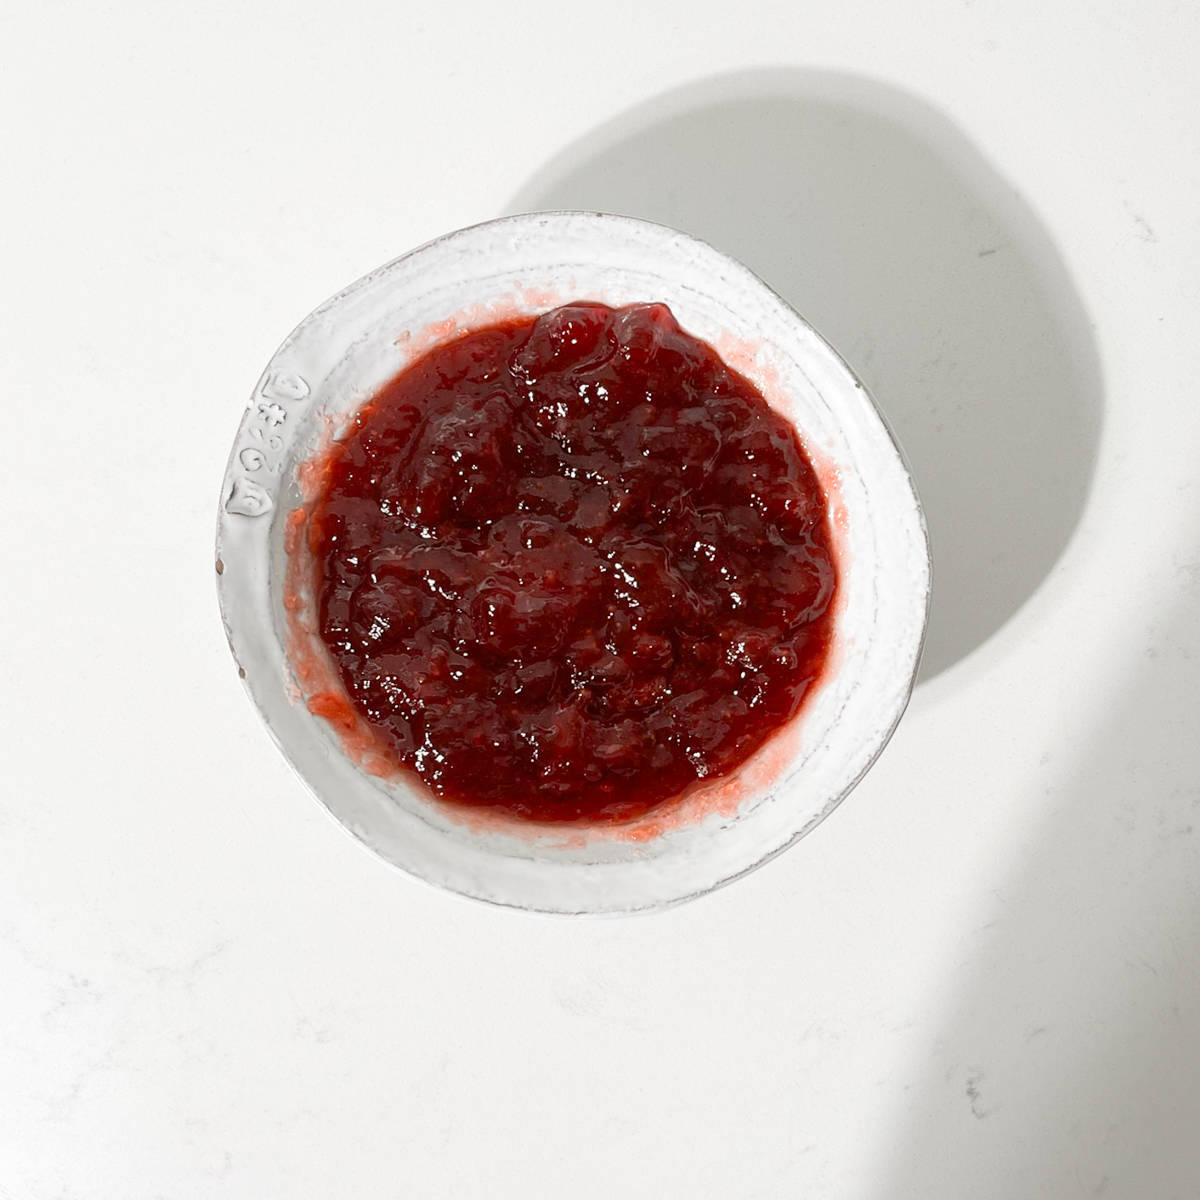
12. Warm the jam briefly until slightly runnier and easier to spread.
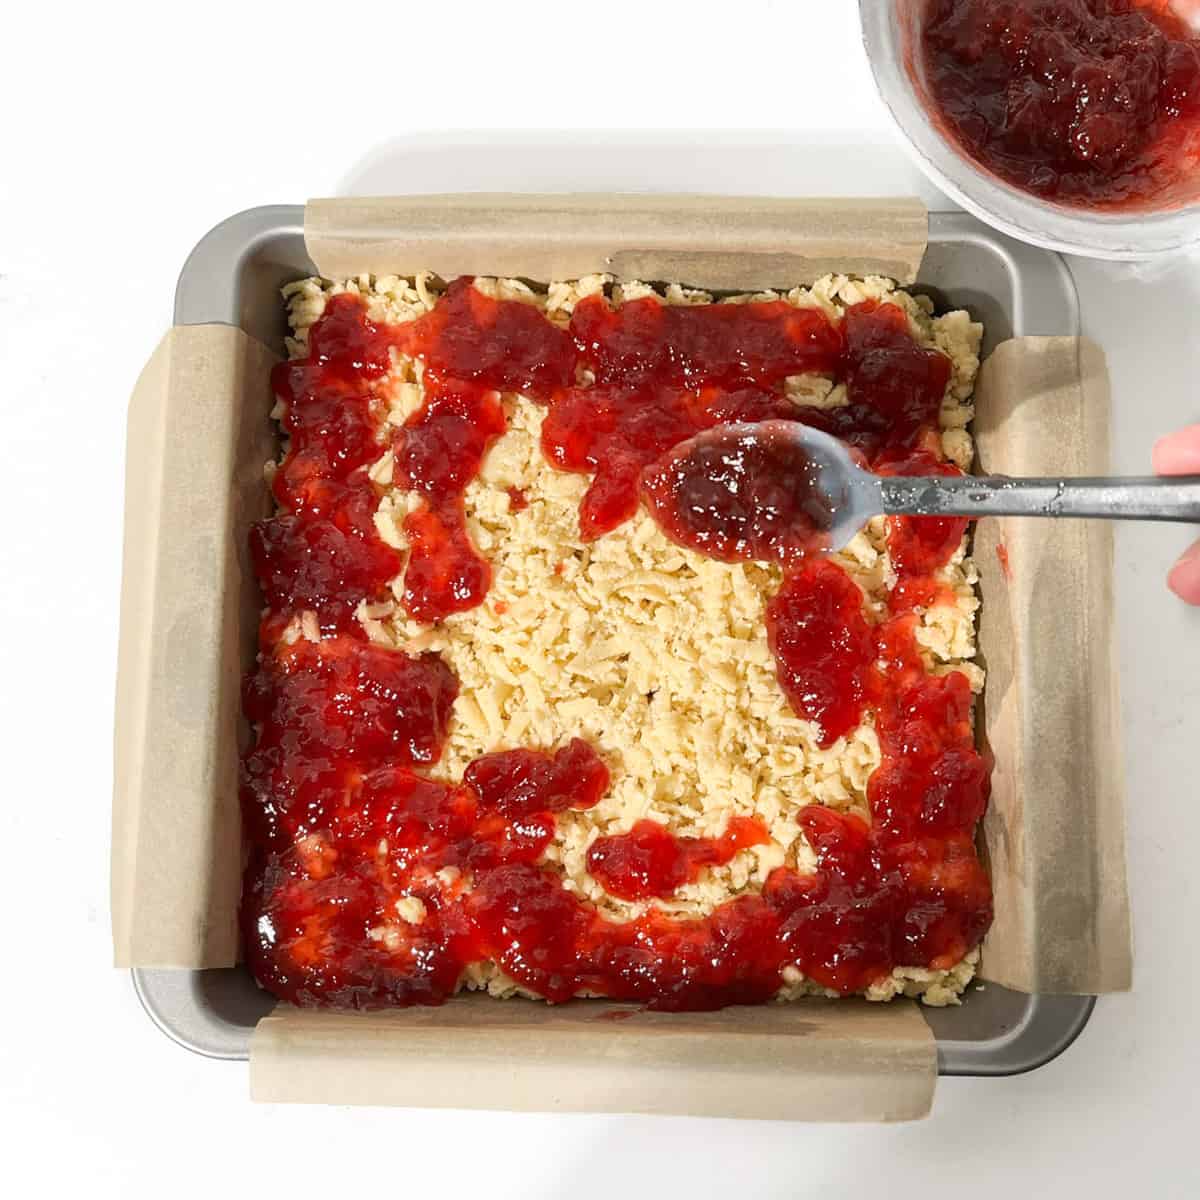
13. Spoon the jam evenly over the crumb base.
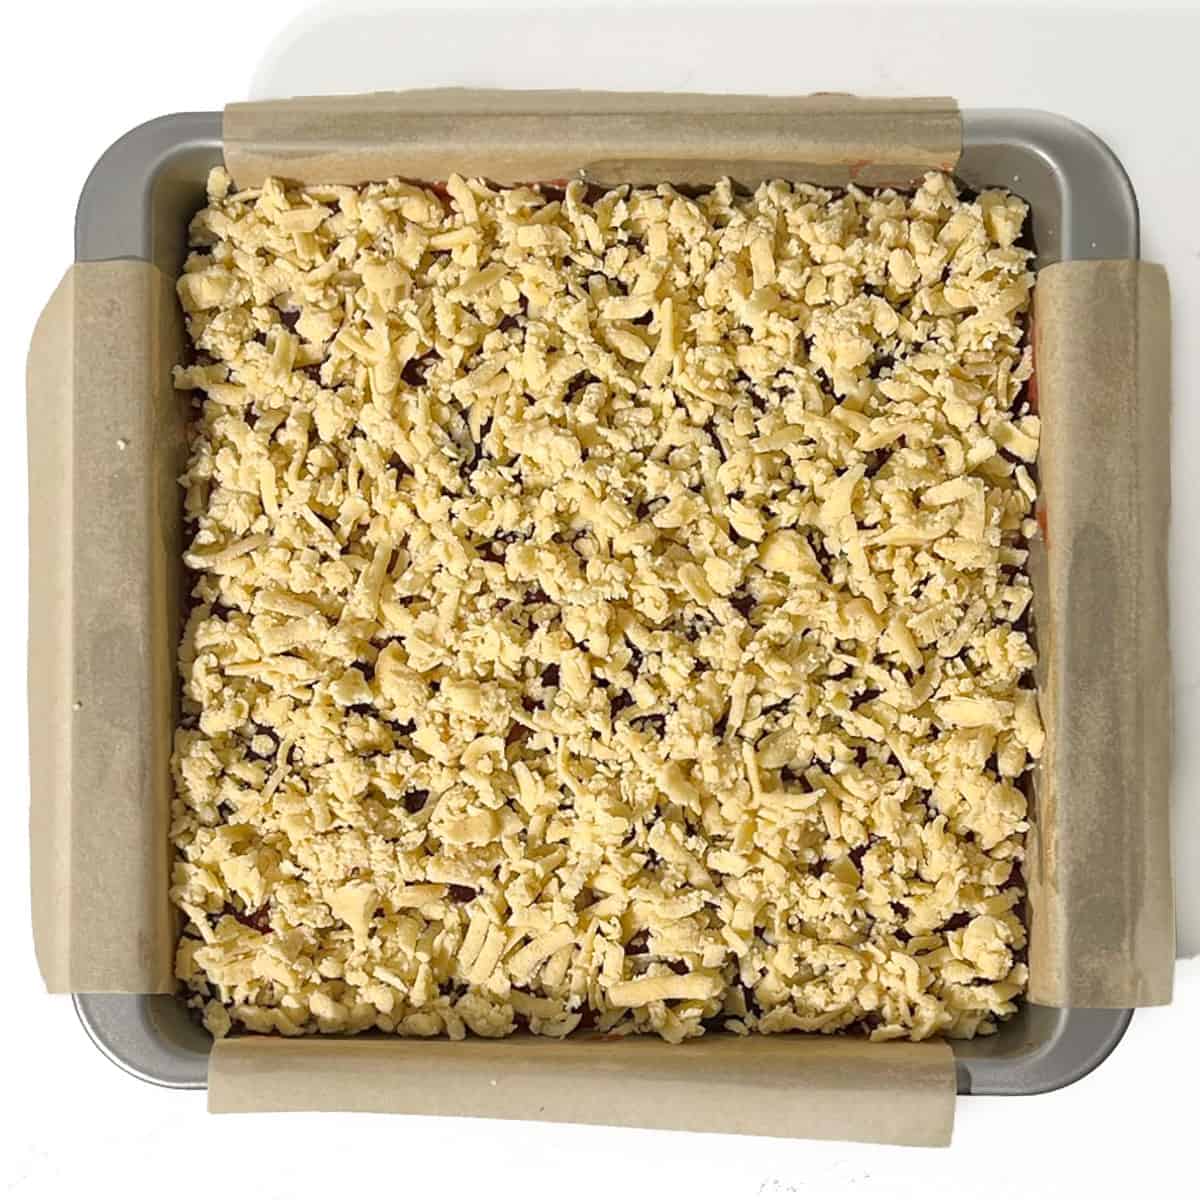
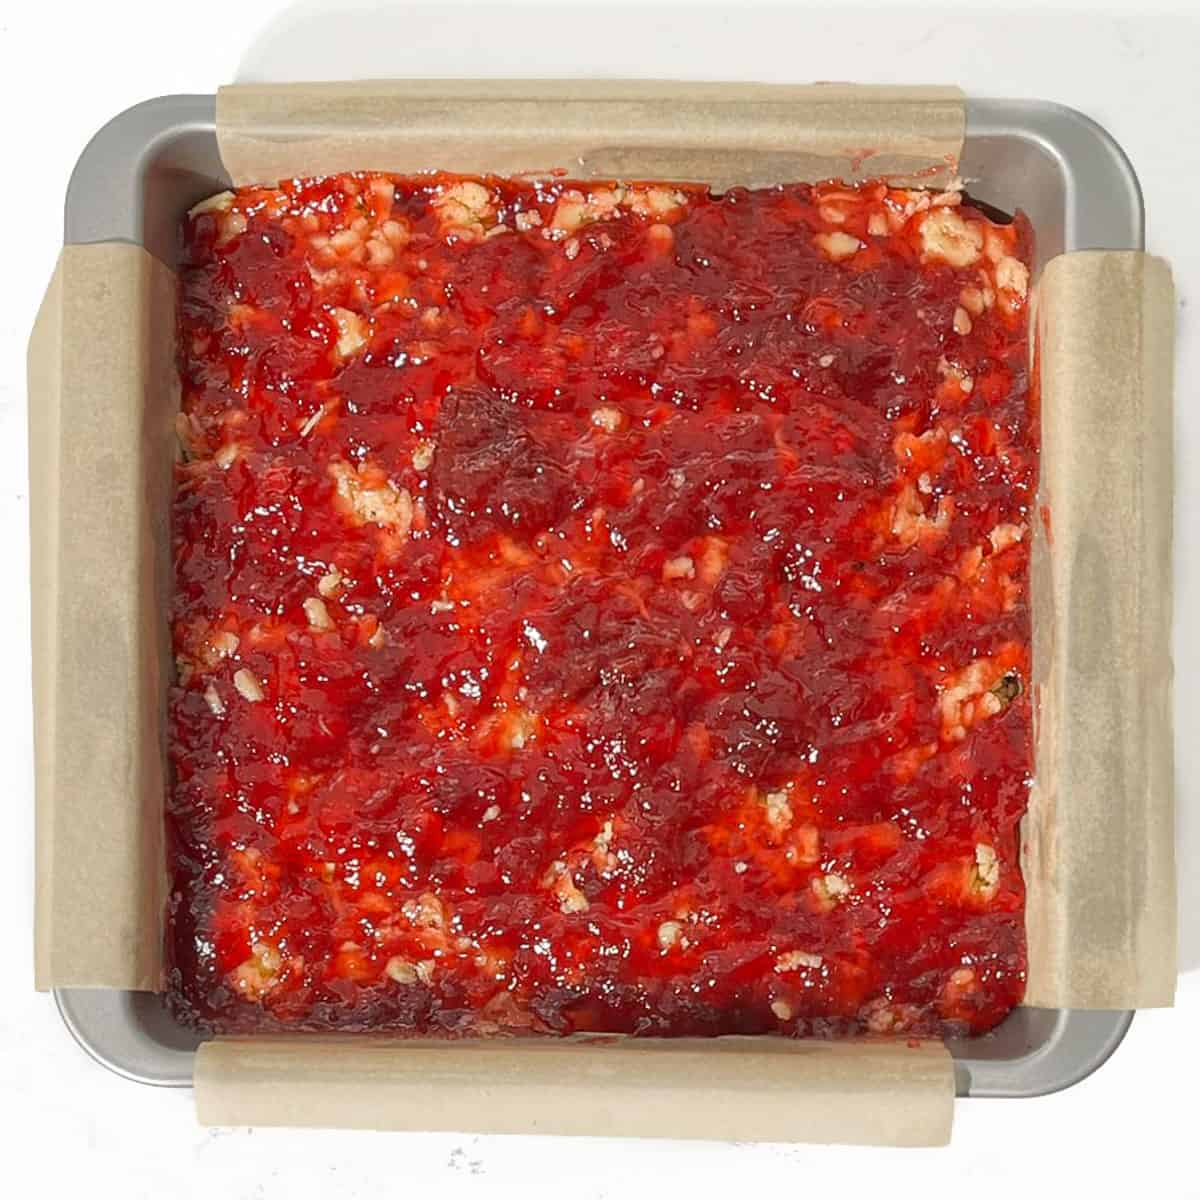
14. Grate the remaining chilled dough and sprinkle it evenly over the jam.
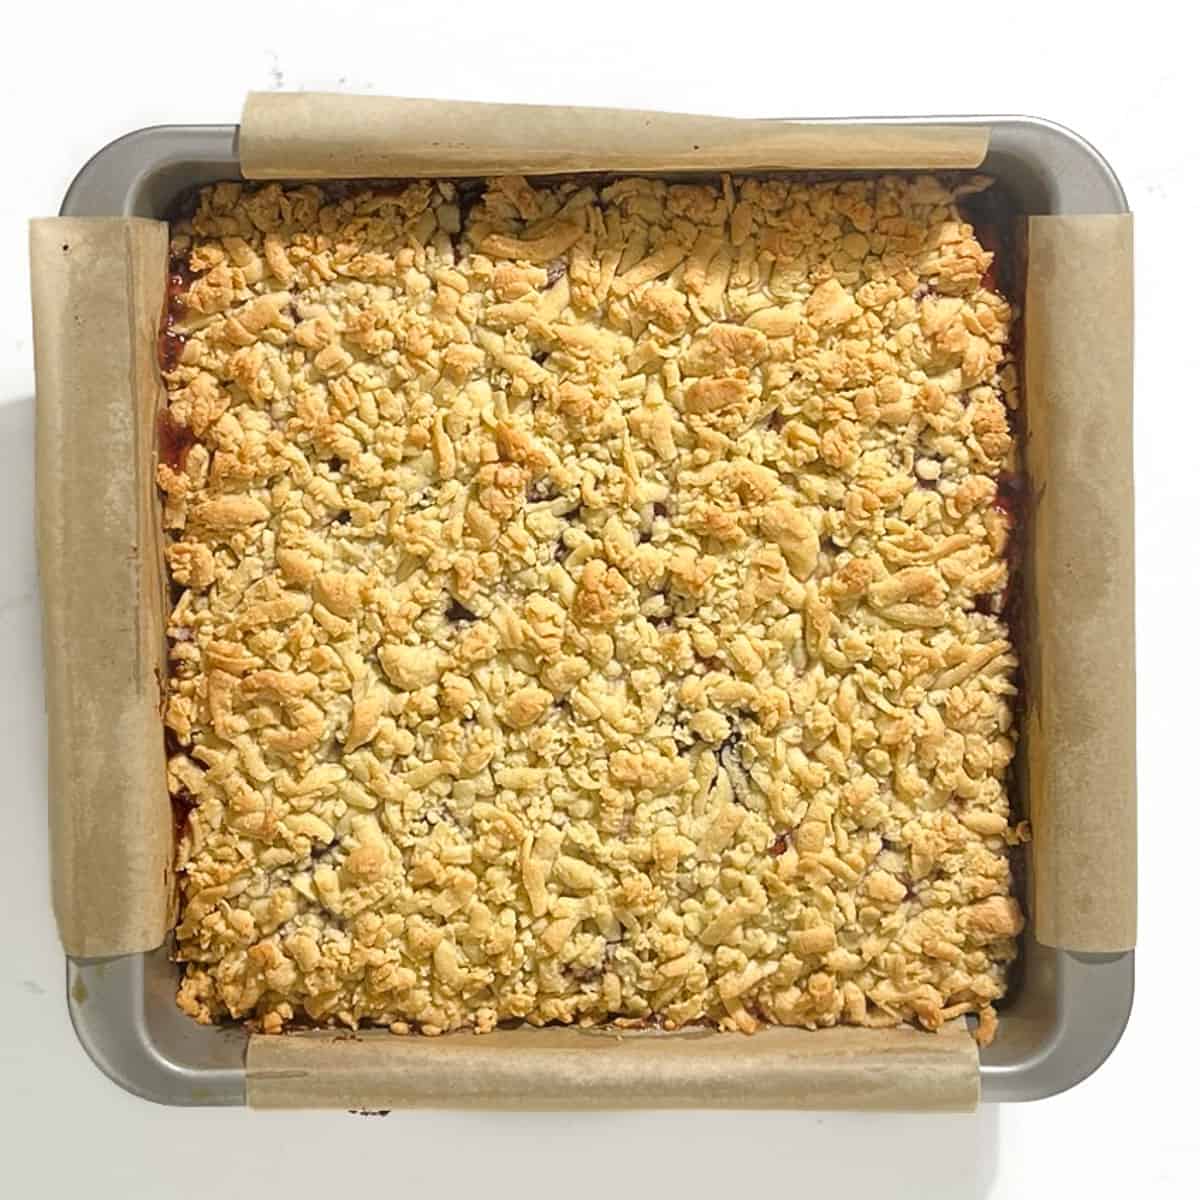
15. Bake for 25-30 minutes, or until lightly golden and the jam is gently bubbling at the edges.
16. Cool completely in the tin before lifting out and cutting into 12 squares.
Variations
- Apricot jam squares - old-fashioned and slightly less sweet than strawberry.
- Raspberry jam squares - sharper and good with the buttery crumble.
- Plum or blackcurrant jam squares - deeper, fruitier and less sweet.
- Coconut jam squares - sprinkle a little desiccated coconut over the crumble topping before baking.
- Citrus jam squares - add lemon or orange zest to the dough.
- Spiced jam squares - add a pinch of cinnamon, ginger or cardamom to the dough.
Texture tips
Do not add extra liquid
The dough should look dry and crumbly at first, but it will come together as you work it gently with your hands.
Chill the dough properly before grating
Cold dough is much easier to grate and gives a better crumble texture.
Press the base down VERY lightly
If you compact it too firmly, the bottom layer can become dense.
Use thick jam or conserve
Very runny jam can bubble too much and make the bars harder to slice neatly.
Cool completely before cutting
For the neatest squares, chill the bake before slicing with a sharp knife.
Troubleshooting
Why are my jam squares dry?
They may have been overbaked, or too much flour may have been added. Use gram measurements where possible and bake only until lightly golden.
Why is my jam layer too runny?
The jam may have been too thin, or the bars may have been sliced before cooling fully. Use a thick jam and let the bake cool completely before cutting.
Why is my crumble topping falling off?
A little loose crumble is normal. If the topping is very powdery, the dough may not have come together properly before chilling.
How do I get clean slices?
Cool the bake completely, then chill it briefly before cutting. Use a sharp knife and wipe the blade between cuts.
Storage and freezing
Store jam squares in an airtight container at room temperature for up to 4 days.
To freeze, let the bars cool completely, then cut into portions. Freeze flat on a lined tray until firm, then transfer to a freezer-safe container with baking paper between layers. Freeze for up to 3 months.
Thaw at room temperature for 30-60 minutes, or overnight in the fridge. Serve at room temperature.
Make-ahead tip
These bars are good for making the day before. Cool them fully, slice once set and store in an airtight container until needed.
FAQ
They are very similar. In South Africa, this type of grated shortbread jam bake is often called Hungarian tart or krummel tert. It may also be called jam squares, jam slice, jam crumble bars or jam bars.
More easy traybakes and sweets
For more easy bakes and old-fashioned sweets, try my easy date squares, chocolate tiffin, coconut ice with condensed milk or tan square caramel slice.
Recipe
Old-Fashioned Jam Squares
Equipment
- 1 20cm x 20cm (8" x 8") square tin - lined with baking paper
Ingredients
- 225 gram (8oz) unsalted butter - softened
- 140 gram (5oz) sugar
- 1 egg - room temperature
- 450 gram (16oz) plain flour
- 3 teaspoon baking powder
- ½ teaspoon salt - optional: you can omit the salt if using salted butter
- 450 gram (16oz) strawberry jam - or other jam of choice
Instructions
- In a large bowl, beat the softened butter and sugar until pale, soft and creamy.225 gram (8oz) unsalted butter, 140 gram (5oz) sugar
- Add the egg and mix until fully combined.1 egg
- In a separate medium bowl, stir together the plain flour, baking powder and salt.450 gram (16oz) plain flour, 3 tsp baking powder, ½ tsp salt
- Add the dry ingredients to the butter mixture.
- Work the mixture together with your hands. It will look dry and crumbly at first, but it will come together into a stiff dough. Do not add liquid.
- Shape the dough into a log. Wrap it in cling film and chill in the fridge for at least 1 hour, or in the freezer for 30 minutes.
- Preheat the oven to 180°C/356°F/gas mark 4.
- Line a 20cm x 20cm (8" x 8") square tin with baking paper, leaving a slight overhang.
- Cut three-quarters from the chilled dough log and place the remaining quarter back in the fridge.
- Grate the larger piece of dough into coarse crumbs.
- Spread the grated dough evenly into the prepared tin and press down very lightly.
- Warm the jam briefly until slightly runnier and easier to spread.450 gram (16oz) strawberry jam
- Spoon the jam evenly over the crumb base.
- Grate the remaining chilled dough and sprinkle it evenly over the jam.
- Bake for 25-30 minutes, or until lightly golden and the jam is gently bubbling at the edges.
- Cool completely in the tin before lifting out and cutting into 12 squares.
Notes
- The dough will look dry at first, but it comes together into a stiff shortbread-style dough.
- Chill the dough well before grating.
- Use a thick jam or conserve for neater slices.
- Cool completely before cutting.
- Freeze sliced bars for up to 3 months.

**Nutritional data disclaimer**
Please keep in mind that the nutritional information provided below is calculated by a third party and we cannot guarantee the accuracy. We try our best to give you the most accurate information, but we do not take responsibility for errors that may be present. Also, the nutritional value of the recipe may change depending on the exact brands and products used. We recommend that you consult with a qualified healthcare professional or registered dietitian for personalised advice on your dietary needs.
Nutrition
For food safety advice, including guidance on food allergies


Leave a Reply