An epicurean adventure to: France
Tarte aux Fruits, or a French fruit tart, is both mouth-wateringly delicious and visually quite stunning!
This is the ultimate French classic, with its crisp, buttery pastry shell filled with a rich and creamy crème pâtissière, topped with an array of vibrant, glossy fresh fruits.
While the steps may take a little more time, the end result is totally worth it. It's not complicated to make, but there are three elements to this recipe; the pastry case, the pastry cream and the fruit topping.
We provide detailed steps and process photos to help you along the way. However, if you're short on time, there is zero shame in buying a ready-made shortcrust pastry case. Just jump straight ahead to making the crème pâtissière and adding the fruit topping. Easy peasy.
If you like fresh fruit desserts, you may also like this recipe for Mixed Berry Cheesecake.

Jump to:
- Fast facts - France
- What's to love about this recipe
- Shortcuts and cheats for making Tarte aux Fruits
- Key ingredient notes and substitutions
- How to make a Tarte aux Fruits
- Fruit pattern inspiration for your tarte
- Storage
- Make ahead
- What to do with leftover pastry
- Turn this into a Tarte aux Fraise - French Strawberry tart
- More tarts you might enjoy
- Recipe
Fast facts - France

| Location | France is located in Western Europe and is bordered by several countries, including Belgium, Luxembourg, Germany, Switzerland, Italy, Spain, and Andorra. It also has coastlines along the Mediterranean Sea, the Atlantic Ocean, and the English Channel. |
| Language | The official language of France is French |
| Population | Circa 67 million people. |
| Trivia | It is technically illegal to take and share photos of the Eiffel Tower at night. The lighting arrangement on the tower is protected by copyright and permission is required to capture and distribute such images, especially for commercial purposes. This restriction primarily applies to professional photographers who intend to sell their photos. |
What's to love about this recipe
- We offer detailed instructions and helpful images to guide you through the process. Don't be discouraged by the long list of steps, we provide ample detail to ensure everyone can confidently make this delicious tart.
- This classic French fruit tart is a showstopper, so if you have someone special to impress...
- It's delicious - There is a reason this French classic is featured in most French bakeries.
- This recipe is customisable, allowing you to choose your favourite fruits or those in season wherever you are. Feel free to get creative and design your tart with a personal touch!
- Easily turn this recipe into a Tarte aux Fraise - French Strawberry tart!
Shortcuts and cheats for making Tarte aux Fruits
If you're eager to make this tart but find yourself short on time or lacking a tart tin, don't worry! Here are a few handy cheats for you:
- Buy a ready-made tart shell (example).
- If you still want to bake the tart shell yourself but don't want to make the pastry, buy ready-made shortcrust pastry (example).
- To make the process less overwhelming, prepare the pastry cream a day ahead of time. This way, you can tackle the remaining tasks without feeling overwhelmed by doing everything on the same day.
- Use tinned fruit that's already neatly sliced for you, like peaches, apricots and mandarins.
But if you're up for the challenge of making the whole thing from scratch, then don your apron, grab your whisk and let's show this tart who's boss! Read on!
Key ingredient notes and substitutions
For the Pâte Sucrée (sweet tart dough)
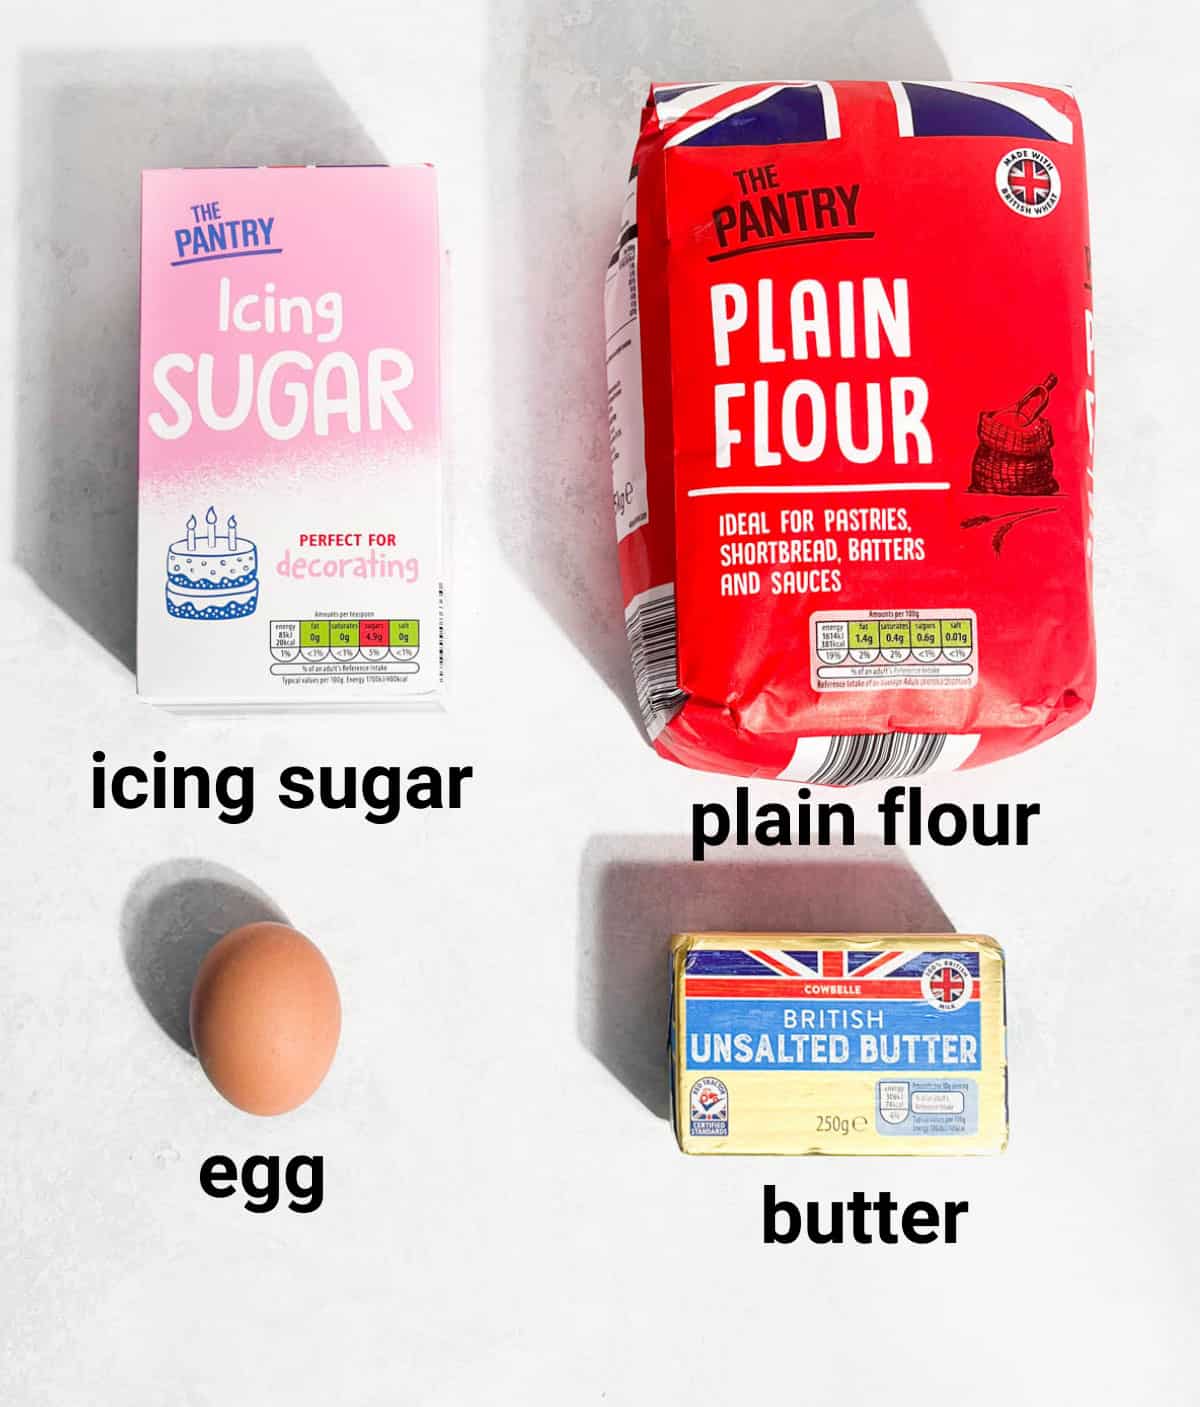
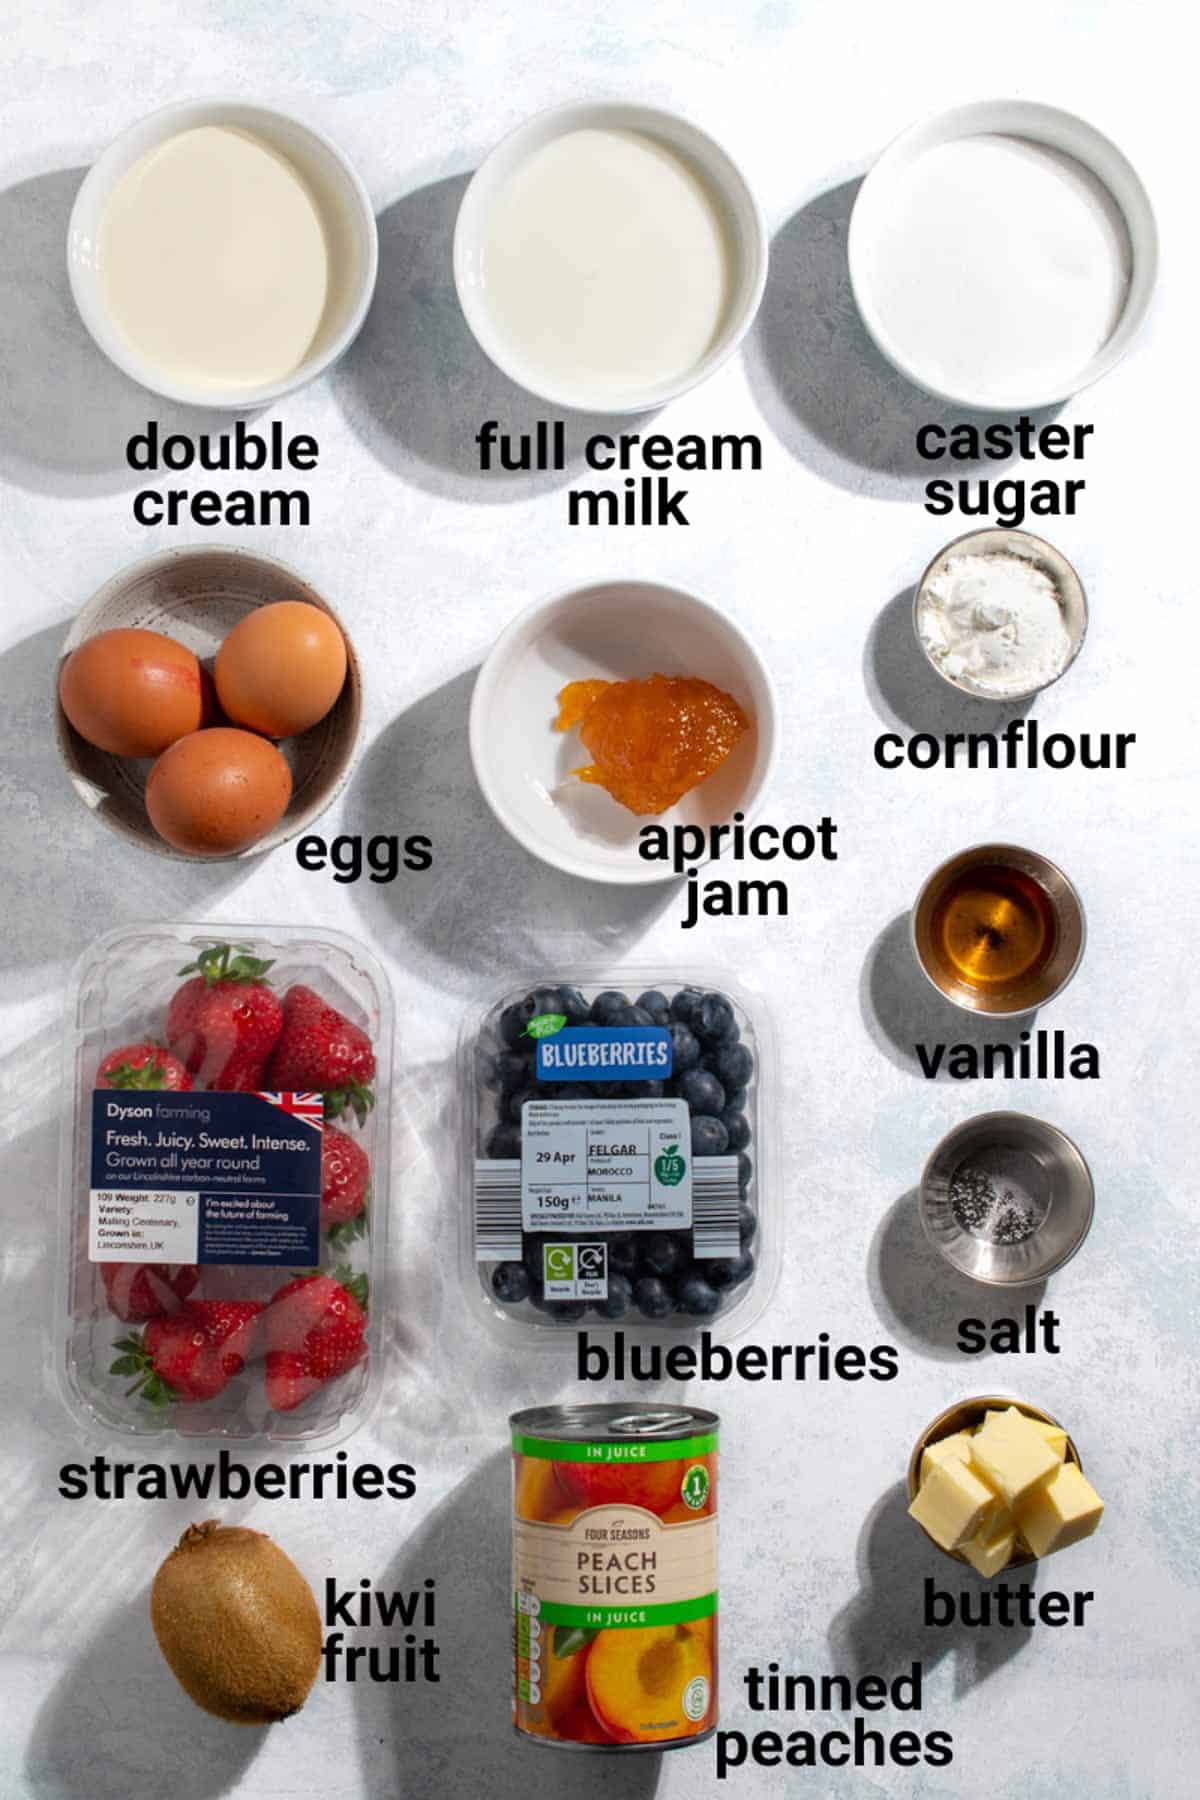
For the Crème Pâtissière (Pastry Cream) and fruit topping
Butter
Use a good quality butter with a fat content of at least 80%. You can use salted or unsalted butter.
Eggs
Room-temperature eggs are less viscous than cold eggs, meaning that they will blend easier with the other ingredients and rise more easily.
To bring eggs up to room temperature quickly, place them in a bowl with warm water for about 5 minutes.
Caster sugar
For the pastry cream, you can replace caster sugar with granulated sugar.
You can also easily make your own caster sugar by blending granulated sugar in a food processor until it's somewhere between the consistency of granulated and icing/powdered sugar.
Milk and cream
For a rich pastry cream, use full-fat milk and double/heavy cream. You can replace the heavy cream with single or whipping cream, but stick to whole milk.
Vanilla extract
It's such a prominent flavour in Crème Pât and Tarte aux Fruit as a whole, that we would highly recommend you use the best quality vanilla extract, or vanilla bean paste, affordable to you.
You can also replace it with a split vanilla pod.
Apricot jam
This is our favourite step from ALL the steps in this recipe - Painting on that glossy finish at the end!
You can use any other jam that will fit with the fruits on your tart. If you find the jam is really thick and it's not becoming runny when heated, just add a little drop of water.
If the jam contains pieces of fruit or seeds, quickly strain it first before brushing it on the fruit to avoid bitty bits.
The fruits
We make suggestions in the recipe on what we usually use for our tart, but really, you can use any fruit of your choosing.
Traditionally, berries feature heavily on a French fruit tart, but you can also use tinned mandarins, fresh nectarines, plums, kiwi slices etc.
Any fruits that won't impart too much water or that won't turn brown when exposed to air will work. Apple, for instance, won't display well as it will turn brown very quickly, even if you brush it with lemon juice.
How to make a Tarte aux Fruits
If you are confident in making this tart, you can skip all the photo steps below and go straight to the recipe card.
To make the Pâte Sucrée (Sweet Tart Dough)
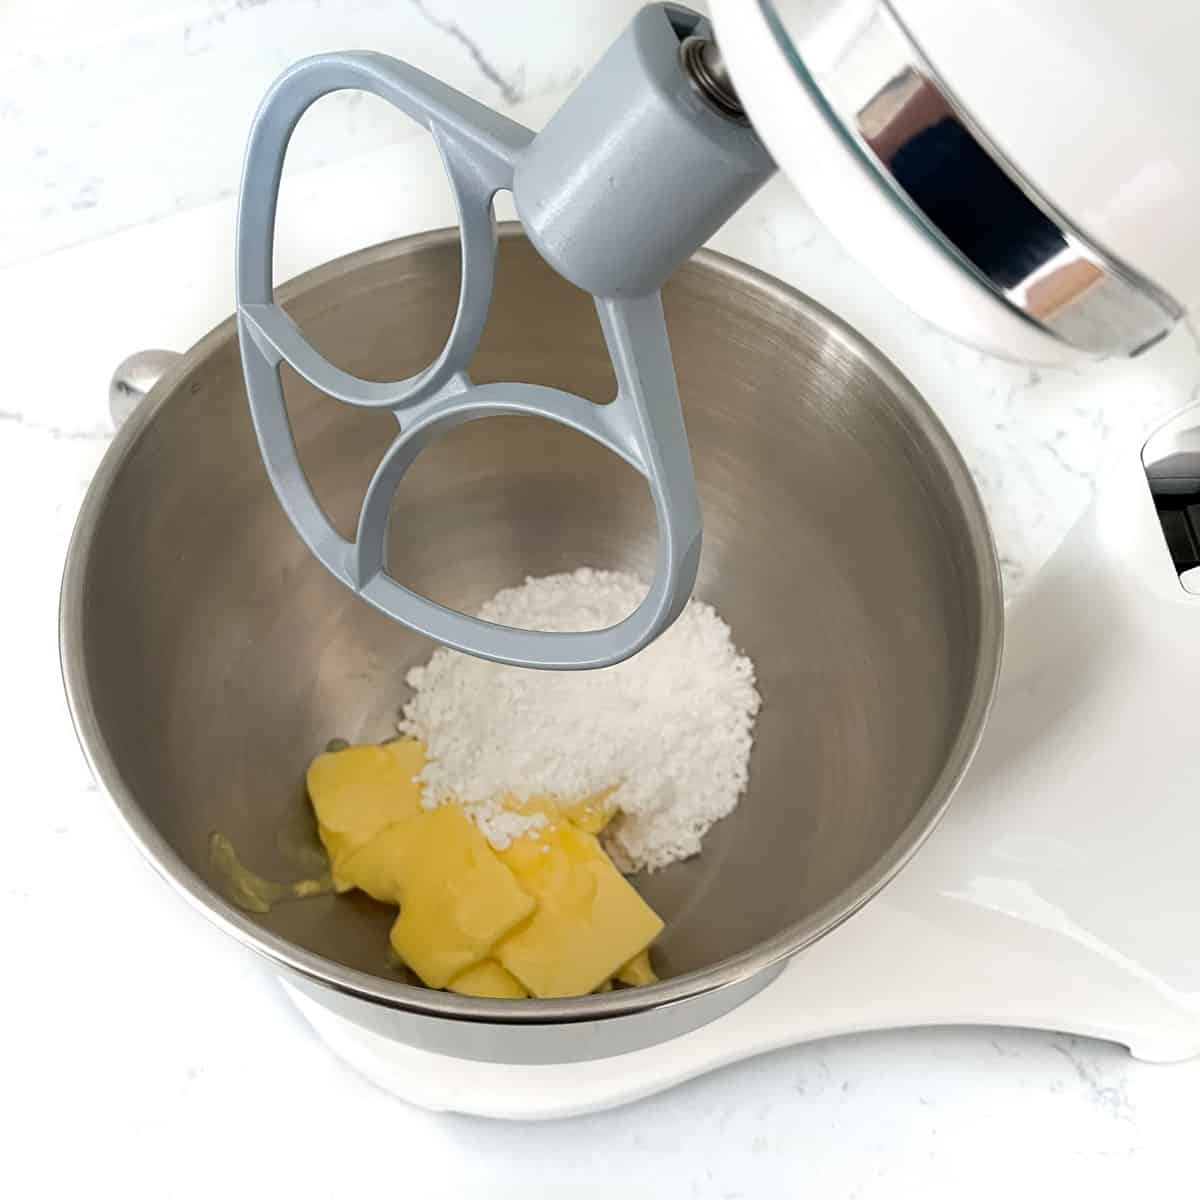
- In the bowl of a stand mixer, add the softened butter and icing sugar. You can also do this step with an electric hand mixer.
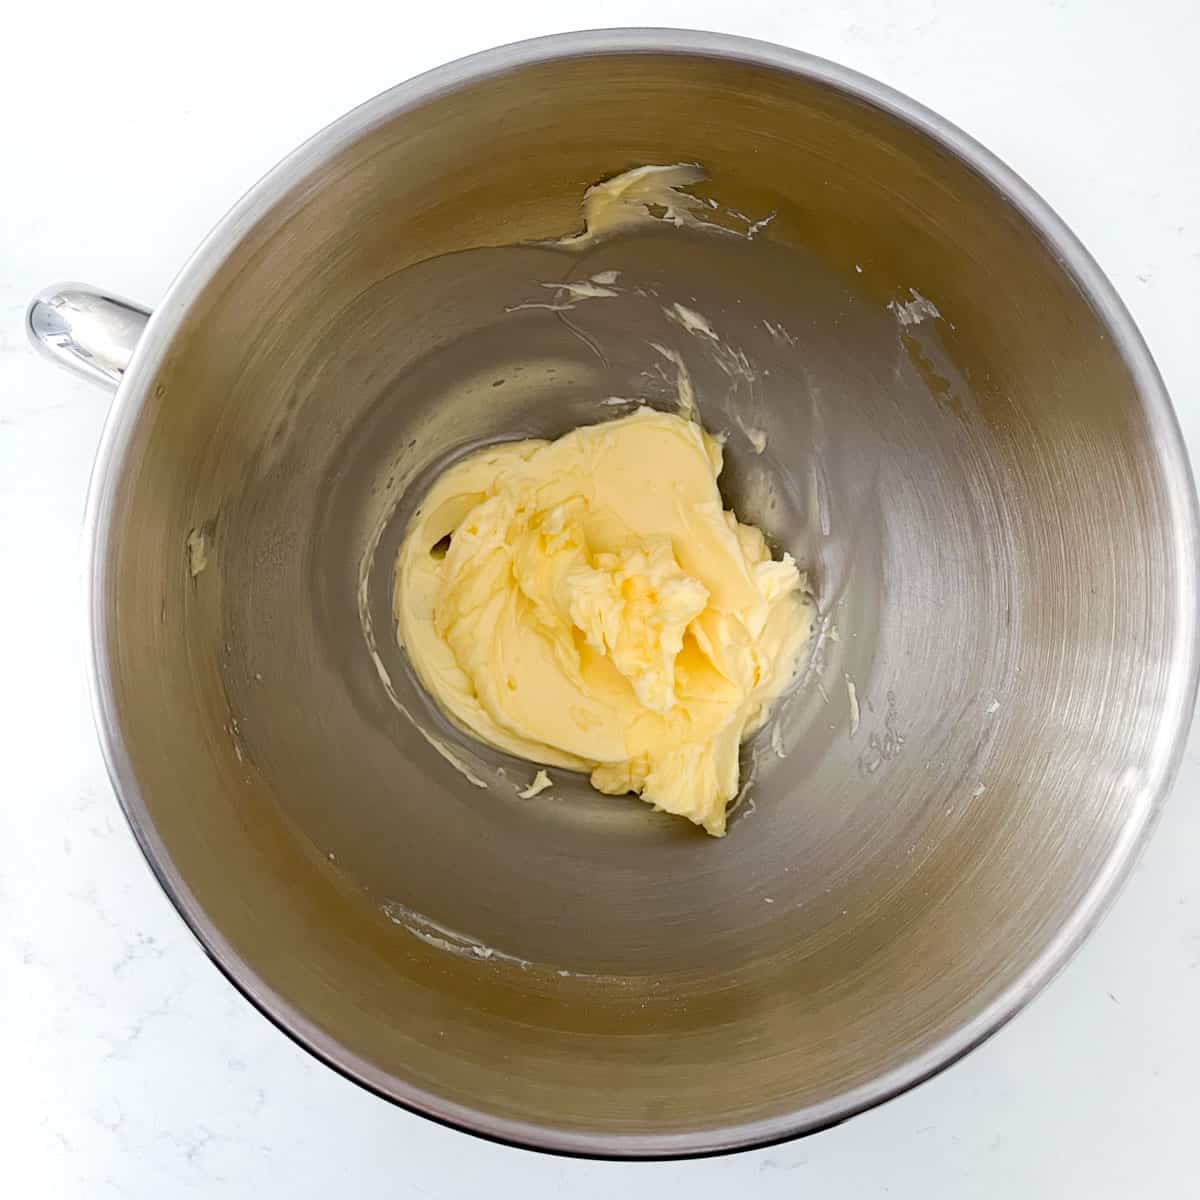
- Beat the butter and sugar together until light and creamy.
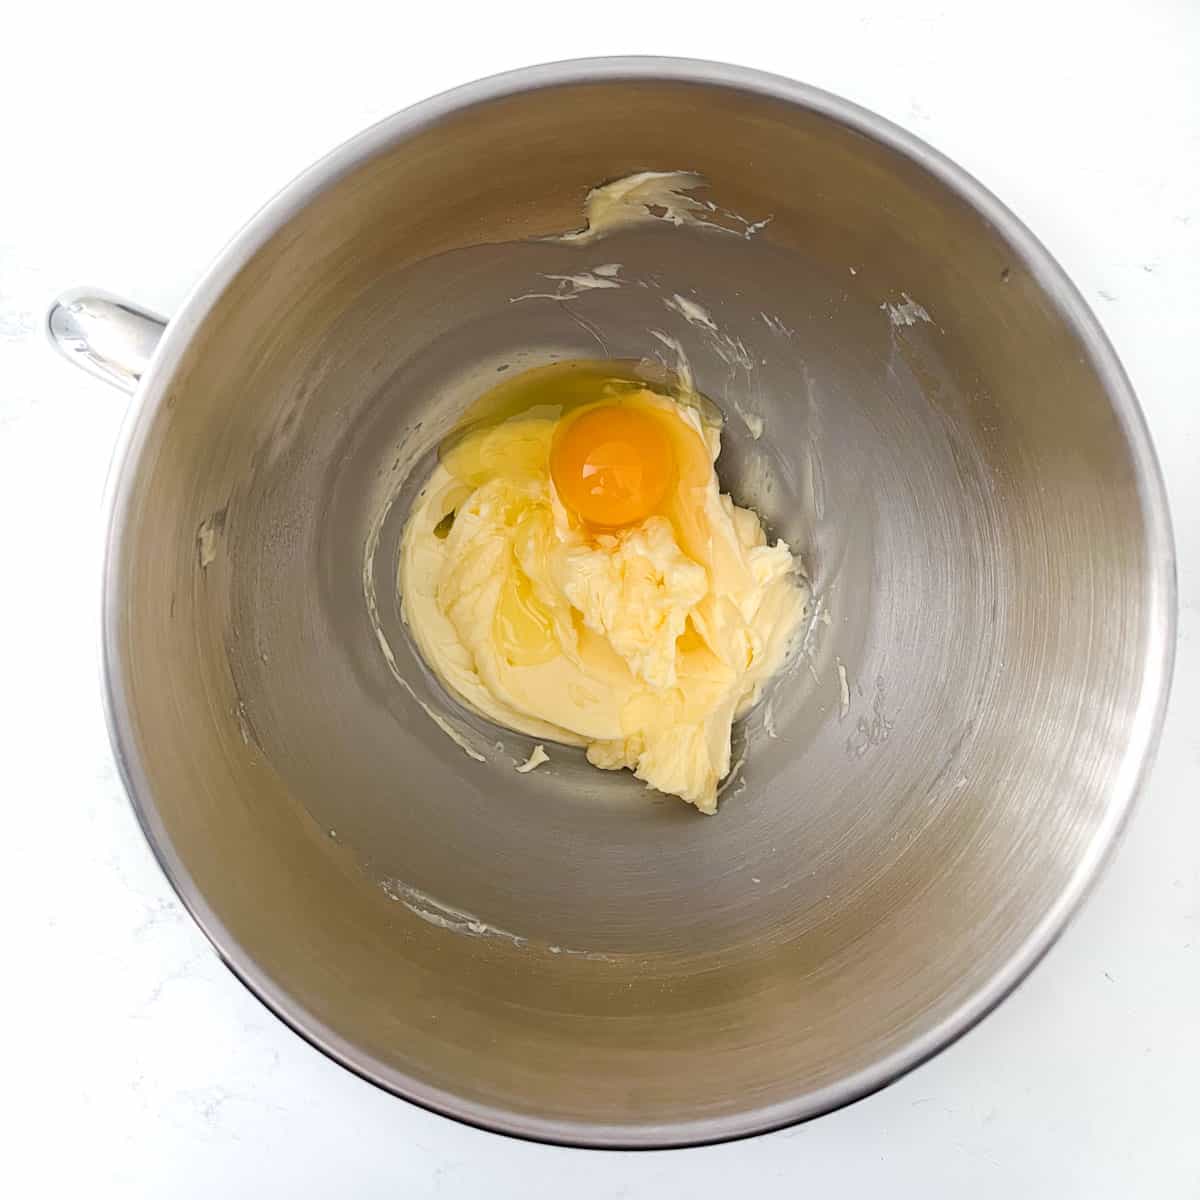
- Add the room-temperature egg and beat again until the mixture is uniform.
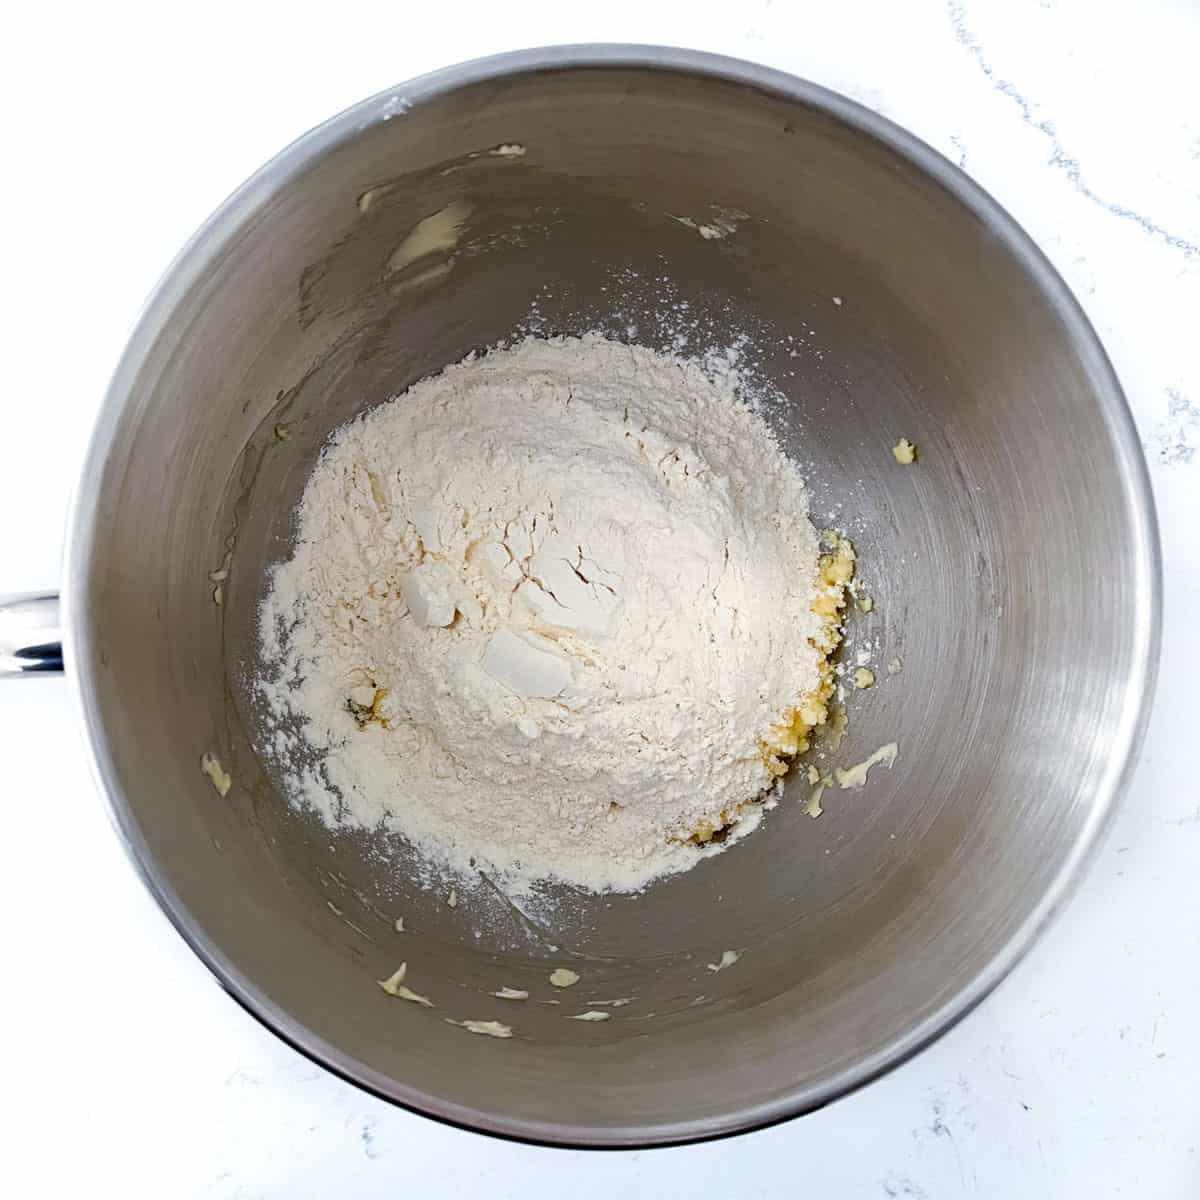
- Add the all-purpose flour to the egg and butter mixture.
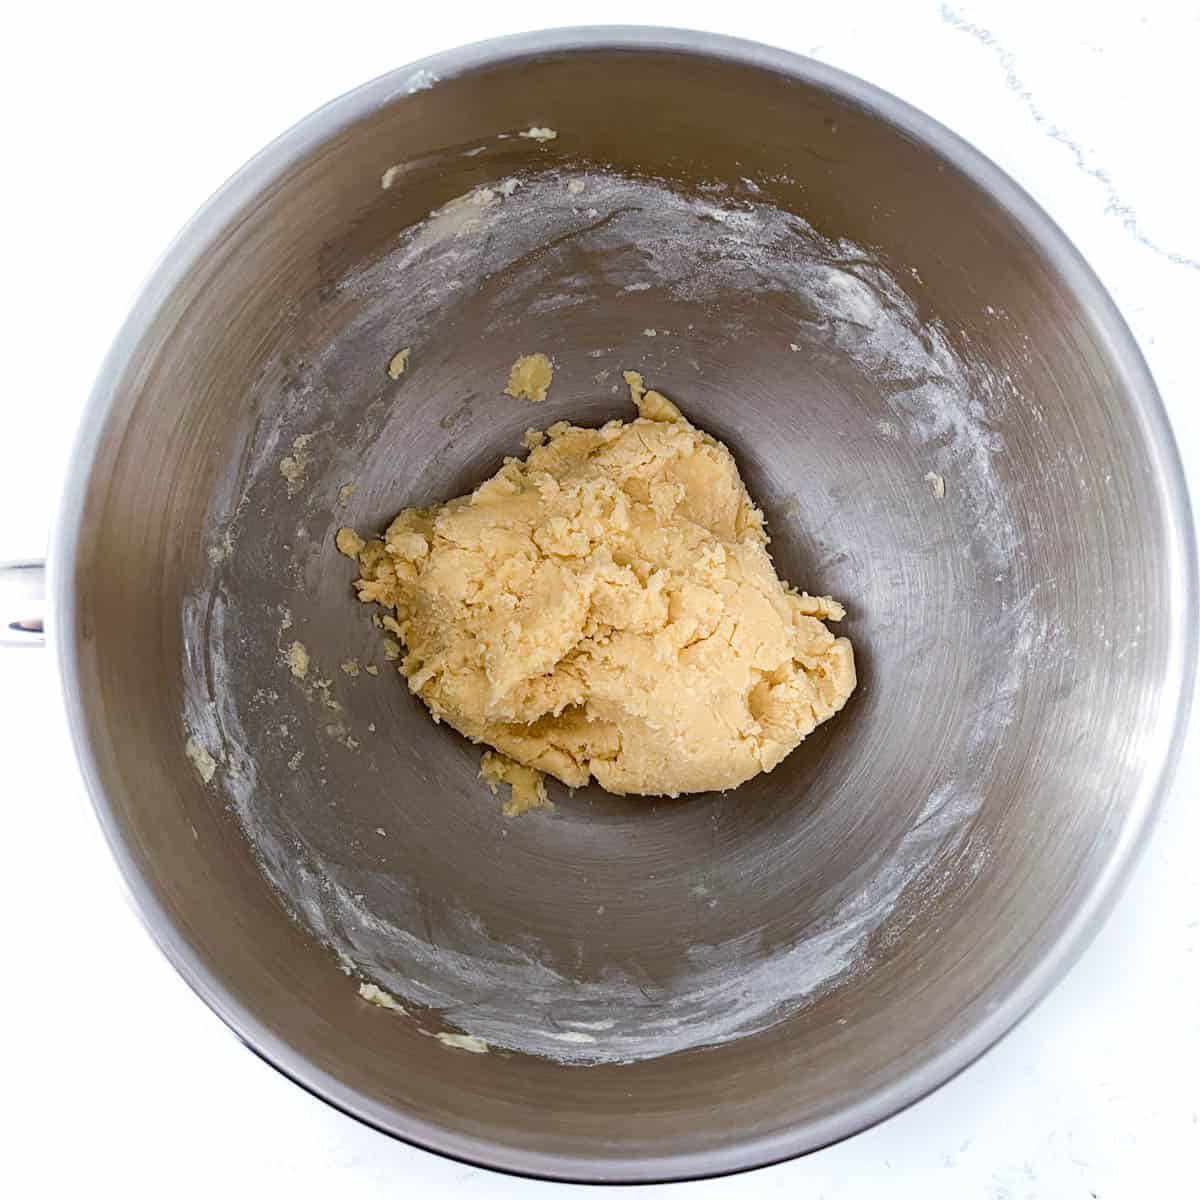
- Using a wooden spoon or spatula, fold the flour in until well combined.
- Gather the pastry up into a ball and transfer it onto a piece of cling film.
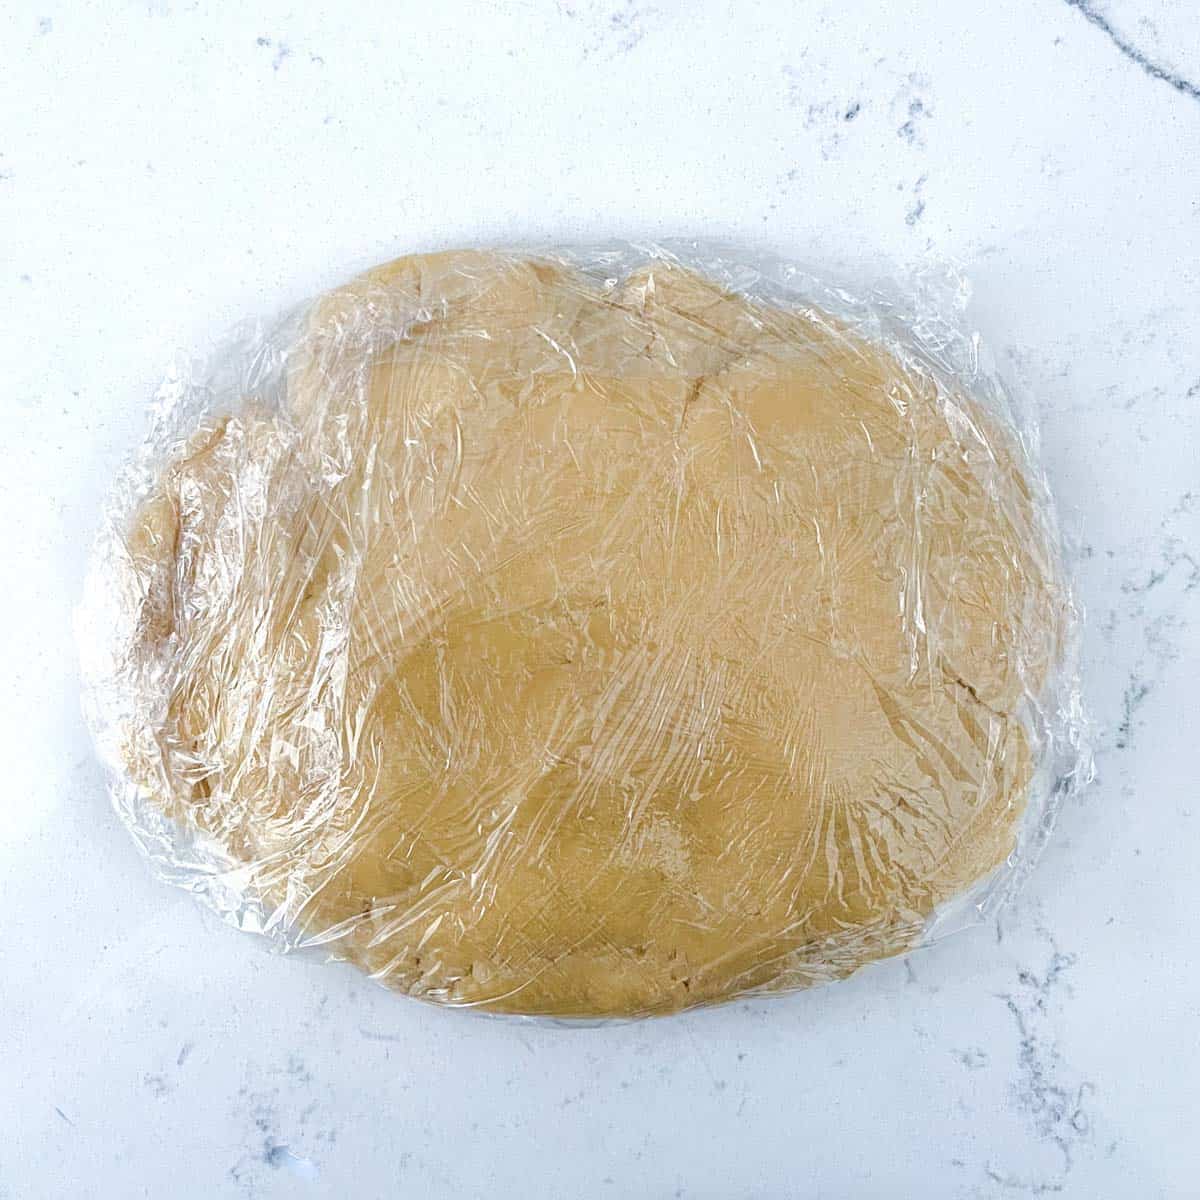
- Press it down slightly into a thick disk shape. Wrap the pastry up and place it in the fridge for about 30 minutes.
- After 30 minutes, preheat the oven to 180℃/356℉/gas mark 4.
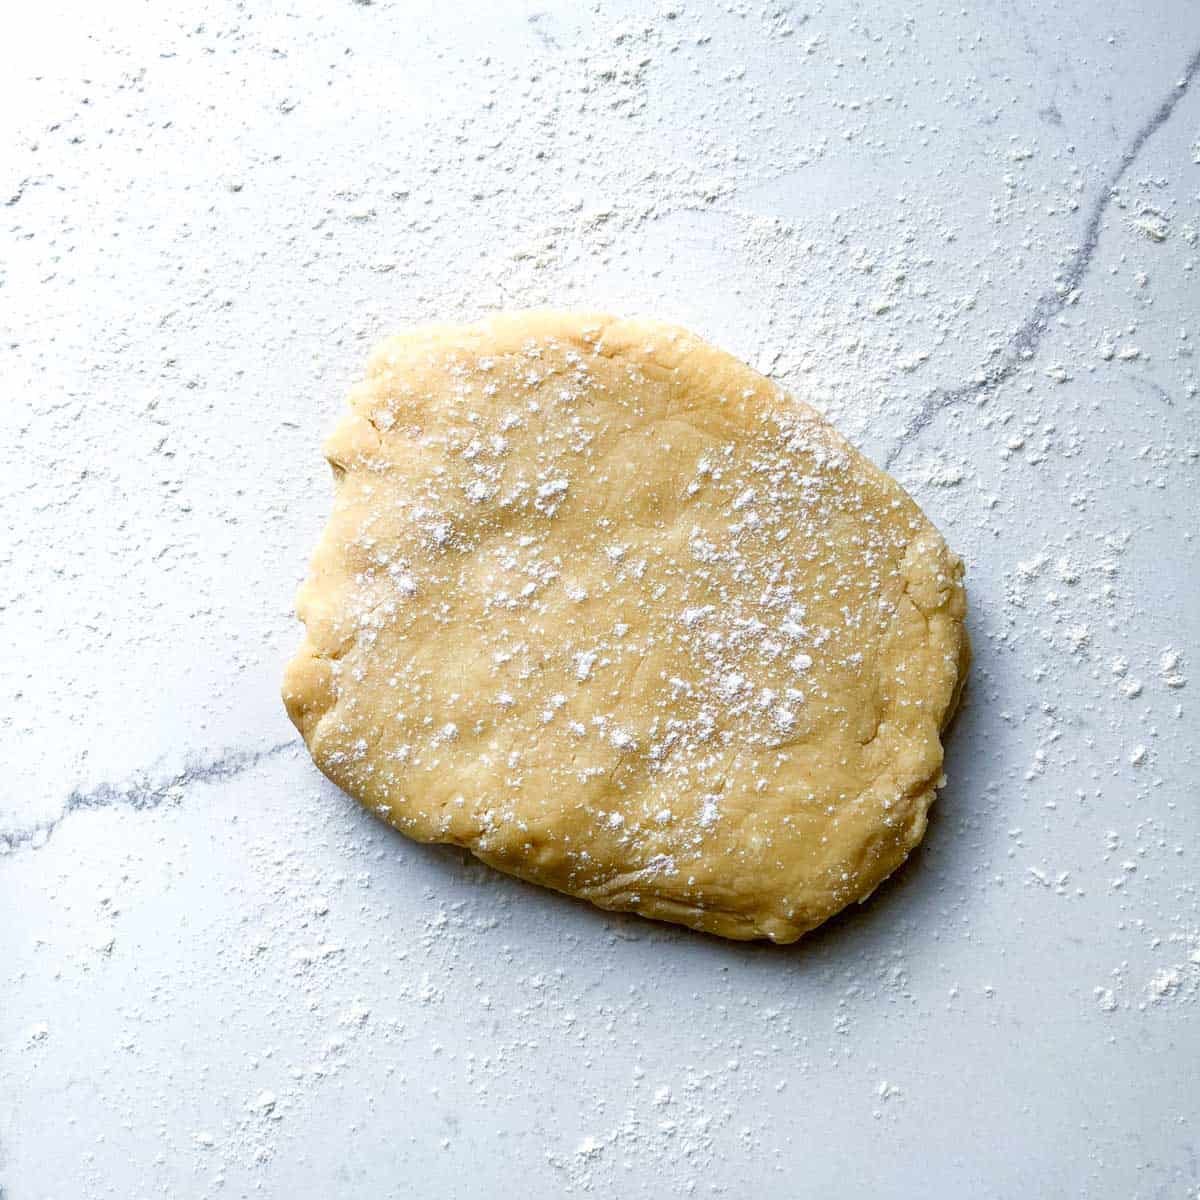
- Dust the work surface with a light sprinkling of flour. Unwrap the pastry and place it on the work surface.
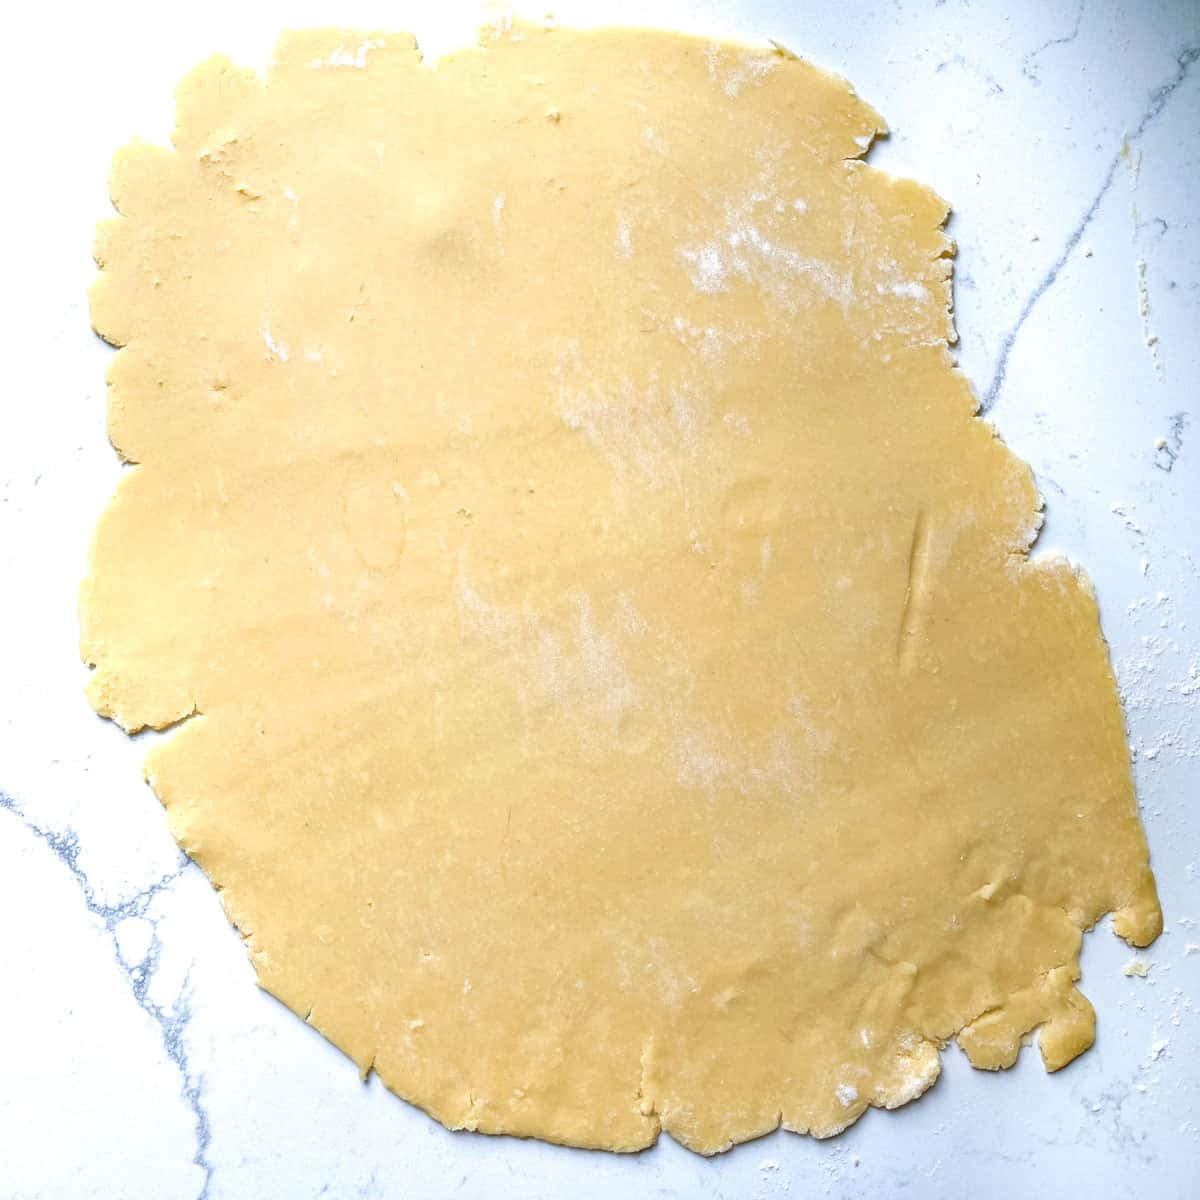
- Roll the pastry out into a thickness of 3mm-5mm (0.1"-0.2"). Try to roll it into a rough circle shape.
Keep turning the pastry around to ensure it's not sticking to the surface. Add a little flour on top and below the sheet of pastry as needed.
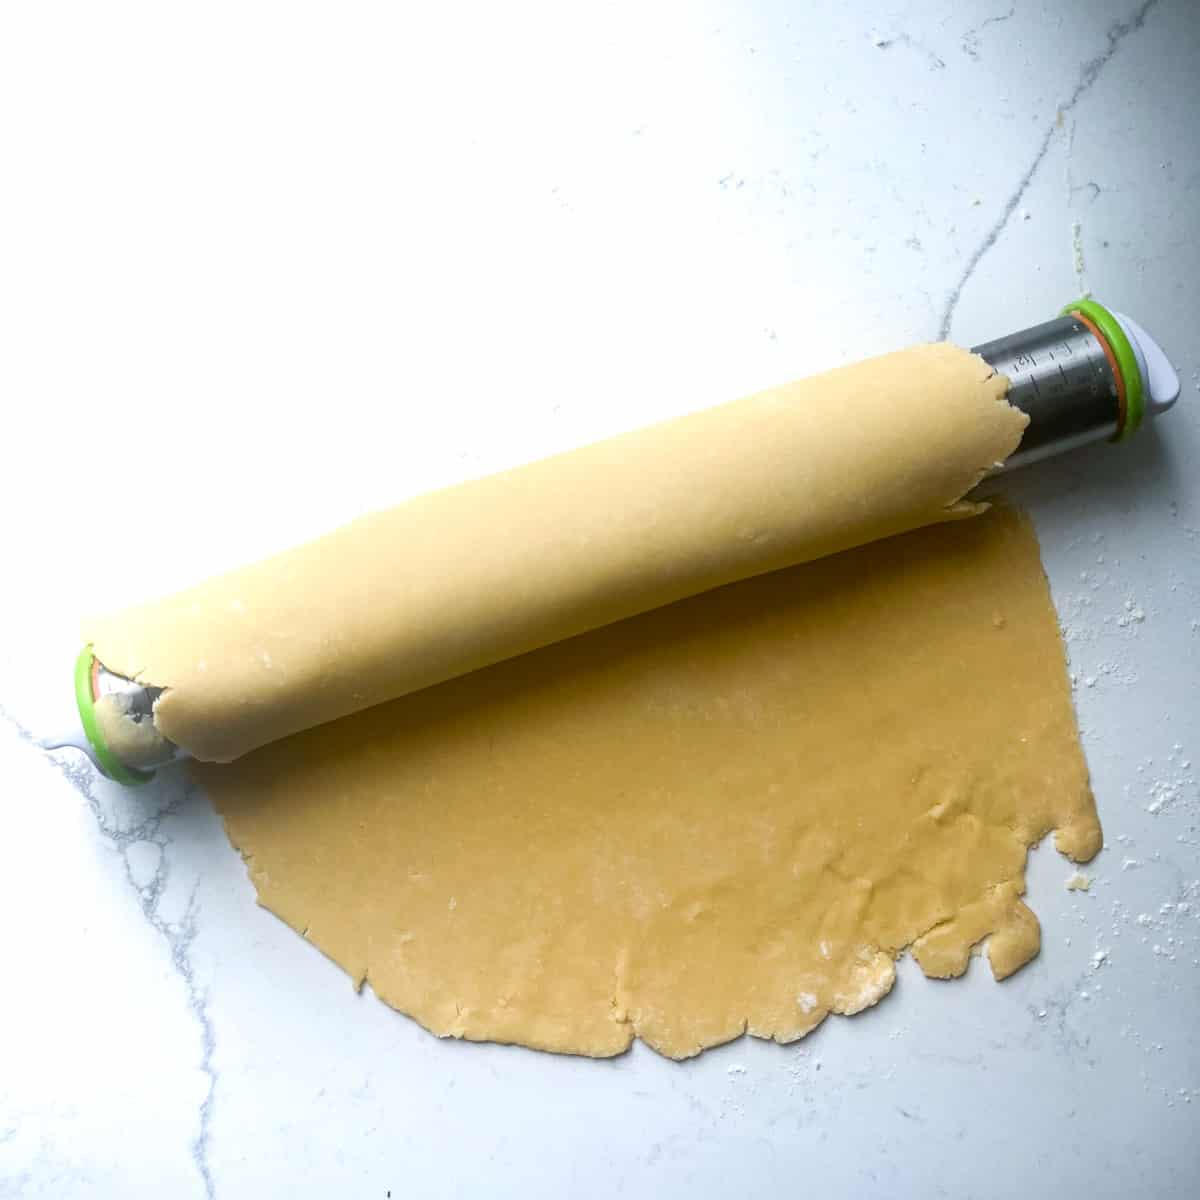
- Loosely roll the sheet of pastry onto the rolling pin and transfer it onto the tart tin.
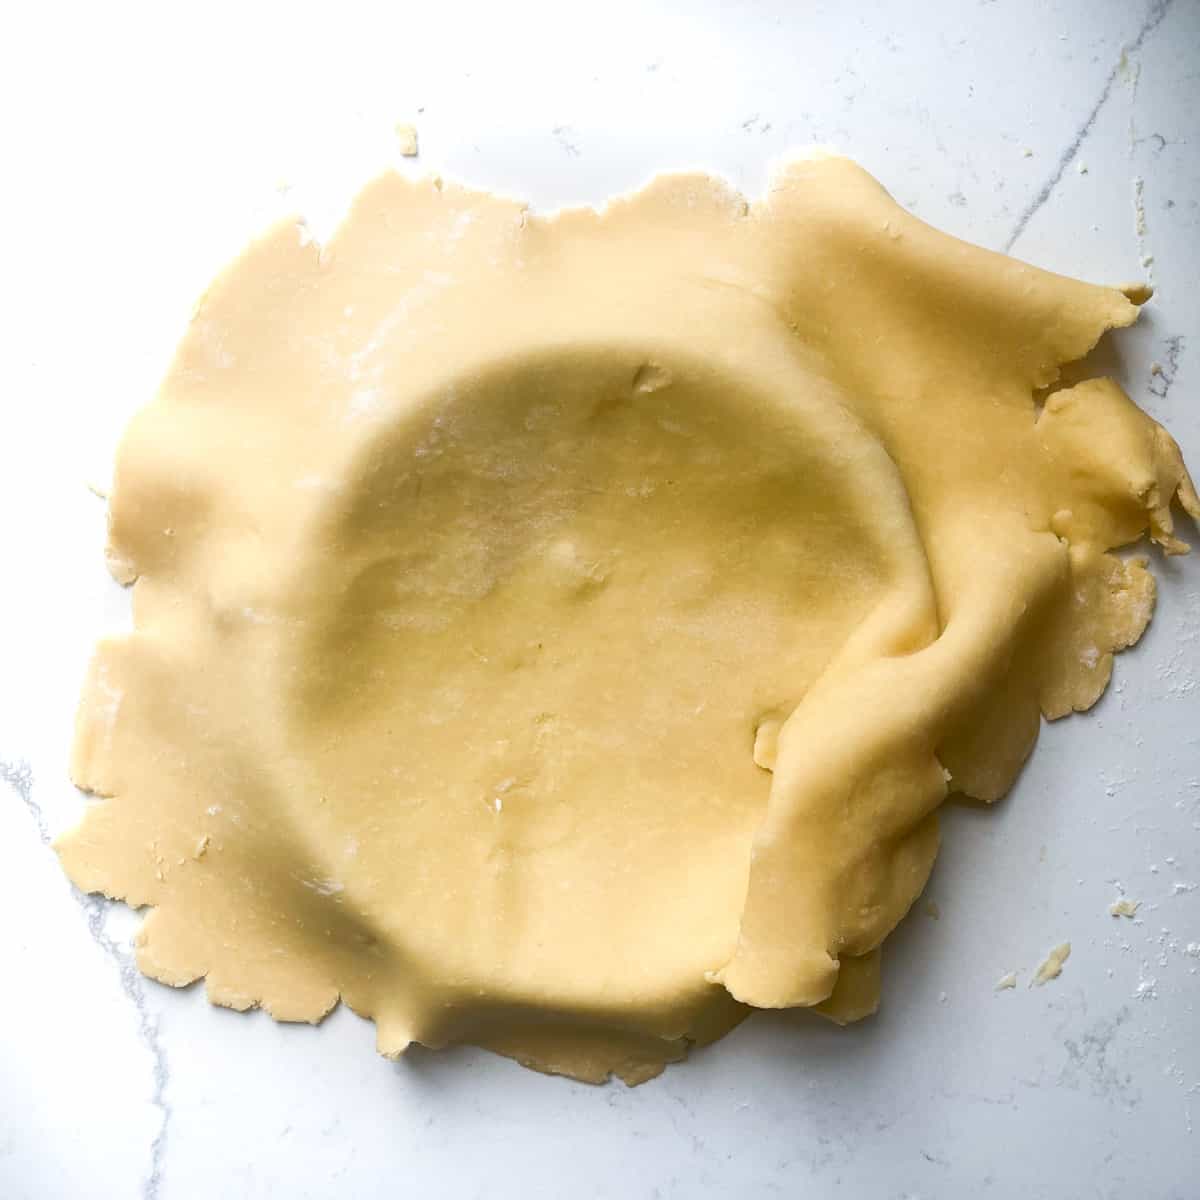
- Give it enough slack to loosely drape inside the hollow of the tin.
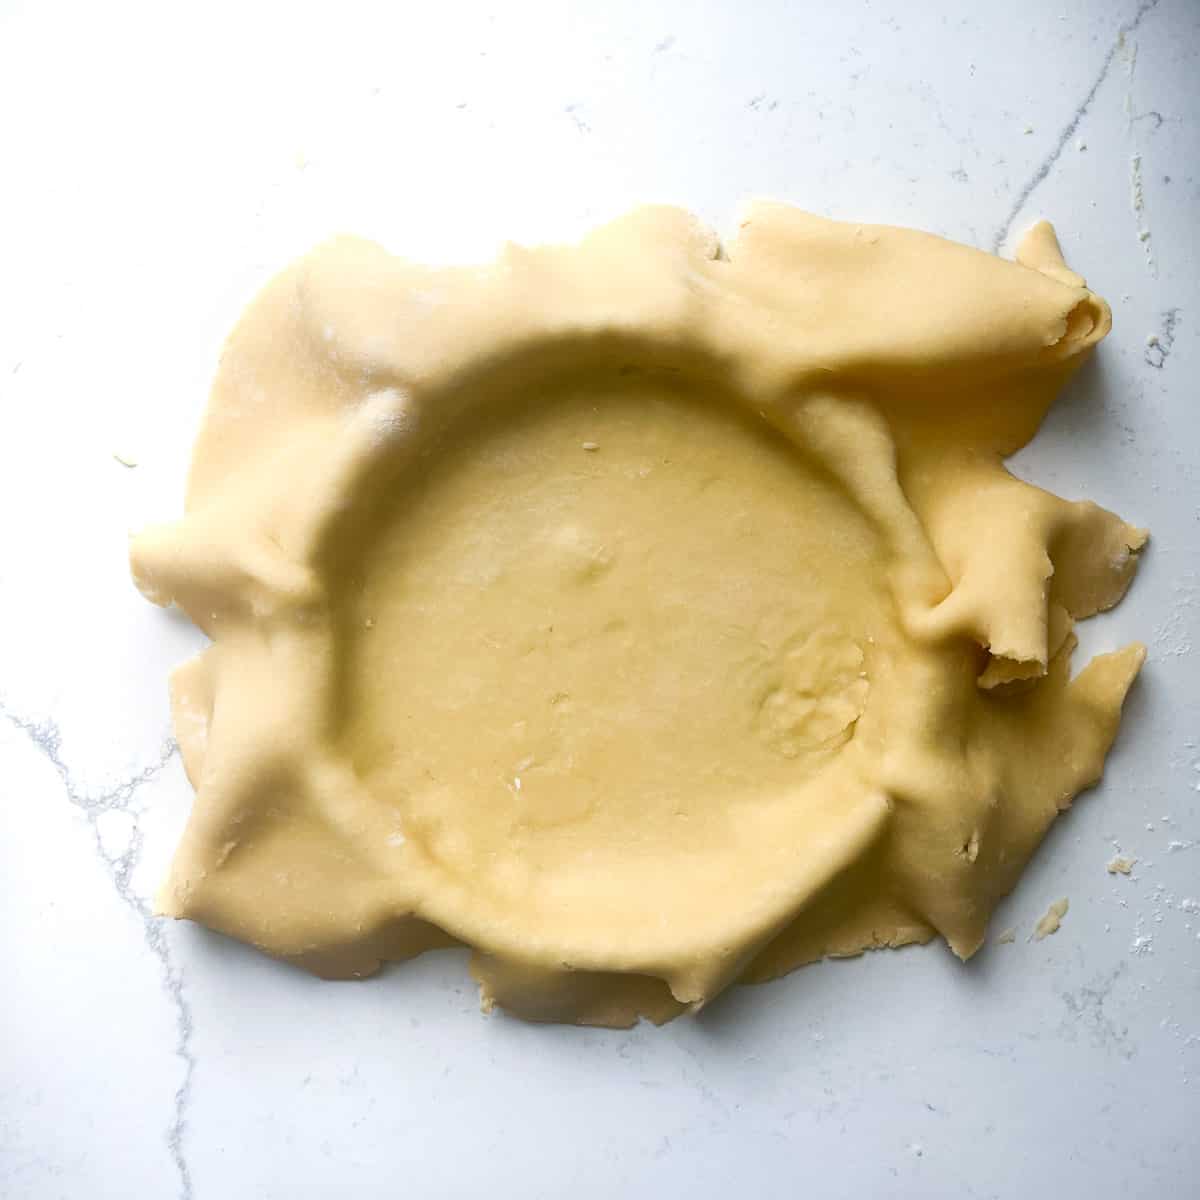
- Push the dough down very gently to ensure you have enough pastry to line the bottom and the sides of the tin. Don't mould it just yet.
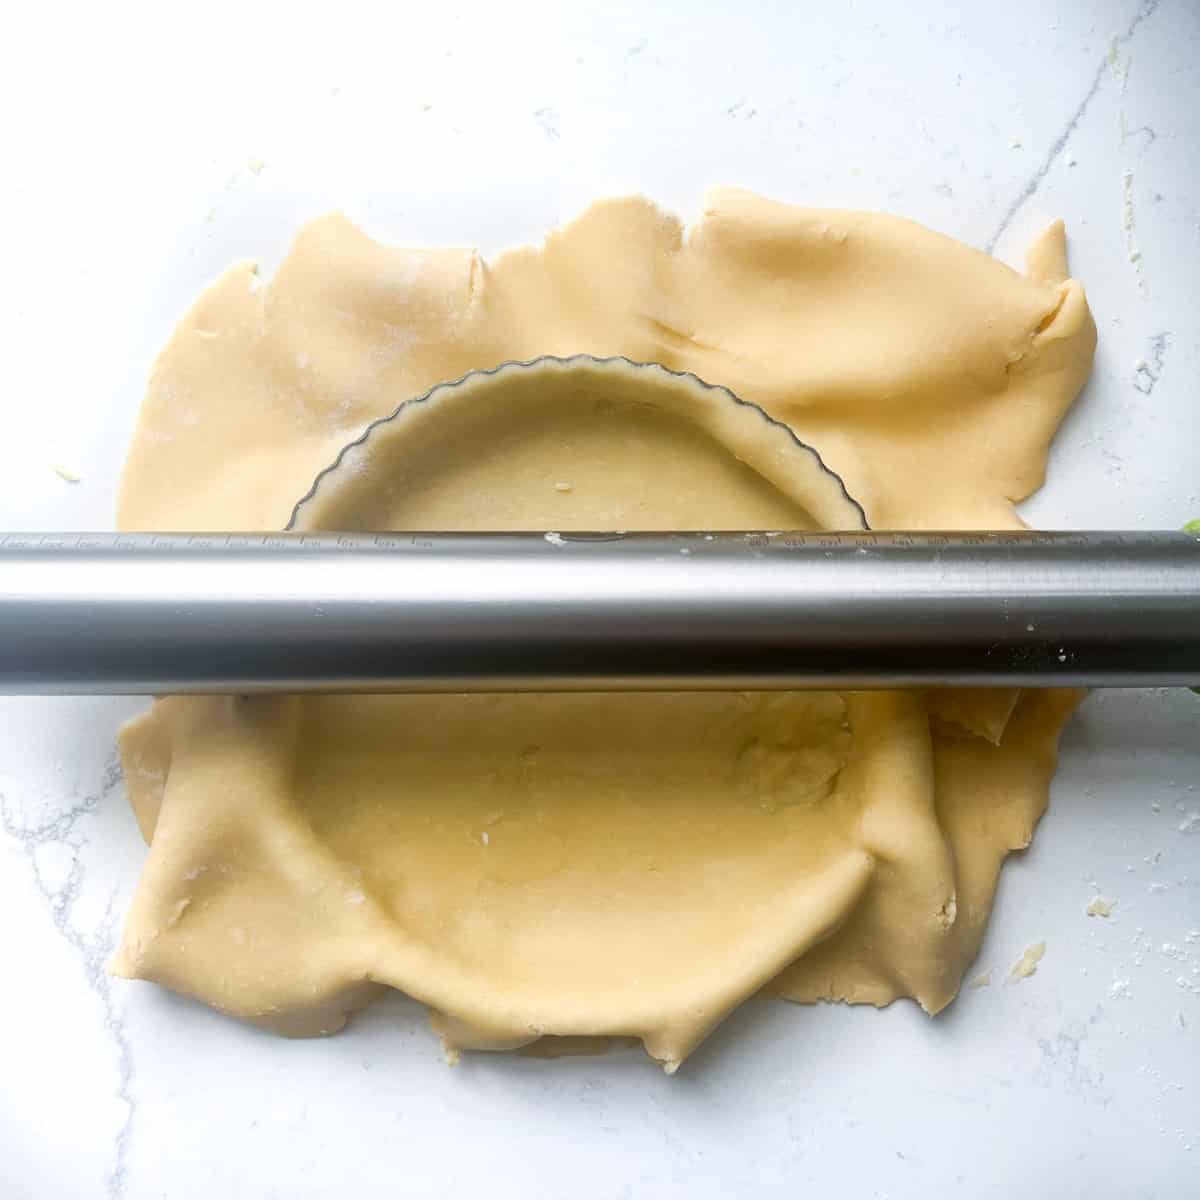
- Roll the rolling pin over the edges of the tart tin to cut off any excess pastry.
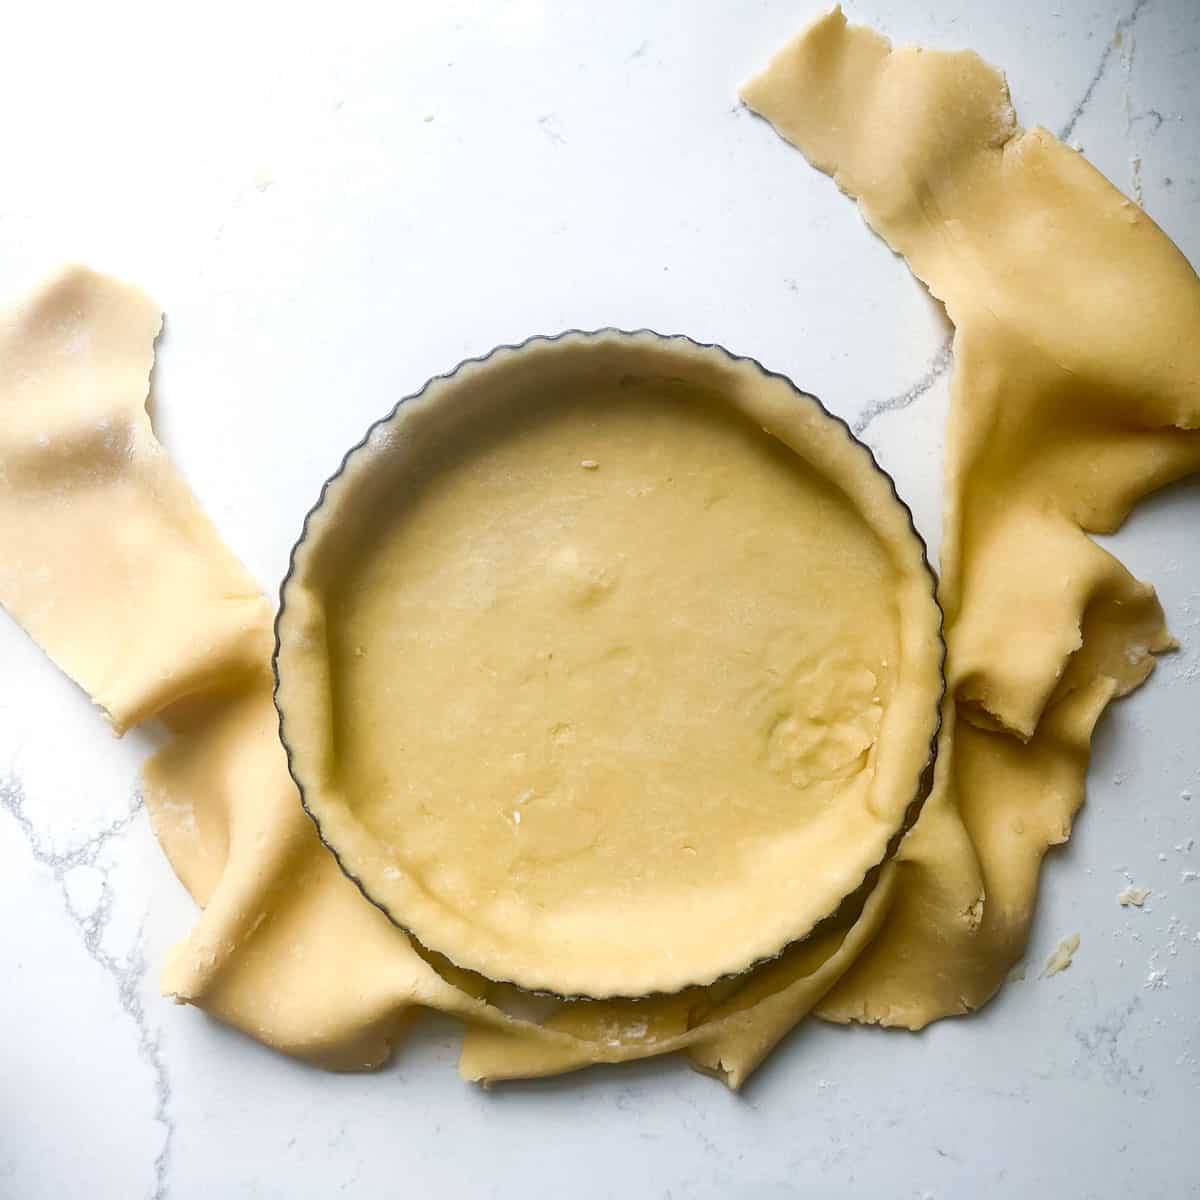
- Gather up the offcuts and set them aside.
- Working your way around the tin, gently press the pastry into the sides of the tin with your thumb and index finger. If you accidentally tear it, just patch it up with a bit of extra dough.
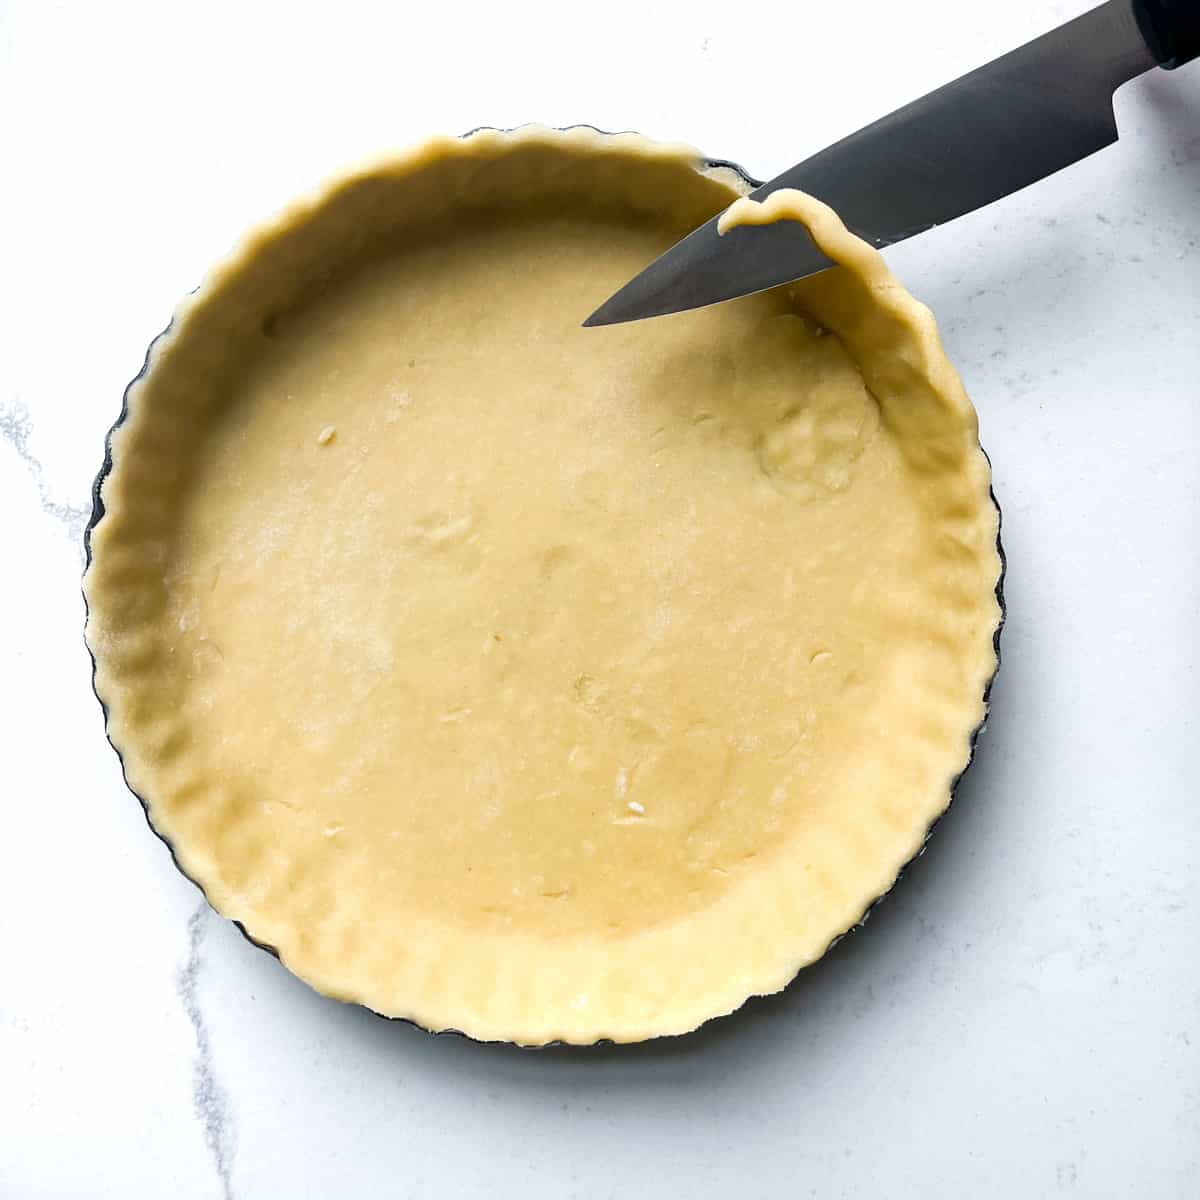
- Use a small sharp knife and glide it horizontally over the top of the tin to slice off any extra pastry.
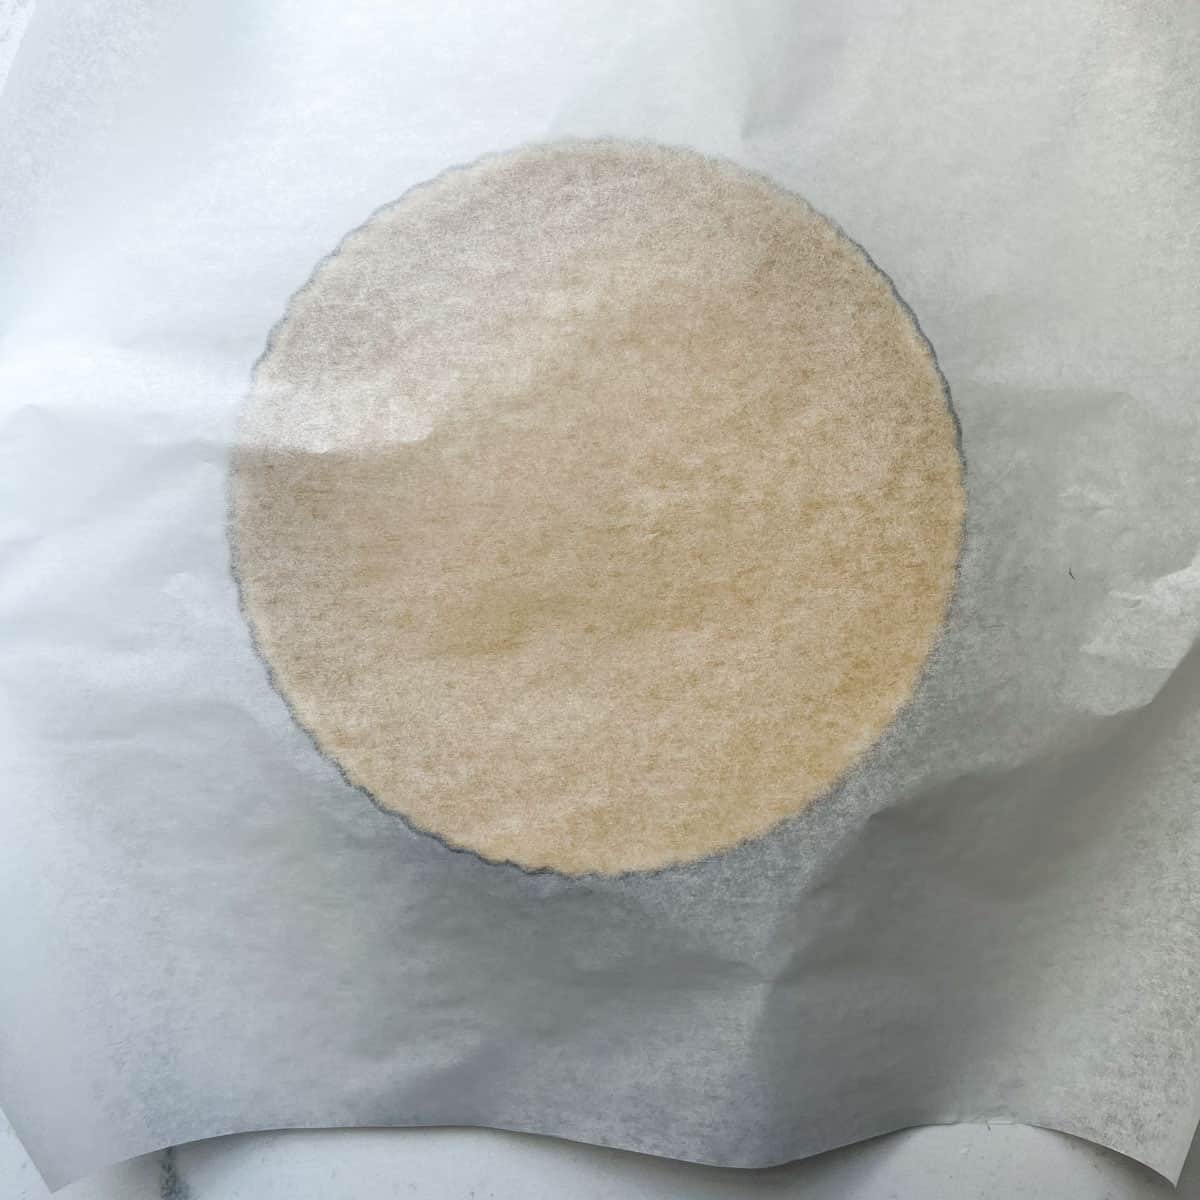
- We need to blind-bake this tart base, so drape a piece of parchment paper over the tart tin.
What is blind baking?
To blind bake a pastry crust, the pastry is typically rolled out and placed into a pie dish or tart tin, then lined with parchment paper or aluminium foil and weighed down with baking beans or rice.
The pastry is then baked in the oven until it is set and lightly golden brown. Once the pastry crust is partially or fully baked, it can be filled with the desired filling and baked again as needed.
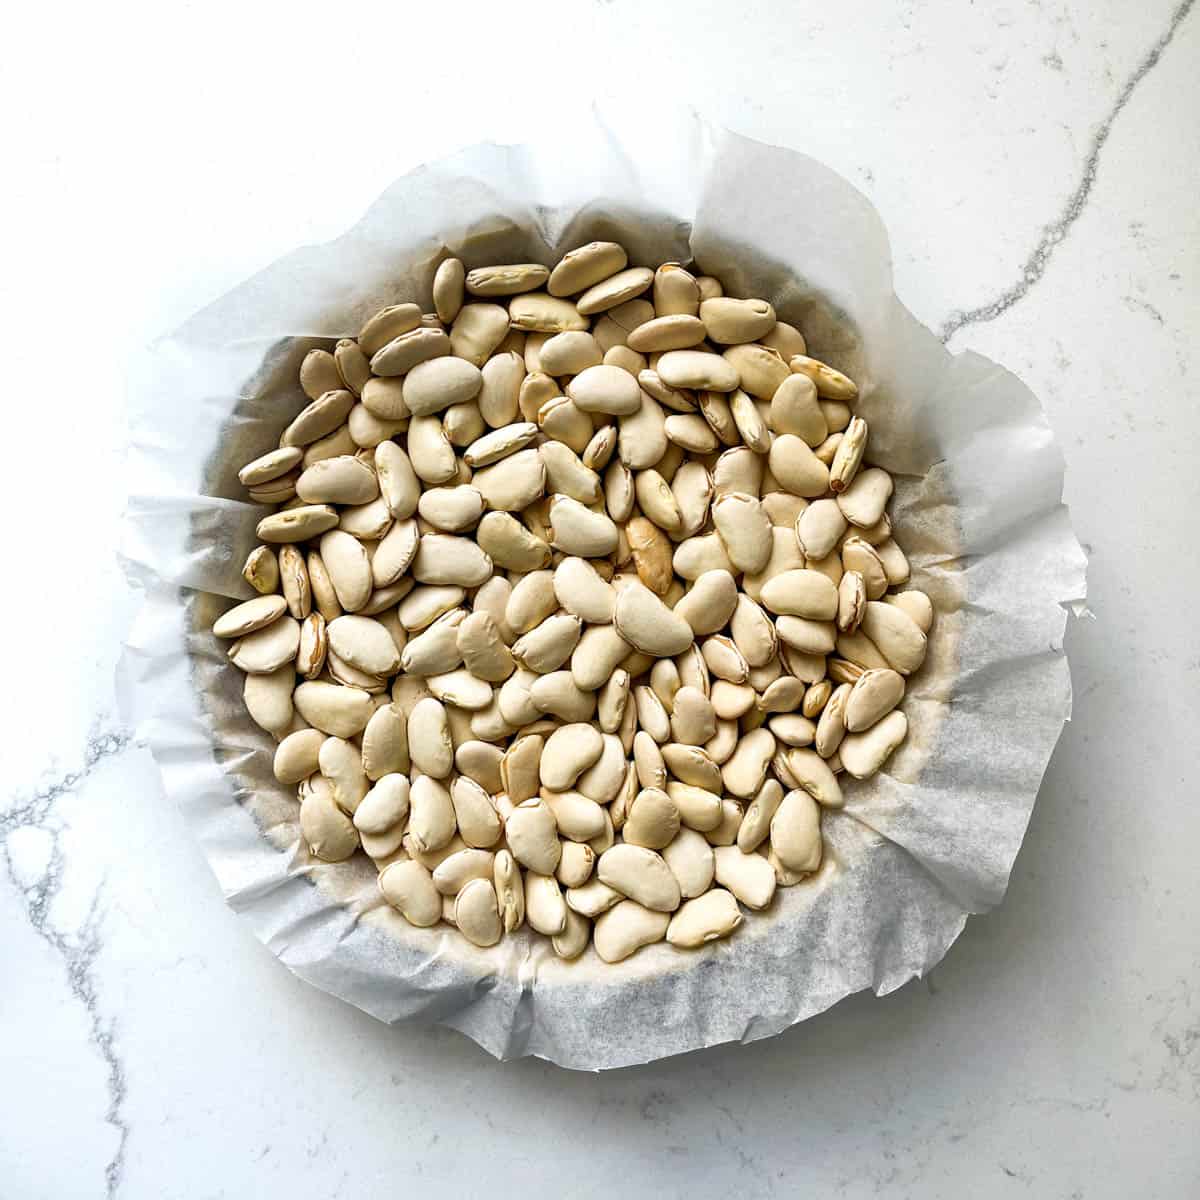
- Fill the hollow with baking weights/baking beans.
- Bake for 10 minutes.
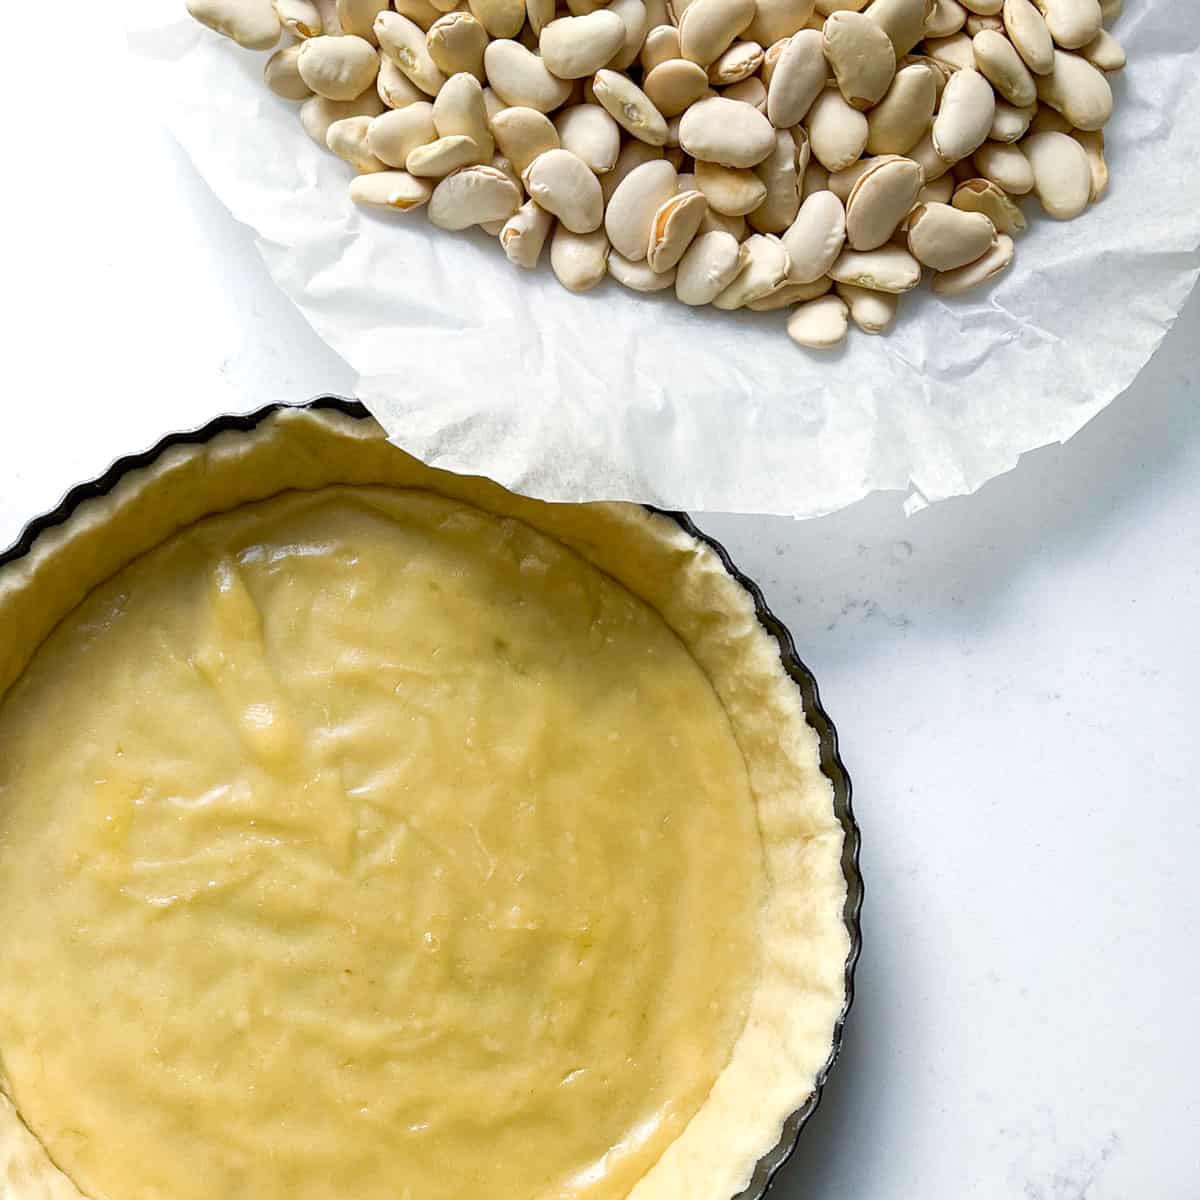
- Remove the baking weights and bake for a further 15 minutes.
Top tip: Be very careful when moving the tart tin around to not accidentally press the loose bottom UP. This will break the seam of the tart. Only pick the tin up by its sides.
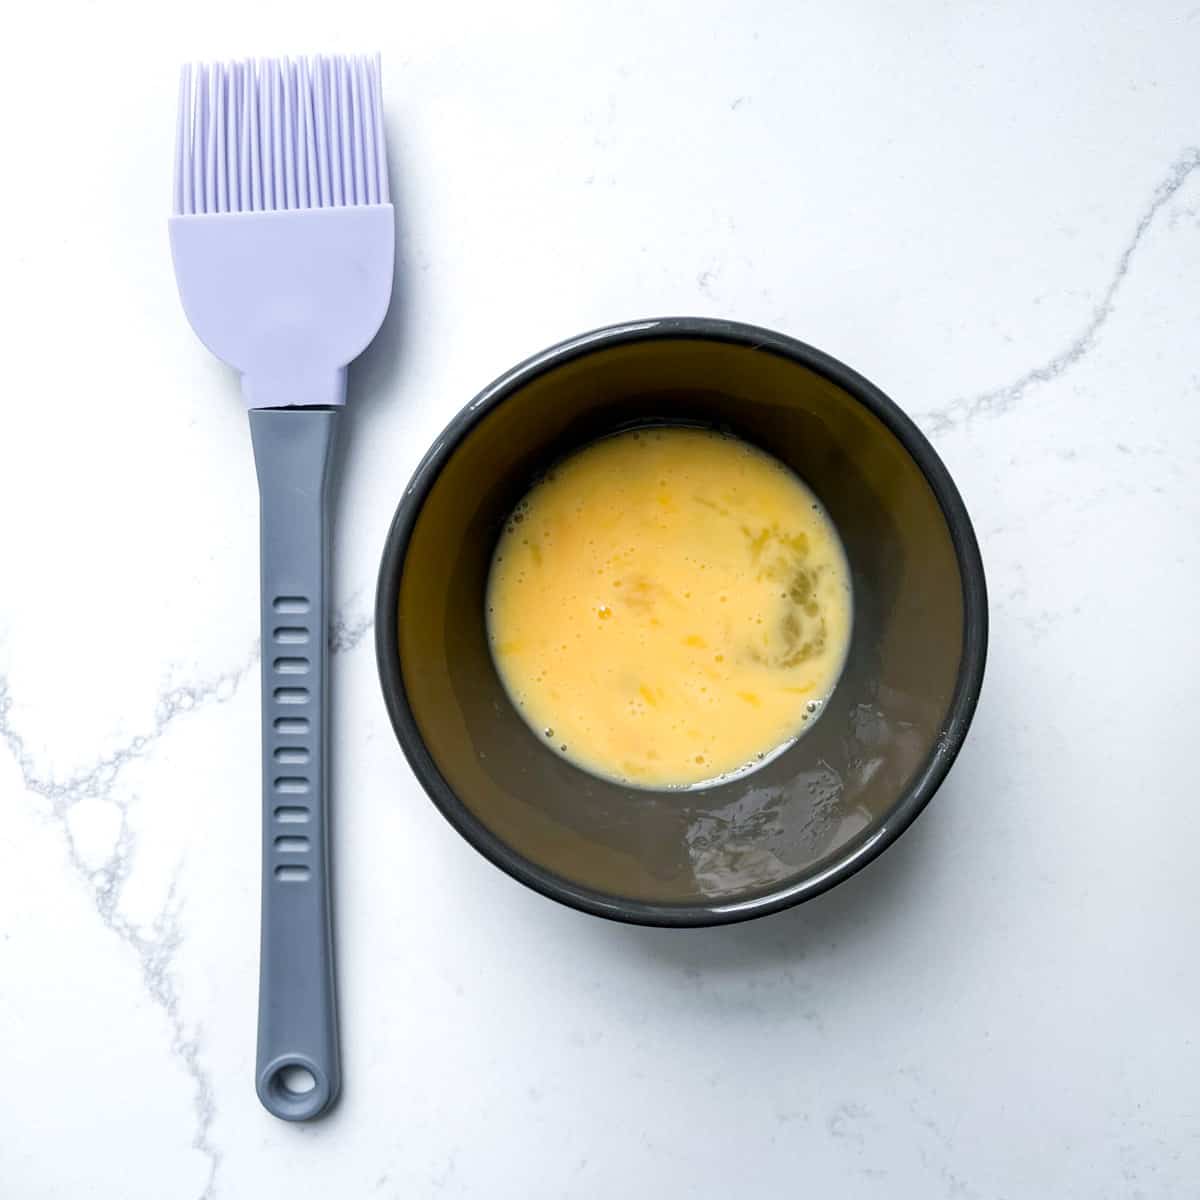
- In the meantime, prepare a simple egg wash by whisking an egg in a small bowl.
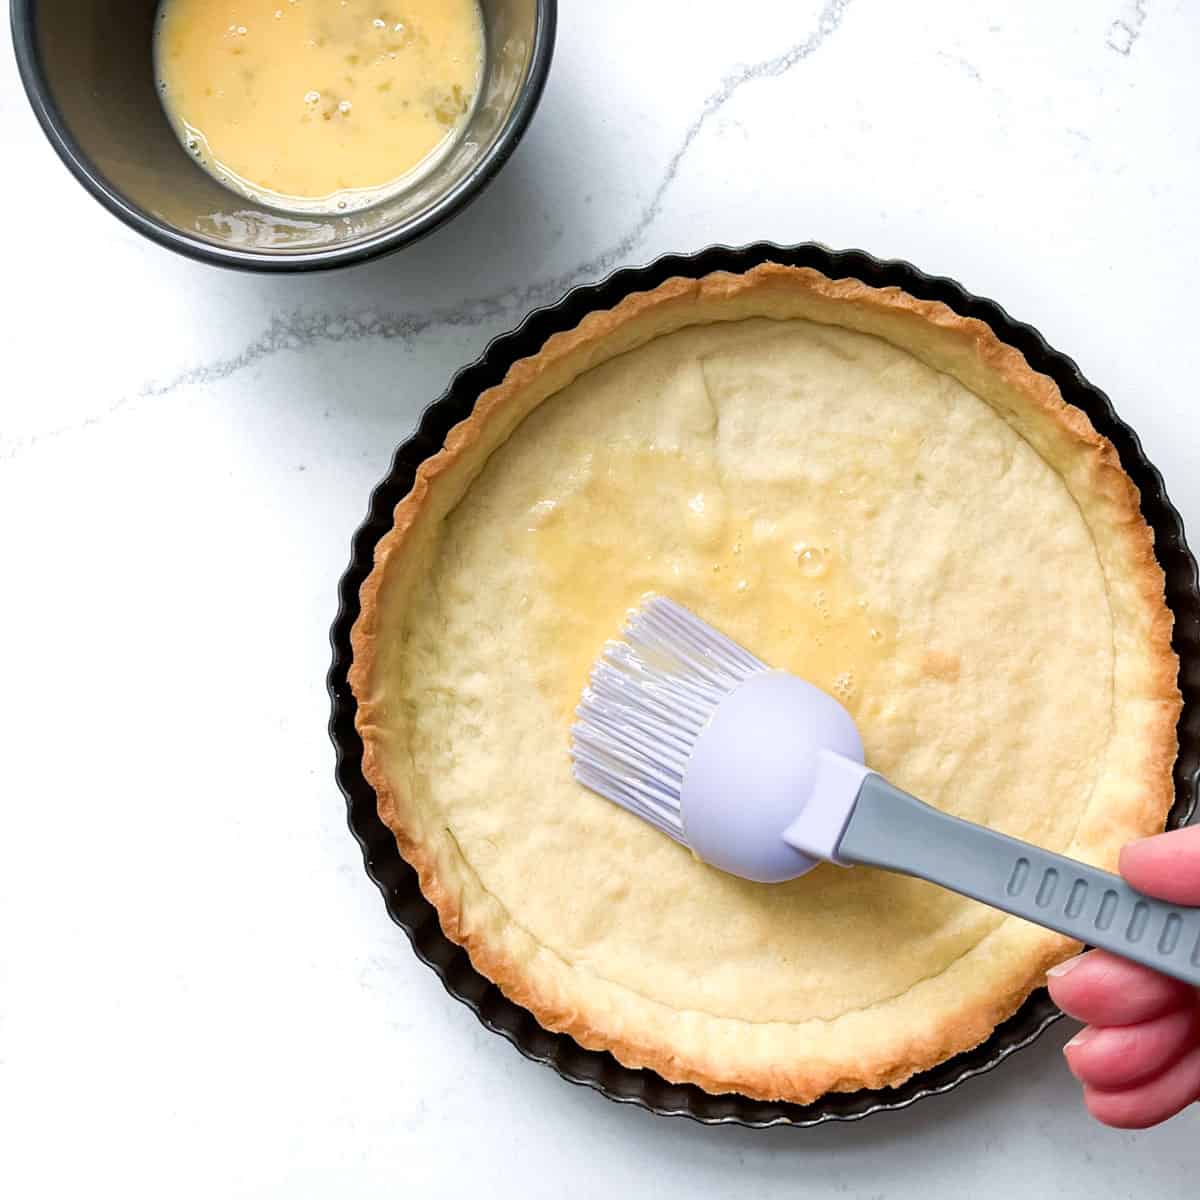
- Remove the tart case from the oven and lightly brush the bottom and sides with the egg wash. Bake for another 3-4 minutes.
This will seal the pastry case and stop it from becoming soggy when the filling is added.
- Allow the pastry case to cool in the tart pan for about 10 minutes before removing it and allowing it to cool on a wire rack.
Top tip: If you see any uneven or rough areas on the ridge of the tart crust, you can gently file it down with a zester or small grater.
To make the Crème Pâtissière (Pastry Cream)
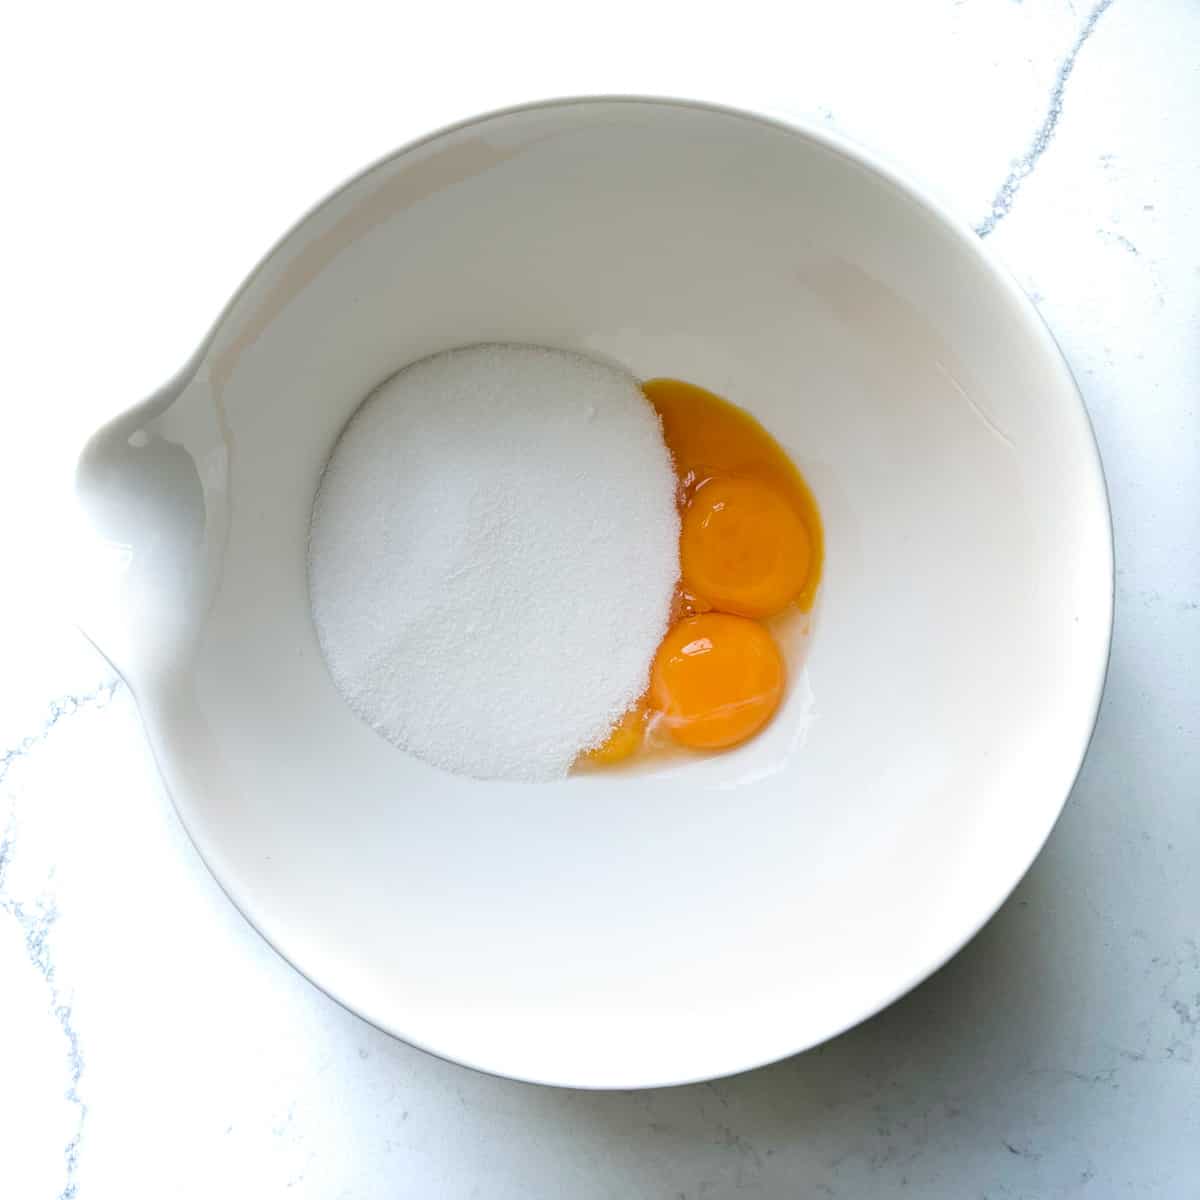
- Add the three egg yolks along with the caster sugar to a medium bowl.
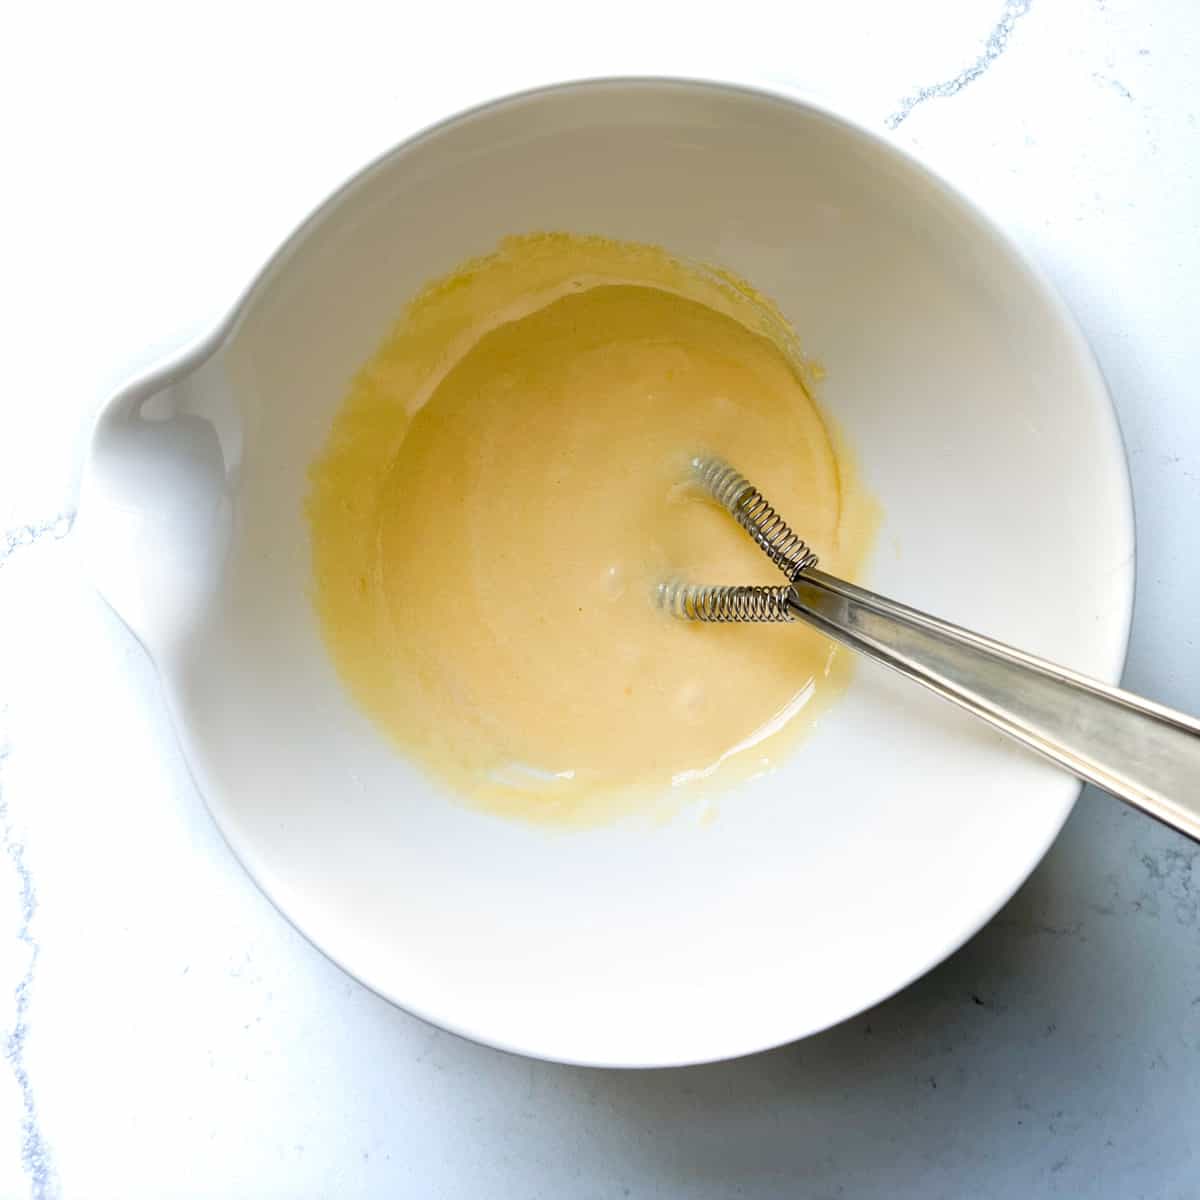
- Whisk together until well combined. You can do this by hand.
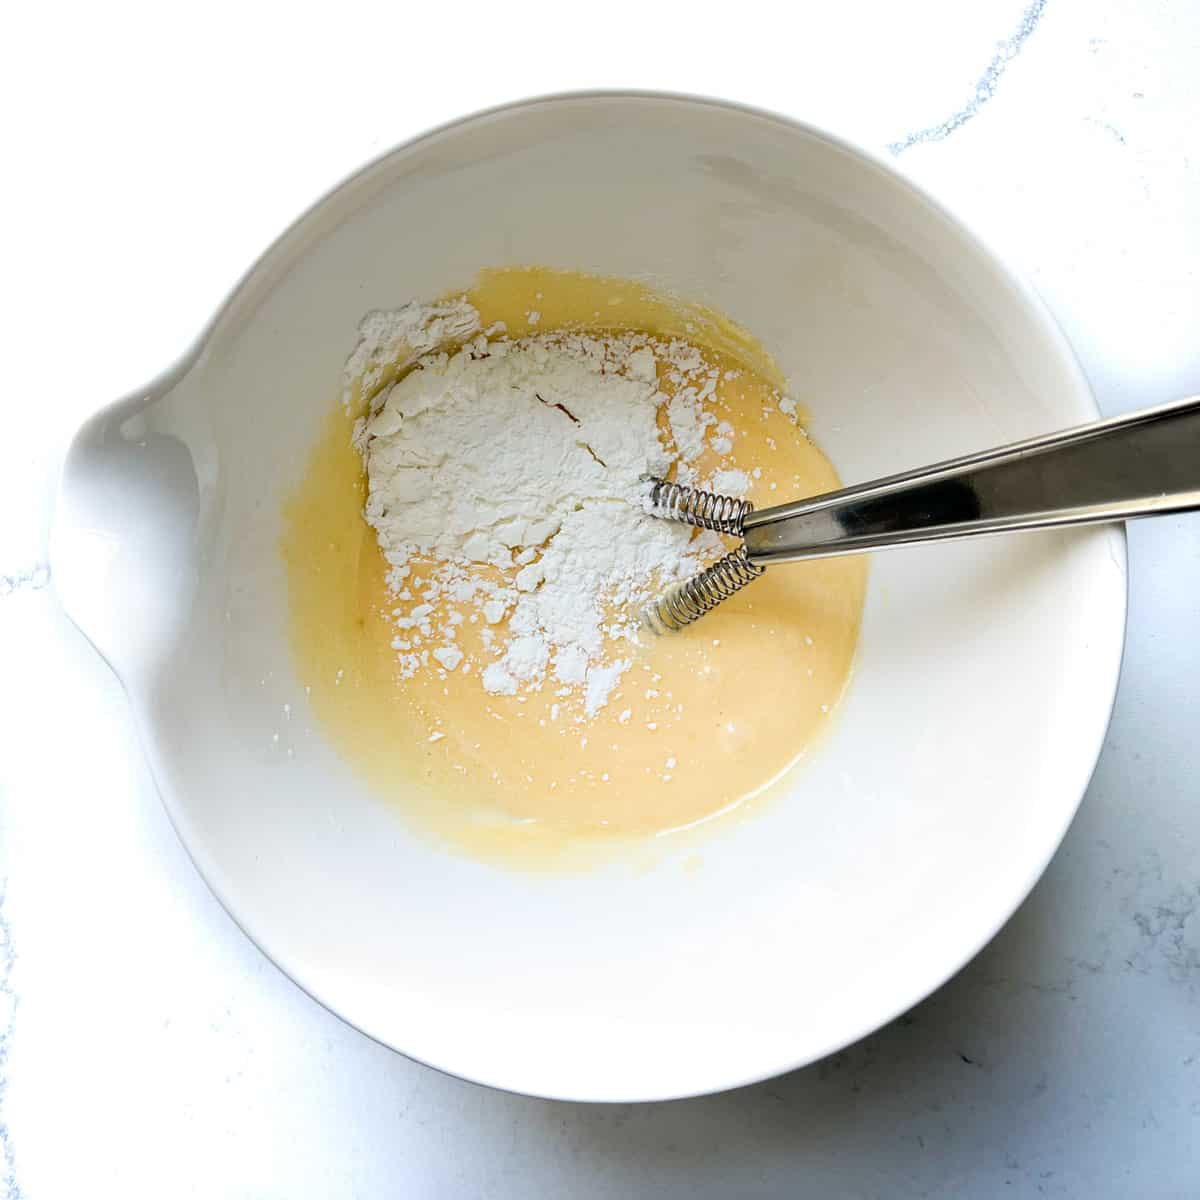
- Add the cornflour.
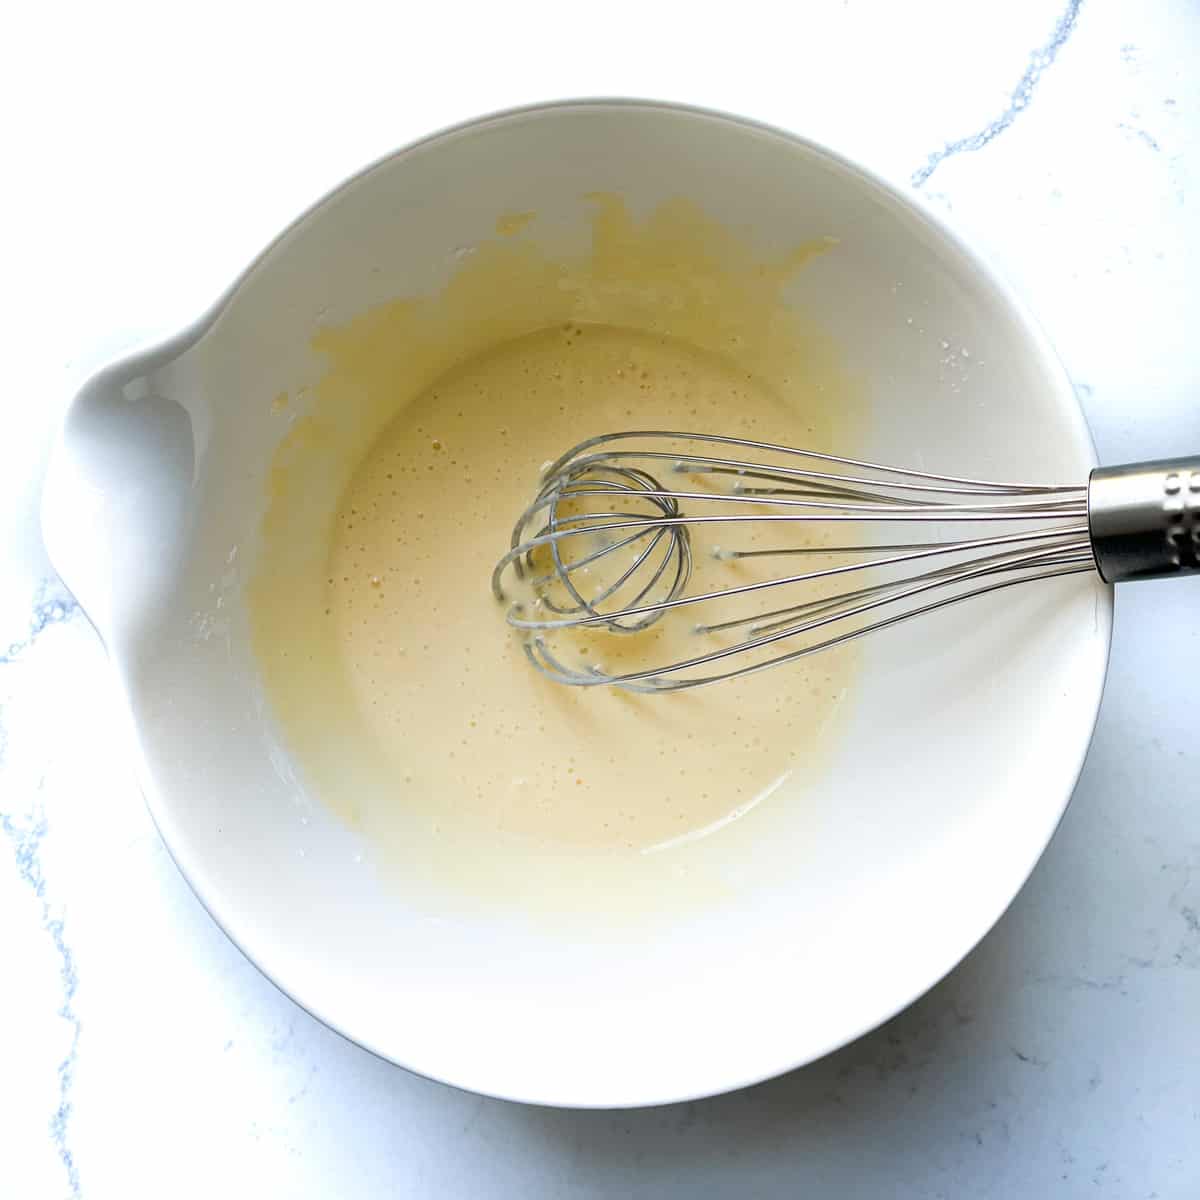
- Whisk until you have a lump-free, smooth consistency.
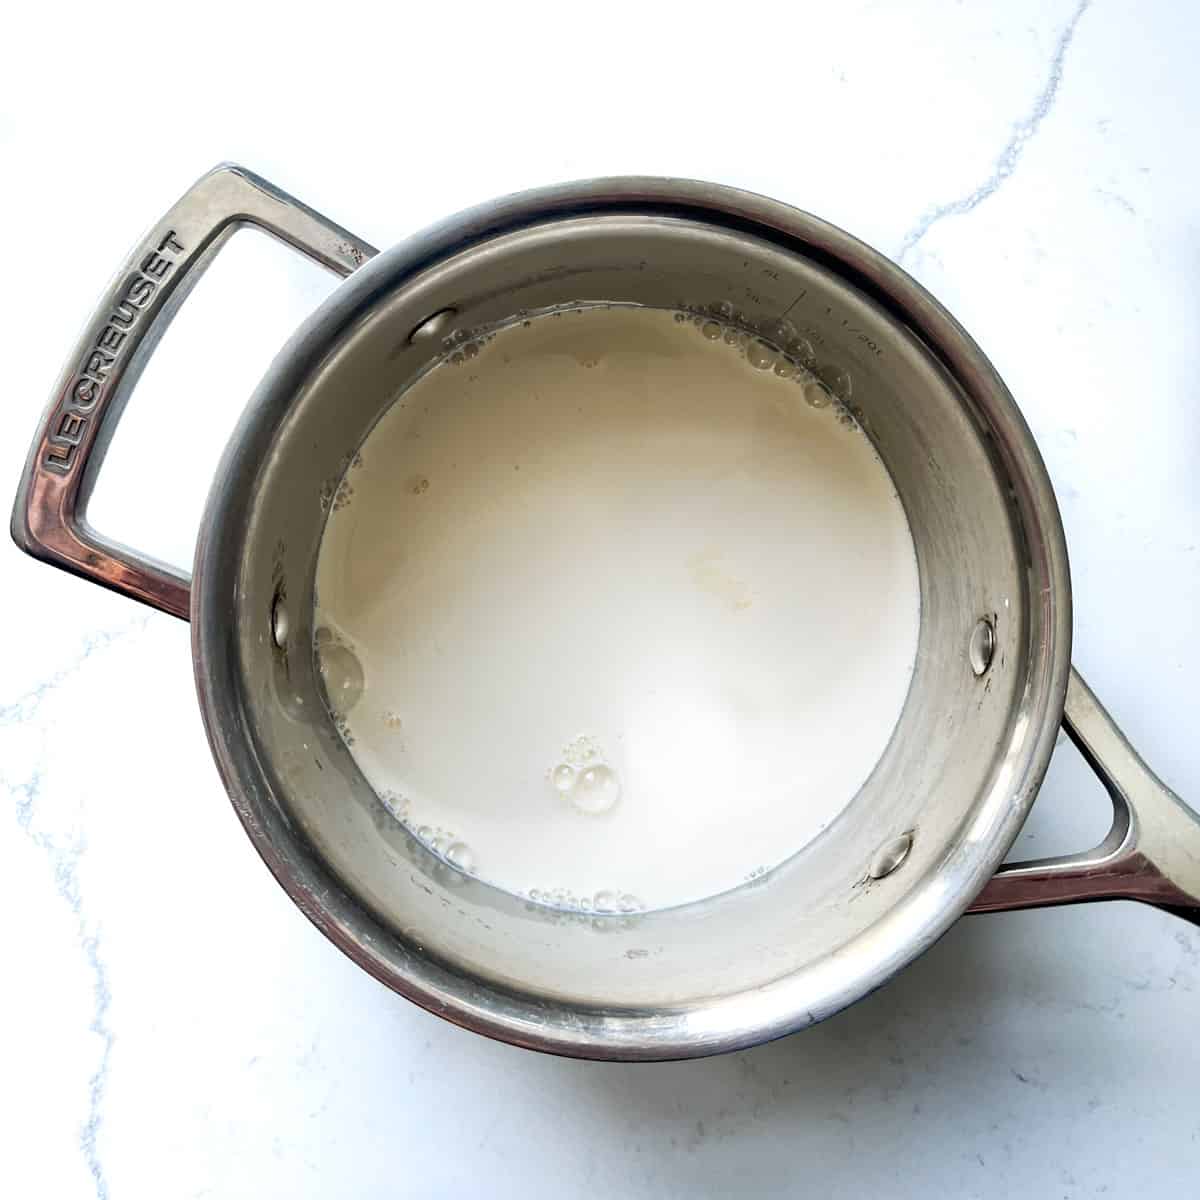
- Add the double cream, milk and pinch of salt to a medium saucepan.
- Over low heat, heat the mixture until hot, but not boiling. As soon as you see a simmer of bubbles appear on the sides, it's ready.
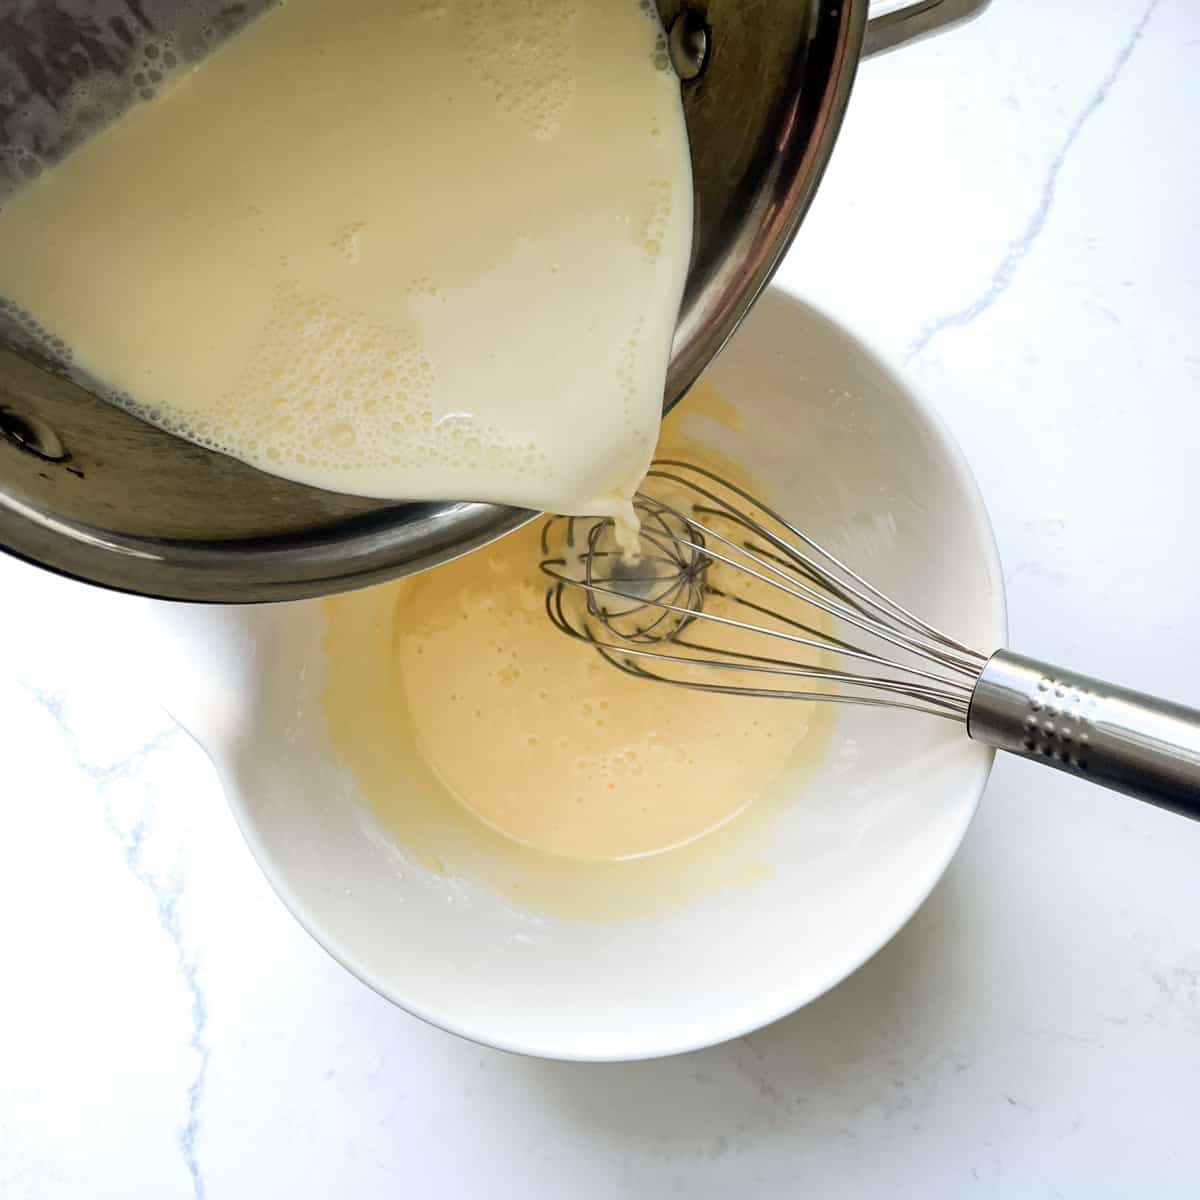
- Add about a quarter of the warm milk to the egg mixture whilst whisking.
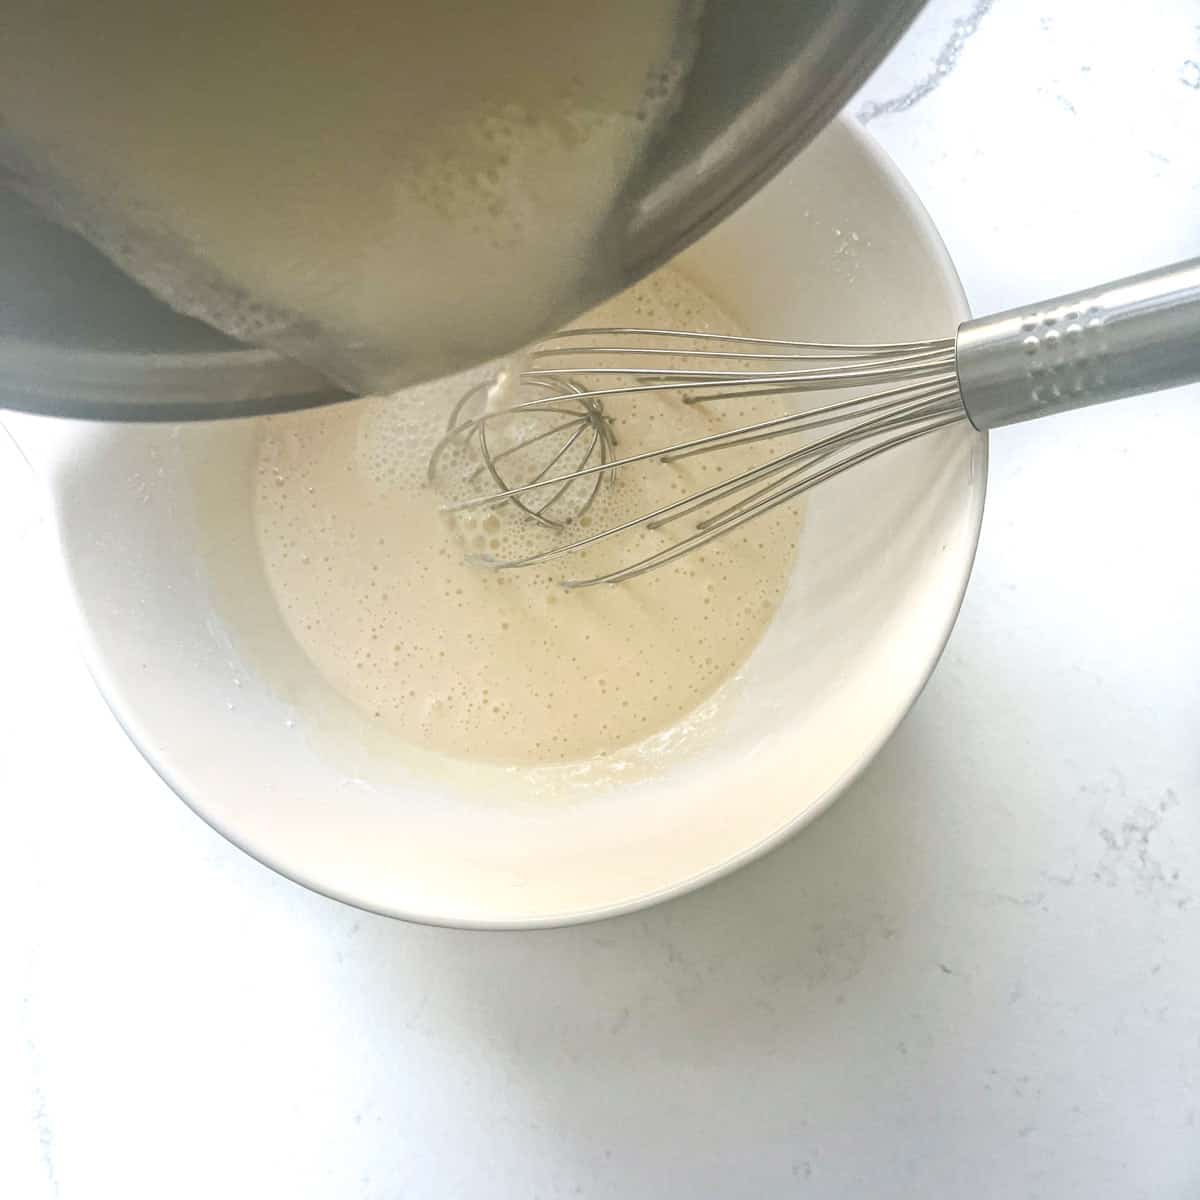
- Add the rest of the warm milk to the egg mixture and whisk until well combined.
(By adding a small amount first, we're tempering the mixture, this will prevent the eggs from scrambling)
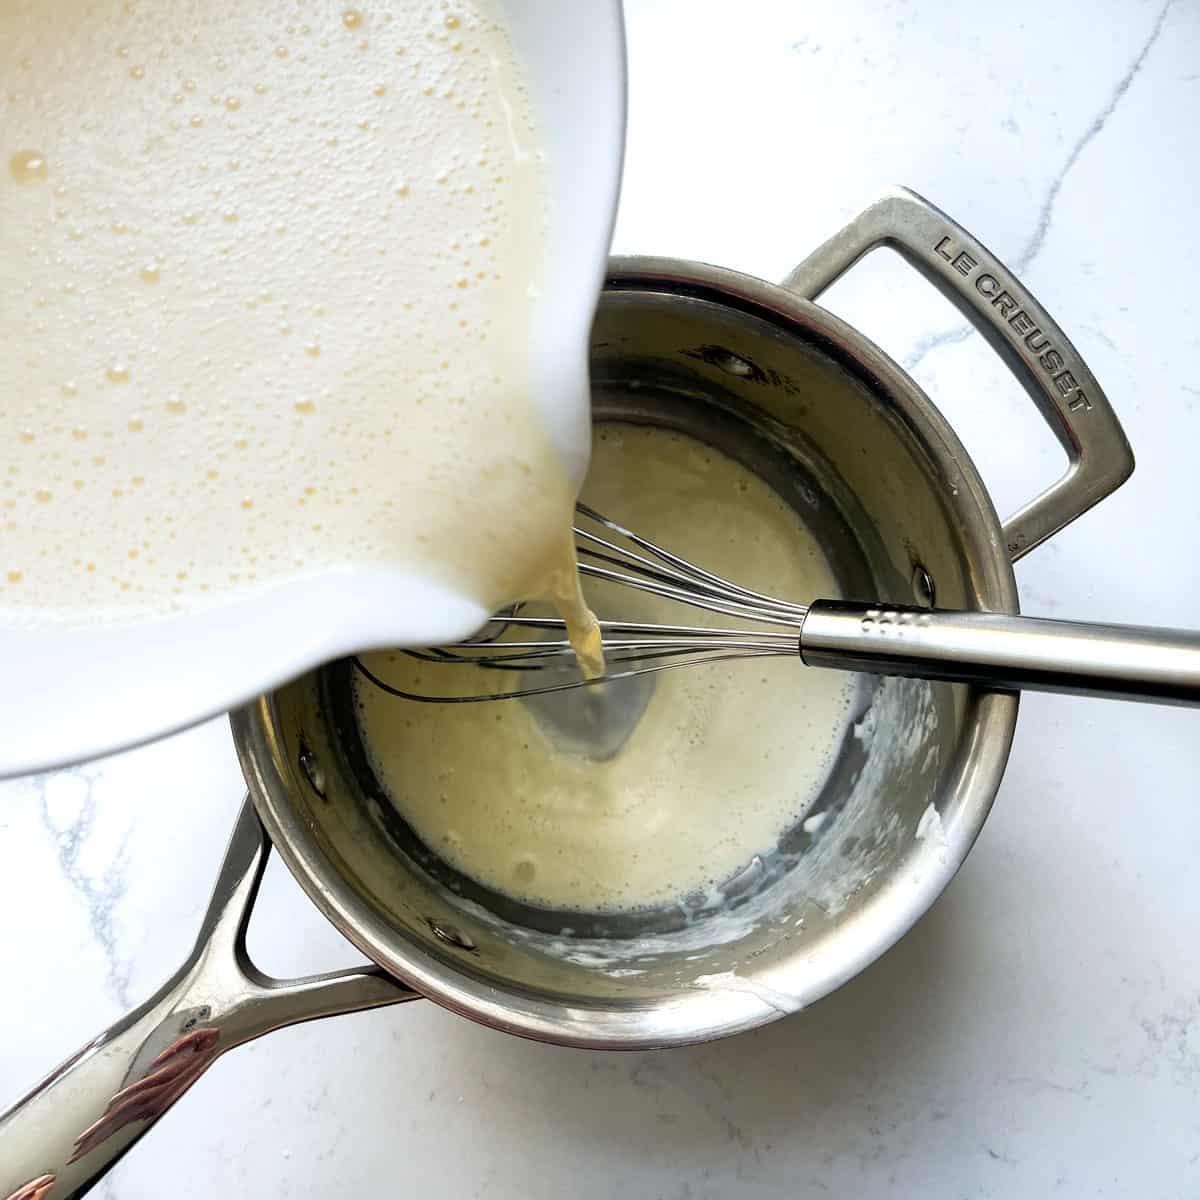
- Pour all the mixture back into the saucepan and place it over low heat.
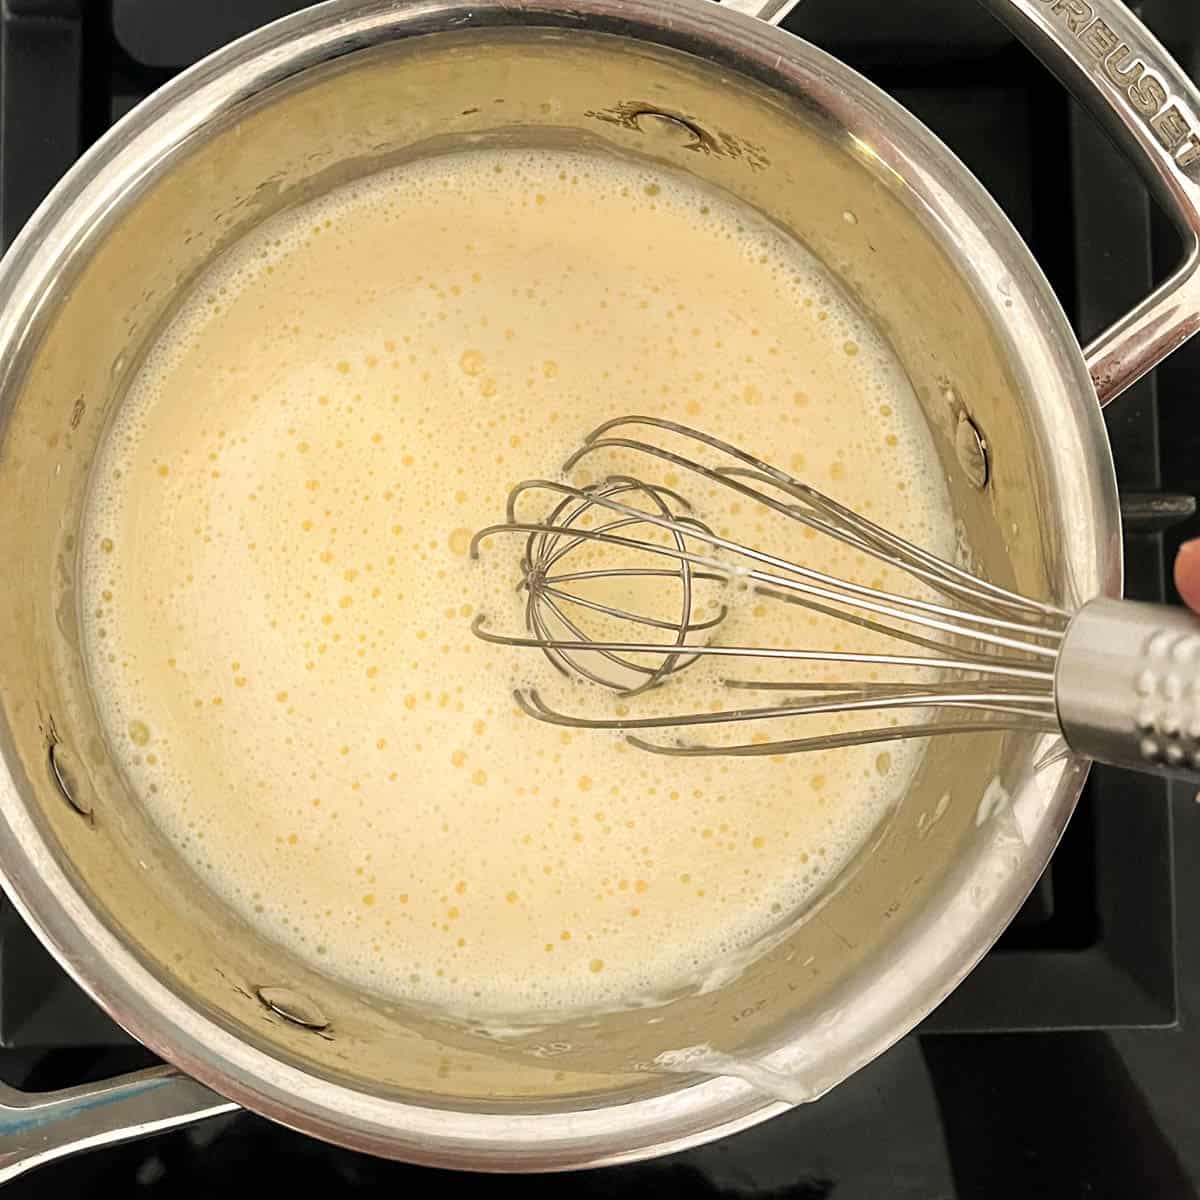
- Keep whisking until the mixture is smooth and thick. When it comes up to a gentle boil, cook and whisk for 1 minute longer.
Remove from the heat.
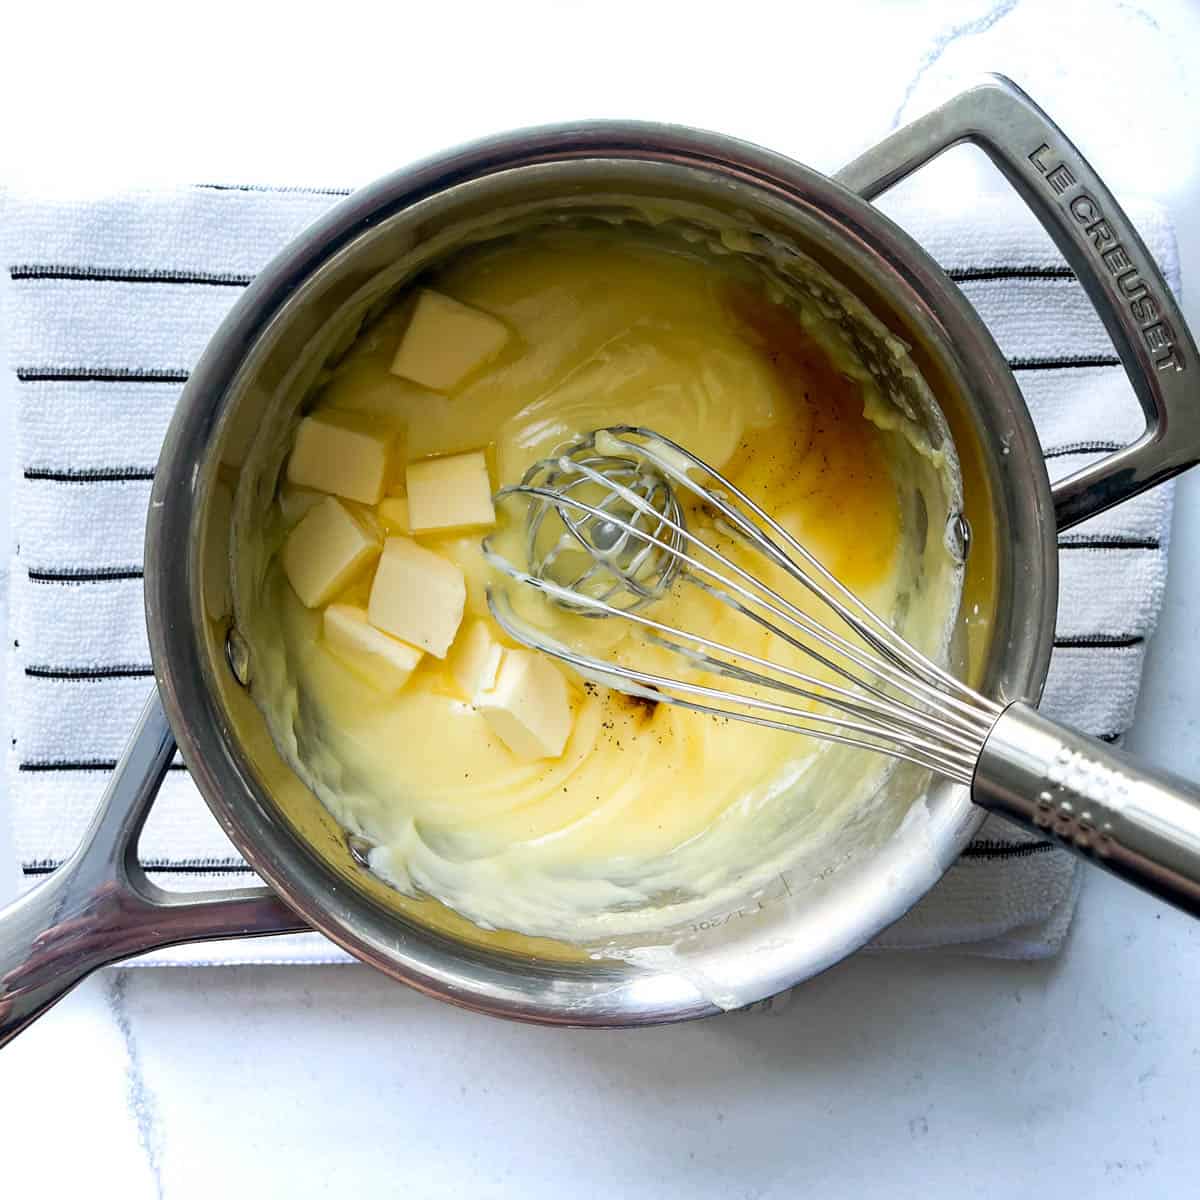
- Add the butter and vanilla extract.
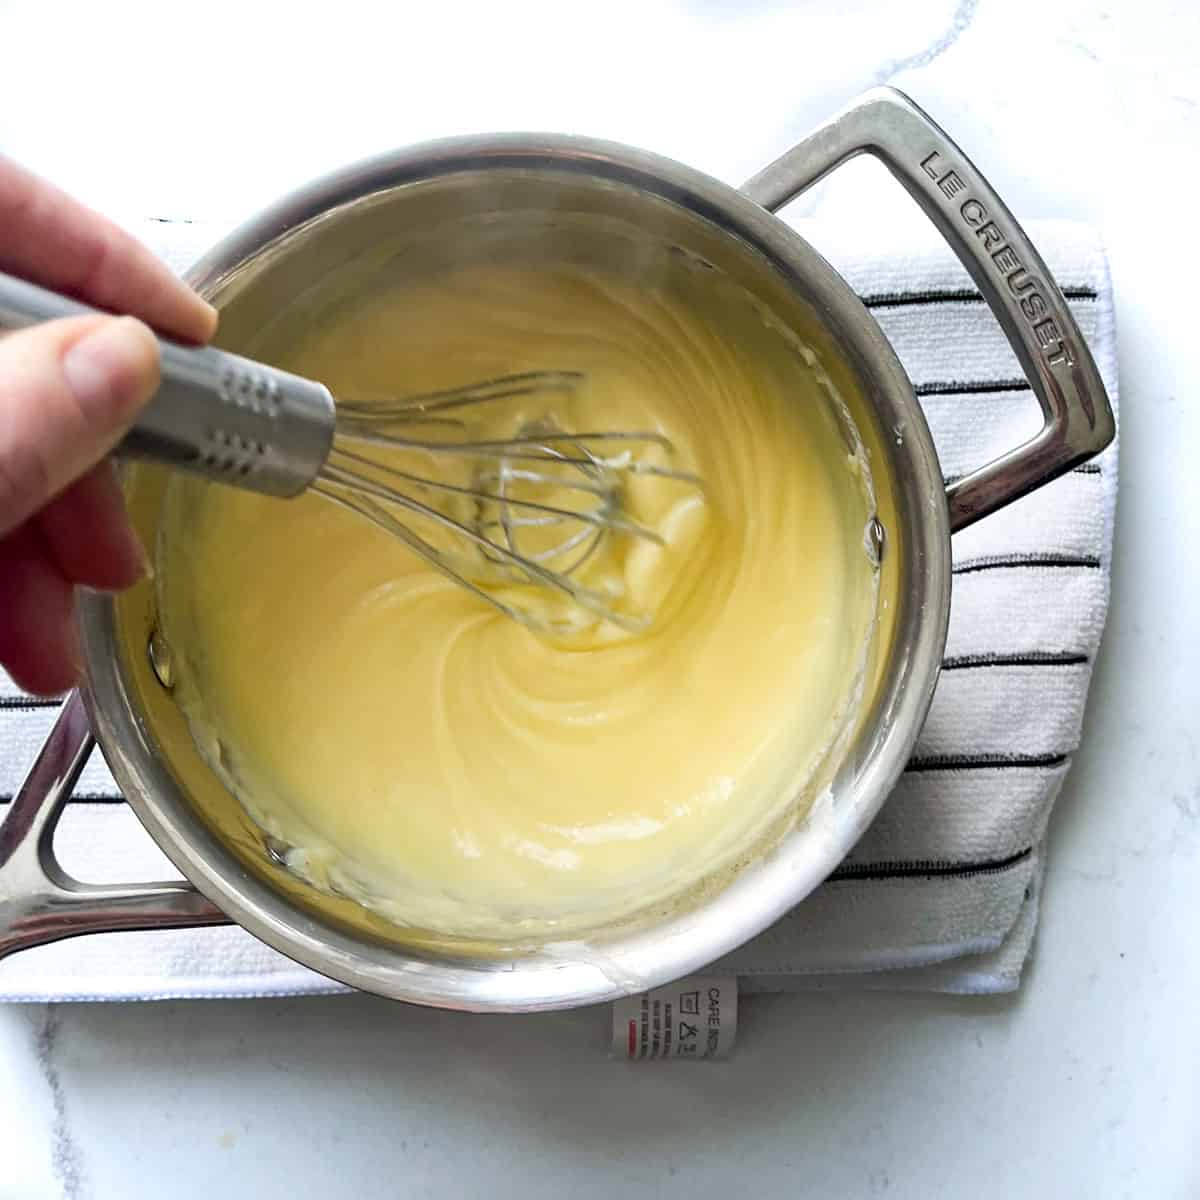
- Whisk until glossy and smooth.
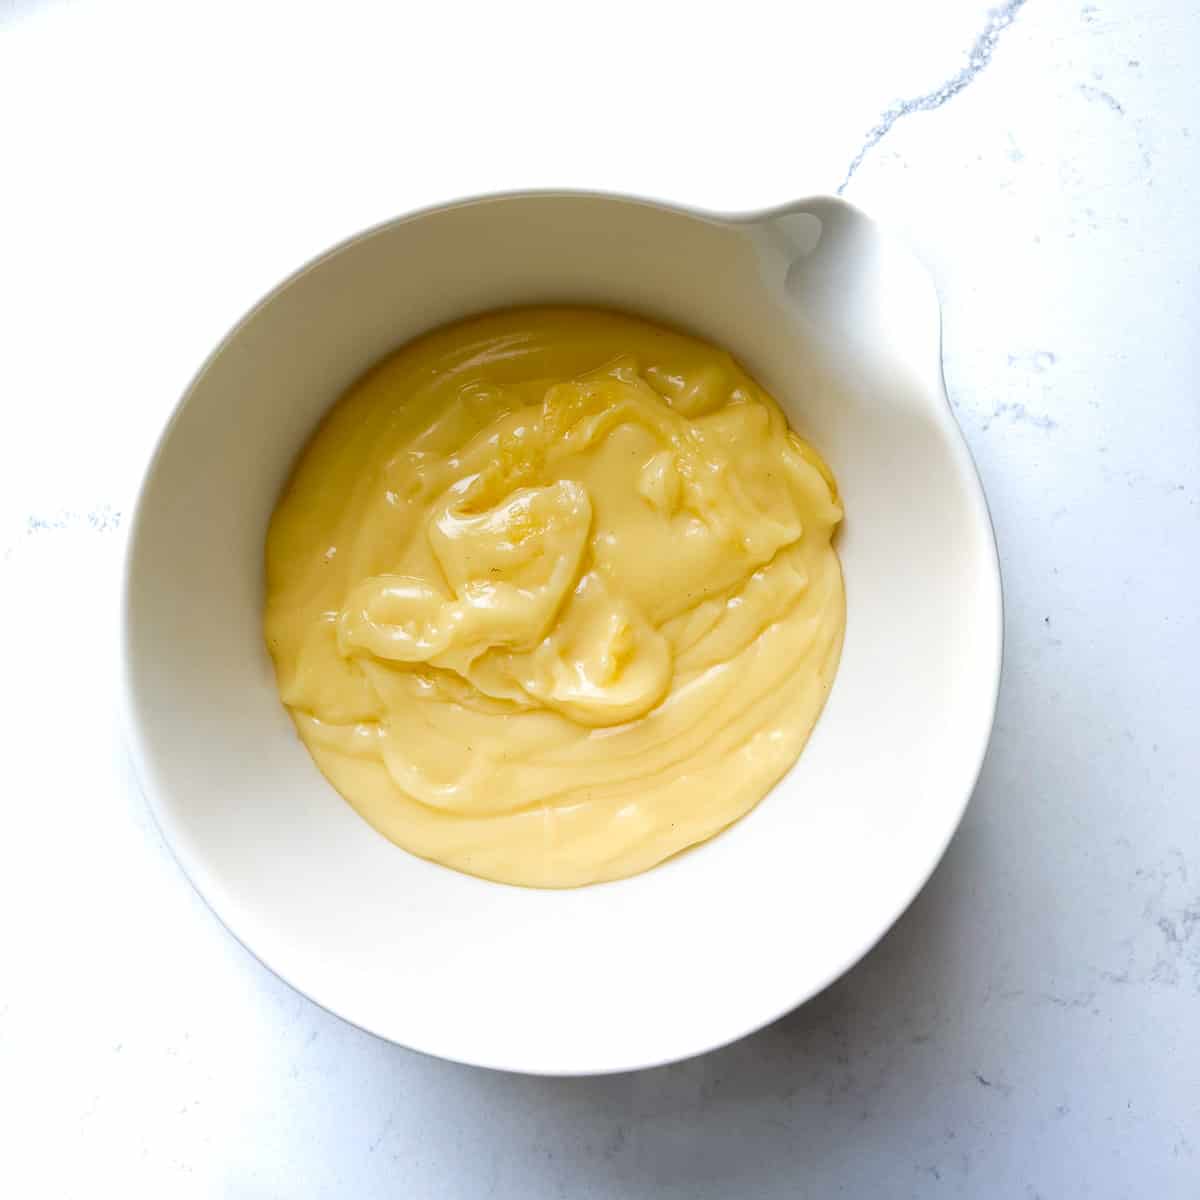
- Transfer the crème pâtissière to a clean bowl.
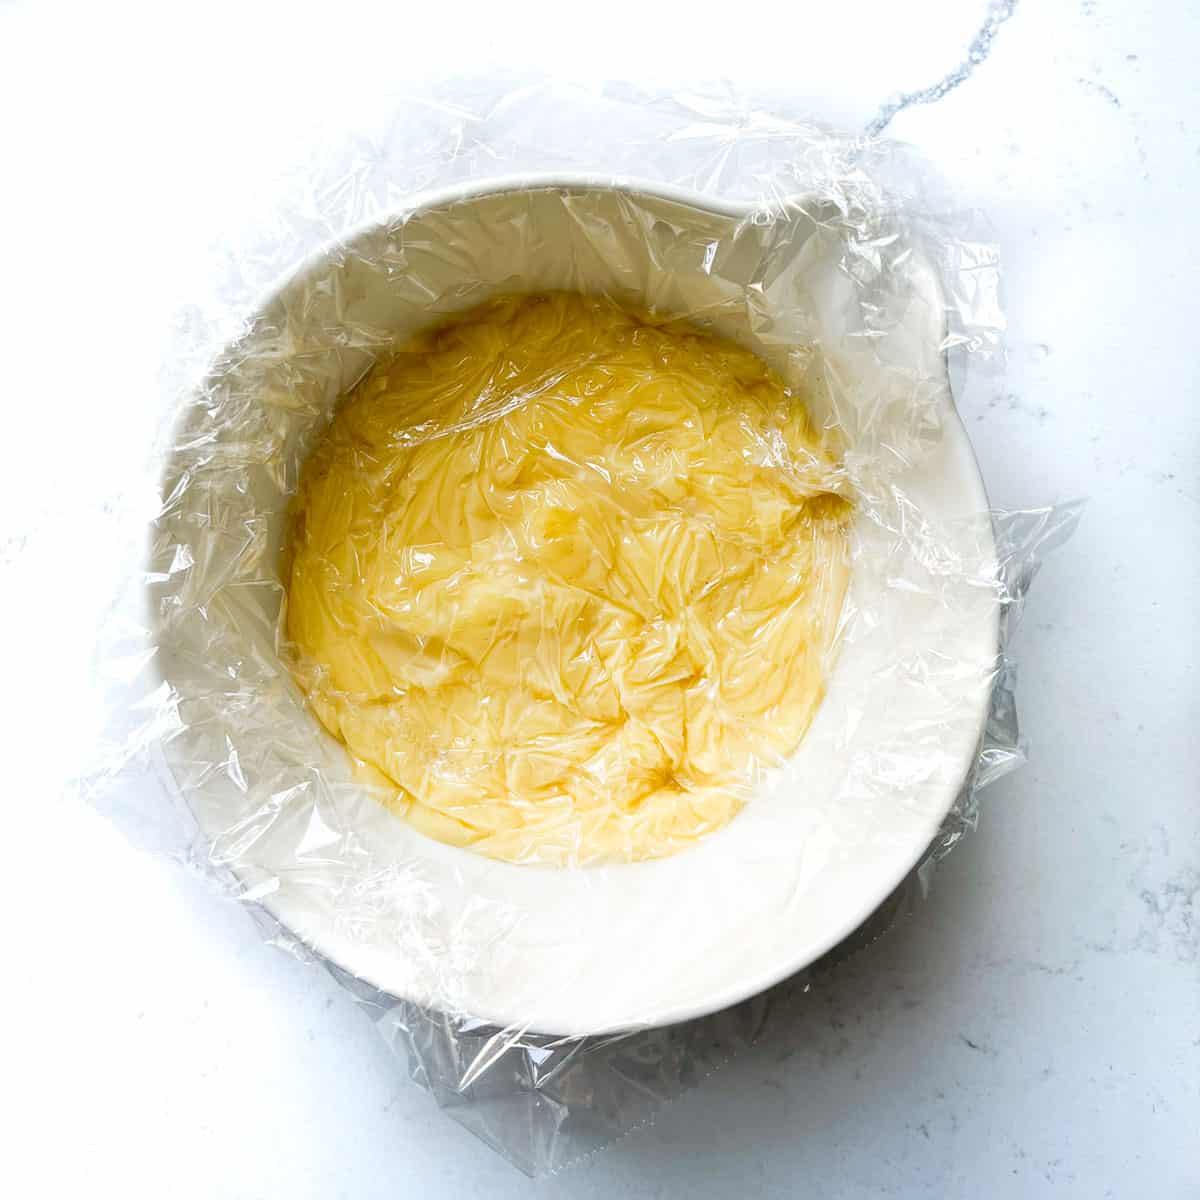
- Lay a piece of plastic wrap down onto the surface of the pastry cream to prevent a skin from forming while it's cooling. Place in the fridge for at least 2 hours to cool.
Assemble the tart
- Whilst you're waiting for the pastry cream to cool, wash and prep the fruit. You don't need to use the fruit listed in this recipe, choose your favourites. Slice the fruit into shapes of your liking.
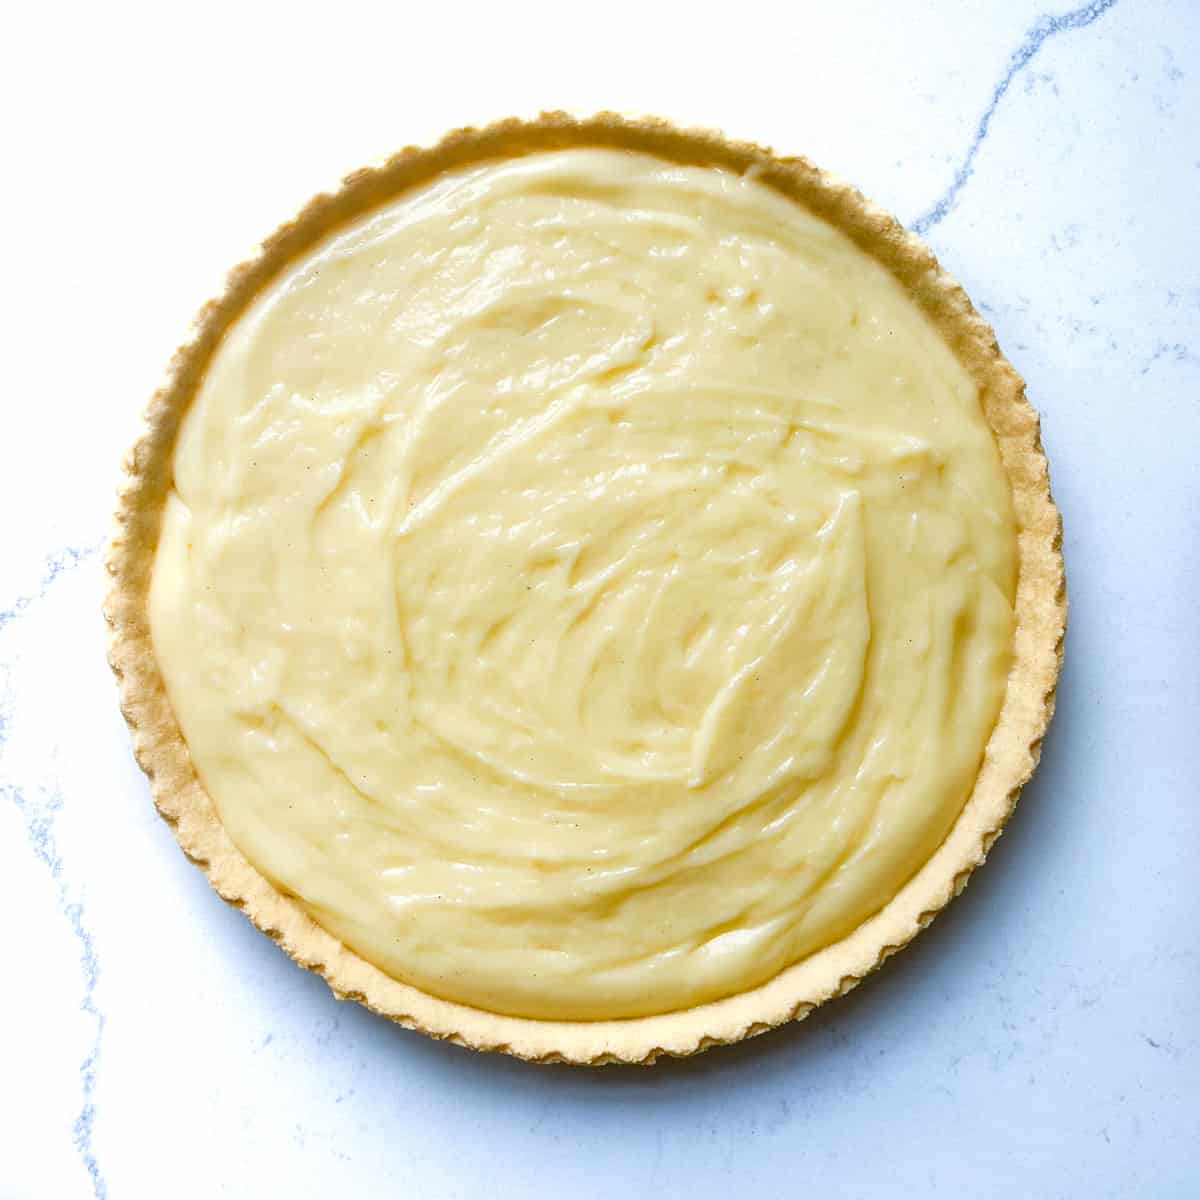
- Spoon the creamy custard into the tart case and level the top.
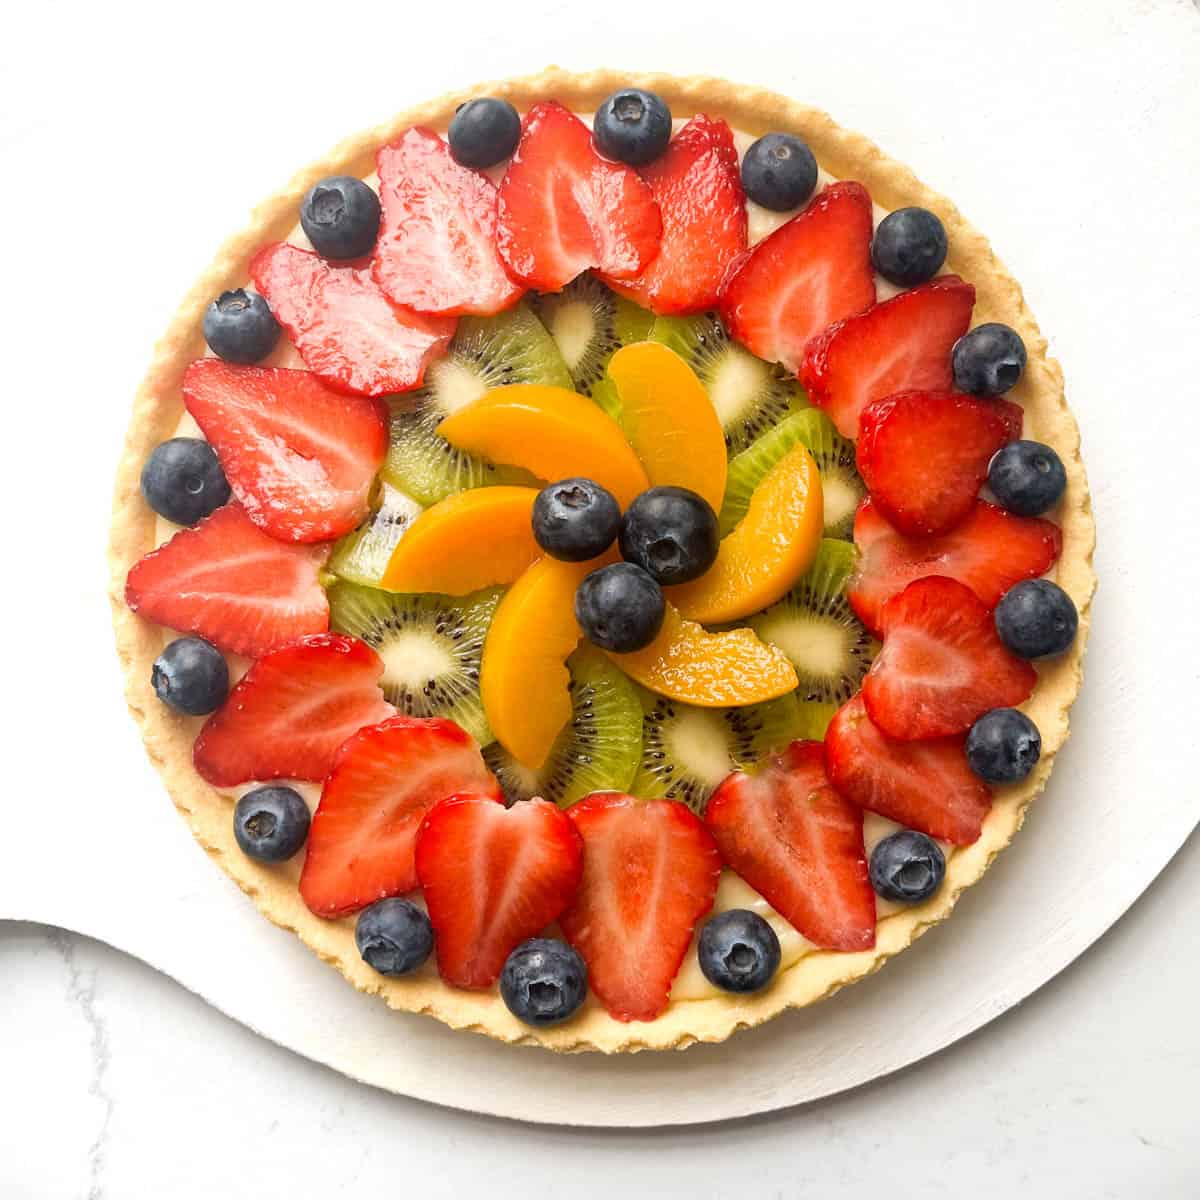
- Arrange the fruit on top of the tart - get creative!
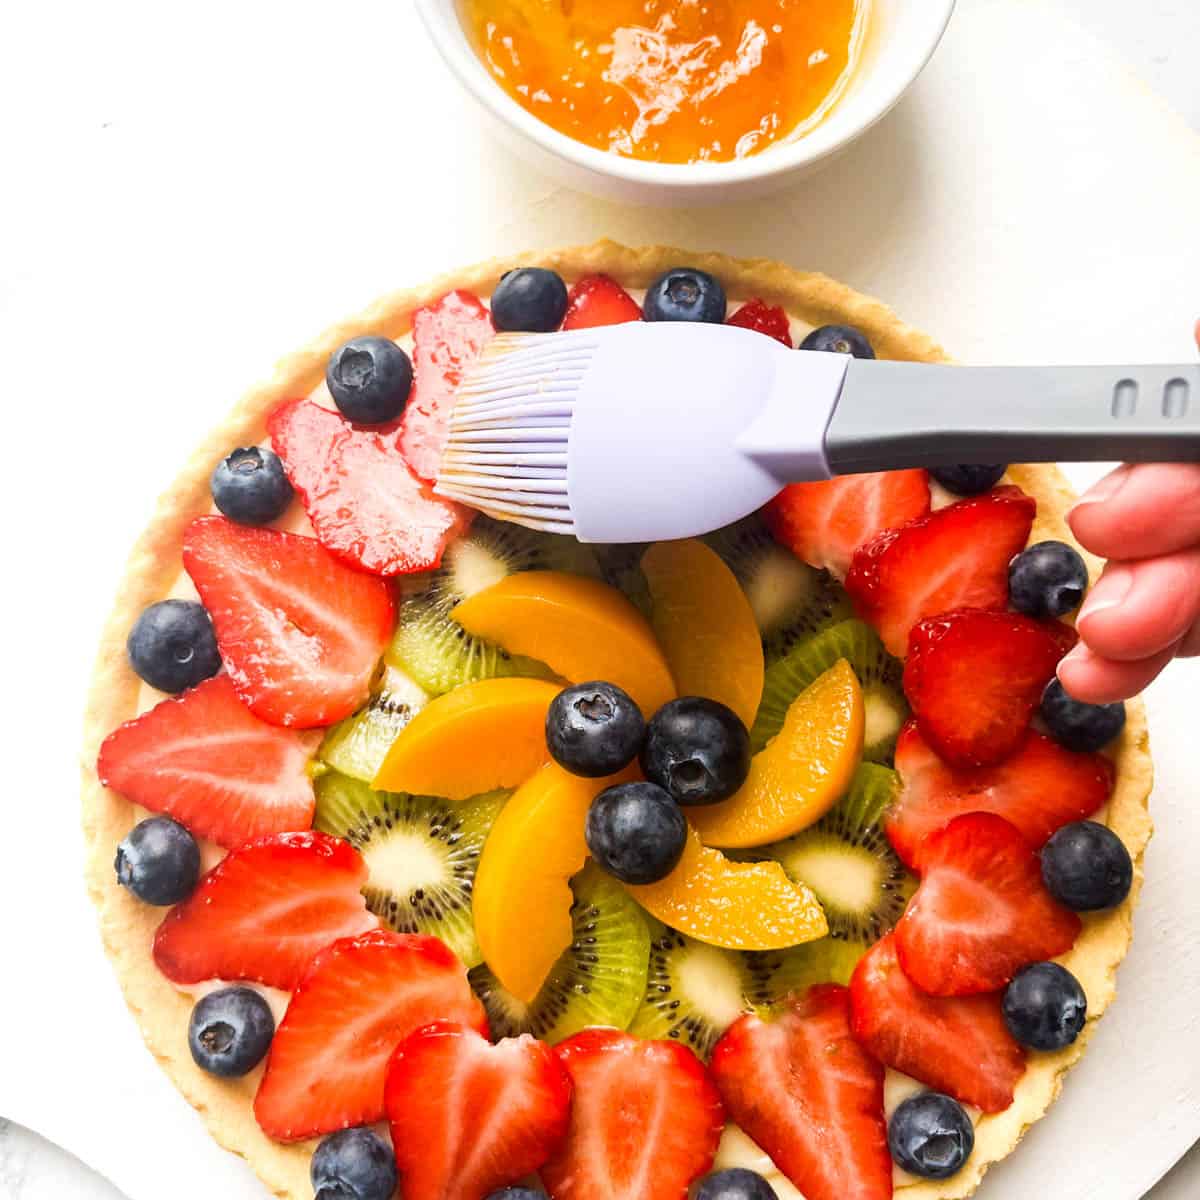
- Warm the apricot jam in the microwave until it's runny, but not too warm. Brush the apricot glaze over the fruit for a professional gloss finish. Transfer onto a serving plate.
Store the tart in the fridge until serving, preferably the same day.
Fruit pattern inspiration for your tarte
Classic: Arrange the fruit slices in a circular pattern or rows for a classic fruit tart look.
Whimsical: Get creative and arrange the fruit in fun shapes like hearts, stars or even your initials.
Artistic: Create a beautiful pattern or design using different fruit colours and shapes, letting your artistic side shine.
Random: Place the fruit slices in a more casual and natural arrangement, giving it an effortless, rustic charm.
Storage
While you can store this tart in an airtight container in the fridge for up to 3 days, it truly shines on the day it was made when the fruit is at its peak freshness. So, enjoy it to the fullest on the day of baking.
Make ahead
There are quite a few steps to this recipe, but it's also quite forgiving in terms of spreading the work out over a couple of days. You can make both the pastry case and the crème pâtissière the day before. You can even make the pastry case weeks in advance and freeze it.
On the day, simply fill the case with the pastry cream, slice the fruit and assemble.
What to do with leftover pastry
The amount of pastry for this recipe is deliberately generous in case you want a thicker crust, but you might find yourself with leftovers anyway. You can...
- Save it for another tart if you have enough left over. Wrap it well in plastic wrap and freeze until you need it.
- Make mini tarts.
- Make sticks and straws. Slice long strips out of the leftover pastry and sprinkle with parmesan or gruyere. Bake for about 8-10 minutes in a preheated oven of 220C/428F/gas mark 7 until golden brown and crispy.
- Bake cookies! We baked these tiny cookies with this tart's leftover pastry. They were baked in the oven along with the pastry case. We took them out at the first 10-minute mark.

Turn this into a Tarte aux Fraise - French Strawberry tart
It really is as simple as following the same recipe for Tarte aux Fruits and simply replacing ALL the fruit with strawberries only. Voila, you have a Tarte aux Fraise!
More tarts you might enjoy
Recipe

Tarte aux Fruits - French Fruit Tart
Equipment
- 1 20cm (8") fluted, loose bottomed tart tin
Ingredients
For the Pâte Sucrée (Sweet Tart Dough)
- 250 grams all purpose flour
- 125 grams butter - softened
- 85 grams powdered/icing sugar
- 1 large egg - room temperature
For the Crème Pâtissière (Pastry Cream)
- 3 egg yolks
- 100 grams caster sugar
- 2½ tablespoons cornflour
- 150 millilitre double cream
- 150 millilitre full cream milk
- pinch of salt
- 2 teaspoons vanilla extract
- 30 grams butter
For the fruit topping
- 2 tablespoons smooth apricot jam
- 1 small punnet strawberries
- 1 kiwi fruit
- 1 tin peaches
- 1 small punnet blueberries
Instructions
To make the Pâte Sucrée (Sweet Tart Dough)
- In the bowl of a stand mixer, add the softened butter and icing sugar. You can also do this step with an electric hand mixer.
- Beat the butter and sugar together until light and creamy.
- Add the room temperature egg and beat again until the mixture is uniform.
- Add the flour to the egg and butter mixture. Using a wooden spoon or spatula, fold the flour in until well combined.
- Gather the pastry up into a ball and transfer it onto a piece of plastic wrap. Press it down slightly into a thick disk-shape. Wrap the pastry up and place it in the fridge for about 30 minutes.
- After 30 minutes, preheat the oven to 180℃/356℉/gas mark 4.
- Dust the work surface with a light sprinkling of flour. Unwrap the pastry and place it on the work surface.
- Roll the pastry out into a thickness of 3mm-5mm (0.1"-0.2"). Try to roll it into a rough circle shape. Keep turning the pastry around to ensure it's not sticking to the surface. Add a little flour on top and below the sheet of pastry as needed.
- Loosely roll the sheet of pastry onto the rolling pin and transfer it onto the tart tin. Give it enough slack to loosely drape inside the hollow of the tin.
- Push the dough down very gently to ensure you have enough pastry to line the bottom and the sides of the tin. Don't mould it just yet.
- Roll the rolling pin over the edges of the tart tin to cut off any excess pastry. Gather up the offcuts and set it aside.
- Working your way around the tin, gently press the pastry into the sides of the tin with your thumb and index finger. If you accidently tear it, just patch it up with a bit of extra dough.
- Use a small sharp knife and glide it horizontally over the top of the tin to slice off any extra pastry.
- Drape a piece of parchment paper over the tart tin. Fill the hollow with baking weights/baking beans.
- Bake for 10 minutes. Remove the baking weights and bake for a further 15 minutes.Top tip: Be very careful when moving the tart tin around to not accidently press the loose bottom UP. This will break the seam of the tart. Only pick the tin up by it's sides.
- In the meantime, prepare a simple egg wash by whisking an egg in a small bowl. Remove the tart case from the oven and lightly brush the bottom and sides with the egg wash. Bake for another 3-4 minutes. This will seal the pastry case and stop it from becoming soggy when the filling is added.
- Allow the pastry case to cool in the tin for about 10 minutes before removing it and allowing it to cool on a wire rack.Top tip: If you see any uneven or rough areas on the ridge, you can gently file it down with a zester or small grater.
To make the Crème Pâtissière (Pastry Cream)
- Add the three egg yolks along with the caster sugar to a medium bowl. Whisk together until well combined. You can do this by hand.
- Add the cornflour and whisk until you have a lump-free, smooth consistency.
- Add the double cream, milk and pinch of salt to a medium saucepan. Over a low heat, heat the mixture until hot, but not boiling. As soon as you see a simmer of bubbles appear on the sides, it's ready.
- Add about a quarter of the warm milk to the egg mixture whilst whisking. Add the rest of the warm milk to the egg mixture and whisk until well combined. (By adding a small amount first, we're tempering the mixture, this will prevent the eggs from scrambling)
- Pour all the mixture back into the saucepan and place it over a low heat. Keep whisking until the mixture is smooth and thick. When it comes up to a gentle boil, cook and whisk for 1 minute longer. Remove from the heat.
- Add the butter and vanilla extract and whisk until glossy and smooth.
- Transfer the crème pâtissière to a clean bowl. Lay a piece of plastic wrap down onto the surface of the pastry cream to prevent a skin from forming while it's cooling. Place in the fridge for at least 2 hours to cool.
Assemble the tart
- Whilst you're waiting for the pastry cream to cool, wash and prep the fruit. You don't need to use the fruit listed in this recipe, choose your favourites. Slice the fruit into shapes of your liking.
- Spoon the pastry cream into the tart case and level the top.
- Arrange the fruit on top of the tart - get creative!
- Warm the apricot jam in the microwave until it's runny, but not too warm. Brush the jam over the fruit for a professional gloss finish. Store the tart in the fridge until serving, preferably the same day.
**Nutritional data disclaimer**
Please keep in mind that the nutritional information provided below is calculated by a third party and we cannot guarantee the accuracy. We try our best to give you the most accurate information, but we do not take responsibility for errors that may be present. Also, the nutritional value of the recipe may change depending on the exact brands and products used. We recommend that you consult with a qualified healthcare professional or registered dietitian for personalised advice on your dietary needs.
Nutrition
For food safety advice, including guidance on food allergies



Leave a Reply