An epicurean adventure to: Denmark
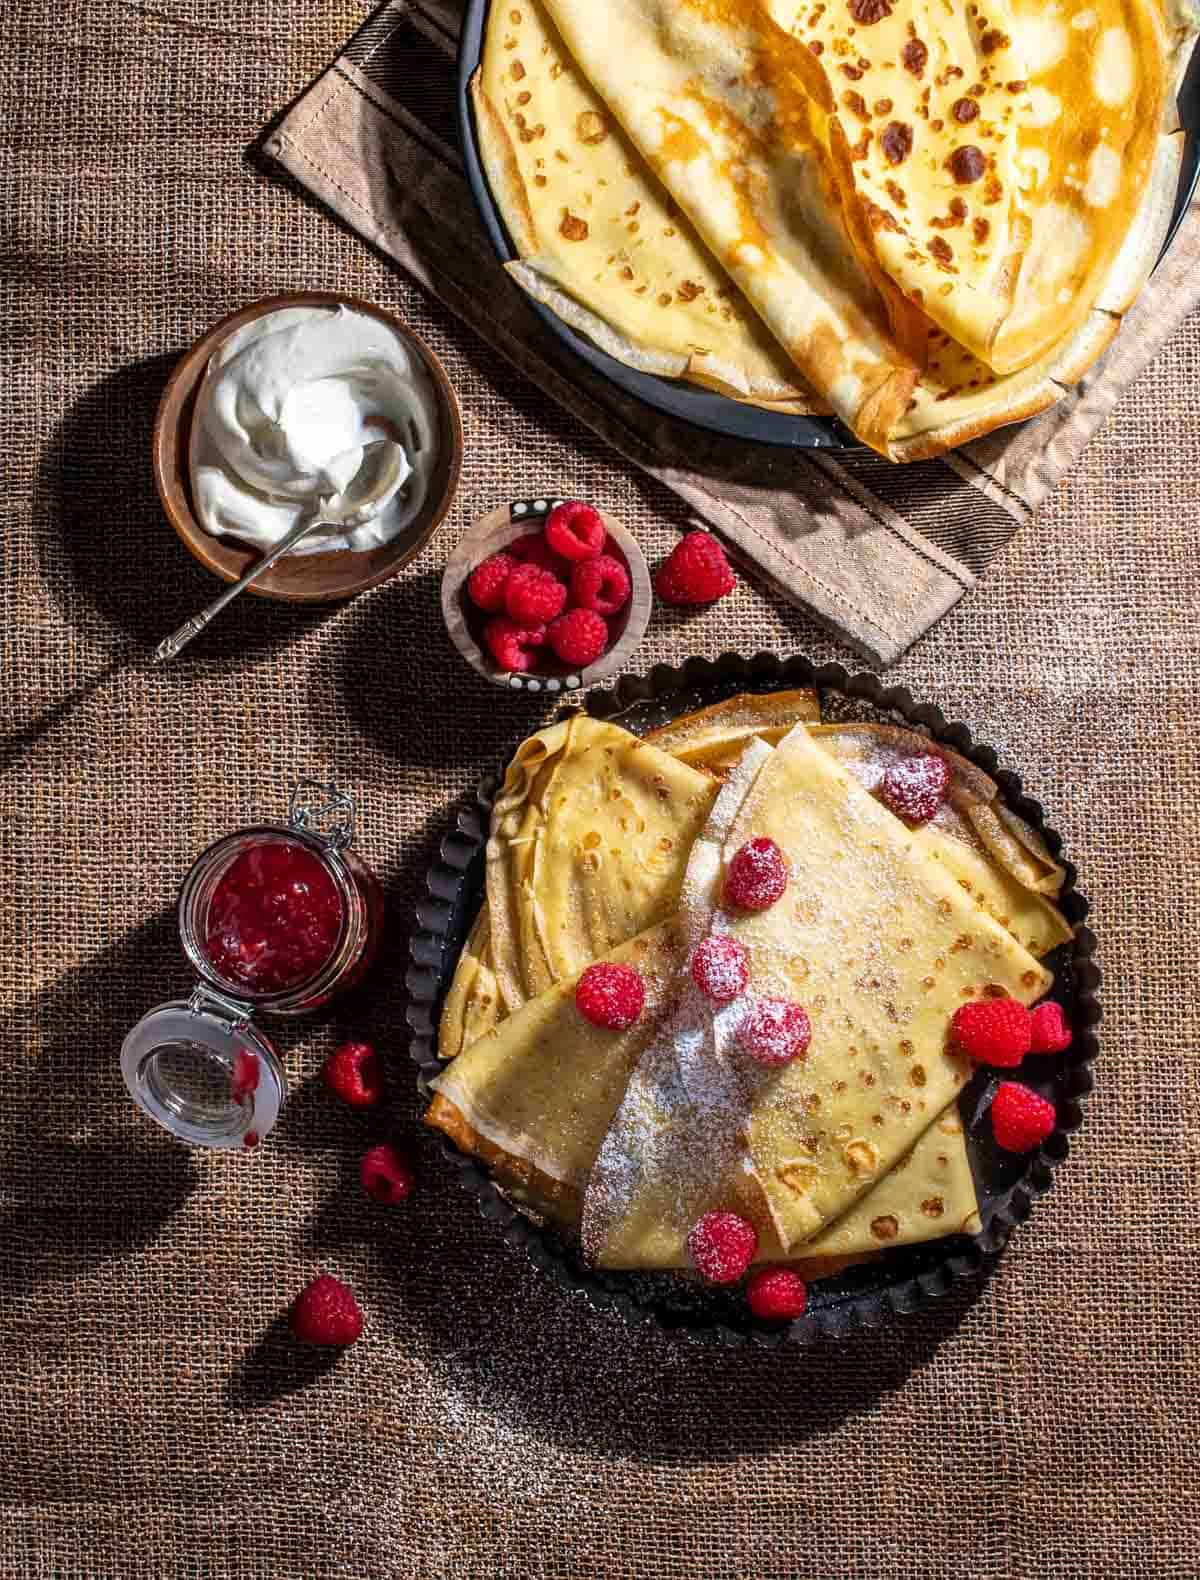
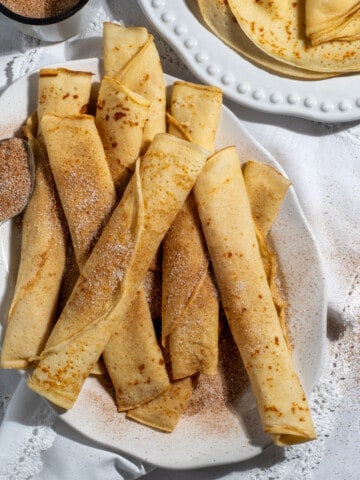
Tantalise your taste buds with a scrumptious Danish treat - Pandekager, also known as Danish pancakes!
These thin, crispy-edged pancakes are a Danish original and reminiscent of French crepes as they don't require any leavening agents. Crispy edges are a must though!
In Denmark, Pandekager is a popular treat that is often enjoyed for breakfast, brunch or as a dessert. Many Danish families have their own special recipe that has been passed down through generations.
Our recipe includes oil, which makes flipping these pancakes a breeze without worrying about them sticking to the pan.
The pancakes can be enjoyed with a variety of toppings, such as jam, sugar, lemon juice, Nutella, dulce de leche, or even a savoury twist with smoked salmon and cream cheese.
It's a great breakfast-in-bed treat for a loved one on special occasions, like Mother's or Father's Day.
Jump to:
Fast facts - Denmark

| Location | Denmark is in Northern Europe and is the southernmost of the Nordic countries. It's bordered by Germany and has a long coastline along the North and Baltic Seas. |
| Language | The official language of Denmark is Danish, which is a North Germanic language. Many Danes also speak English and German and there are also small populations of speakers of Greenlandic, Faroese and other minority languages. |
| Population | Circa 5.8 million people. |
| Trivia | The country is home to the oldest monarchy in Europe and one of the oldest in the world! The Danish monarchy dates back to the Viking Age and has a history spanning more than 1,000 years. Today, the Danish monarchy is a constitutional monarchy, where the monarch has a largely ceremonial role and serves as a figurehead for the country. |
Key ingredient notes and substitutions
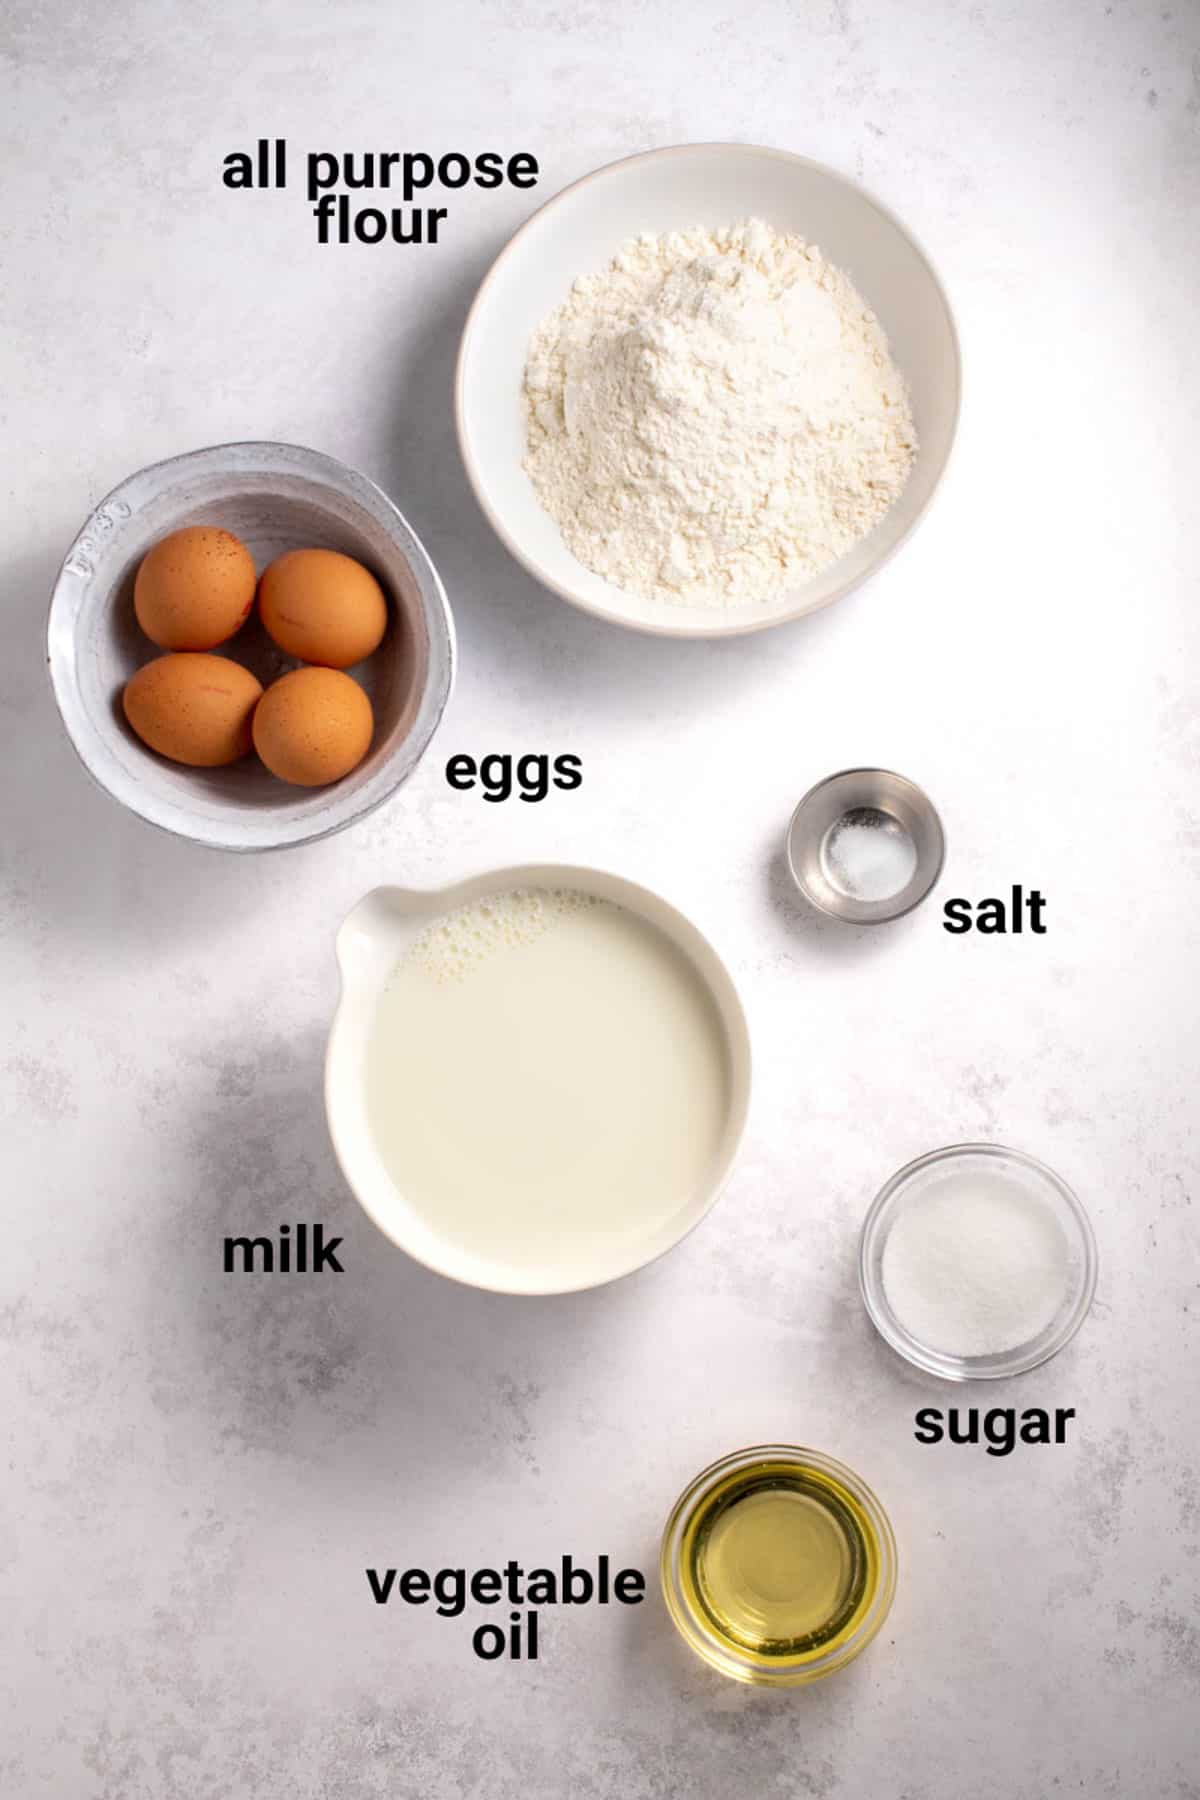
All-purpose flour
Most pancake recipes call for self-raising flour, however, since we want these pancakes to be thin and not rise much, we opt for plain flour instead.
Salt
Only a quarter teaspoon is added to this recipe, but if you want it slightly more savoury, you can add half a teaspoon instead. You can always test the batter to see if you'd like more salt.
Milk
We use semi-skimmed milk. You can also use full cream, skimmed milk or unsweetened almond milk.
Vegetable oil
This is what makes the pancakes so easy to bake. You will hardly need any oil in the pan and they should flip over with ease.
Apart from the oil in the batter, you will need a smidgen for the pan. Simply add a few drops to a piece of kitchen paper and wipe out the pan.
Eggs
As with all baking, room-temperature eggs will mix better with the other ingredients. That being said, we have used fridge-cold eggs for this recipe before without issues.
Optional
You can add a pinch of cardamom powder, a teaspoon of vanilla sugar or vanilla extract.
About the frying pan
The best pan for baking Pandekager is a non-stick pan with a flat bottom and low sides.
A crêpe pan or a 10-12 inch frying pan will work well. You can absolutely use a normal frying pan of any size, but if it's not non-stick, you may want to add a little more oil to the pan.
Top tip: Consider adding a crêpe pan to your Christmas wish list. It's a wonderful thing! The low sides make it so much easier to flip pancakes.
Why you should not be afraid to bake pancakes - Tips and tricks
Some people find baking pancakes intimidating, especially if they've had failed attempts in the past or if they've never made pancakes before. But don't let that put you off!
With a few tips and tricks, you can eliminate your fears and become a pancake pro in no time.
- First, start with a good recipe. Look for recipes that contain oil or butter, as these will prevent the pancakes from sticking to the pan.
- Invest in a good non-stick pan, preferably a crepe pan with low sides. This will make it much easier to flip the pancakes without them sticking or breaking apart.
- Take your time when making pancakes. You don't have to rush through the process. When adding the batter to the pan, remove it from the heat to pour it in. The pan doesn't need to stay on the heat the entire time.
- The same goes for flipping the pancake - remove it from the heat first. This will give you more control over the pancake and make it easier to flip.
- If you find that there are holes in the pancake where the batter didn't fill in properly, don't worry. Just drizzle some more batter onto the empty spots to fill them up.
- For flipping the pancake, use a rubber spatula with a slight bend in the tip. Gently ease it under the edge of the pancake to lift it.
Take your time getting the spatula a good way under the pancake, almost midway. See if the pancake looks sticky. If it is, leave it to bake for a few seconds longer, or slowly ease the spatula around the pan to loosen it up.
Once you're ready, flip it quickly and with confidence.
- Remember, it's okay to make mistakes! One or two flops are not the end of the world. It could just be the wrong pan or batter, or you're still practising your flipping method.
Once you have all these issues sorted out, baking pancakes becomes a breeze and a great thing to add to your baking arsenal. So, go ahead and give it a try!
How to make Pandekager: Step-by-step
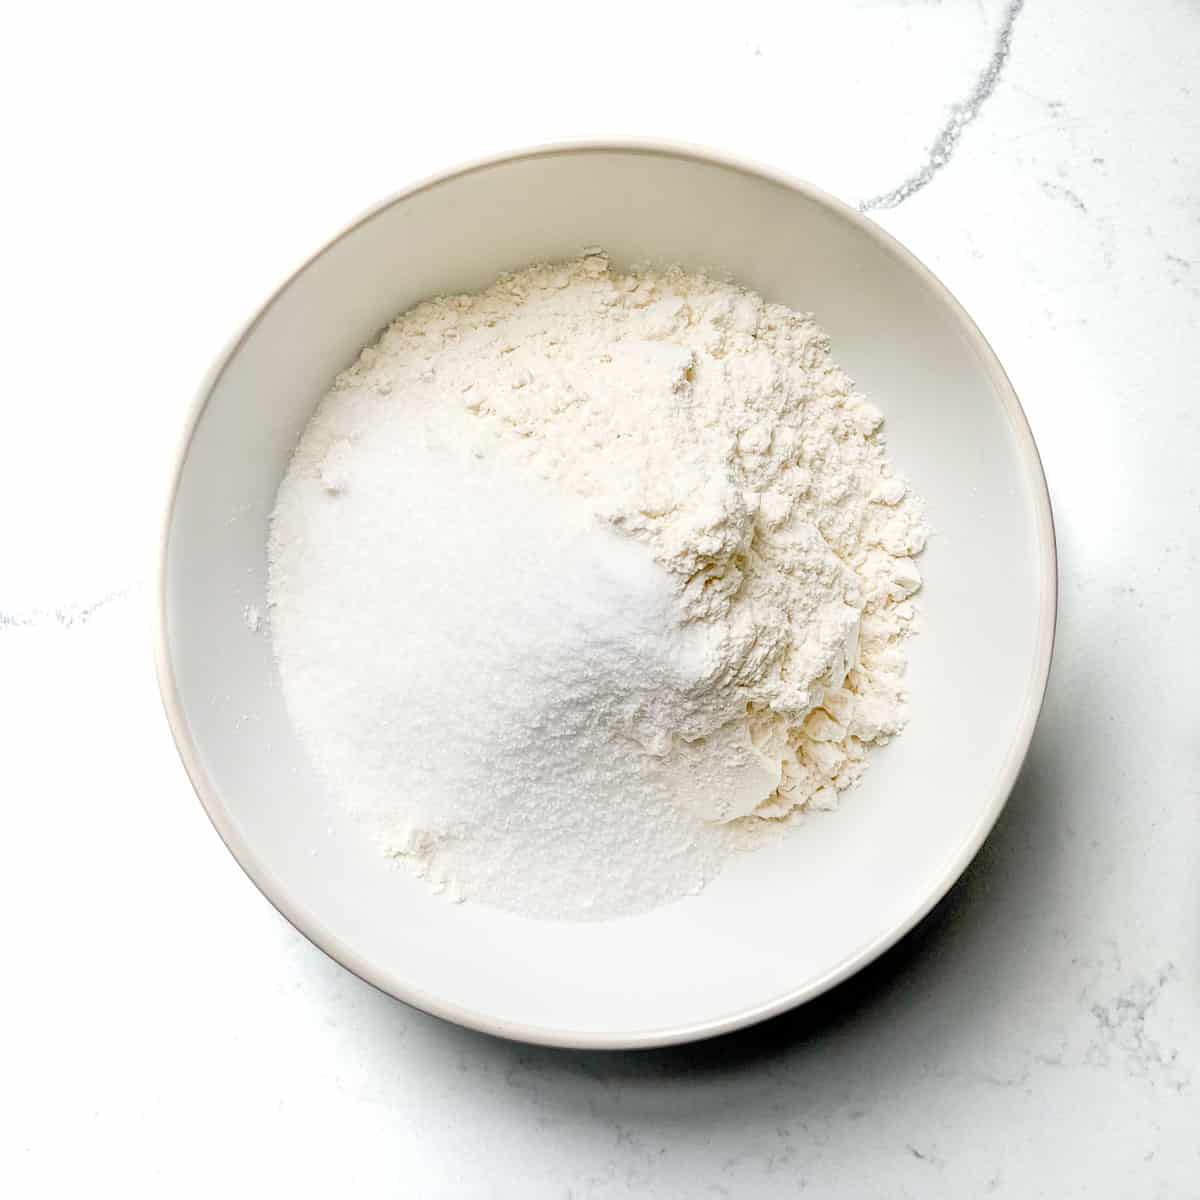
- In a large mixing bowl, combine the flour, sugar and salt.
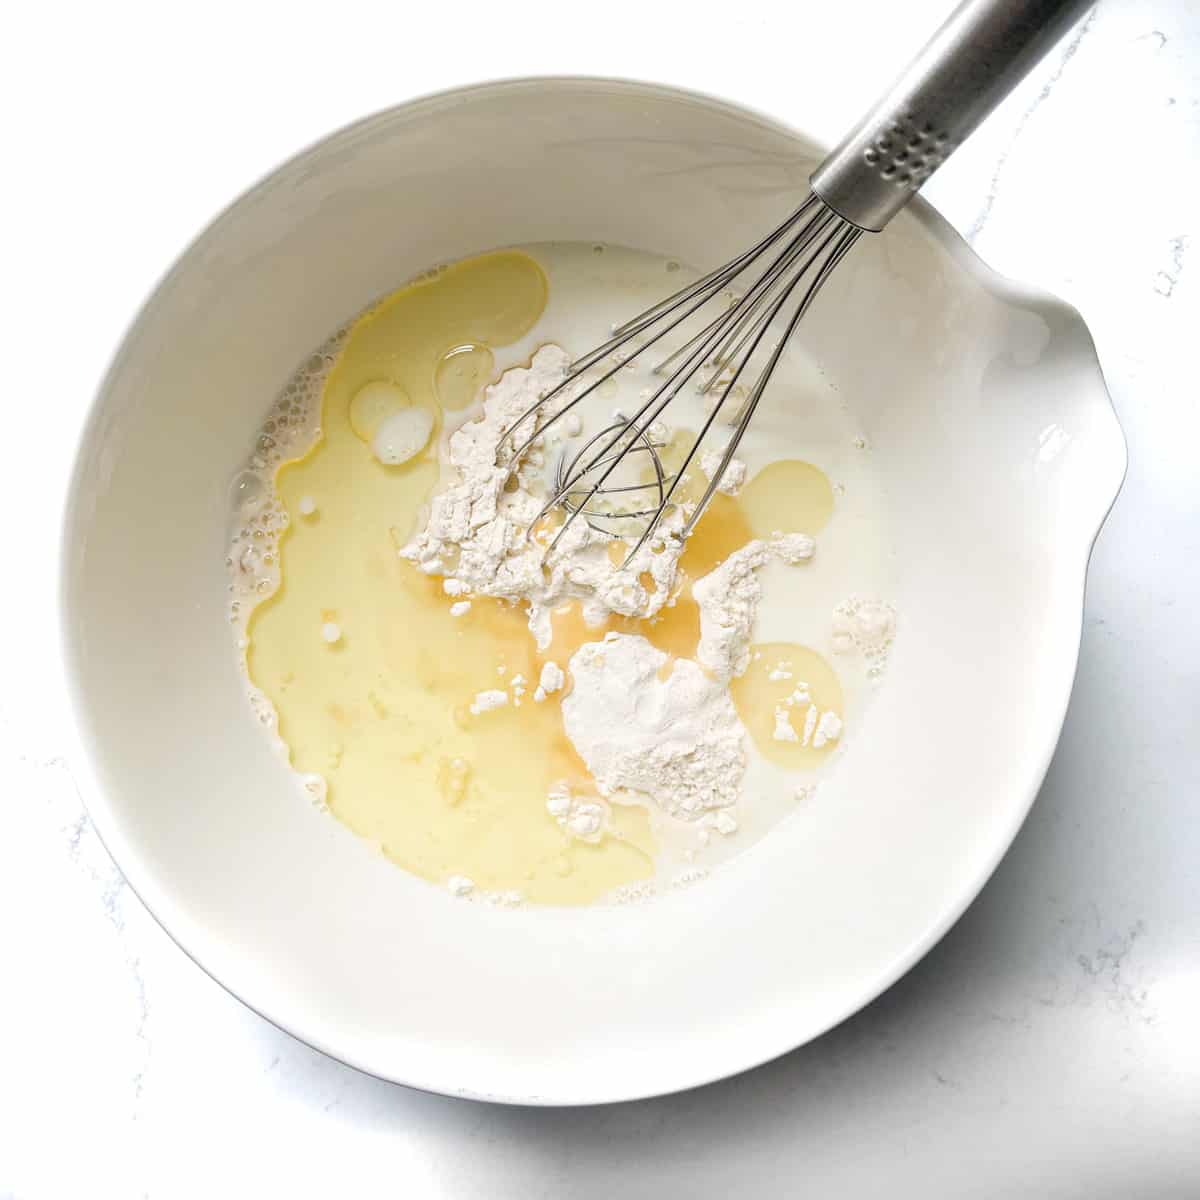
- Add half the milk and all the oil to the dry ingredients.
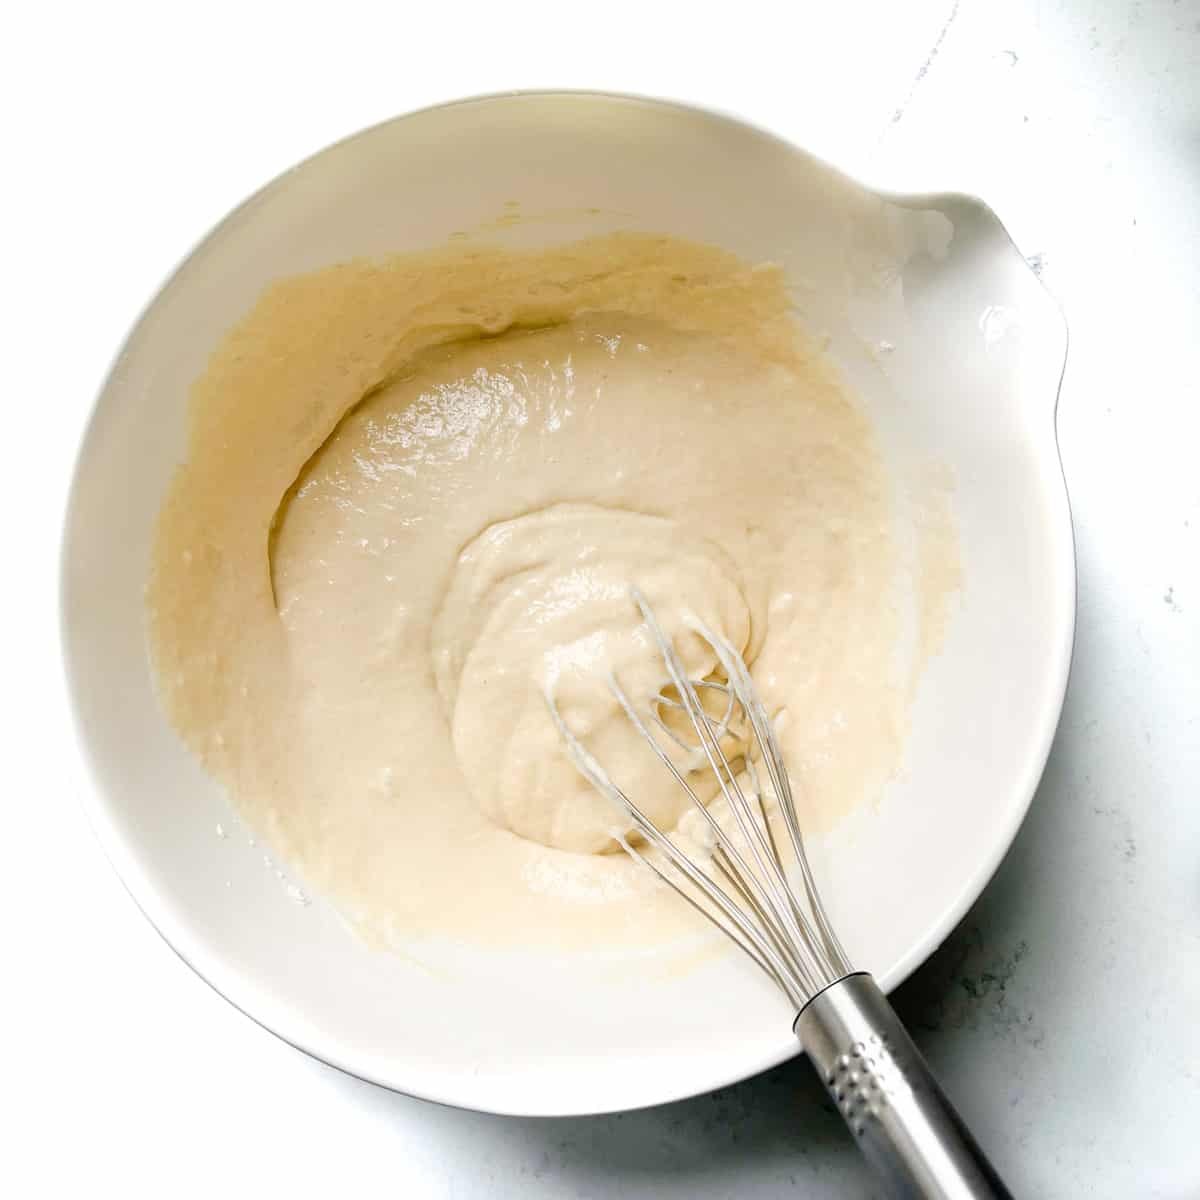
- Whisk until you have a lump-free, smooth batter.
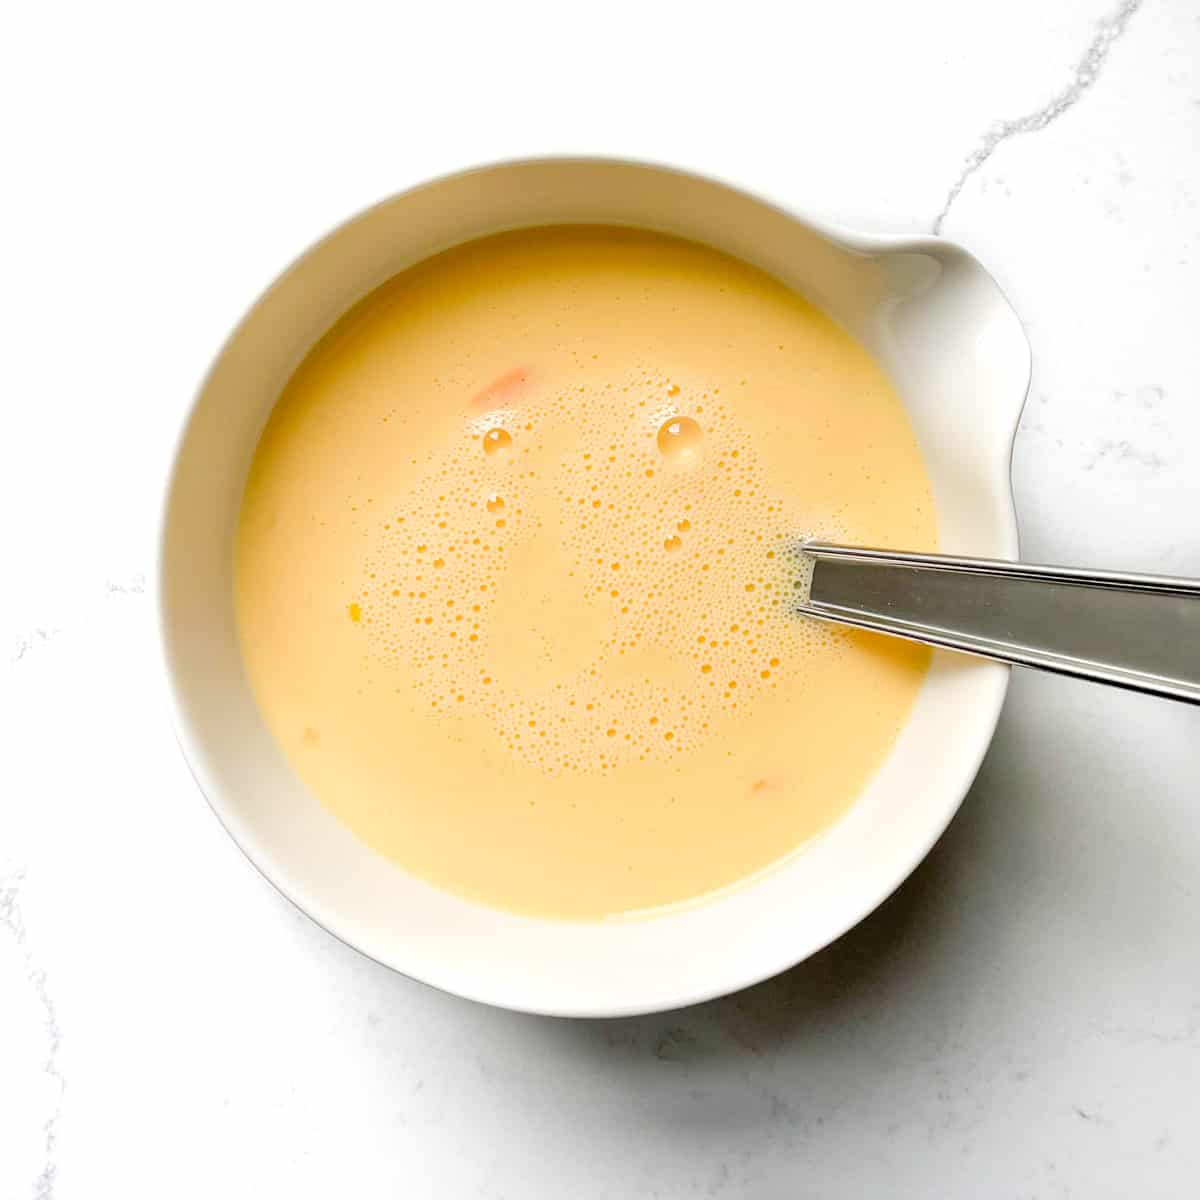
- In a separate bowl, whisk together the remaining milk and four eggs.
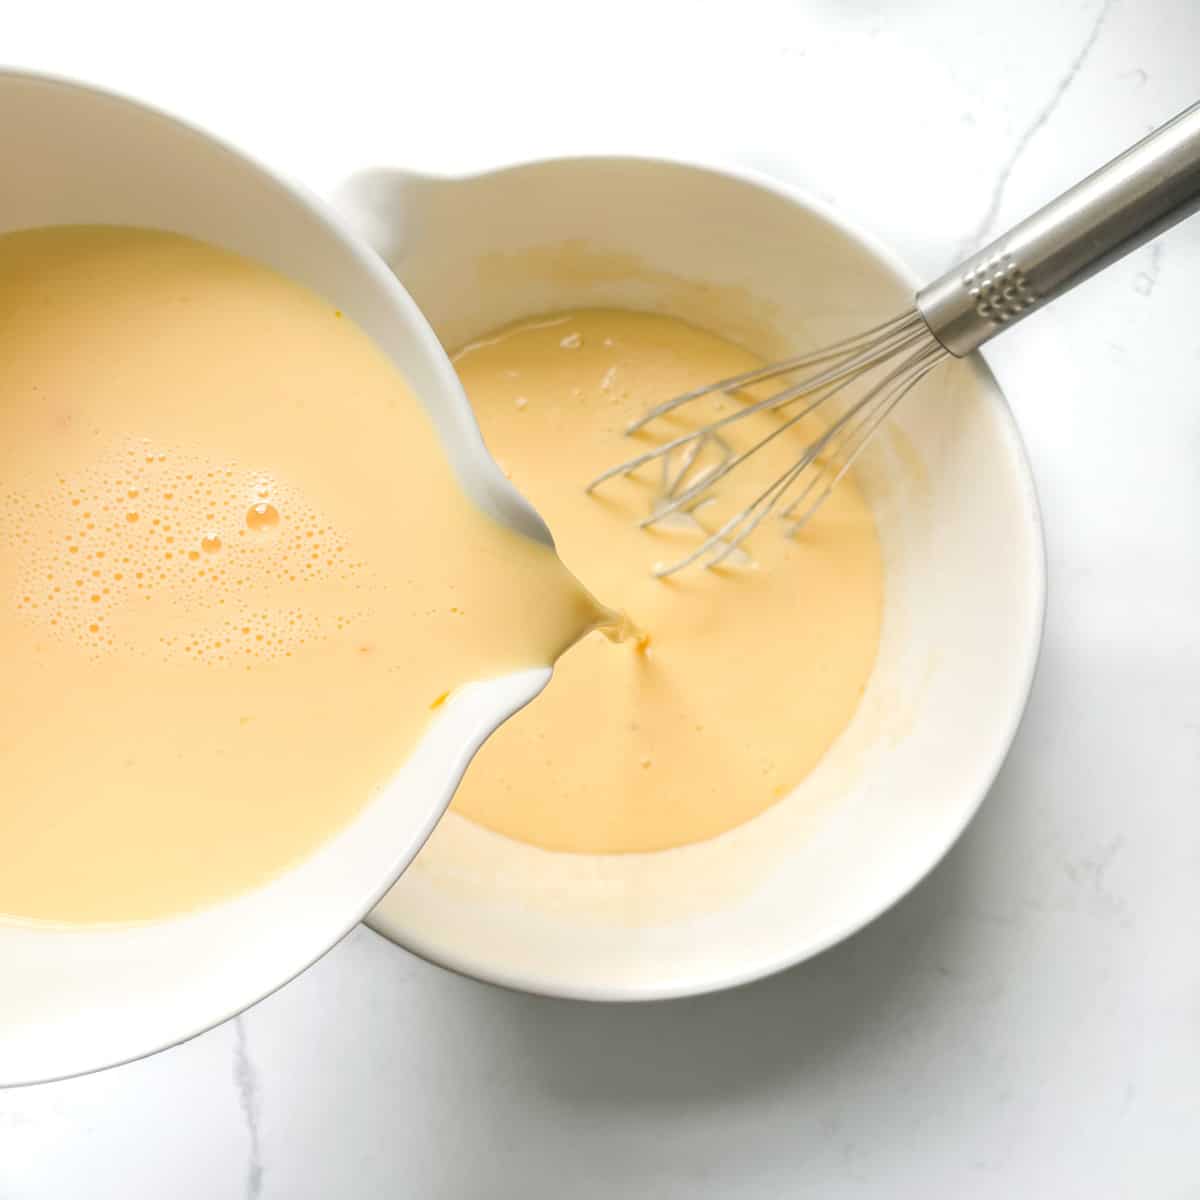
- Add the milk and egg mixture to the batter.
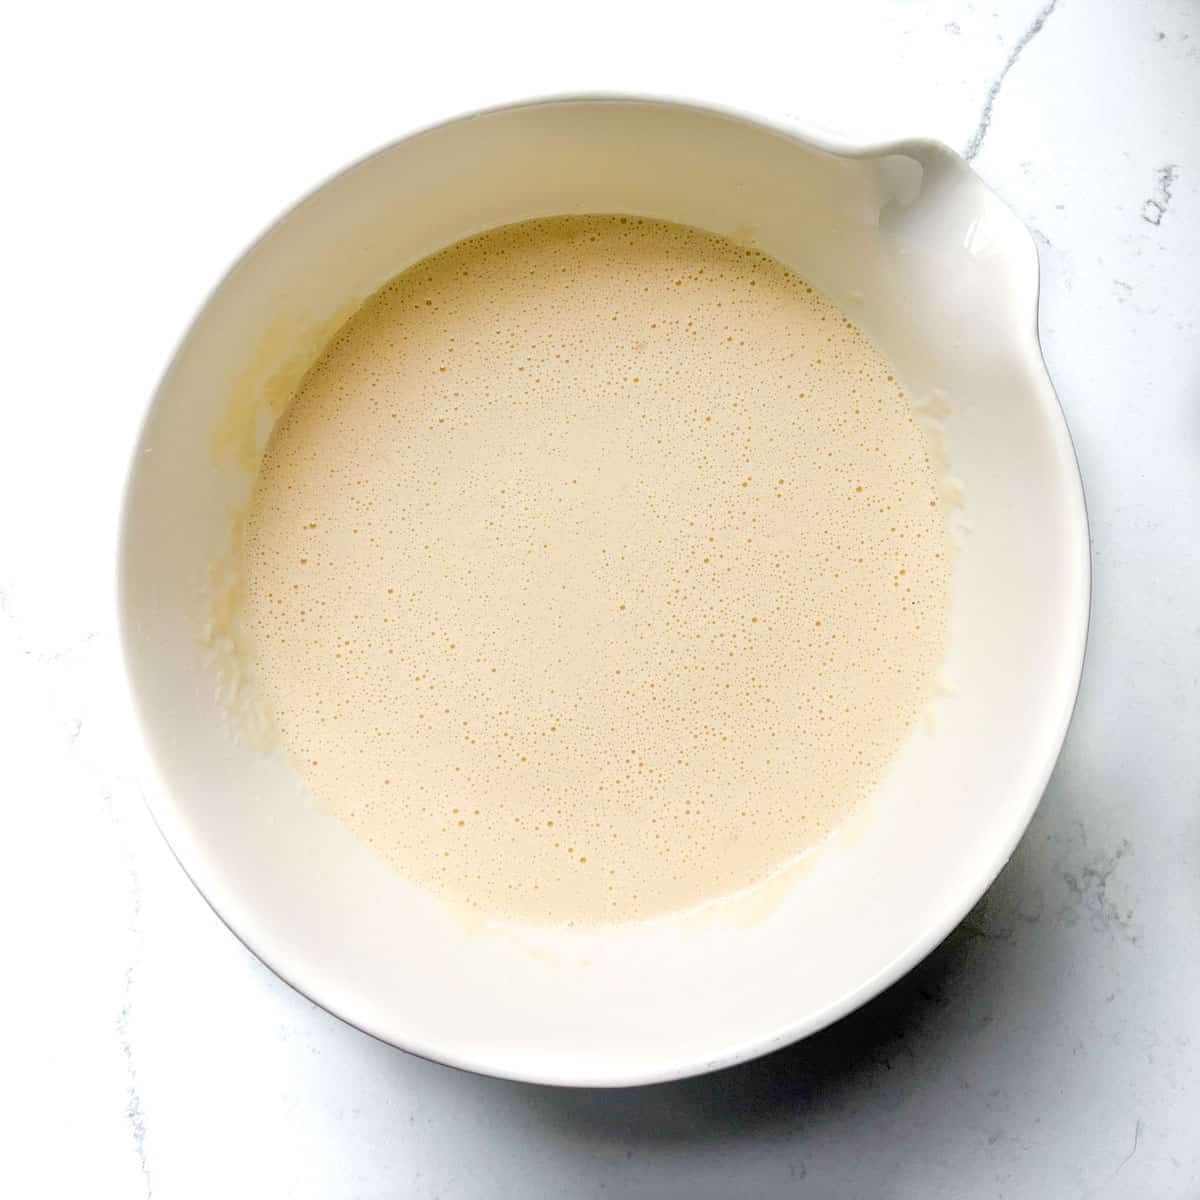
- Whisk until you have a smooth, thin pancake batter.
You can do this by hand, or with an electric hand mixer (we prefer the latter).
- Place a few drops of oil on a piece of kitchen paper and wipe out the frying pan. You can keep the piece of paper on hand in case you need to grease the pan again. We mostly find that once is enough.
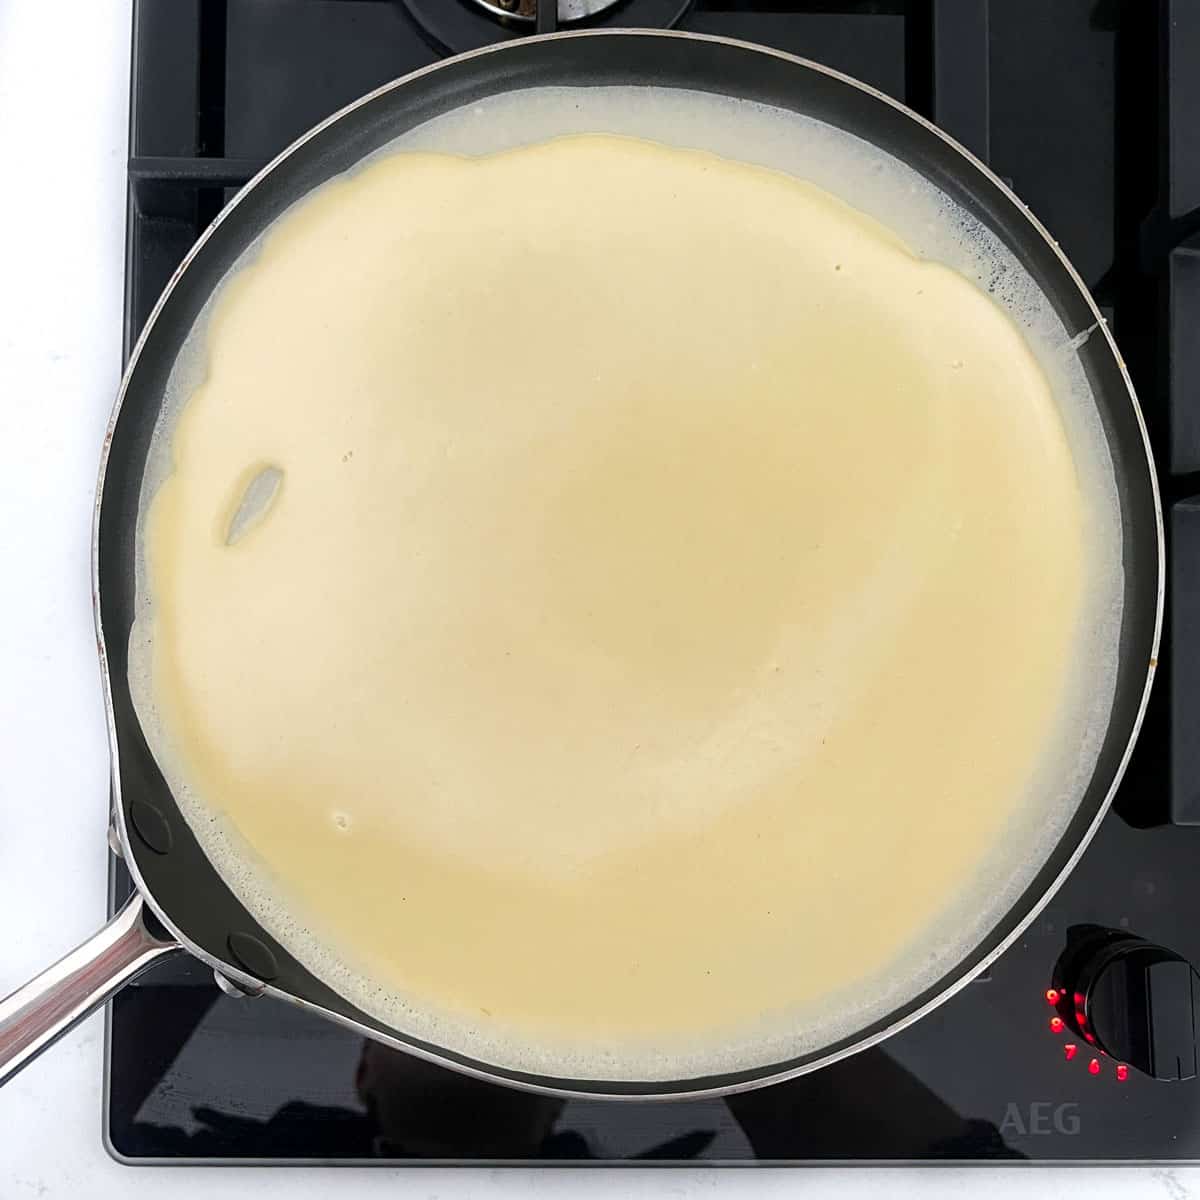
- Heat the pan over a medium-low heat. Once it's hot, add a ladle of the pancake batter to the middle of the pan. Swirl the pan around so the batter fills up the entire surface.
You only want a thin layer of batter to create thin pancakes with crispy edges.
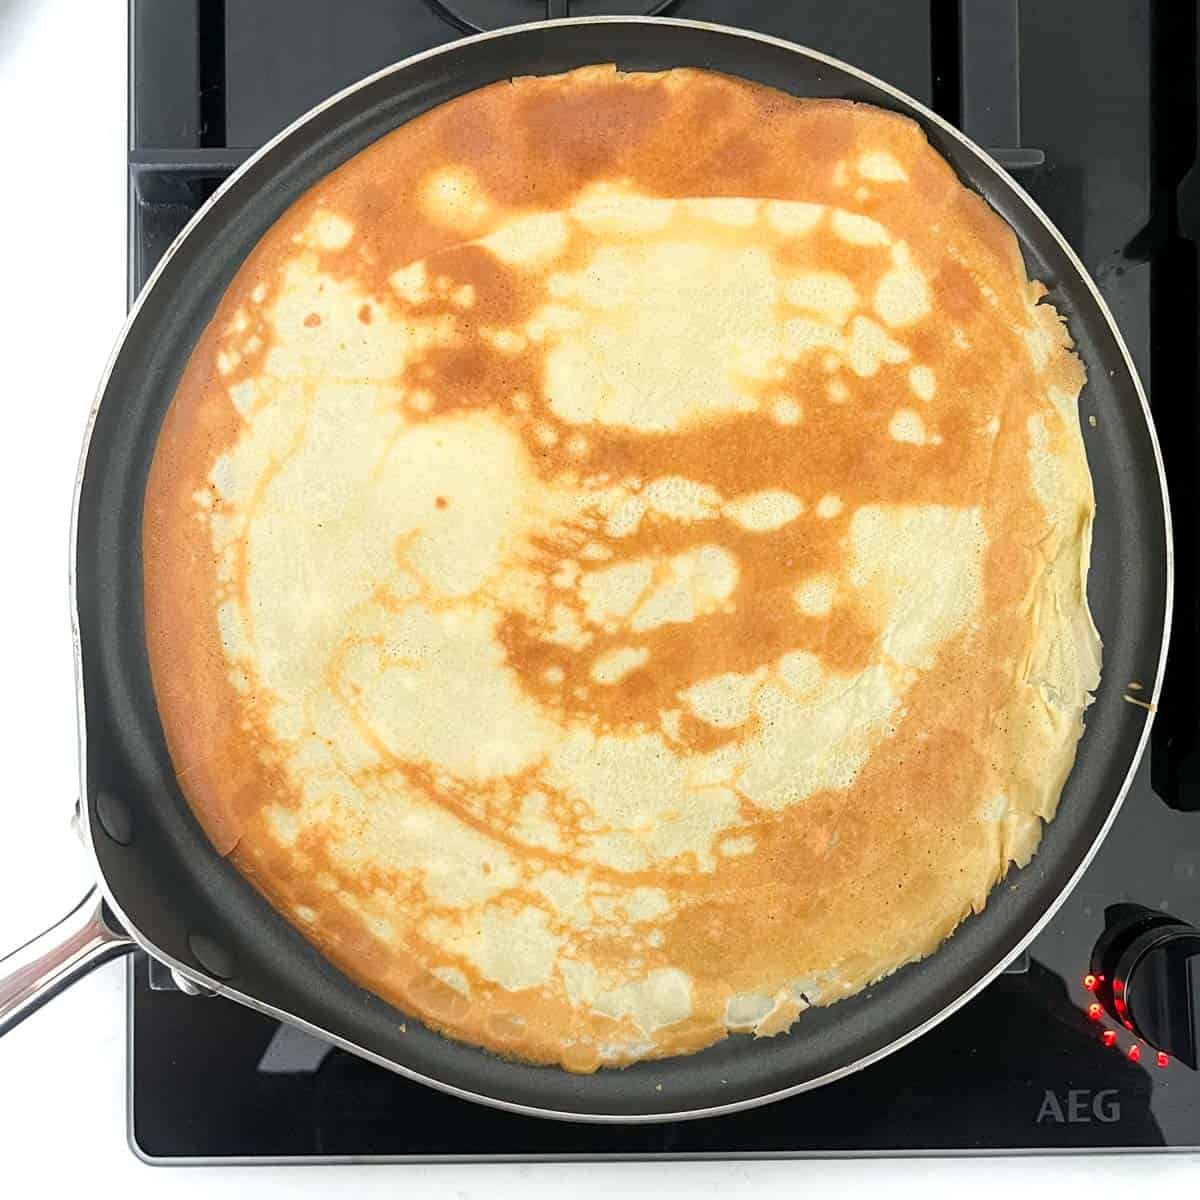
- Allow the pancake to cook for 1½-2 minutes on the first side. Flip it over and cook for a further 30-40 seconds.
Tip: Watch out for certain visual cues to indicate when it's time to flip your pancake. Look for a lack of shine on the surface of the pancake and the edges becoming slightly crispy.
Serving suggestions:
Classic - Serve Pandekager simply, with a sprinkle of powdered sugar, a dollop of whipped cream or a drizzle of honey.
Sweet Toppings - Top with your favourite sweet toppings such as fruit compote, fresh berries, caramel sauce, chocolate chips, Nutella or dulce de leche (caramel)
Sweet fillings - Spread with strawberry jam, raspberry jam, lingonberry jam or any jam of your choosing.
Savoury Fillings - Fill with savoury ingredients like ham and cheese, sautéed mushrooms, spinach and feta, smoked salmon and cream cheese, chicken mayo, savoury mince or scrambled eggs.
Danish Apple Pancakes - Serve with thin slices of cooked apple, cinnamon and a sprinkle of sugar.
Stacked Pancakes - Create a stack of Pandekager and serve them with fresh fruit, whipped cream and a drizzle of honey or maple syrup.
Storage
Room Temperature: If you plan on consuming the Pandekager within a few hours, you can store them at room temperature, covered with a clean kitchen towel or in an airtight container. They should remain fresh for a few hours at room temperature.
Fridge: Pandekager can also be stored in the fridge for up to 3-4 days. Place the pancakes in an airtight container or a resealable plastic bag. Before reheating, bring the pancakes to room temperature, or gently reheat them in a frying pan or the microwave.
Freezer: Pandekager can be frozen for up to 2-3 months. Allow them to cool to room temperature, then stack them with a layer of wax paper or parchment paper between each pancake to prevent them from sticking together. Place the stack in an airtight container or a freezer-safe bag. To reheat, thaw them in the fridge overnight, then reheat them in a frying pan or the microwave.
Recipe
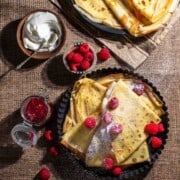
Pandekager - Danish Pancakes
Equipment
- 1 frying pan, preferably non-stick
Ingredients
- 250 grams all purpose flour
- 3 tablespoons sugar - 45ml
- ¼ teaspoon salt
- 625 millilitre milk
- 5 tablespoons vegetable oil - 75ml
- 4 large eggs
- a little oil for preparing the pan
Instructions
- In a large mixing bowl, combine the flour, sugar and salt.
- Add half the milk and all the oil to the dry ingredients. Whisk until you have a lump-free, smooth consistency.
- In a separate bowl, whisk together the remaining milk and four eggs.
- Add the milk and egg mixture to the batter and whisk until you have a smooth, thin pancake batter. You can do this by hand, or with an electric hand mixer (we prefer the latter).
- Place a few drops of oil on a piece of kitchen paper and wipe out the frying pan. You can keep the piece of paper to hand in case you need to grease the pan again. We mostly find that once is enough.
- Heat the pan over a medium-low heat. Once it's hot, add a ladle of the pancake batter to the pan. Swirl the pan around so the batter fills up the entire surface.You only want a thin layer of batter to create thin pancakes with crispy edges.
- Allow the pancake to cook for 1½-2 minutes on the first side. Flip it over and cook for a further 30-40 seconds. Tip: Watch out for certain visual cues to indicate when it's time to flip your pancake. Look for a lack of shine on the surface of the pancake and the edges becoming slightly crispy.
- Enjoy your pancake with jam, or lemon juice and a sprinkle of sugar. Top with cream or ice cream and fresh berries.
**Nutritional data disclaimer**
Please keep in mind that the nutritional information provided below is calculated by a third party and we cannot guarantee the accuracy. We try our best to give you the most accurate information, but we do not take responsibility for errors that may be present. Also, the nutritional value of the recipe may change depending on the exact brands and products used. We recommend that you consult with a qualified healthcare professional or registered dietitian for personalised advice on your dietary needs.
Nutrition
For food safety advice, including guidance on food allergies


Connie Grigg says
Just delicious!
Maretha @ The Cinnamon Jar says
Hi Connie! Thank you very much. We're big fans of these rolls too, and it seems like there's never any left for the next day. Your comment is greatly appreciated.