
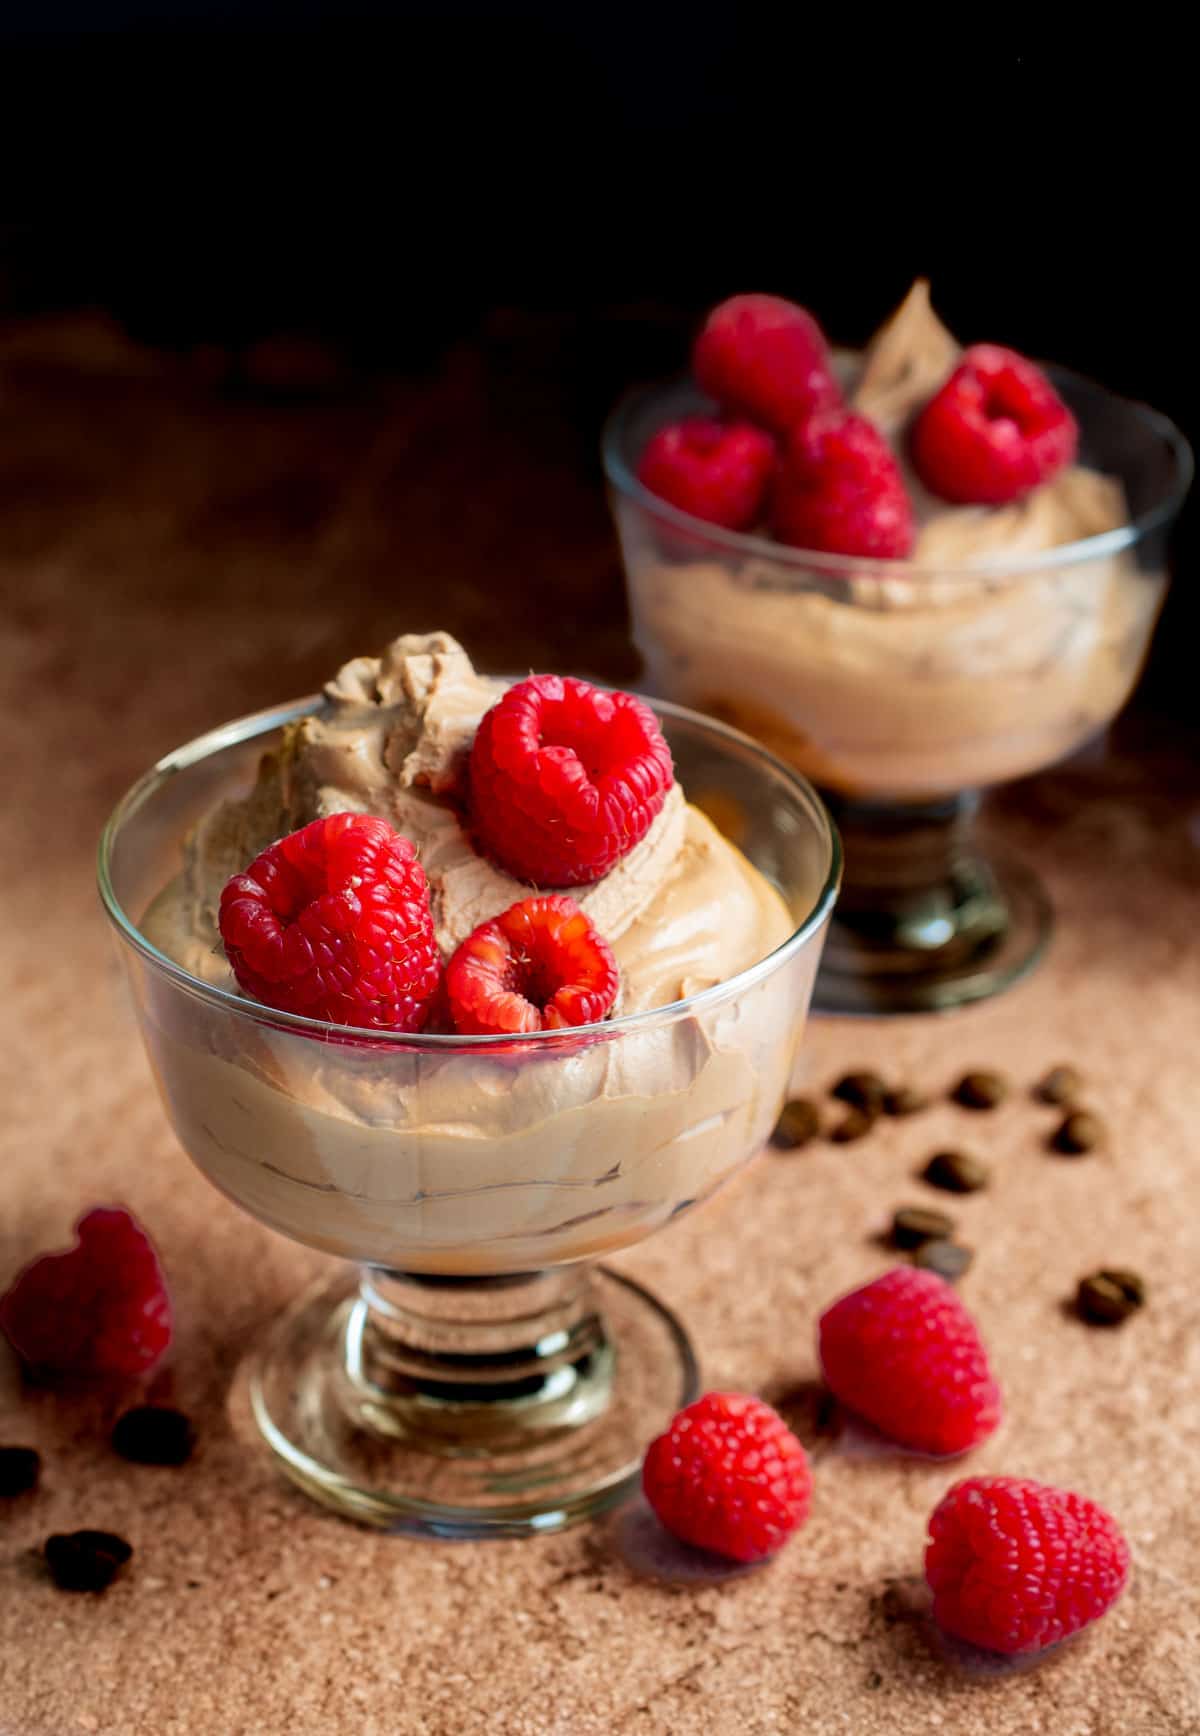
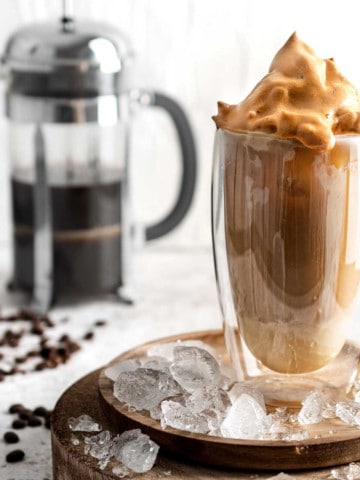
Get ready to swoon over this irresistible 3-ingredient coffee mousse dessert. It's unbelievably creamy, smooth, rich and bold, just the way we like it. And yes, it's seriously rich!
The best part? It's an eggless coffee mousse, contains no gelatine and it's a breeze to whip up, with just 5-10 minutes of prep time, followed by a short hour in the fridge.
After its stint in the fridge, give it a brief whipping, transforming it into a heavenly mocha-chocca cloud ready to be enjoyed right then and there.
This easy coffee mousse recipe is for four medium portions, but if you're feeling brave, you can split this into two large portions.
See our list of 25 serving suggestions for coffee mousse to spark some ideas.
For more fuss-free desserts, try this dark chocolate ice cream or Nutella milkshake recipe.
Jump to:
What's to love about this coffee mousse recipe
- It's a very luxurious dessert for very little effort. The perfect pudding for coffee lovers.
- Easy to scale up for larger dinner parties.
- This creamy dessert needs only three simple ingredients.
- Quick and easy recipe, taking only 5-10 minutes to prep.
- Made with easily available instant coffee.
- You can decorate it in various ways.
- After whipping it can be enjoyed straight away, no need to let it set.
- No additional sugar, bar the chocolate.
- This is a completely eggless mousse, with no egg yolks or egg whites.
- No gelatine.
- Gluten-free.
Key ingredients and substitutions
*Please see the recipe card at the bottom of this post for the detailed list of ingredients.
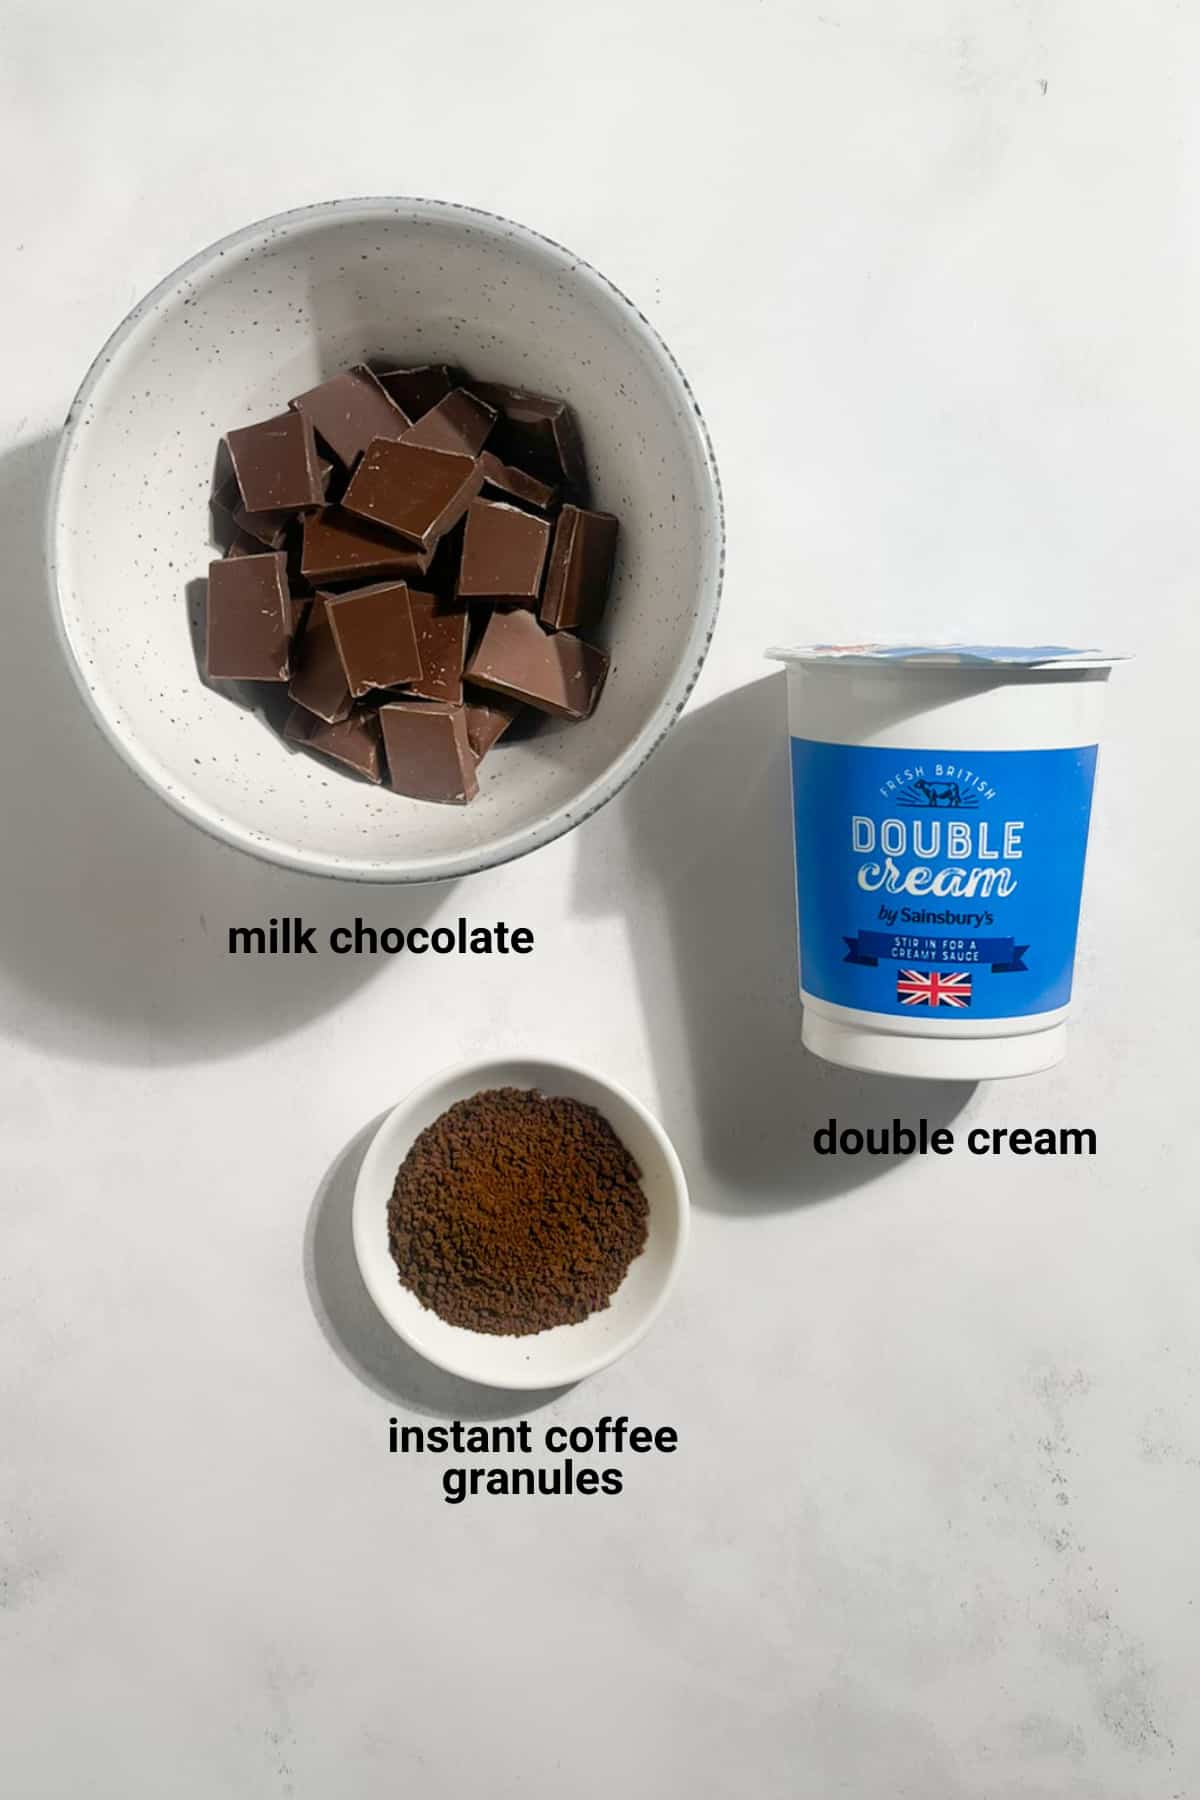
Double cream
In the US and some other countries, this is also known as heavy cream or heavy whipping cream.
Its higher fat content, compared to single cream, is what gives the mousse its wonderfully creamy and rich texture.
Milk chocolate
Opting for milk chocolate instead of dark chocolate lets the coffee flavour take the spotlight.
While dark chocolate can be used, be aware that the taste might lean more towards chocolate mousse rather than the intended coffee mousse.
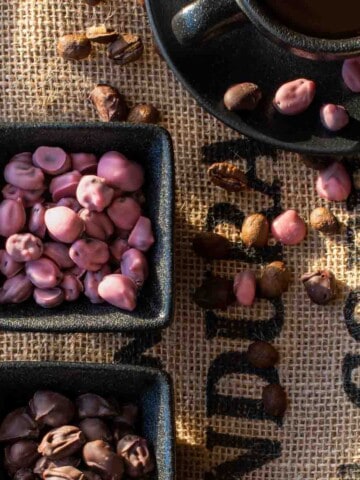
Instant coffee granules
For the best results in this mousse, opt for good quality instant coffee powder. Using liquid filter coffee may affect the texture. If you're aiming for a bolder taste, instant espresso powder is a great choice too.
And for those in need of a decaffeinated option, rejoice! Decaf granules, particularly our favourite, Nescafe decaf (with the blue lid), can be used very successfully.
How to make coffee mousse: Step-by-step
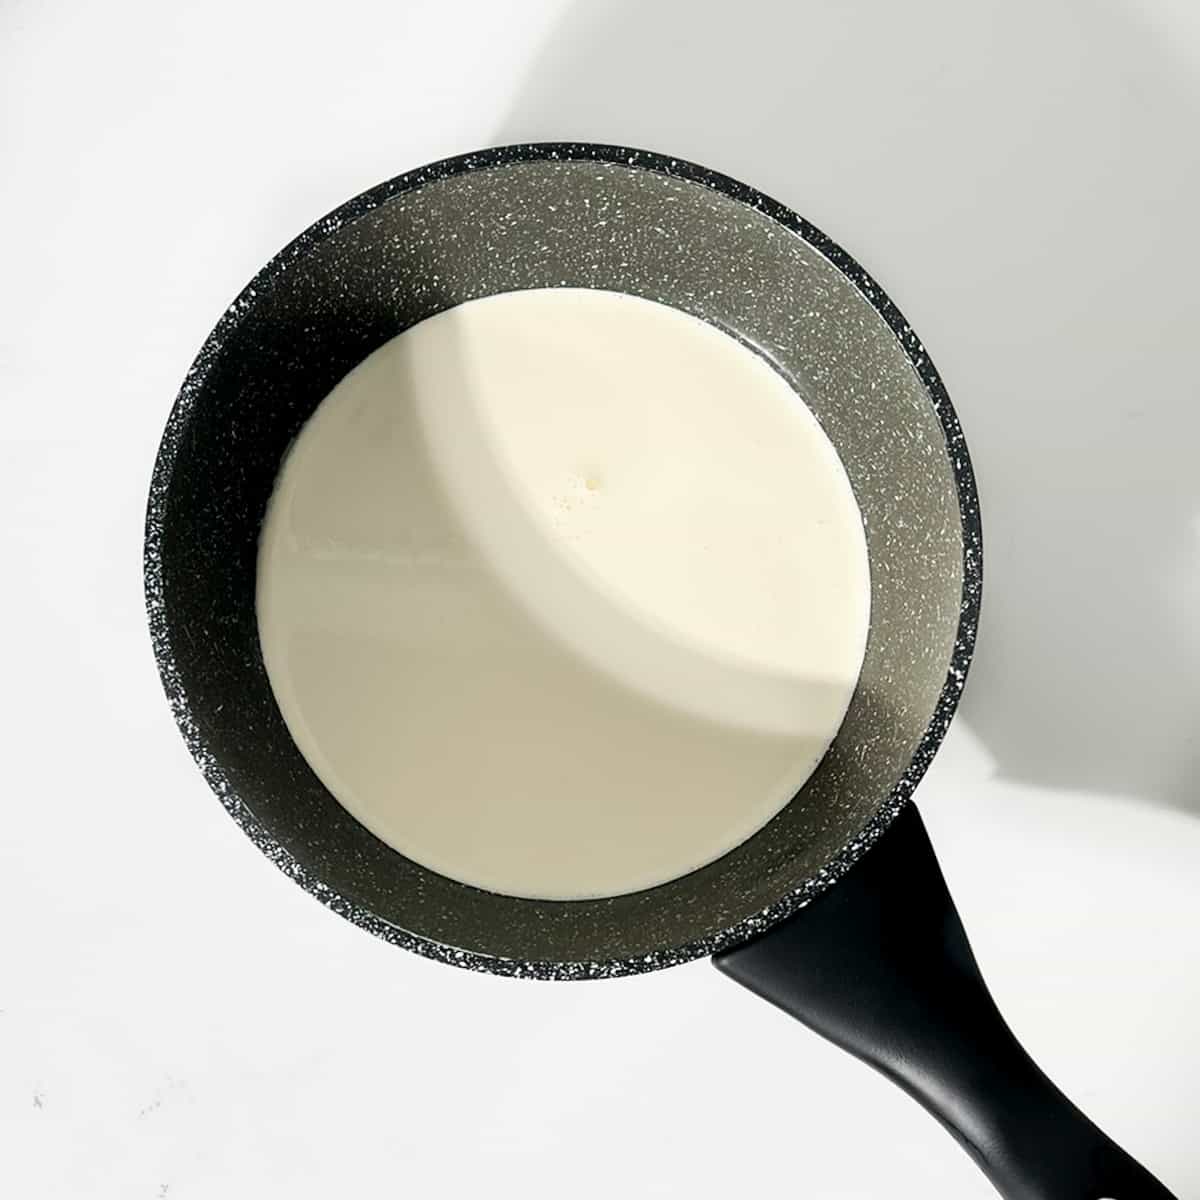
- In a small saucepan, bring the cream to boiling point over low heat. Alternatively, you can heat the cream in the microwave in short bursts.
Be careful not to scald it. As soon as it starts boiling, remove it from its heat source.
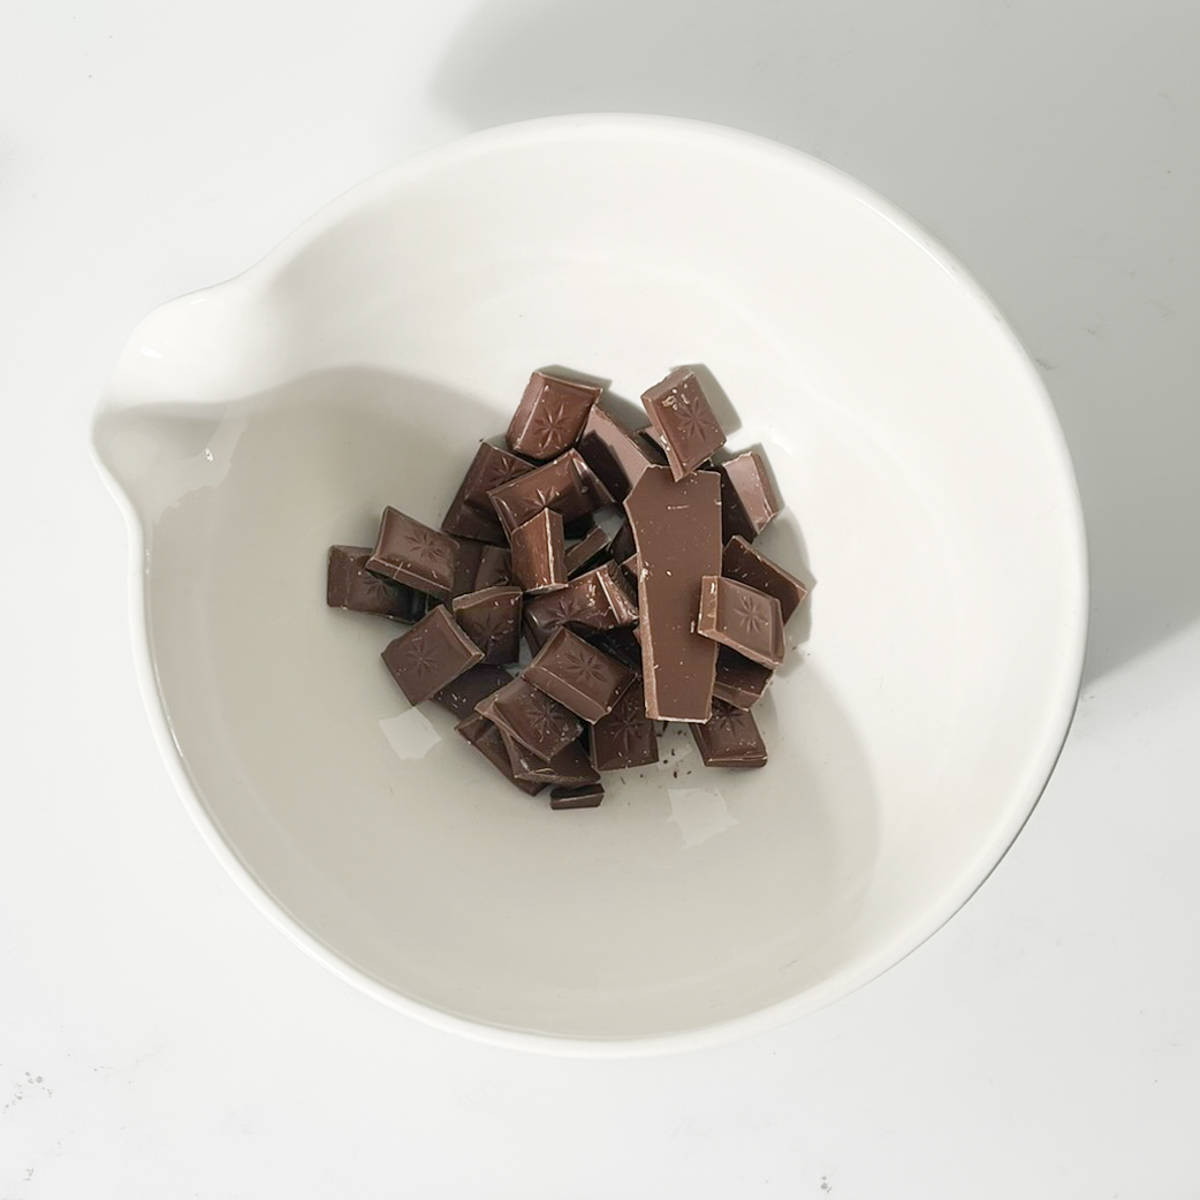
- Break the chocolate up into smaller pieces and add it to a large bowl.
This will serve as the bowl for whipping the mixture into a mousse later, so ensure it has enough space to accommodate the volume you'll be creating.
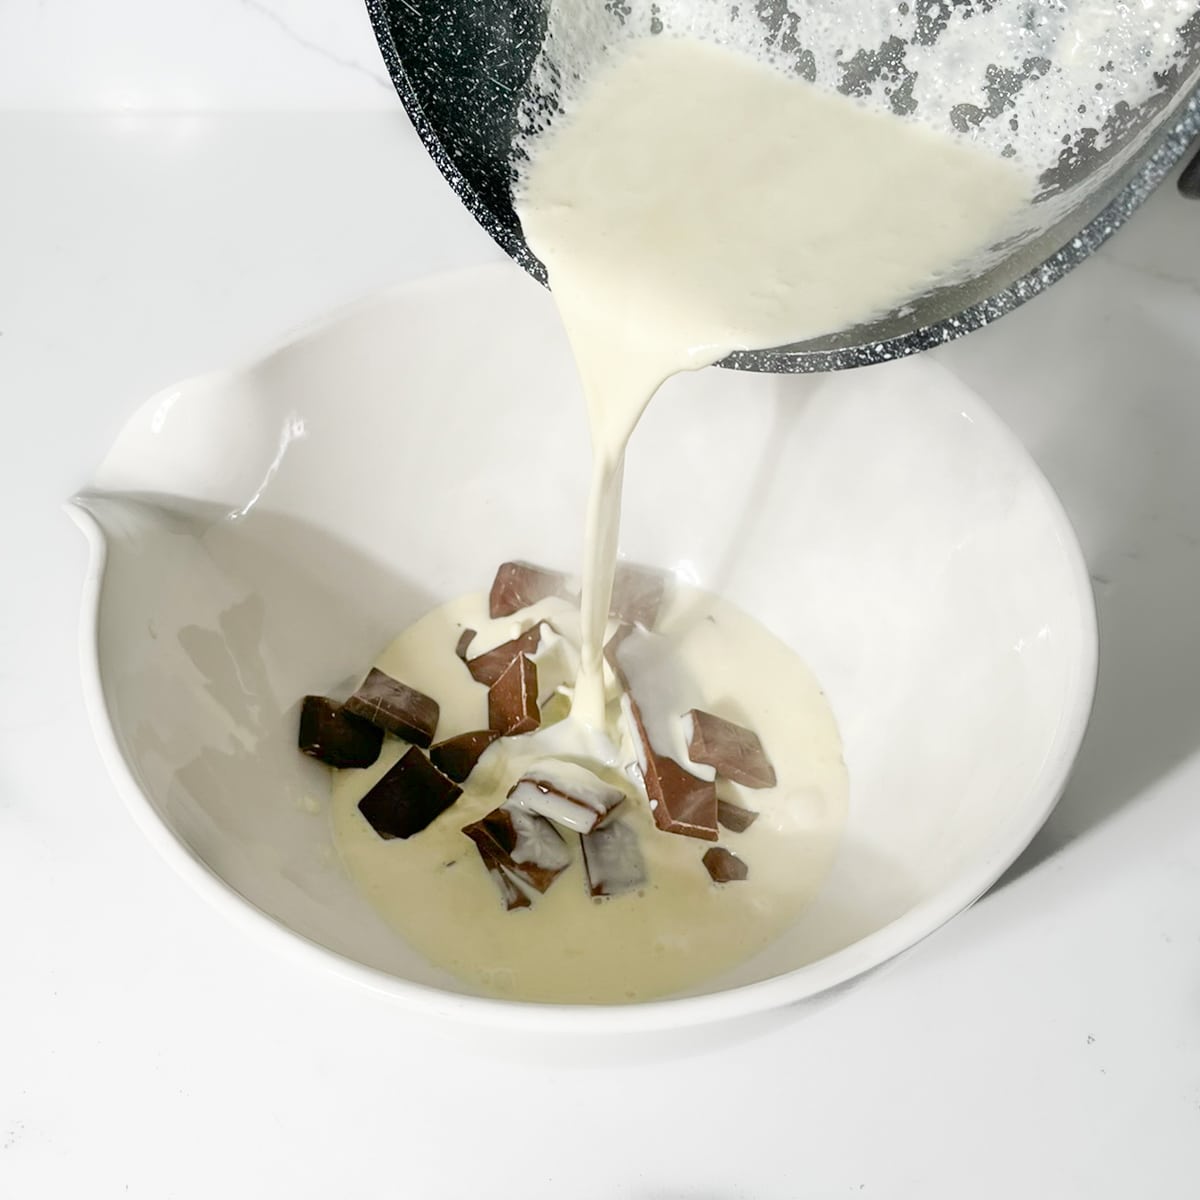
- Pour the hot cream over the chopped chocolate and let it sit undisturbed for about 5 minutes, allowing the chocolate to melt. Ensure that the chocolate is fully covered with the hot cream.
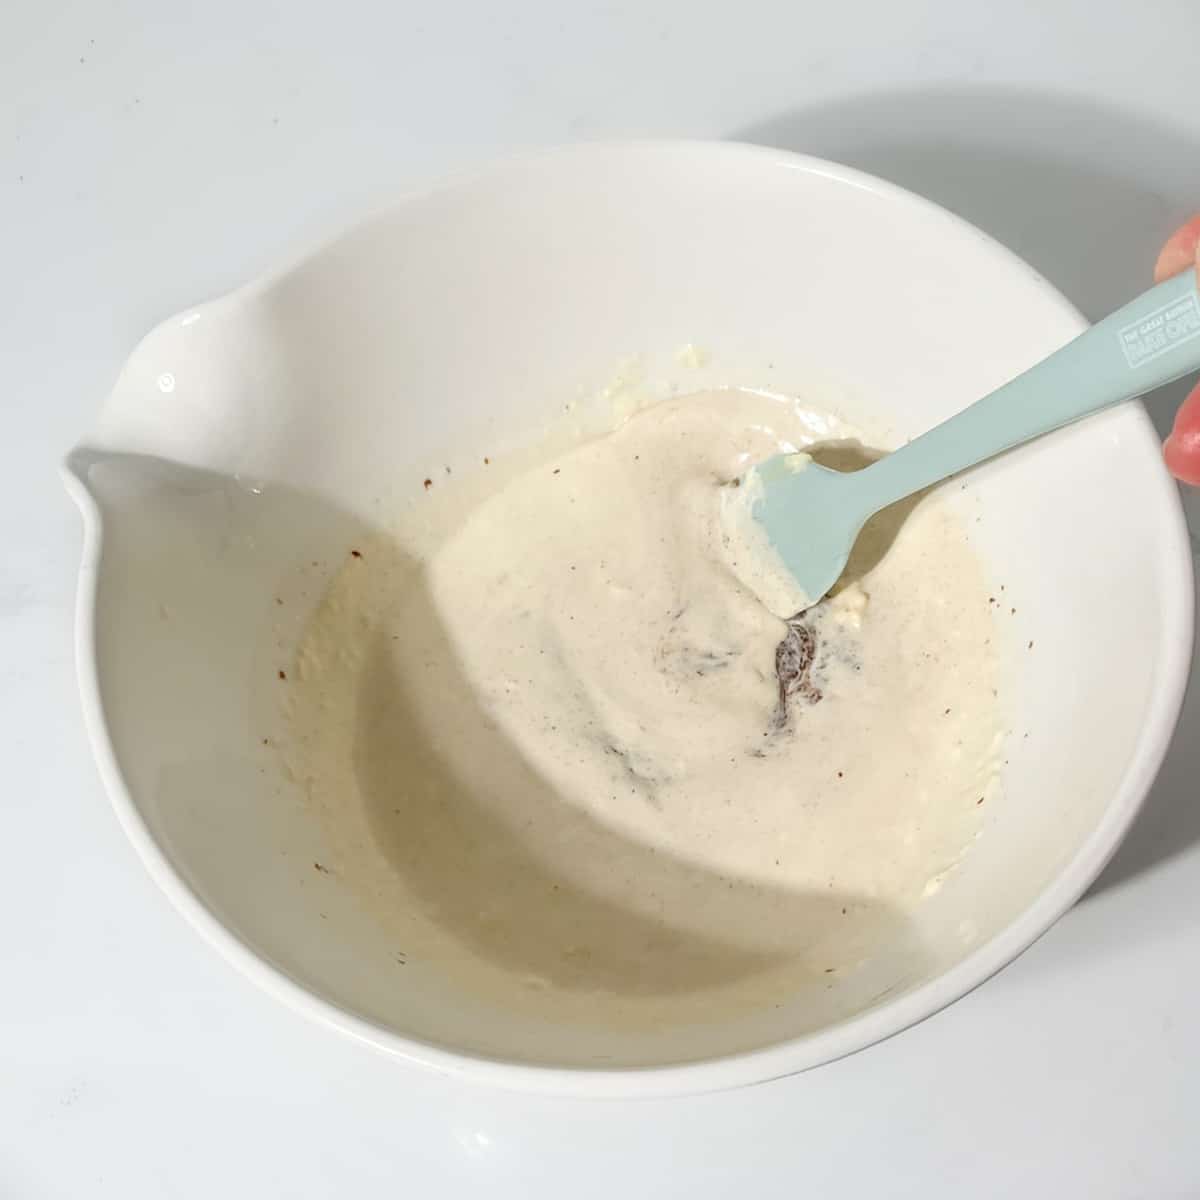

- Stir the hot cream and melted chocolate together until you have a smooth, glossy mixture.
It will look grainy at first, but persist, it comes together quickly enough.
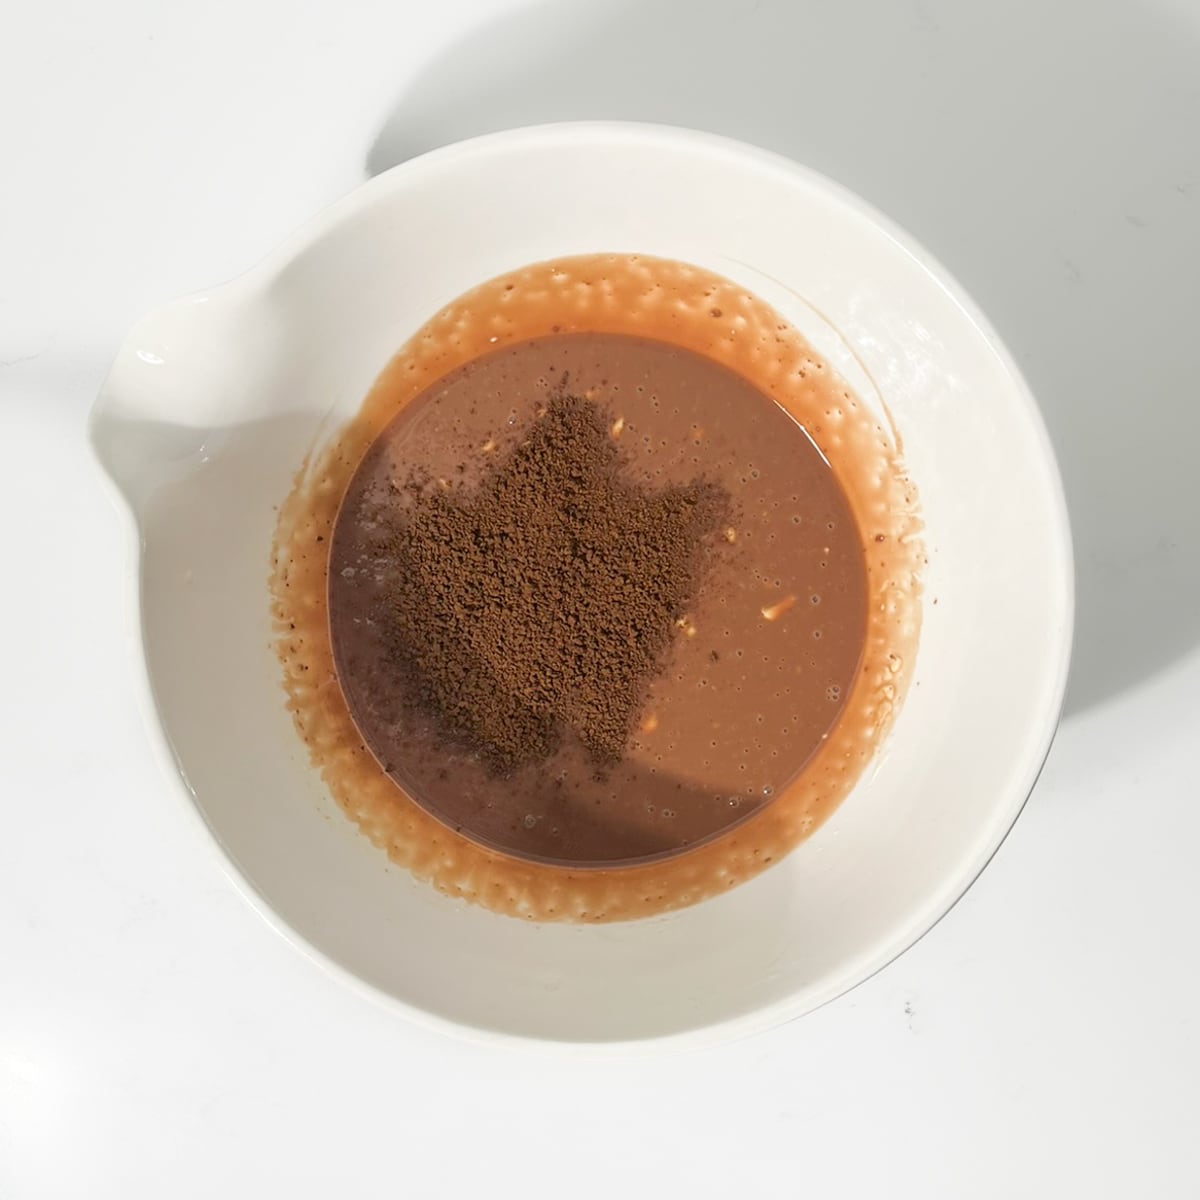
- Add the coffee granules to the chocolate mixture and stir thoroughly to dissolve the coffee. Don't stress if there are a few stubborn coffee granules that won't dissolve completely.
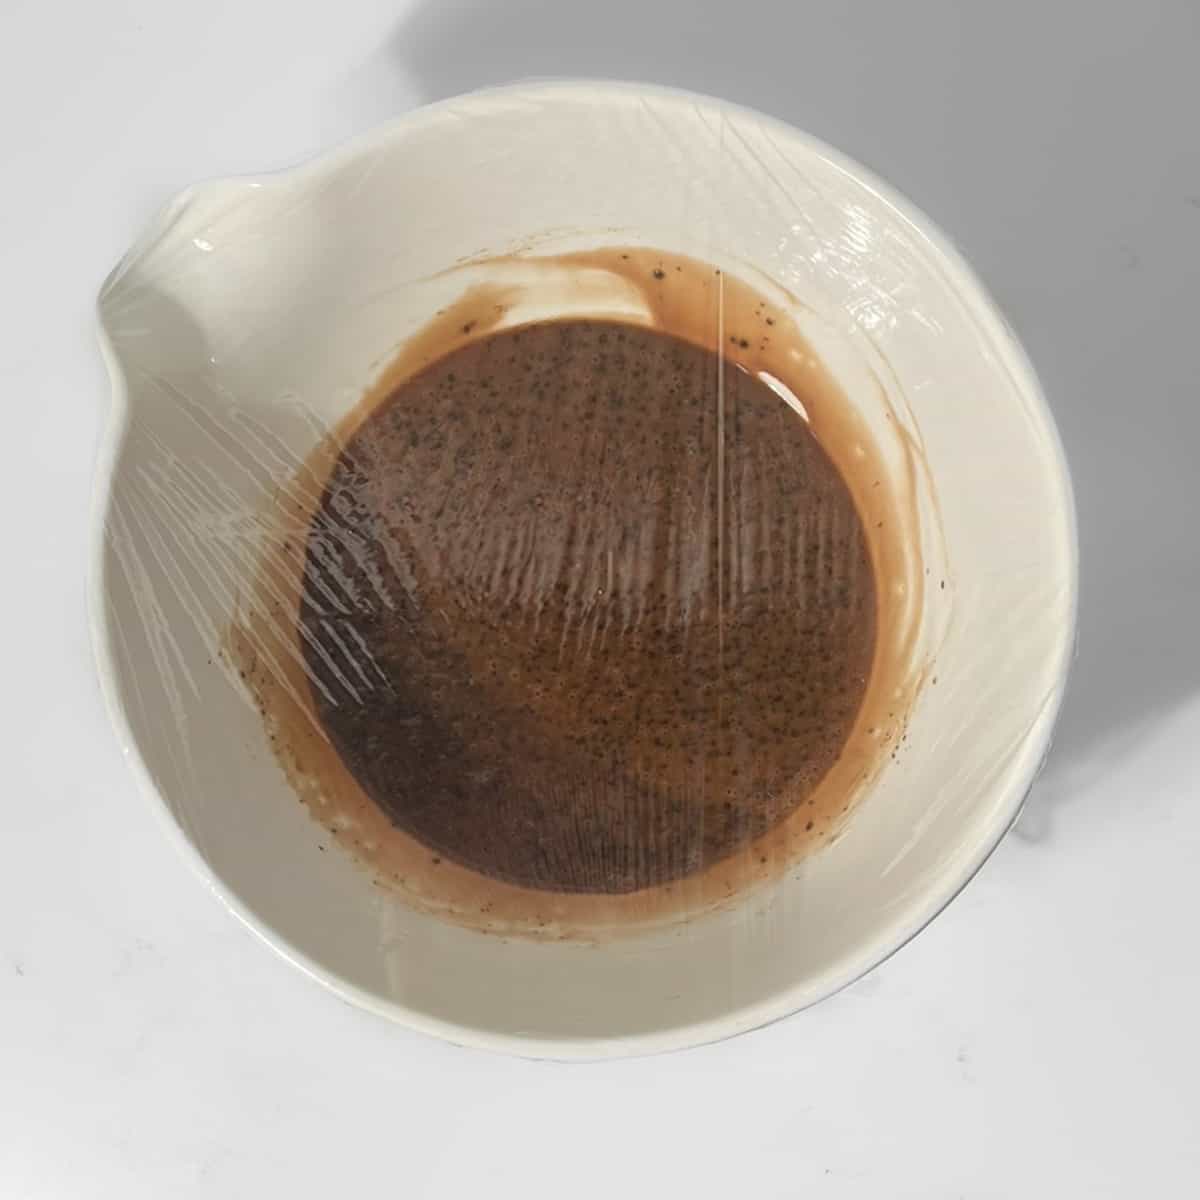
- Cover the mixing bowl with plastic wrap and allow the mixture to cool in the fridge for one hour.
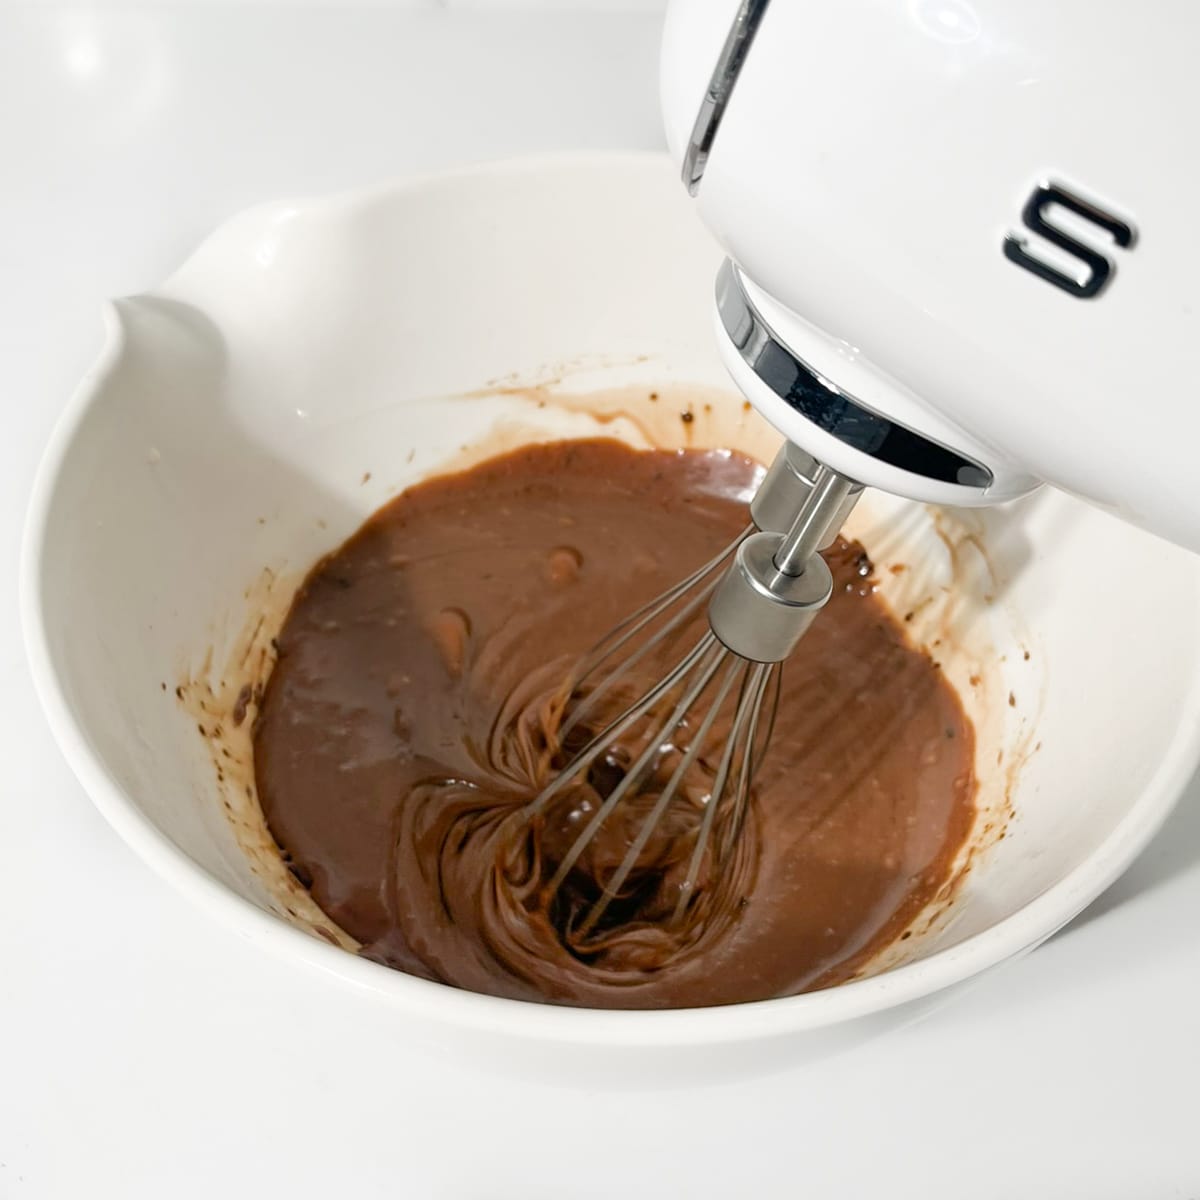
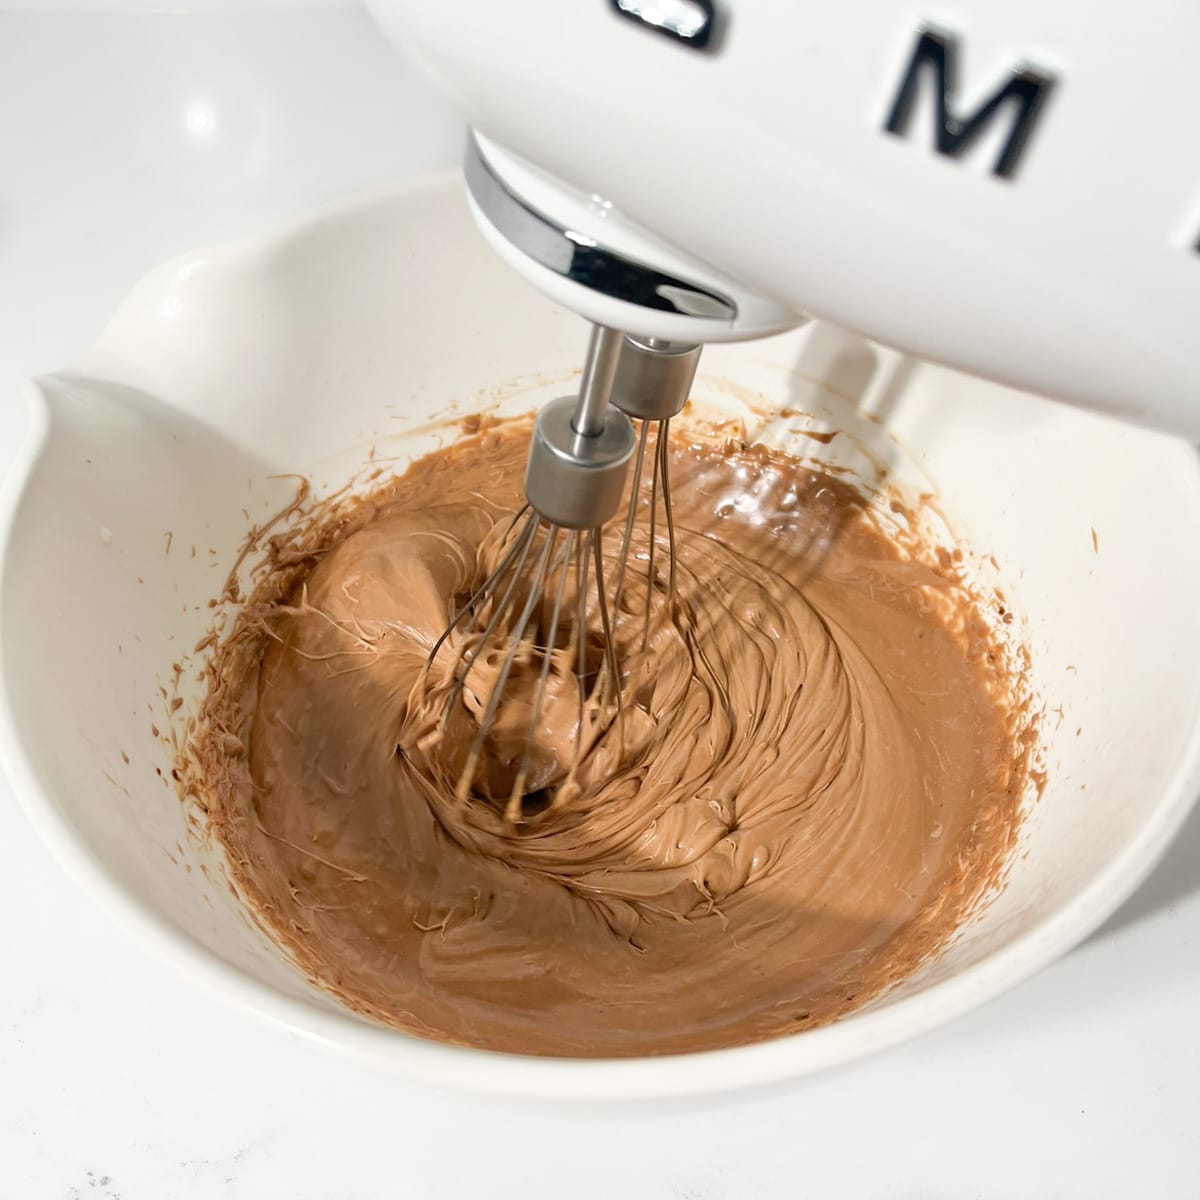
- Use an electric mixer with whisk attachments to whip the mixture until it becomes fluffy and mousse-like. Be very careful not to overwhip.
Slow down the mixer when the mixture starts to thicken. Overwhipping can happen in just a few seconds at high speed.
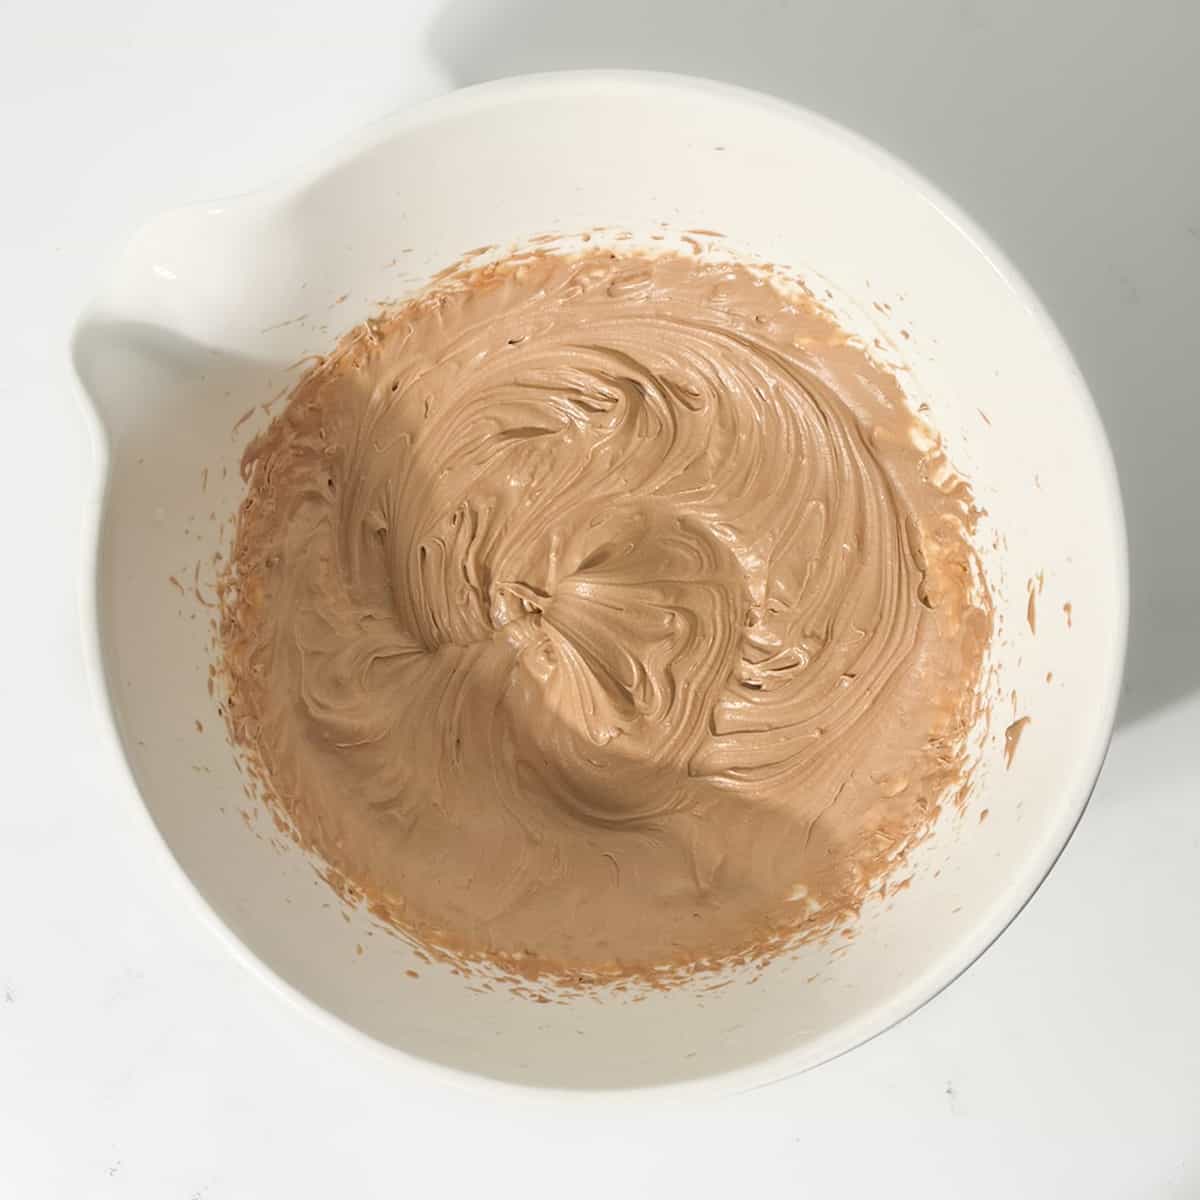
- Avoid whipping it until stiff peaks form. Stop when the peaks are medium-soft.
- Spoon the mousse mixture into bowls and garnish with your favourite toppings. Alternatively, a small wine glass works well as a vessel for the mousse.
Important
Be careful not to whip the mousse for too long after it's been in the fridge. It should reach the right consistency in about 1.5-2 minutes, maybe even less time, depending on how fast you're whipping it.
Overwhipping can cause the mixture to separate or become dry and grainy.
It's better to slightly under-whip the mousse because you can fix it by whipping it a bit more if needed. Unfortunately, once it's overwhipped, there's no way to undo it.
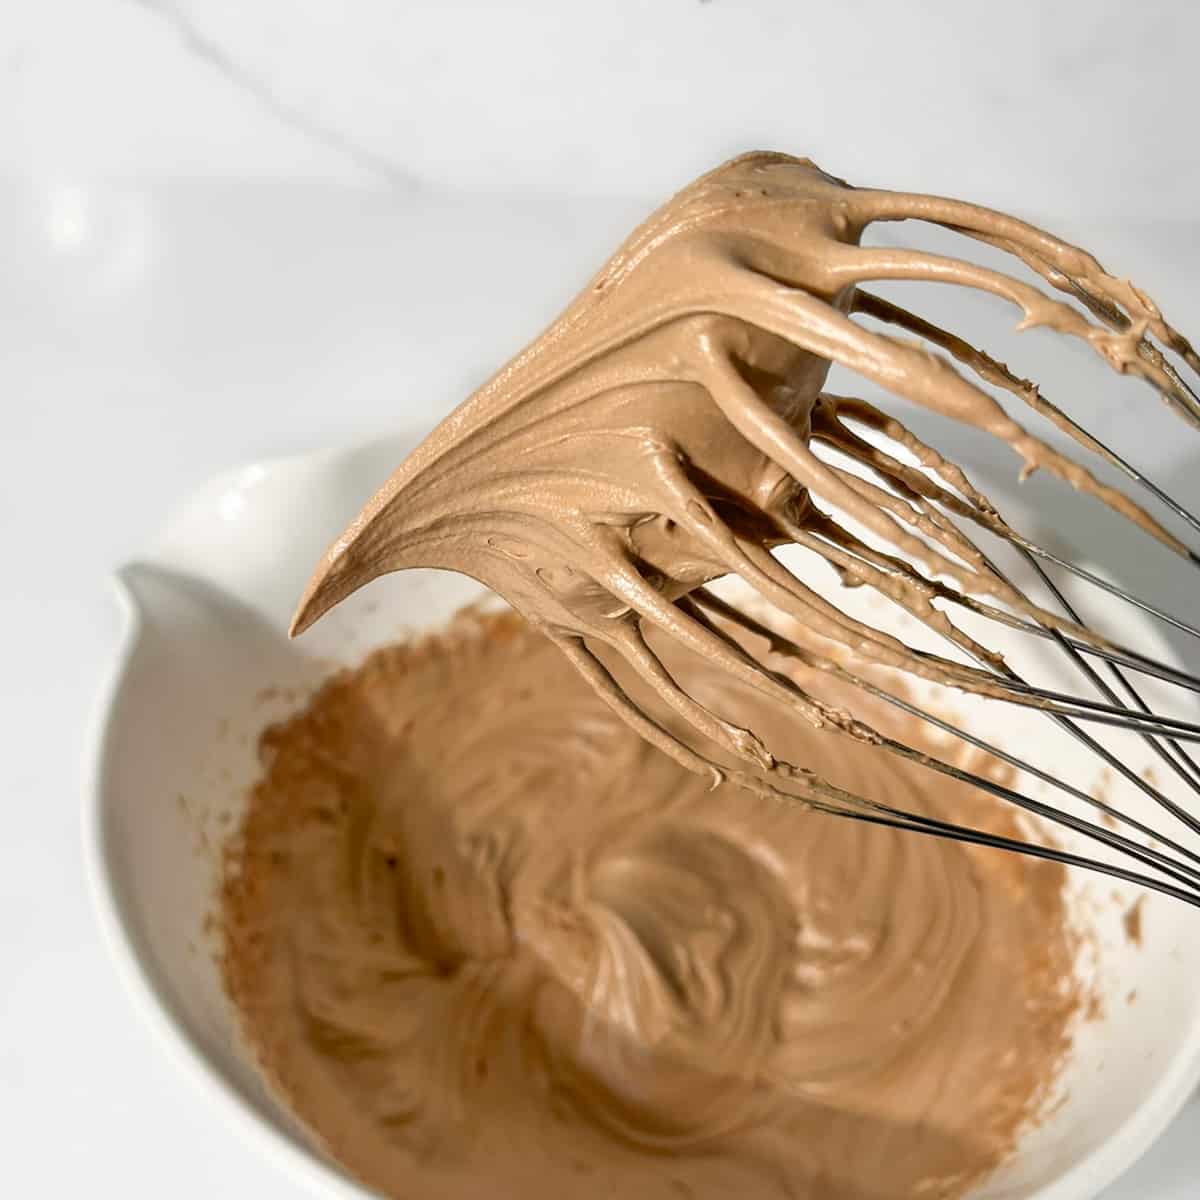
Check the image below for the correct consistency. When you lift the whisk, the mousse should have a slightly droopy tip. It will look fluffy and thick, but not so thick that you can see any graininess.
Equipment tip: You can use a stand mixer for the whipping process, but we feel using an electric hand mixer gives you a lot more control overseeing the consistency of the mousse and knowing when to stop whipping.
25 delicious serving suggestions for coffee mousse
- Serve with fresh fruit like raspberries and strawberries. The tanginess from the berries really balances the richness of the mousse well.
- Layer the coffee mousse with crushed graham crackers or cookie crumbs for a tasty parfait-style dessert. It helps to use a piping bag when layering mousse into a glass.
- Top with chocolate shavings or chocolate chips.
- Sprinkle with a pinch of salt or sea salt to balance the flavours and add a touch of sophistication.
- Top with chocolate sauce or a drizzle of chocolate ganache.
- Add a sprinkle of nuts or crushed honeycomb.
- Serve alongside mocha truffles.
- Add a dollop of Chantilly whipped cream.
- Create a coffee mousse trifle by layering it with chunks of chocolate cake or brownies and whipped cream.
- Add a shot of liqueur to the mix, like Baileys or Frangelico.
- Top with marshmallow fluff.
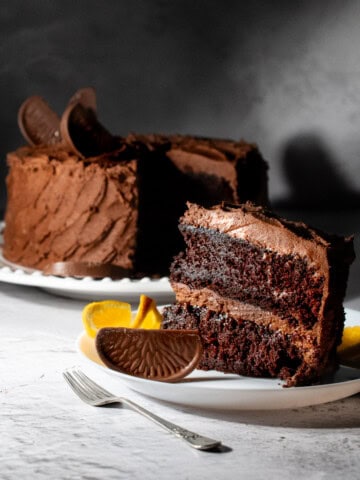
- You can also use this as a mousse filling for a coffee mousse cake, a coffee cake or a sponge cake. Whip the mousse for a few seconds longer so it will hold its shape better.
- Make coffee mousse pots - this mousse is very rich, so you can get away with dishing it into small pots just as a 'teaser' after the main meal. The perfect ending to a dinner party.
- Make coffee mousse cups - they look great served in small vintage tea cups.
- Top with chocolate-covered coffee beans.
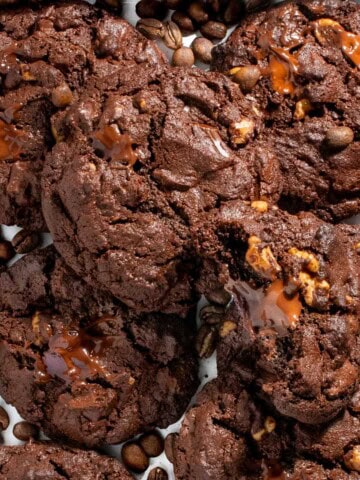
- Spread on top of coffee or chocolate cookies.
- Serve with a dusting of cocoa powder.
- Garnish with a sprinkle of cinnamon.
- Pair with a side of biscotti for dipping.
- Serve alongside a scoop of vanilla ice cream.
- Top with a dollop of whipped coconut cream.
- Enjoy with a side of shortbread cookies.
- Garnish with a sprig of fresh mint.
- Accompany with a drizzle of caramel sauce.
- Serve with a side of ladyfingers for a classic touch.
Storage
The mousse is at its best when served right after whipping. If it sits in the fridge afterwards, it tends to become quite thick and you'll lose that light and airy texture.
Leftovers will keep well in the fridge for up to 3 days.
Cover it with plastic wrap or in an airtight container to stop the mousse from drying out.
Not suitable for freezing
FAQ
Characteristically a mousse is a light and airy dessert, usually achieved by whipping air into the base ingredients. This creates small bubbles, providing the mousse with a fluffy, creamy texture.
Despite mousse's light texture, it's quite rich in taste as heavy cream often features as a main ingredient.
More recipes using coffee as an ingredient
Recipe

Creamy 3-Ingredient coffee mousse (eggless)
Equipment
- 1 electric hand mixer, or stand mixer
Ingredients
- 250 millilitre double cream - or 'heavy cream' in the US
- 150 grams milk chocolate - broken into smaller pieces
- 3 teaspoons instant coffee granules - or instant espresso granules for a stronger coffee flavour
Instructions
- In a small saucepan, bring the cream to boiling point over low heat. Alternatively, you can heat the cream in the microwave in short bursts. Be careful not to scald it. As soon as it starts boiling, remove it from its heat source.250 millilitre double cream
- Break the chocolate up into smaller pieces and add it to a large bowl. This will serve as the bowl for whipping the mixture into a mousse later, so ensure it has enough space to accommodate the volume you'll be creating.150 grams milk chocolate
- Pour the hot cream over the chopped chocolate and let it sit undisturbed for about 5 minutes, allowing the chocolate to melt. Ensure that the chocolate is fully covered with the hot cream.
- Stir the hot cream and melted chocolate together until you have a smooth, glossy mixture. It will look grainy at first, but persist, it comes together quickly enough.
- Add the coffee granules and stir thoroughly to dissolve the coffee into the mixture. Don't stress if there are a few stubborn coffee granules that won't dissolve completely.3 teaspoons instant coffee granules
 Cover the mixing bowl with plastic wrap and allow the mixture to cool in the fridge for one hour.
- Use an electric mixer with whisk attachments to whip the mixture until it becomes fluffy and mousse-like. Be very careful not to overwhip. Avoid whipping it until stiff peaks form. Stop when the peaks are medium-soft.Slow down the mixer when the mixture starts to thicken. Overwhipping can happen in just a few seconds at high speed.
- Spoon the mousse mixture into bowls and garnish with your favourite toppings. Alternatively, a small wine glass works well as a vessel for the mousse.

Notes
IMPORTANT
Be careful not to whip the mousse for too long after it's been in the fridge. It should reach the right consistency in about 1.5-2 minutes, maybe even less time, depending on how fast you're whipping it. Overwhipping can cause the mixture to separate or become dry and grainy. It's better to slightly under-whip the mousse because you can fix it by whipping it a bit more if needed. Unfortunately, once it's overwhipped, there's no way to undo it. Check the image below for the correct consistency. When you lift the whisk, the mousse should have a slightly droopy tip. It will look fluffy and thick, but not so thick that you can see any graininess. Equipment tip: You can use a stand mixer for the whipping process, but we feel using an electric hand mixer gives you a lot more control overseeing the consistency of the mousse and knowing when to stop whipping.
**Nutritional data disclaimer**
Please keep in mind that the nutritional information provided below is calculated by a third party and we cannot guarantee the accuracy. We try our best to give you the most accurate information, but we do not take responsibility for errors that may be present. Also, the nutritional value of the recipe may change depending on the exact brands and products used. We recommend that you consult with a qualified healthcare professional or registered dietitian for personalised advice on your dietary needs.
Nutrition
For food safety advice, including guidance on food allergies


Leave a Reply